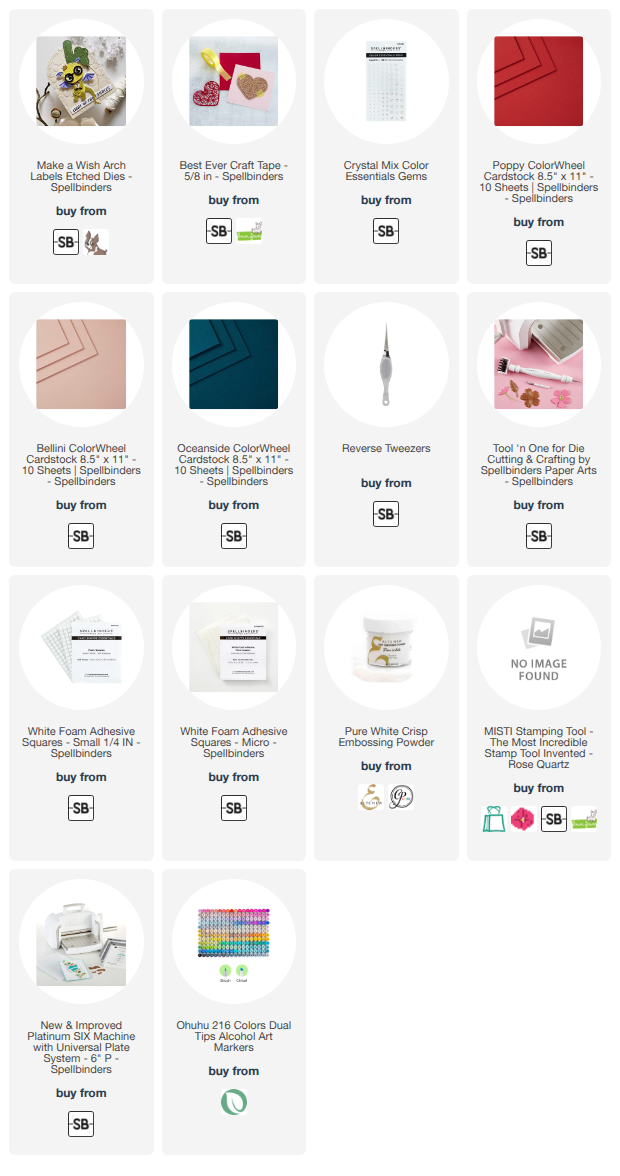
Hi cardmaking friends, today I am guesting over on the Spellbinders Blog with an easy to follow step-by-step tutorial featuring the Polar Friends Stamp and Die Set by Simon Hurley. Here is a peek of the card.
Better craft photos are easier than you think. Start with 5 simple tips you can try today. 🎁Get my free photo ebook here!
In this tutorial, I’ll show you how to color this adorable polar bear with alcohol markers, and turn it into a bright Christmas card with an arched window. This is just a sneak peek, so please check the original post with the easy to follow step-by-step tutorial on the Spellbinders blog.
Pin this post to your Pinterest board and save this card idea for later.
BEFORE YOU GO...
Let’s stay crafty friends! You can find more cardmaking inspiration, behind-the-scenes peeks and photography tips for crafters on my Instagram and Facebook pages.
📸✨ I’m on a mission to help cardmakers and crafters feel more confident with photography, so their beautiful creations can shine online too.
I’ve listed all the supplies I used below, so you can easily find them. Some of the links are affiliate links, which means I may earn a small commission if you make a purchase, at no extra cost to you. Thank you so much for supporting my blog and creative work!
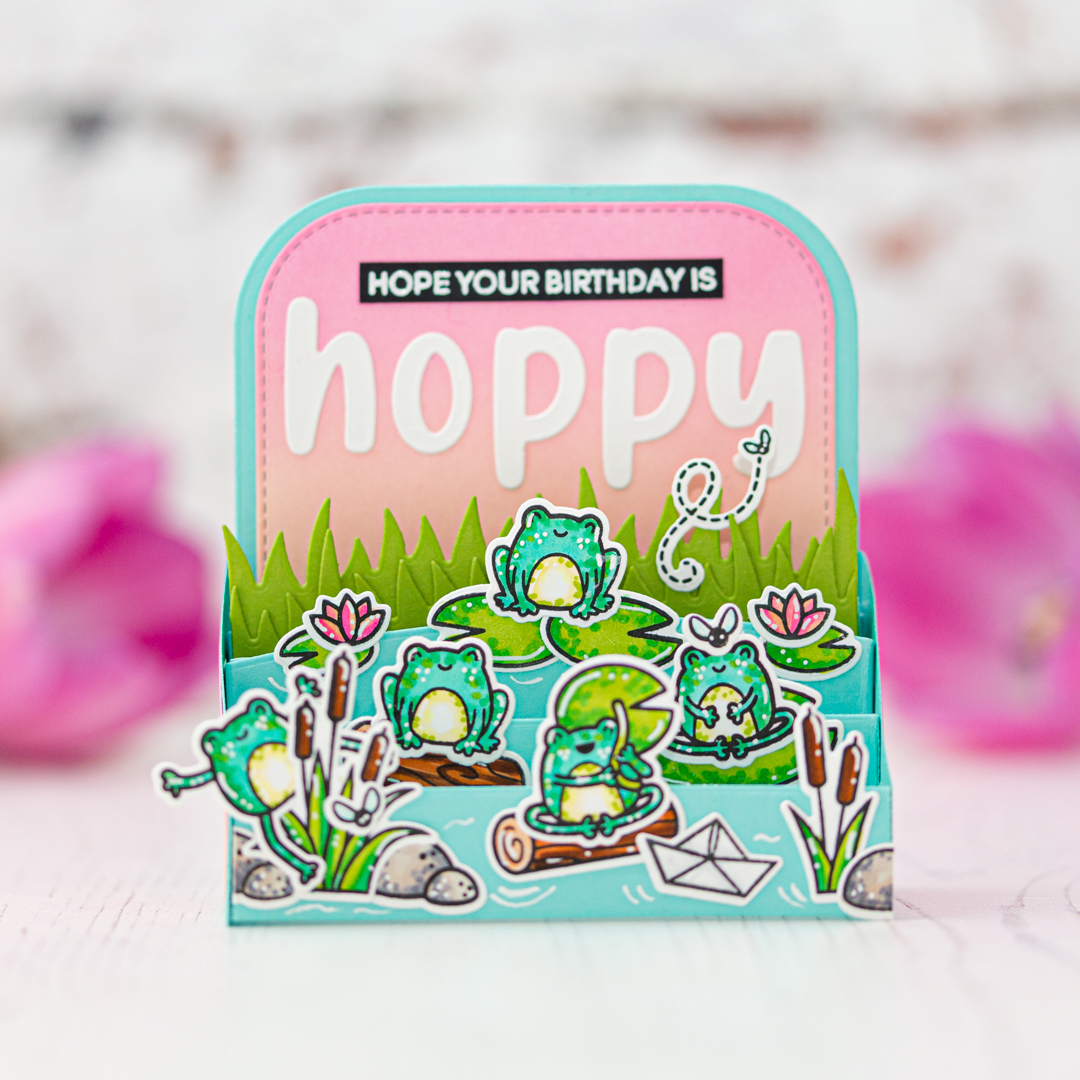
It's always exciting to try a new technique, or card type, so it was a joy to create this 3D card with the new Brooke 3D Box Card Die, what I made for the Heffy Doodle Insta Hop. (Hoppy hop 🐸😂) Come and join to hop along for the opportunity to win one of the gift cerfificates.
Better craft photos are easier than you think. Start with 5 simple tips you can try today. 🎁Get my free photo ebook here!
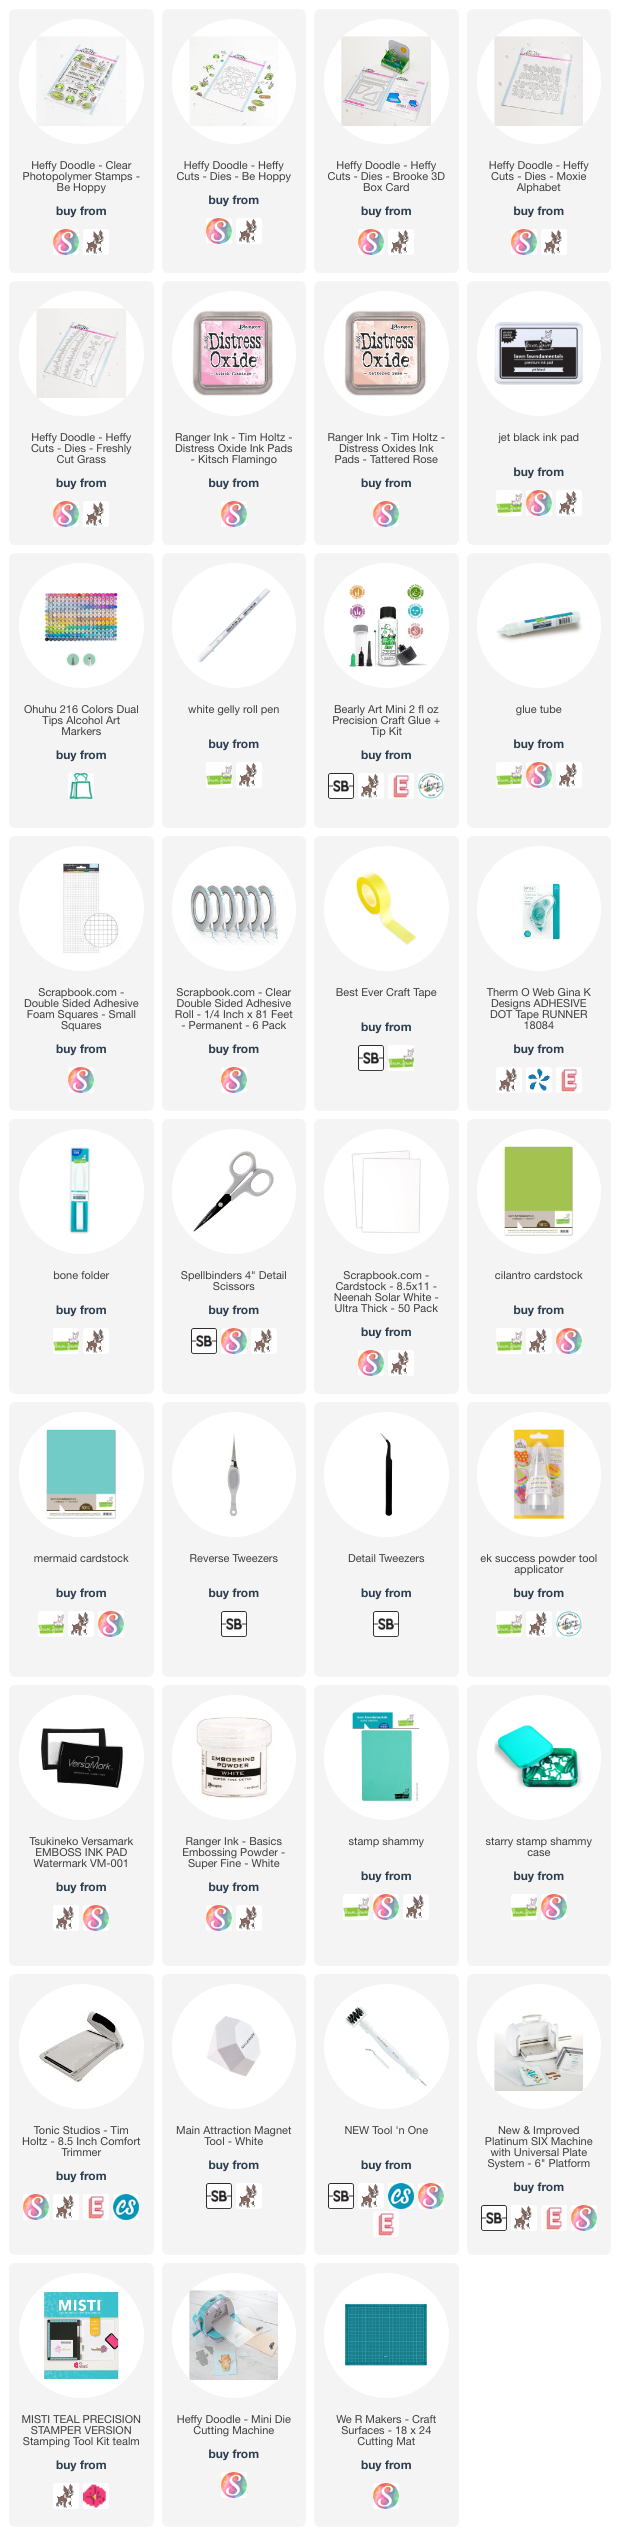
For the additional supplies with shop links visit the thumbnails below this post.
Pin this post to your Pinterest board and save this card idea for later.
STAMPING AND COLORING
I started the cardmaking process with stamping. I inked the cute frog images from the Be Hoppy ClearPhotopolymer Stampswith Jet Black inkpad to Neenah Solar White Cardstock, then I gave them a little heat set with my heat gun, to fix the ink on the cardstock. After a heat set, I started the coloring process with Ohuhu markers.
Last but not the least, the colored images found their place. Thank you so much for stopping by, don't forget to join the IG hop fun by April 27, 2023 at 11:59 PM EDT
BEFORE YOU GO...
Let’s stay crafty friends! You can find more cardmaking inspiration, behind-the-scenes peeks and photography tips for crafters on my Instagram and Facebook pages.
📷✨ I’m on a mission to help cardmakers and crafters feel more confident with photography, so their beautiful creations can shine online too.
I’ve listed all the supplies I used below, so you can easily find them. Some of the links are affiliate links, which means I may earn a small commission if you make a purchase, at no extra cost to you. Thank you so much for supporting my blog and creative work!
One of my favorite type of cards
is the pop-up box card! So, Let’s make one together! 😊 I have a new Lawn Fawn video tutorial for you on my YouTube Channel.
Better craft photos are easier than you think. Start with 5 simple tips you can try today. 🎁Get my free photo ebook here!
I just love cute images! Of course, I started with stamping! So, I inked the above mentioned lovely images with Jet Black inkpad to Neenah Solar White Cardstock, then I gave them a little heat set with my heat gun, to fix the ink on the cardstock. After a heat set, I started the
coloring process with Ohuhu markers. I recorded the coloring process as well which can find in the video above.
Before I adhered the colored images to the box card, I stamped the sentiment to the banner with watermark ink. After this I heat embossed it with white fine embossing powder. I fold it with my teflon bone folder, and adhered it to the front of my card.
WRAP UP
Last but not the least, I put the colored
images to their place. For the standing elephants I created one more
die-cut. Adhered them together with liquid adhesive, and placed it to the
grass like a clip. It will hold better and won’t bend the cardstock when it
will dry. In the tutorial you can see this process as well.
BEFORE YOU GO...
Let’s stay crafty friends! You can find more cardmaking inspiration, behind-the-scenes peeks and photography tips for crafters on my Instagram and Facebook pages.
📷✨ I’m on a mission to help cardmakers and crafters feel more confident with photography, so their beautiful creations can shine online too.
I’ve listed all the supplies I used below, so you can easily find them. Some of the links are affiliate links, which means I may earn a small commission if you make a purchase, at no extra cost to you. Thank you so much for supporting my blog and creative work!
For the additional supplies with shop links visit the thumbnails below this post.
Pin this post to your Pinterest board and save this card idea for later.
STAMPING AND COLORING
I stamped the critters from and the other elements with Crunchy Leaf Inkpad to Neenah Solar White Cardstock. After a heat set, I started the coloring process with Ohuhu Markers. I made a quick coloring on the tiny pieces, which means I am not layering them and I am using only 2 shades per color.
Because the Beavers and the wood are the stars of this card, I played with them a bit more. When the coloring part was done, I added highlights with white pen. If you enjoy watching card tutorials from start to finish you can find the coloring process video over the Lawn Fawn YouTube channel.
Here are the Ohuhu colors I have used for the coloring for this card. If you have those markers too feel free to download my free swatching charthere.
Next, I did a quick ink blending on the pond with peacock feathers distress oxide ink. I continued the same process with the same ink on the grass die-cuts. Then I blended the last grass and the background with cracked pistachio distress oxide ink. Now I have everything ready to finish this card, so I am adhering the die-cut pieces to the ink blended card front.
SENTIMENT
In my video tutorial I’m gonna teach you, how I created this woodgrain effect sentiment easily with Ohuhu Markers. Its beginner friendly, the video is very short (only 3 minutes), but I recommend you to watch it first, and when you have 30 mins for practicing go through it once more but this time with your supplies. Feel free to stop it as many times you need.
Now I have everything ready to finish this card, so I adhered everything together. I put the colored die-cut images to their right place with 3D adhesives. And last but not the least the wooden signs found their place as well.
BEFORE YOU GO...
Let’s stay crafty friends! You can find more cardmaking inspiration, behind-the-scenes peeks and photography tips for crafters on my Instagram and Facebook pages.
📷✨ I’m on a mission to help cardmakers and crafters feel more confident with photography, so their beautiful creations can shine online too.
I’ve listed all the supplies I used below, so you can easily find them. Some of the links are affiliate links, which means I may earn a small commission if you make a purchase, at no extra cost to you. Thank you so much for supporting my blog and creative work!
For the additional supplies with shop links visit the thumbnails below this post.
Pin this post to your Pinterest board and save this card idea for later.
USED COLORS
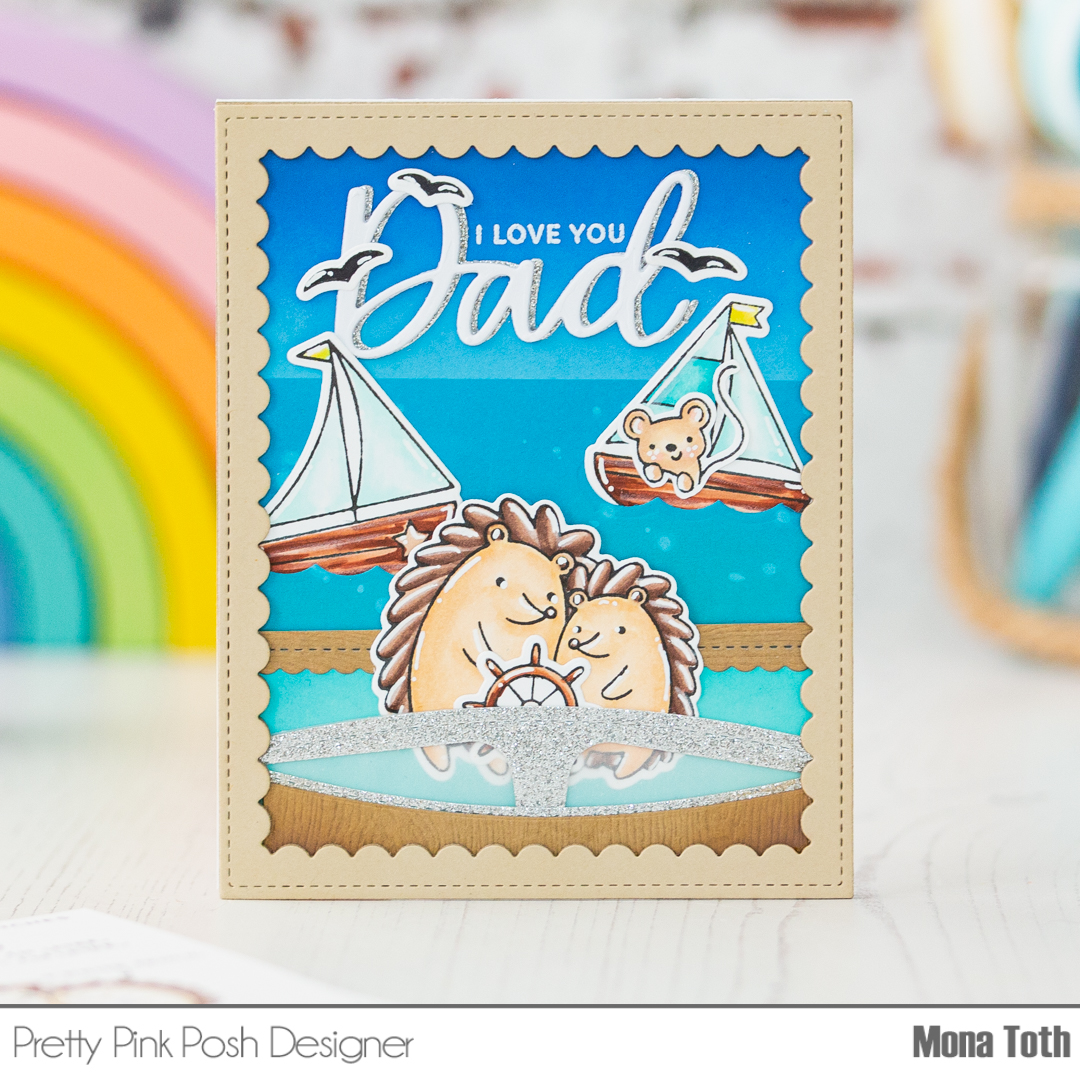
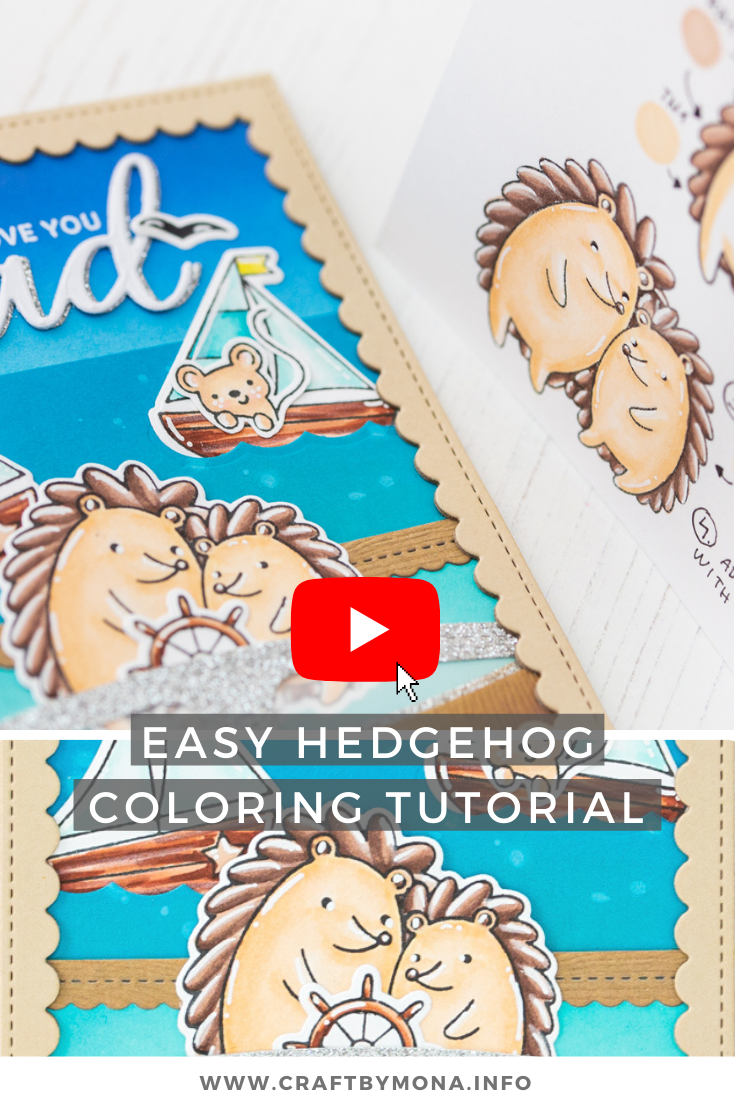
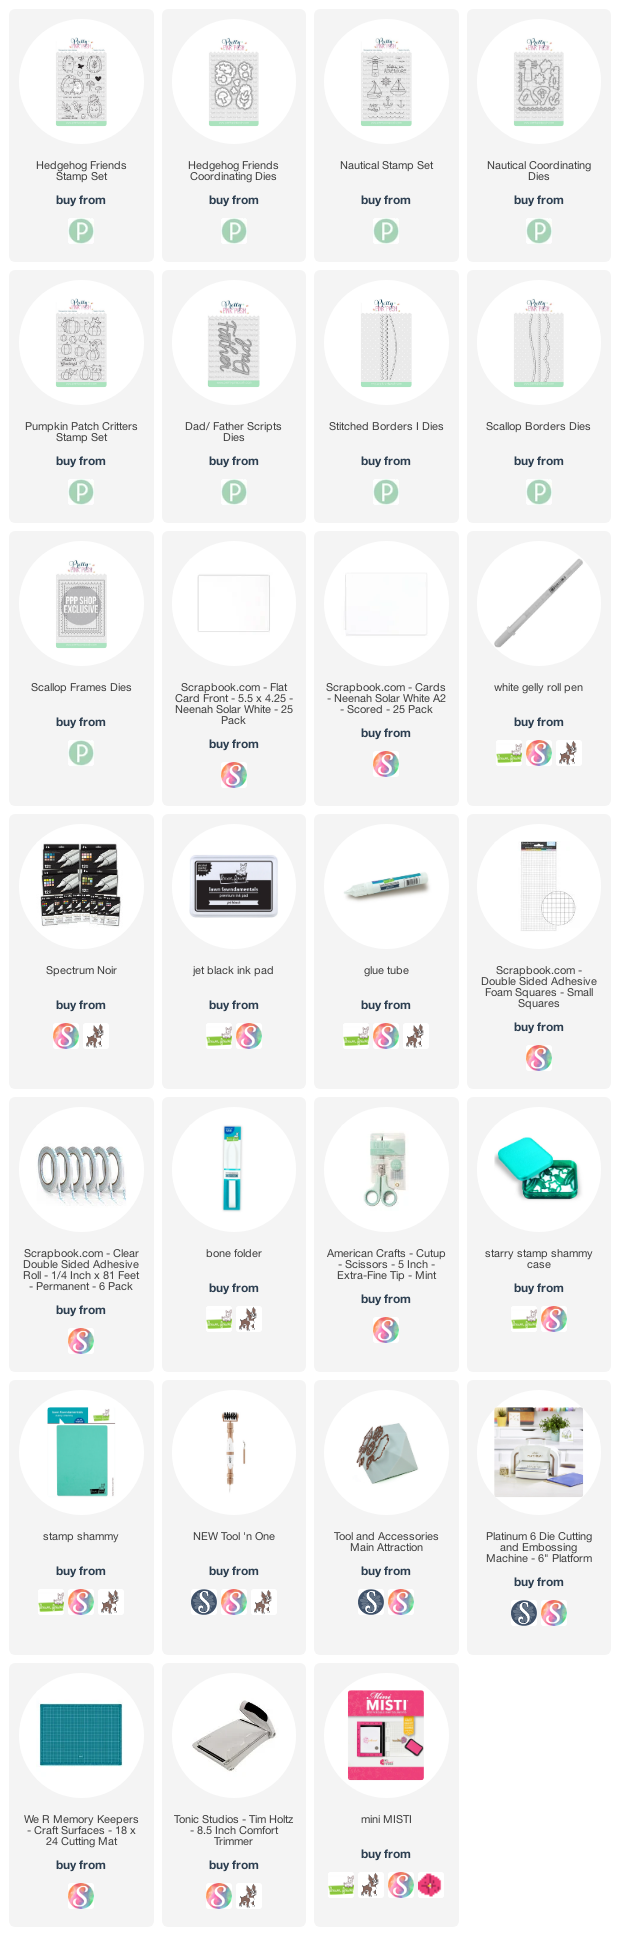
I stamped the images from Nautical, Hedgehog Friends and Pumpkin Patch Critters stamp sets with alcohol marker friendly black inkpad.
For the coloring I have used Spectrum Noir Illustrators in the following colors: BT1, BT2, BT3, BT5, BT6, CT1, CT3, FS9, TN1, TN2, TN3, TN6, TN8, EB5, RB3, RB1, CR2, True Black, Blender. Classiques: BT05. For the full process with useful tips please visit the video tutorial.
Thank you so much for checking my post, I wish you happy watching! Hugs, Mona.
BEFORE YOU GO...
Let’s stay crafty friends! You can find more cardmaking inspiration, behind-the-scenes peeks and photography tips for crafters on my Instagram and Facebook pages.
📷✨ I’m on a mission to help cardmakers and crafters feel more confident with photography, so their beautiful creations can shine online too.
I’ve listed all the supplies I used below, so you can easily find them. Some of the links are affiliate links, which means I may earn a small commission if you make a purchase, at no extra cost to you. Thank you so much for supporting my blog and creative work!
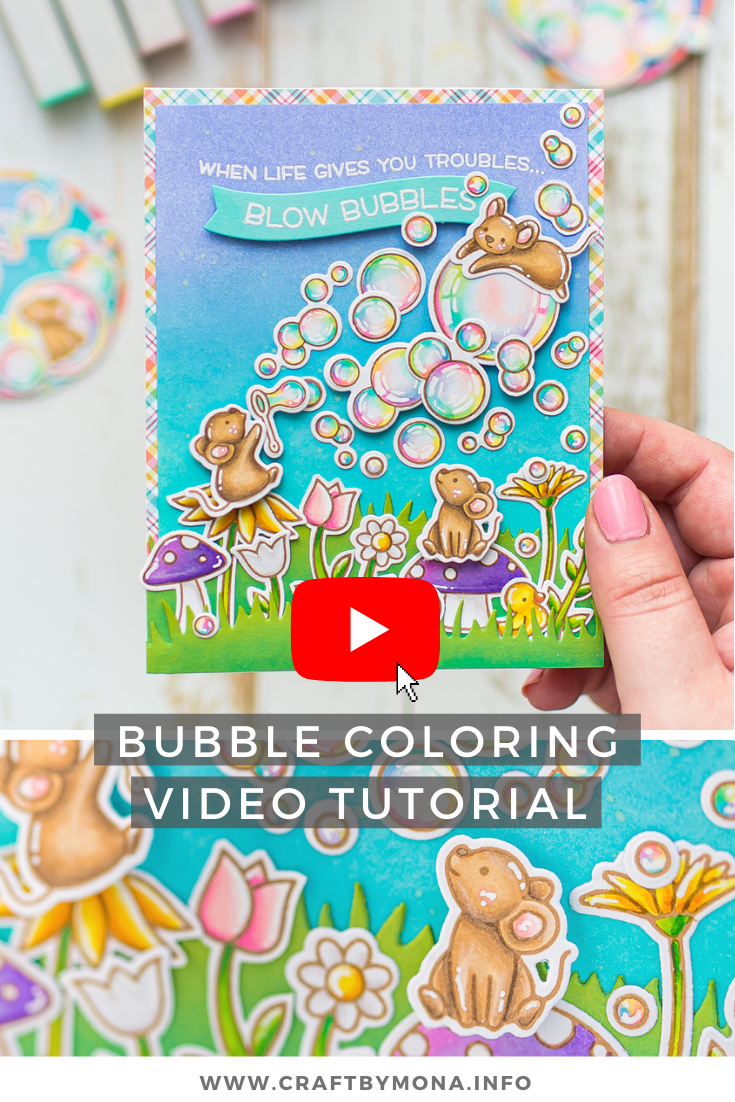
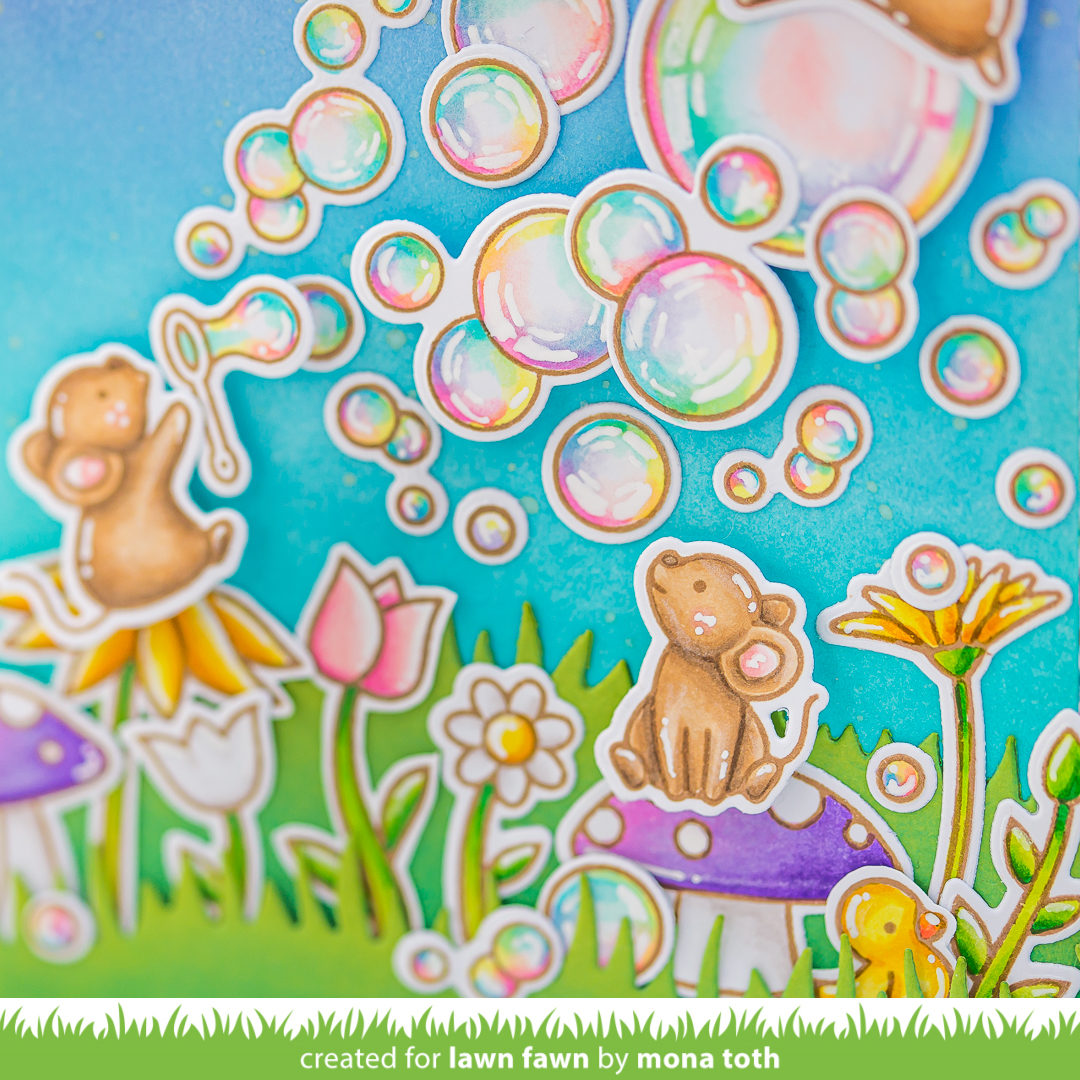
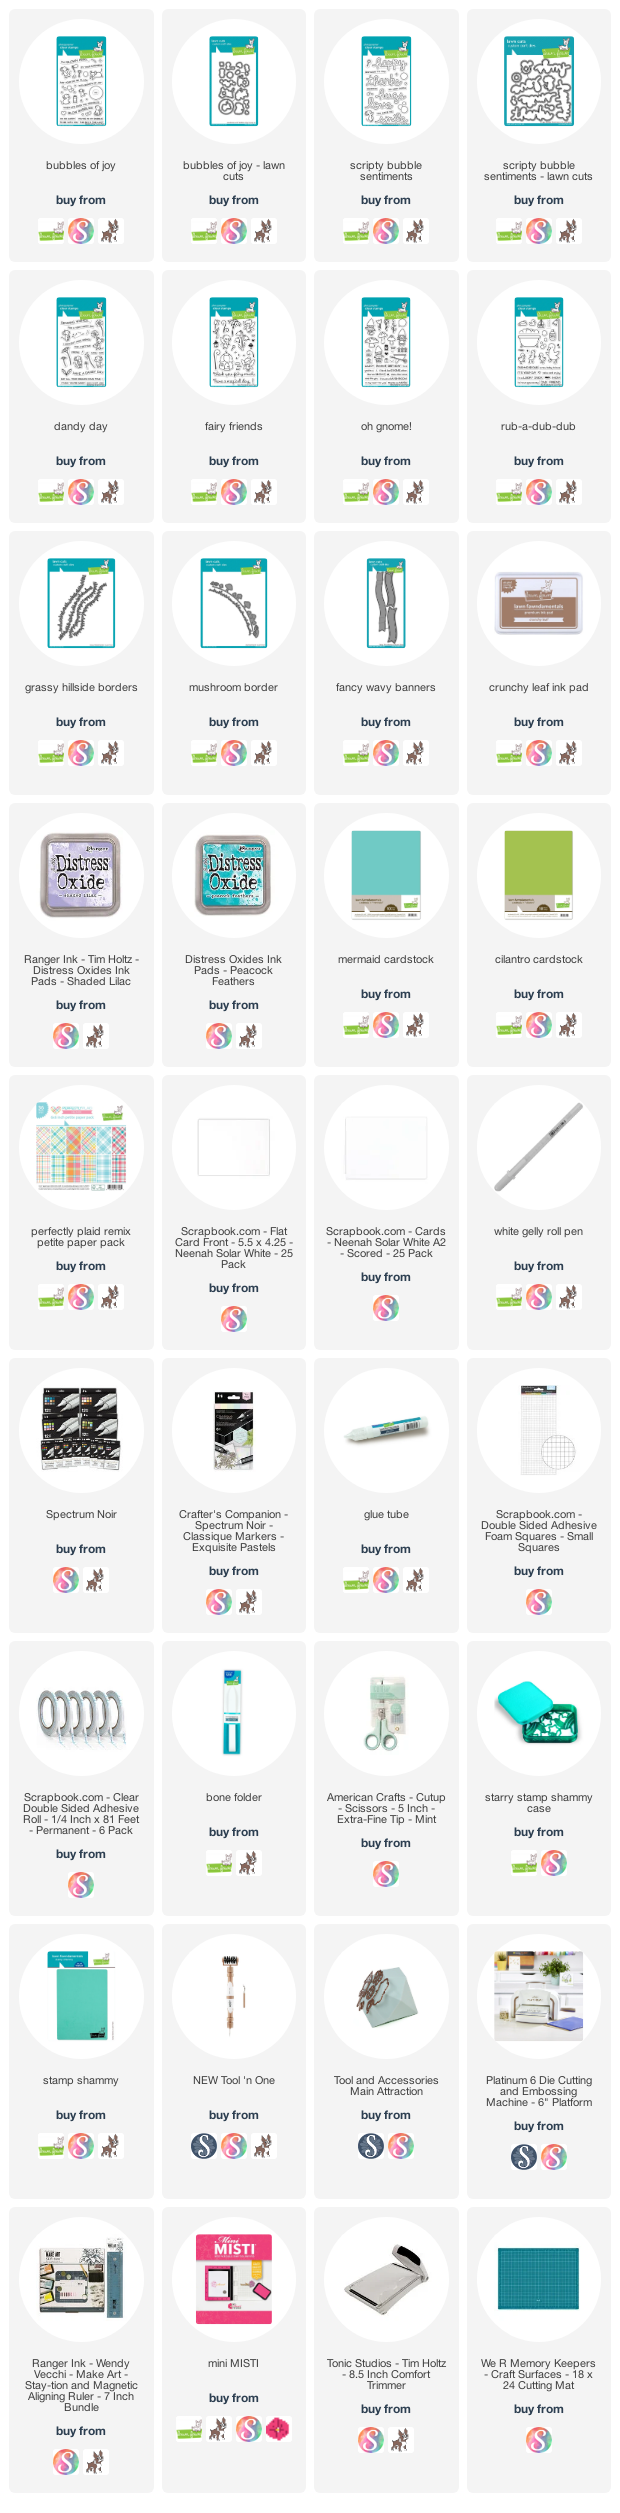
Hi crafty friend, today I am up on the Lawn Fawn blog with a new video tutorial, where I am sharing with you how to color realistic bubbles with alcohol markers as well as how I created this card.
Better craft photos are easier than you think. Start with 5 simple tips you can try today. 🎁Get my free photo ebook here!
Pin this post to your Pinterest board and save this card idea for later.
USED COLORS
This time no card instructions on my blog, instead of it I have a video tutorial with instructions for you. For the coloring I have used Spectrum Noir Illustrators in the following colors:
VIDEO TUTORIAL
In this video you can see the full process how I created this cute card using Lawn Fawn products. I have included the coloring part in the video too. Thank you so much for checking my post, happy watching, sending you big crafty hugs, Mona.
Let’s stay crafty friends! You can find more cardmaking inspiration, behind-the-scenes peeks and photography tips for crafters on my Instagram and Facebook pages.
📷✨ I’m on a mission to help cardmakers and crafters feel more confident with photography, so their beautiful creations can shine online too.
I’ve listed all the supplies I used below, so you can easily find them. Some of the links are affiliate links, which means I may earn a small commission if you make a purchase, at no extra cost to you. Thank you so much for supporting my blog and creative work!
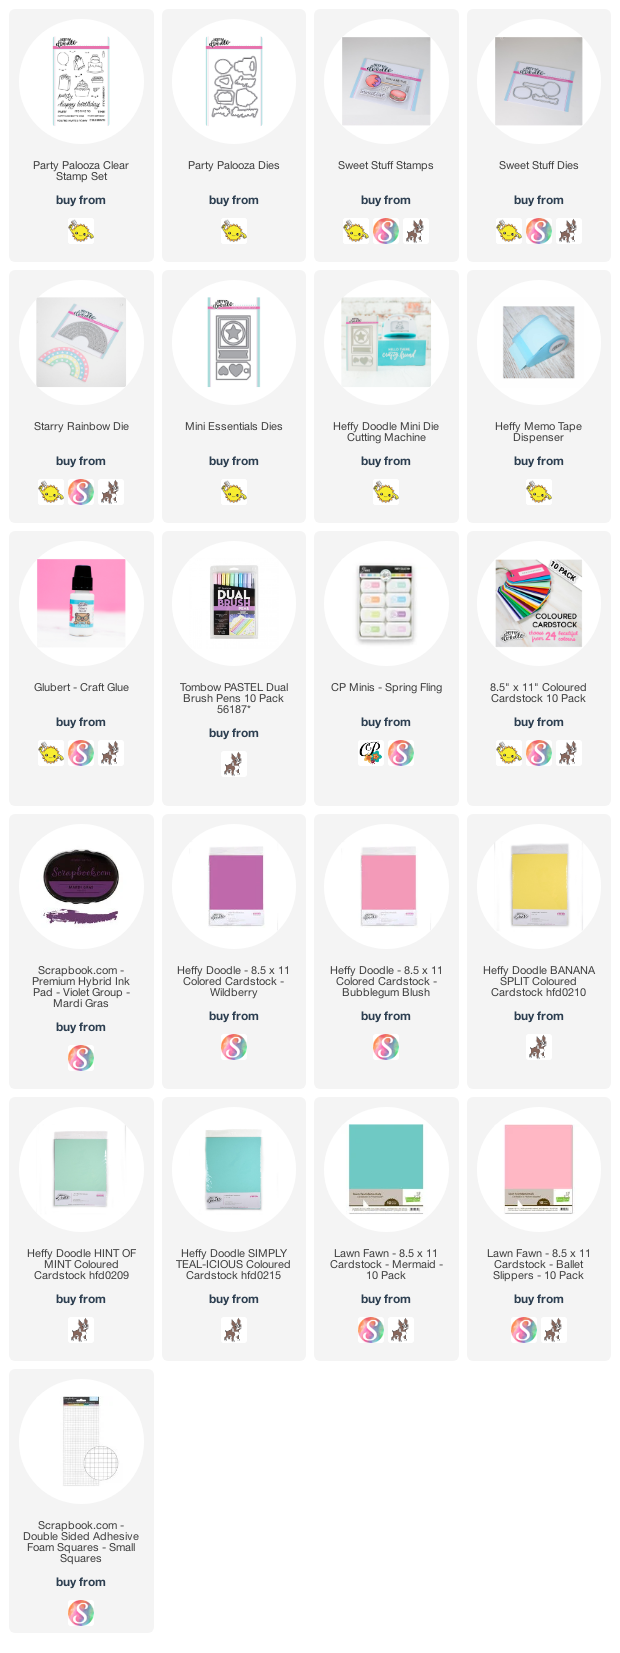
Hi crafty friends! I am back with another coloring video tutorial. From this video you will learn how to color rainbow cupcakes and how to create mini cards quickly and easily. You can find the video here.
For the additional supplies visit the thumbnails below this post.
Do you enjoy this inspiration? I really appreciate if you pin this photo to your Pinterest.
VIDEO TUTORIAL
Be sure to check the video tutorial with extra tips and tricks. As always, you can find the used supplies below the post, and if you have any questions feel free to ask in a comment.
For this project I will use this cupcake image from the Party Palooza Stamp Set, this macaron from the Sweet Stuff Stamp Set, the Mini Essential Die set as well as the Starry Rainbow Die. I stamped the images with Violet all-purpose craft ink, called Mardi Gras. I have used this color because I wanted to achieve a brighter look. Colorful outlines always help in that.
For the coloring I am using water based Pastel Tombow Brush Markers on Bristol smooth cardstock, but feel free to try it with any type of markers you have with the right cardstock. For the coloring and the full process be sure to check out the video here.
Once the coloring was done, I added highlights with white pencil and white pigment pen, then I run the images through my mini die-cutting machine with their coordinating dies. I have created two mini card fronts with the largest die from the Mini Essentials Dies from light pink and blue cardstock. I have also created rainbow with the Starry Rainbow Die and Heffy Doodle cardstock.
Next, I stamped the happy birthday sentiment from the Party Palooza Stamp Set to my card fronts with watermark ink, then I heat embossed it with white fine embossing powder. When it was done, I made a quick ink blending on the mini card fronts. I have used the Be Mine and It’s a Boy inkpad colors from the Spring Fling Mini set by Catherine Pooler. Next, I splattered on it with white, pink and blue watercolors and let them air dry.
In the end I just adhered everything together with different types of adhesives and put it to a 3 and ¾ by 5 and 7/8 card base which I folded in half. In the end I created one more die-cut with the Starry Rainbow Die, this time from white cardstock and used the small stars to embellish my card. Thank you so much for joining me, see you next time, have an amazing day, Mona.
USED SUPPLIES
Using affiliate links does not mean additional costs for you. I really appreciate your support. I am using only productsI LOVE. If you buy supplies through my affiliate links, you support my channel and blog with a small commissionand when you shop through my links I will do a happy dance. Affiliate Disclaimer.
Crafty friends are the best! We challenged each other with my sweet friend, Marine Simon to create in the others style! We did it with video tutorials and if you are looking for some inspiration we really appreciate if you are stopping by. In my video you will learn how to create vintage sepia look on your cards with markers and we have surprises for you too! :) You can find the video here.
For the additional supplies visit the thumbnails below this post.
Do you enjoy this inspiration? I really appreciate if you pin this photo to your Pinterest.
VIDEO TUTORIAL
For the instructions and our crafty friend challenge collaboration video watch my video tutorial below. You will also learn how I created this vintage look card coloring with alcohol markers on craft cardstock. If you have any questions feel free to ask in a comment.
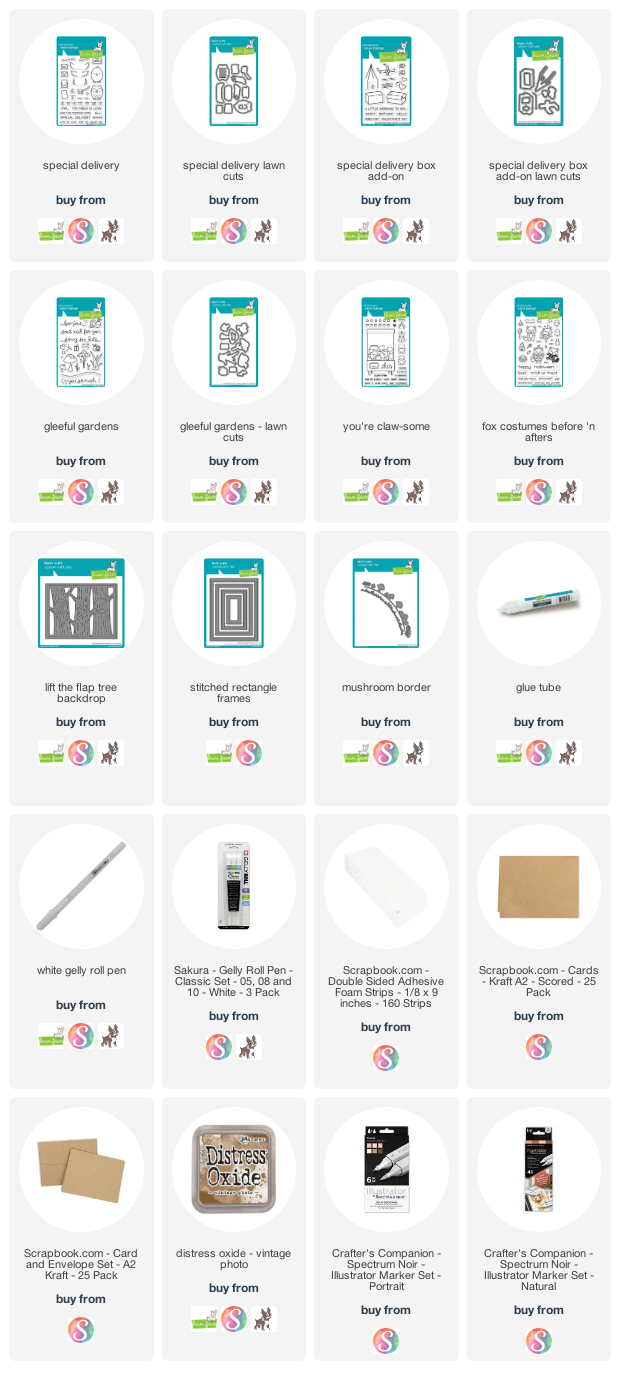
I have two surprises for you, the first one is is this sweet set from Lawn Fawn,
which I will send to a random lucky one who answers under my and Marines video as
well. You can find my question in the video tutorial. I am really curious for you answers. I will announce the lucky one on 20th of February, on my YouTube channel as well as on my Instagram Stories.
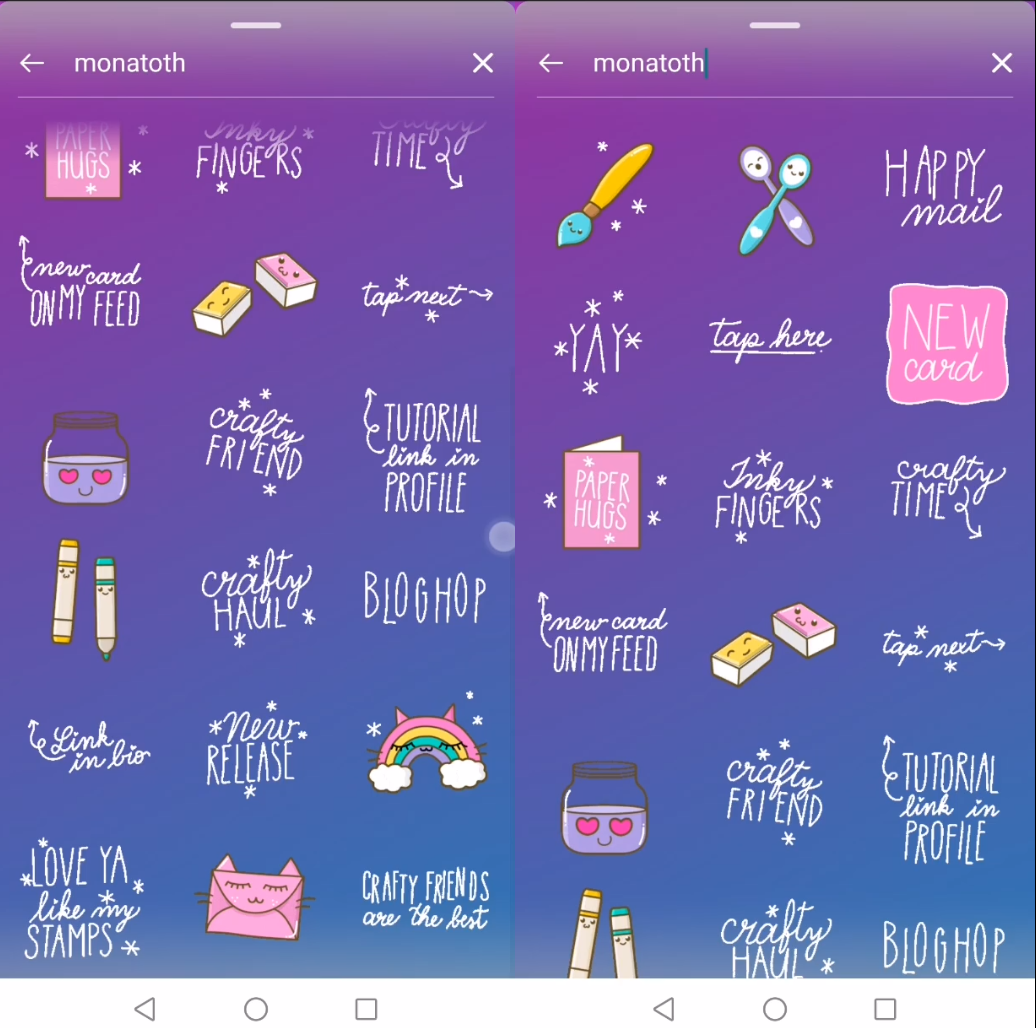
If you are following me on Instagram, you may already know, we have created crafty related GIF stickers with my husband for our crafty community. If you want to use them just type “ monatoth ” to the gif section on your stories to find them. This is my thank you for your amazing support, enjoy them and more are coming really soon! 💙
Thank you so much for stopping by and reading throug my post, have an amazing day. Hugs, Mona.
USED SUPPLIES
Using affiliate links does not mean additional costs for you. I really appreciate your support. I am using only products I LOVE. If you buy supplies through my affiliate links, you support my channel and blog with a small commission and when you shop through my links I will do a happy dance. Affiliate Disclaimer.
Hello crafty friend! This is the last day of the month and the last day of the Valentine Theme Week Sale at Pretty Pink Posh. They have tons of cute things in their shop, so jump over there and check out their products in the Valentine Section 15% off by the end of 31th of January. Thank you so much for supporting small businesses like Pretty Pink Posh.
• For the additional supplies visit the thumbnails below this post or click here for the visual supply list.
Do you enjoy this post? I really appreciate if you pin this photo to your Pinterest.
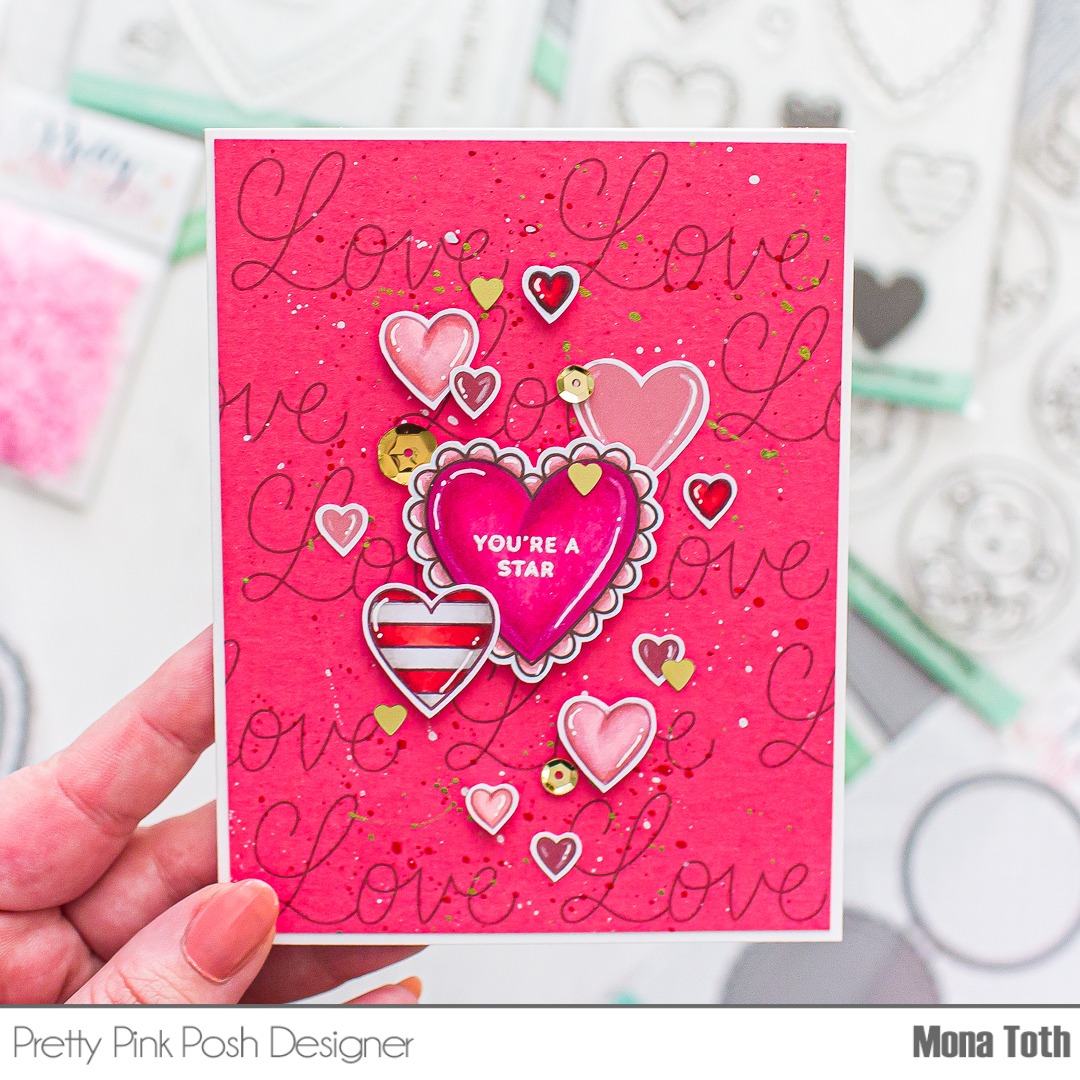
CARD INSPIRATION
I started the cardmaking with stamping. I created the background
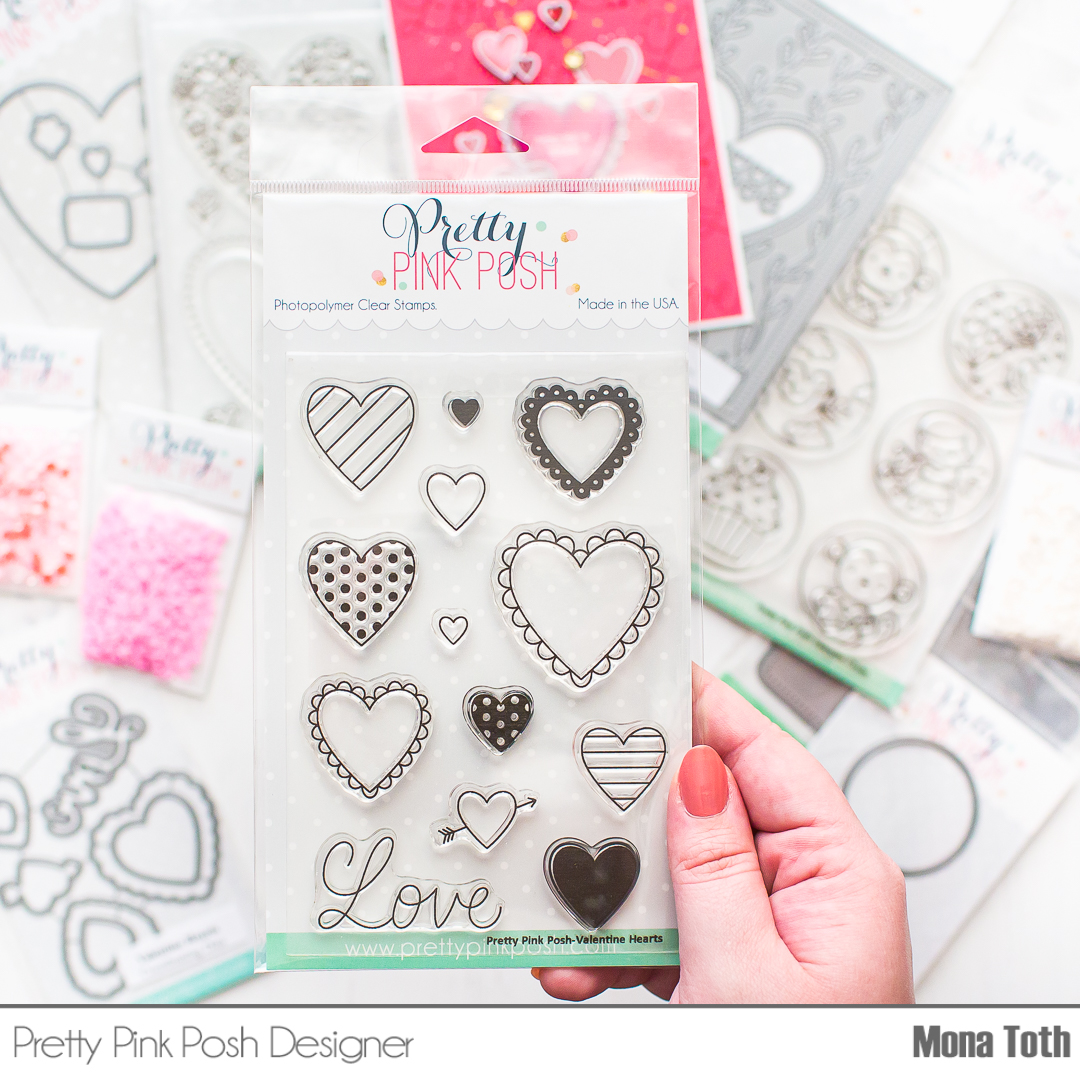
with the beautiful Love script sentiment from the Valentine Hearts Stamp Set. I just stamped it multiple times. Next, I stamped the heart images from the Valentine Hearts
stamp set with brown and dark pink alcohol marker friendly inkpads to create a
fun look on the card.
Love this beautiful stamp set, so versatile and not only for Valentine's Day.
I continued with the coloring. After a quick heat set I
colored them with Spectrum Noir Illustrator Markers, where I have used the
following colors: FS1, AP2, AP3, AP4, CR7, CR9, CR11, DR7, MG2, MG3, MG4, BP6,
BG3, BG1, Blender. When it was done, I run them through my die-cut machine with
the Valentine Hearts Coordinating Dies.
Next, I created the background with this beautiful Love
script stamp from the Valentine Hearts Stamp Set. I just stamped it with dark
red inkpad to a rich pink cardstock. I splattered on it with white, red and
gold watercolors to break the background.
When it was done, I put my card together with 3d FoamSquares to add a little dimension to my card. In the end I embellished the card
with Gold Sequins, and it was ready. Thank you so much for stopping by, see you
next time. Hugs, Mona.
Hurry, today is the LAST day to save 15% on all Valentine items!
Using affiliate links does not mean additional costs for you. I really appreciate your support. I am using only products I LOVE. If you buy supplies through my affiliate links, you support my channel and blog with a small commission and when you shop through my links I will do a happy dance. Affiliate Disclaimer.