Copic Coloring and scene building | Heffy Doodle


Hi crafty friends, I have a new video tutorial for Heffy Doodle blog, where I am going to show you how I built this cute card scene and how I colored these cute pastas from the newly released, Pasta La Vista Stamp Set with Copic Markers. I have some extra tips and tricks for you, find the video here.


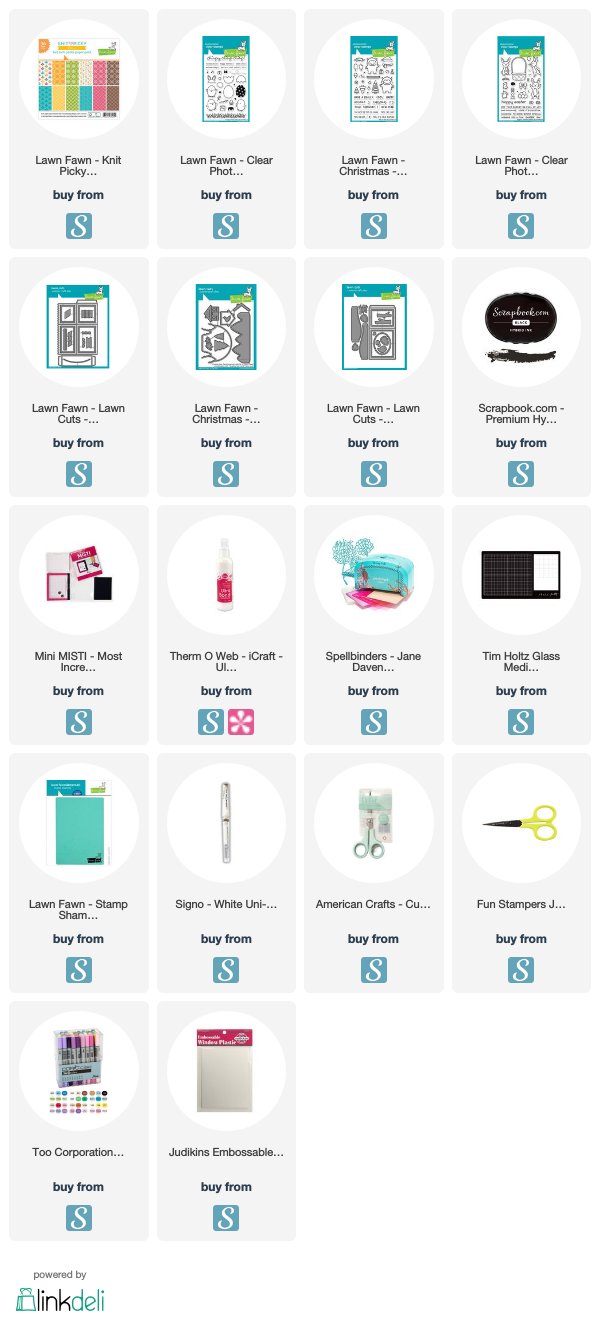
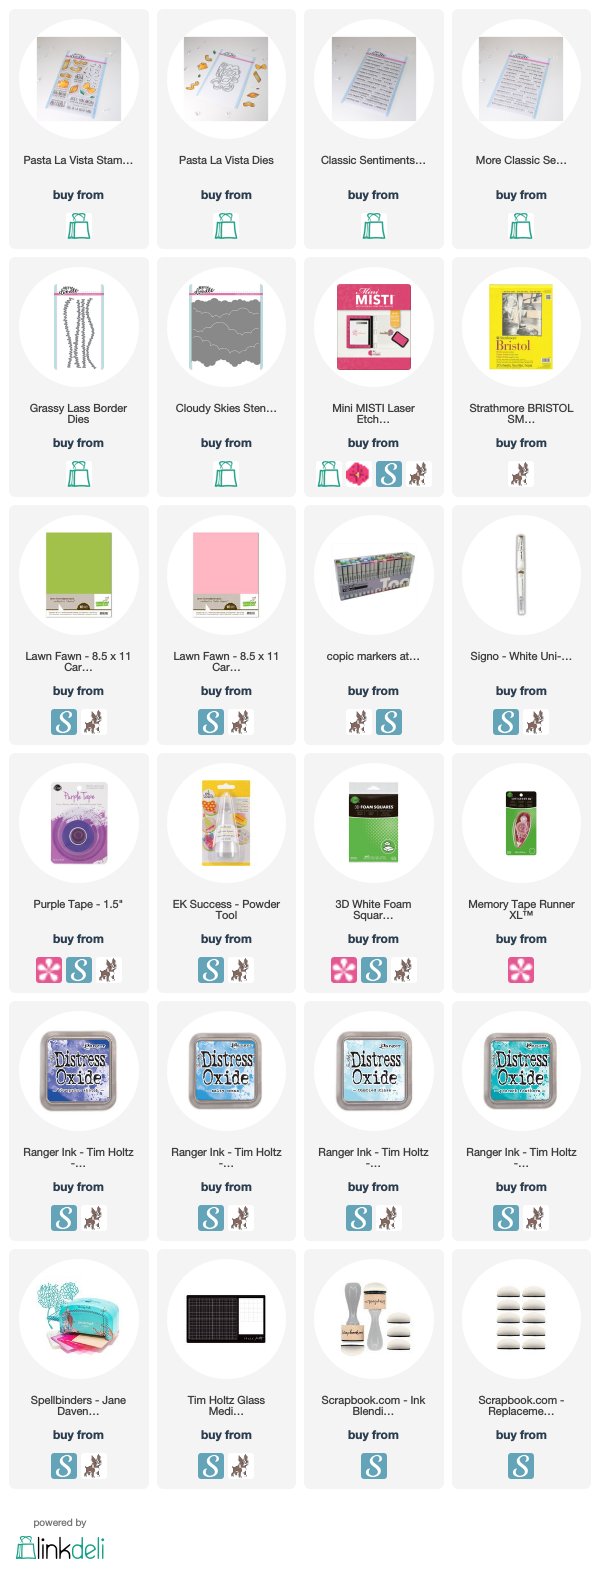
I started the cardmaking with the scene building. For the sky I picked the Cloudy Skies Stencil, covered the parts with purple tape, which I didn't want to use, and started the blending on a Bristol Smooth Cardstock. It's size is 5.5" by 4.25". I am using the Blueprint Sketch, Salty Ocean and Tumbled Glass Distress Oxide inks to create a nice and fluffy sky. Next I run a green cardstock through the Die-cut machine with the Grassy Lass Border Dies, and made an ink blending on it too. This time I have used the Peacock Feathers Distress Oxide Inks.


Once it was ready I continued with stamping and coloring. I stamped the cute pasta images from the new Pasta La Vista Stamp Set with Brown Copic friendly inkpad called Gingerbread. Before the coloring, I gave a quick heat set to my images. This will prevent the ink leaking.


When it was done, I started the coloring process, be sure to check the video tutorial.


When the coloring was done, I added white highlights with Signo Uniball White Pen and let the images dry. I also colored a few branches from the Hootiful Stamp set. 


Next I stamped smiling faces on the pastas from the Pasta la vista set. I love this pasta set so much! Don't forget, all pre-orders placed between 20th December and 3rd January will include a free, not-yet-released Exclusive Sweet Stuff Stamp Set, for more information check the Heffy doodle shop.


Next I mixed my own sentiment with the new Classic Sentiments and the More Classic Sentiments Stamp Sets. These sentiment sets have the same height, so you can mix and match them together perfectly! I stamped the sentiments with watermark ink to a pink cardstock, then I heat embossed with white embossing powder.


In the end I put my card together, don't forget to check the video for the extra tips and tricks. I hope you have enjoyed my project for today.


As always, you can find the used supplies below and if you have any questions feel free to ask in a comment. See you next time, have an amazing day, Mona

USED SUPPLIES

Cute Lawn Fawn Christmas Tags | Scrapbook.com


Hi crafty friends. I am back again with another project which I have created with cute Lawn Fawn creatures using with an exclusive product from Scrapbook.com.


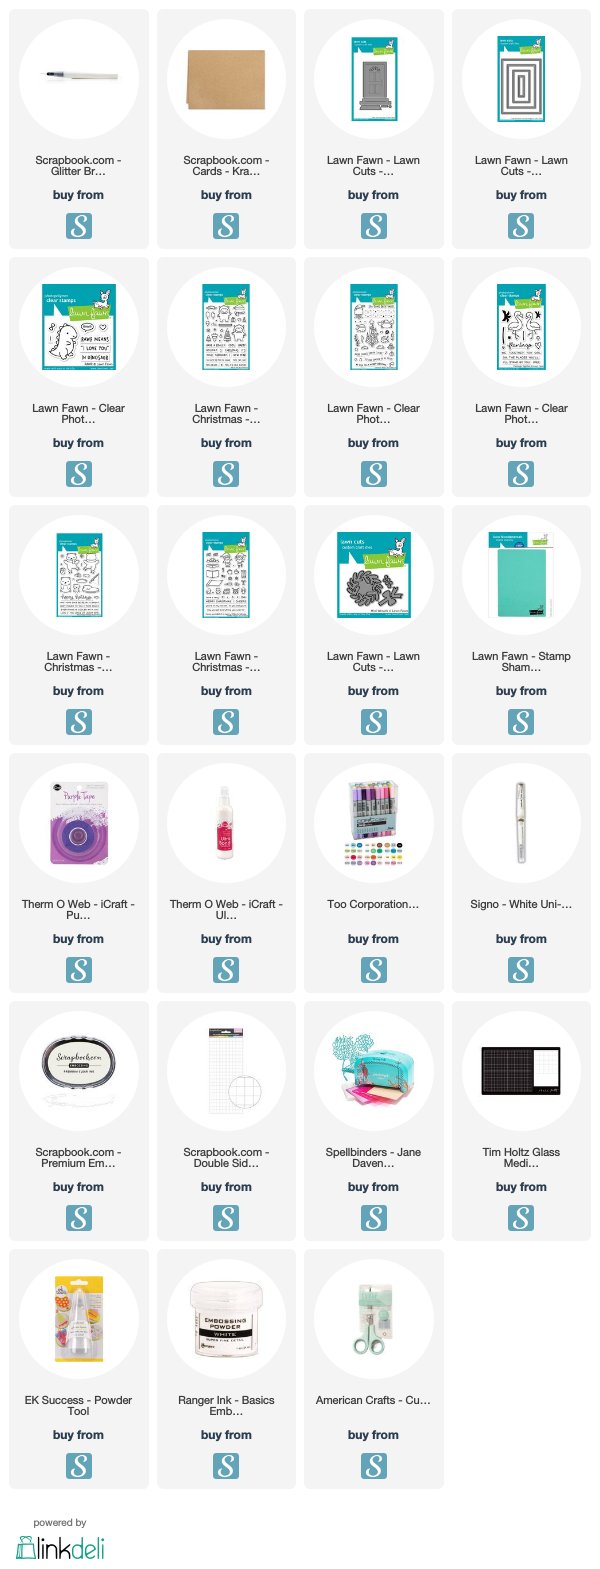
This time I was playing with the Glitter Brush Marker. You can find the used supplies below the post like always :)


I like shiny, glittery, pretty things paired with bright colors, so I had soo much fun with this new product in my studio! :)


For me this glitter brush pen is a little cool toned. I love that it is well buildable, so if you add more layers on your cardstock will be more super shiny! YAY!


I painted with glitter brush pen over teal, pink and yellow door die-cut and put my sweet and cute tags together with pre colored nontraditional xmas critters from Lawn Fawn, which I colored earlier.


I hope you have enjoyed my post for today, if you are looking for more inspiration, be sure to check my Instagram. (Shhhhh, Lawn Fawn Winter series coming soon over my Youtube Channel!)
Big hugs, Mona


FREE Shipping on orders $60+ over Scrapbook.com 
(Coupon Code: SANTASHIP2019)
Add a supercute Doodlebug Designs Holly Berry enamel pin to your cart for free only today!
*Expires December 16th at midnight MST.

SUPPLIES


I prepared for you the list of products which I used for making this project. If you buy these through my links you help me running this blog. (You can find the affiliate disclosure here). Thank you for your support!

12 Days Of Christmas Day 12 | Lawn Fawn Freebie | Scrapbook.com


Hi crafty friends! Today is the LAST DAY of the sales at Scrapbook.com and the LAST DAY to grab yourself a FREEBIE with your order! I made a card with this amazing freebie, I hope you will like it! :)


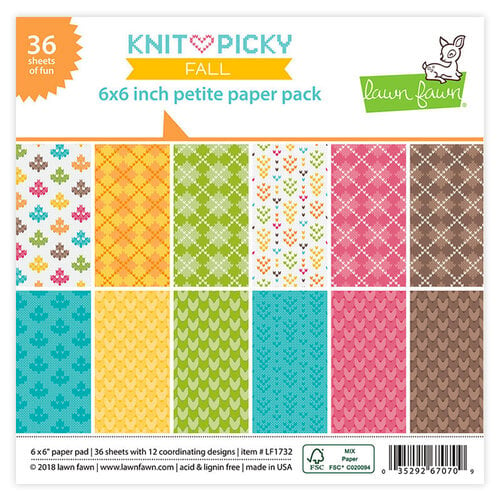
Today you can SAVE 20% to 50% on ALL Die Cutting! And as if that wasn’t enough of an incentive to shop, you will receive a FREE Lawn Fawn a 'Knit Picky' 6x6 Paper Pad with your order!

The freebie for today (and only for today) is this amazing Lawn Fawn 6x6 paper pad and I decided that I am going to make a popup box Christmas card with this set. To use nontraditional colors and critters on Christmas cards is always soo much fun!


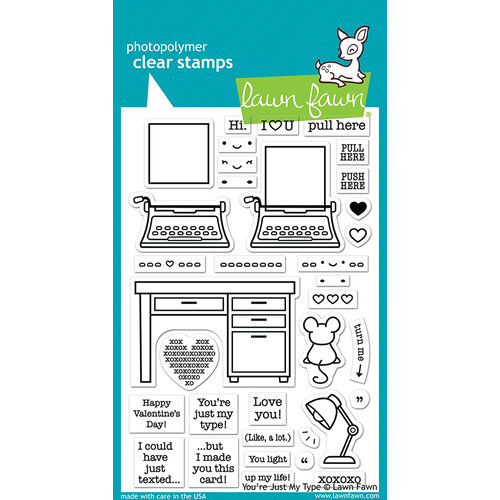
Guess what? The new Lawn Fawn release on Scrabook.com is live and I am totally in love with the new You're Just My Type stamp set! By the way, Spend $25+ and CHOOSE a Free Gift too with code FREECOLORCASE or with code FREEDAUBERS. :) Yes, you will get it together with your freebie!


I hope I have enjoyed you today, feel free to check my Instagram for more inspirations. :) Have an amazing day, happy shopping! Mona

SUPPLIES


I prepared for you the list of products which I used for making this project. If you buy these through my links you help me running this blog. (You can find the affiliate disclosure here). Thank you for your support!

Card tutorial with Glitz Glitter Gel | Therm O web

Hello crafty friends, today I have a quick step by step tutorial on Thermoweb's blog with two cute cards with the fabulous Wishing You Joy Stamp’n Stencil Set by Gina K. Designs which I spiced with Lawn Fawn stamps and images.


I am going to use the beloved Glitz and Glitter gel in various colors as well. This post is just a sneaky peek, for the full post please visit Thermoweb's blog

SUPPLIES


I prepared for you the list of products which I used for making this project. If you buy these through my links I receive a small commission with no additional cost of you. (You can find the affiliate disclosure here). Thank you for your support!


Winter themed cards | Sunny Studio Stamps

Hi crafty friends! I am super excited for being a guest on the Sunny Studio Blog! I have two cards for today what I made with the Merry Mice, Scenic Route and Cruising Critters stamp sets.


For my First card I started the cardmaking with stamping and coloring. I stamped the images from the Merry Mice andd the Scenic Route stamp sets then I colored them with Copic Markers After the coloring I die-cut the images with coordinating dies and added highlights with Signo Uniball White Pen.


For the background added Frilly Frames Chevron Dies with Neenah Solar White Cardstock then I cut a little smaller cardstock made ink blending on it with Spun Sugar and Tattered Rose Distress Oxide Ink. After the inkblending I stamped the "Merry Christmouse" sentiments with clear watermark ink and made a quick heat embossing on it.


To the background I added a beautiful red cardstock from Striped Silly 6x6 Paper Pad behind the background Die-cut. In the end I styled my card and adhered everything together.


For my second card I made almost the same process, but this time I have used the Cruising Critters stamp set together with the Scenic Route set. I colored them with Copic markers as well.


For the background I die-cut the Layered Snowflake Frame Die from a cream cardstock and created with it this sweet but festive scene.


In the end I run the Winter Wishes sentiment through my die-cut machine with red cardstock, adhered to my card and it was ready.

Thank you very much for reading through my post, I hope that you have enjoyed it, feel free to comment which one you like more. Feel free to check my Instagram for more inspiration. :) Have an amazing day, big hugs, Mona

SUPPLIES 


I prepared for you the list of products which I used for making this project. If you buy these through my links you help me running this blog. (You can find the affiliate disclosure here). Thank you for your support!

25 Days of Christmas Tags - Day 24 | Heffy Doodle

Hi crafty friends! I am so happy to be joining Tracey McNeely’s 9th Annual 25 Days of Christmas tags! There are many prizes to be won throughout each day of posting. Click HERE for more details on how to play along each day and to be eligible for all of the awesome giveaways!


I made two super cute shaker tags with Heffy Doodle products, I hope you will enjoy my inspirations for today. As always you can find all the used supplies in the end of the post.


Of you looking for more inspiration be sure to check my team mates on the Heffy Doodle Blog


I made the base with Tag along dies and I created the shaker part with the help of 3D foam adhesive. I put inside tiny shimmery sparkles and adhered on it clear acetate die-cuts what I created with the same Tag along dies.


Next I created the little scene. First I made the white snow with Stitched Slopey Joes Borders and white cardstock. Next I stamped and colored the images from the Absotoothly Awesome and Elfish Antics stamp sets. I colored them with my Copic markers, you will find the used colors on a photo below.


In the end I have used the Merry and Christmas Heffy cuts for making the sentiments and put my tags together. 


Come hop along with us for a chance to win prizes from all of the sponsors above! You can find more information HERE.


Thank you so much for taking the time to stop by! If you liked my tags for today and want some more cardmaking inspiration, please feel free to check my Instagram.

Have a lovely day, 
hugs, Mona

SUPPLIES 


I prepared for you the list of products which I used for making this project. If you buy these through my links you help me running this blog. (You can find the affiliate disclosure here). Thank you for your support!

Handmade Holiday Papercrafting Parade | Scrapbook.com


Hi crafty friends, today I am extremely honored because I am hopping with Scrapbook.com as a part of the inspiring Handmade Holiday Papercrafting Parade filled with fabulously festive holiday crafting. Join me and many others as we celebrate a week of unbelievable deals on Scrapbook.com's fabulous exclusive products! Be sure to leave a crafty comment at every stop along the way of this amazing parade hop to qualify for an unbelievable GIVEAWAY!


20 of your favorite crafters have used tons of Scrapbook.com Exclusive products to provide you with plenty of holiday cardmaking inspiration! You'll love seeing how we used products like the Exclusive Hybrid Inks, the revolutionary Domed Blending Tool, festive stencils, cheery stamps and so many more! Come join us on this parade of Handmade Holiday Cardmaking Inspiration! 


BLACK FRIDAY WEEK 

Do you like FREEBIES? (Who not!?) Add to your cart this amazing Doodlebug designs enamel pin exclusively designed for Scrapbook.com today for FREE!  Take $10 OFF Orders $70+! (Code: NICELIST2019) More offers find here!


INSPIRATION 


Now let's see what I have created with these products. You can find all the used supplies easily in the end of my post, if you have any questions don't hesitate to ask me. 


I started the cardmaking with ink blending and heat embossing. I stamped the Believe sentiment from the Big and Bold Christmas stamp set with clear watermark ink, then heat embossed with white embossing powder. I have also used Exclusive Hybrid Inks and Domed Blending Tools. 


Next I made a couple of die-cuts from Neenah solar white, beige and red cardstock. For the die-cutting I have used Nested Star Wafer Thin Metal Dies from Scrapbook.com and Scalloped frame from Lawn Fawn. 


When it was done I dry embossed the white card front with Little Boxes Stencil and adhered together the heat embossed cardstock with 3D adhesive.


Next I stamped a cute message from the Christmas Fun Card Sentiments stamp set to the pre scored Neenah Solar White Cardstock with Cardinal Red Hybrid inkpad. 


Next I run the Nested Star die-cuts through my die-cut machine with cute face dies from the Lawn Fawn, Gingerbread Friends Die-set. These cute stars got really sweet faces. I also painted on it "icing" with Signo Uniball White Pen. 


When it was done I started to put my card together with 3D mini squares, squares and mini circle adhesives to add more dimension to my card. 


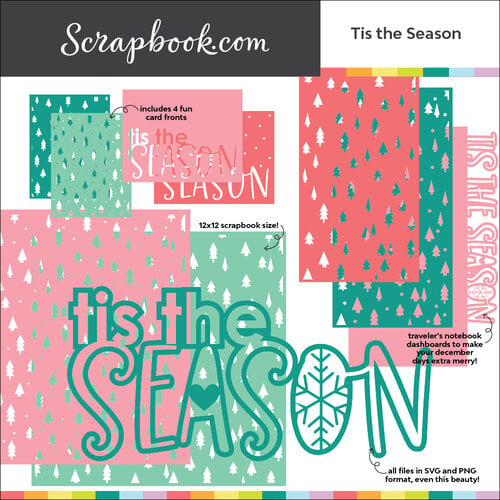
In the end I adhered the green tree confetti to my finished card, which I made with the Tis the Season Cut file.


I know it was a little long post, but I wanted to make a cute card for you, I hope you get inspired. Don't forget, that these used supplies are today for Sale. Big hugs, Mona


You'll be so inspired after visiting each of the 20 stops that you'll want to create designs of your own, we just know it! Why not enter to win a Scrapbook.com Gift Certificate for yourself? 


GIVEAWAY 


Scrapbook.com is giving away a $100 Gift Certificate to ONE lucky winner! To be eligible, leave a comment letting us know a bit about your holidays at each of the 20 hop stops along with your email. It's that easy! Share a favorite tradition, a cherished memory, or a memorable handmade gift! for complete official rules, click here

Giveaway closes Tuesday, December 3, 2019, at midnight MST. The winners will be notified and announced no later than Monday, December 9, 2019. The winner will be notified through the email provided and has 72 hours to respond to claim their prize. GOOD LUCK!

UPDATE: Giveaway Winner: Corrie Hanson(Barngirl1627) 


HANDMADE HOLIDAY PARADE STOPS 

(Leave a comment at each of these official stops to enter the Giveaway!) 

Mona Toth <<< you are here

HOP OVER to YouTube


Lorene Caido

GIFT GUIDE VIDEO


SUPPLIES

I prepared for you the list of products which I used for making this project. If you buy these through my links you help me running this blog. (You can find the affiliate disclosure here). Thank you for your support!