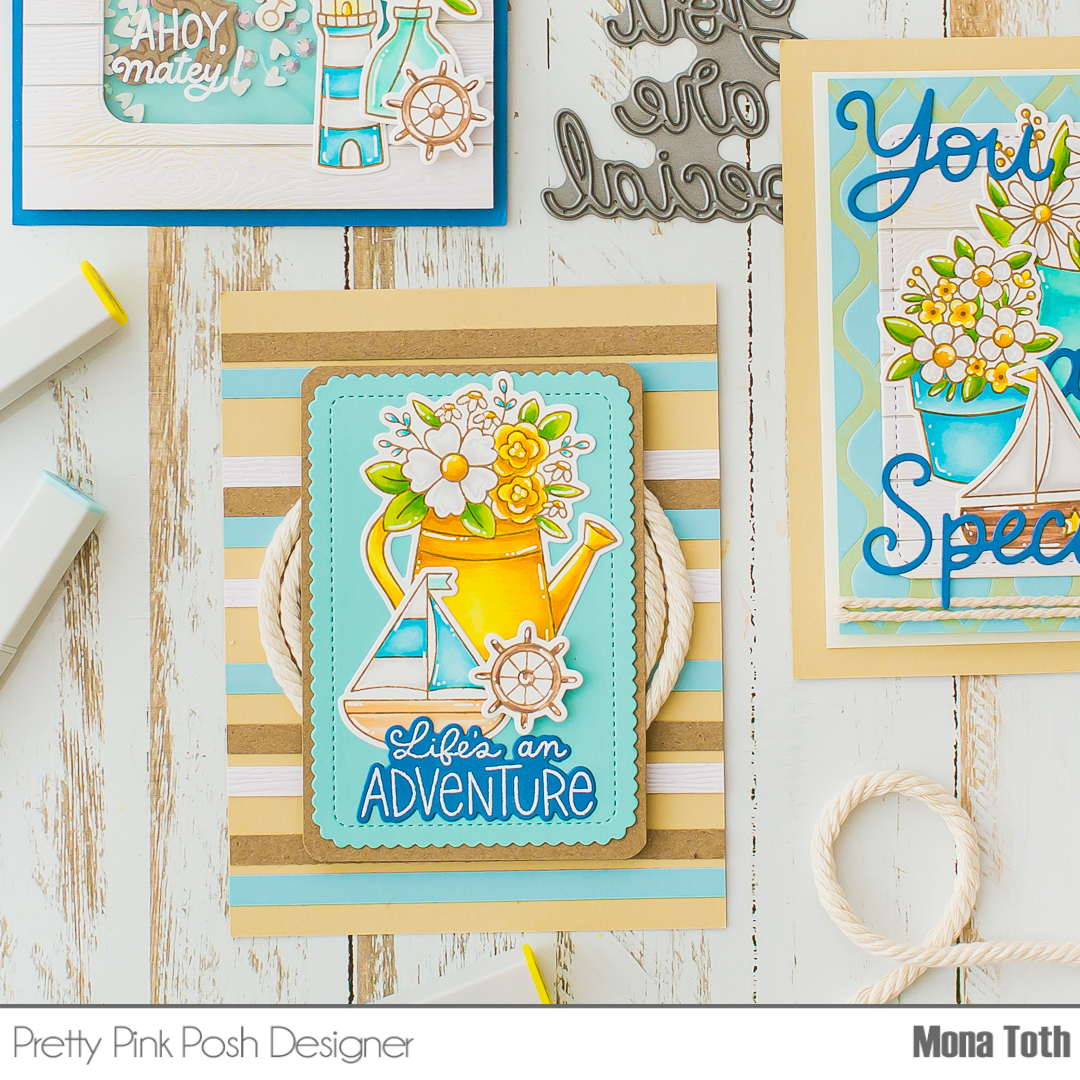
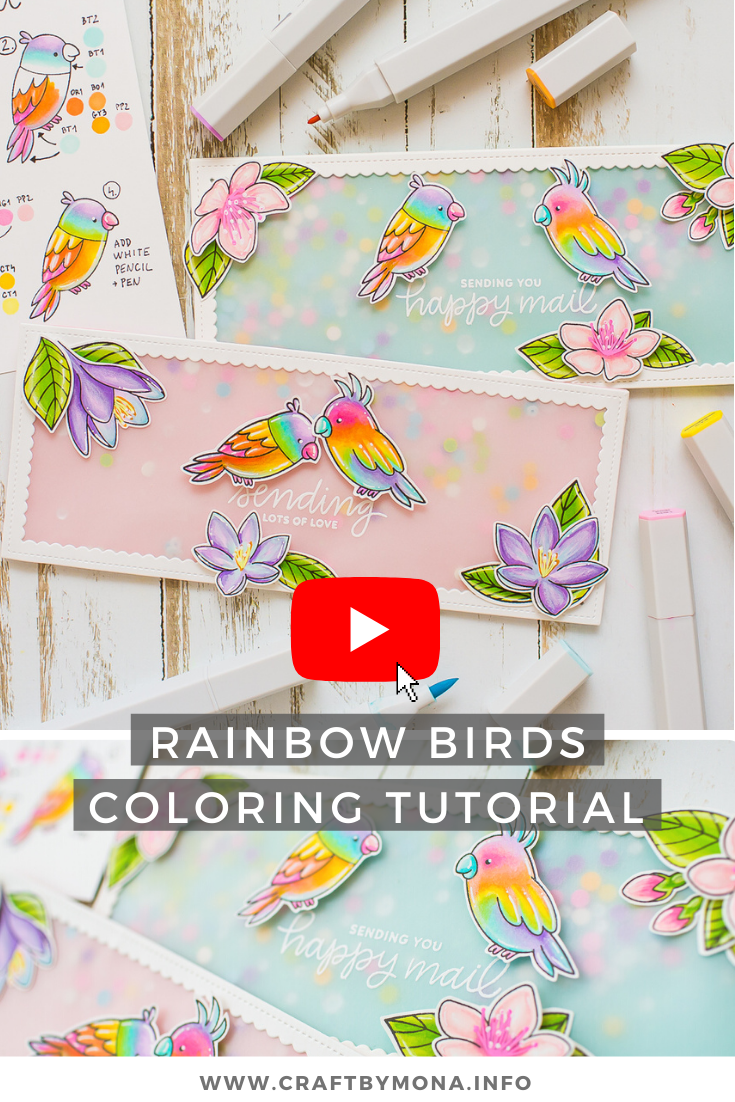
Hi crafty friend, I am thrilled to join Clearly Besotted for their newest release as a guest designer for this month. It's not a secret I am in love with their adorable stamps! I have 5 inspirations for you and I hope that you will enjoy them too!
In their newest release there are 12 gorgeous stamp sets and they are releasing today at 8pm BST. The sets can be purchased from the Clearly Besotted Shop (UK based), Simon Says Stamp (US based), Card Nouveau (based in Belgium), ArtCreatiu (based in Spain) and Cloud9 Crafts (based in the Netherlands). Now let's see my inspirations below.

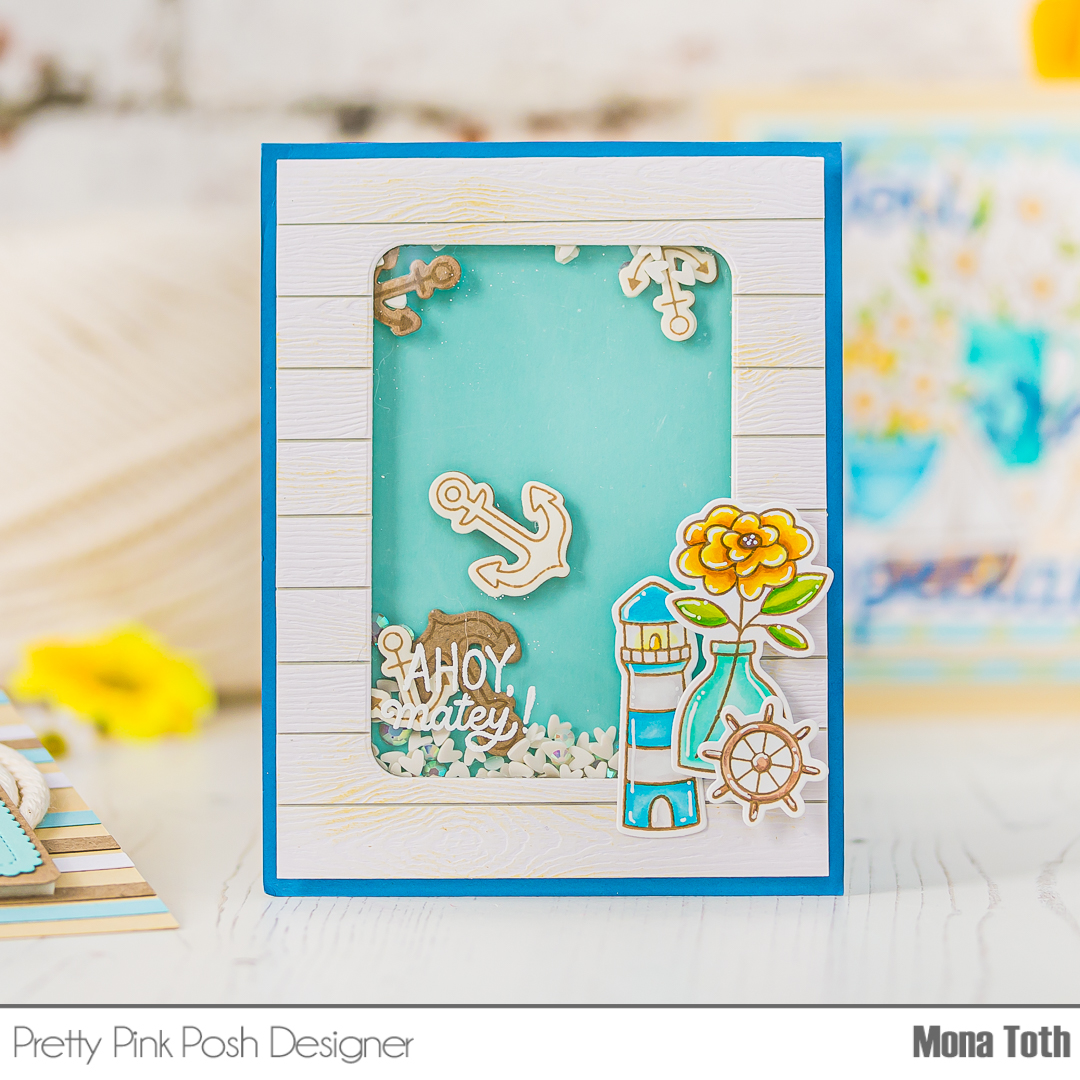
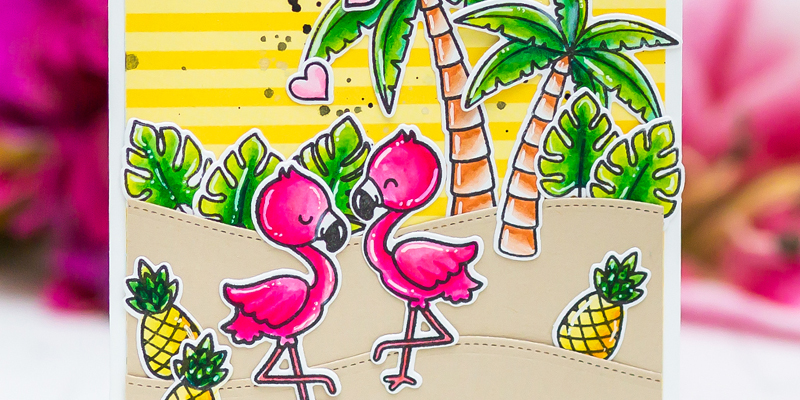
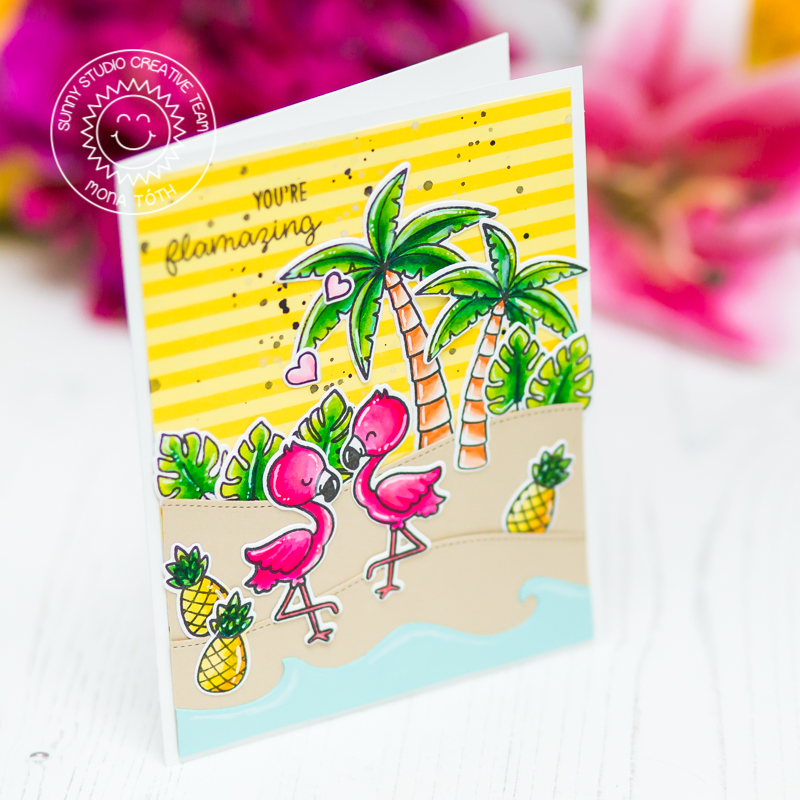
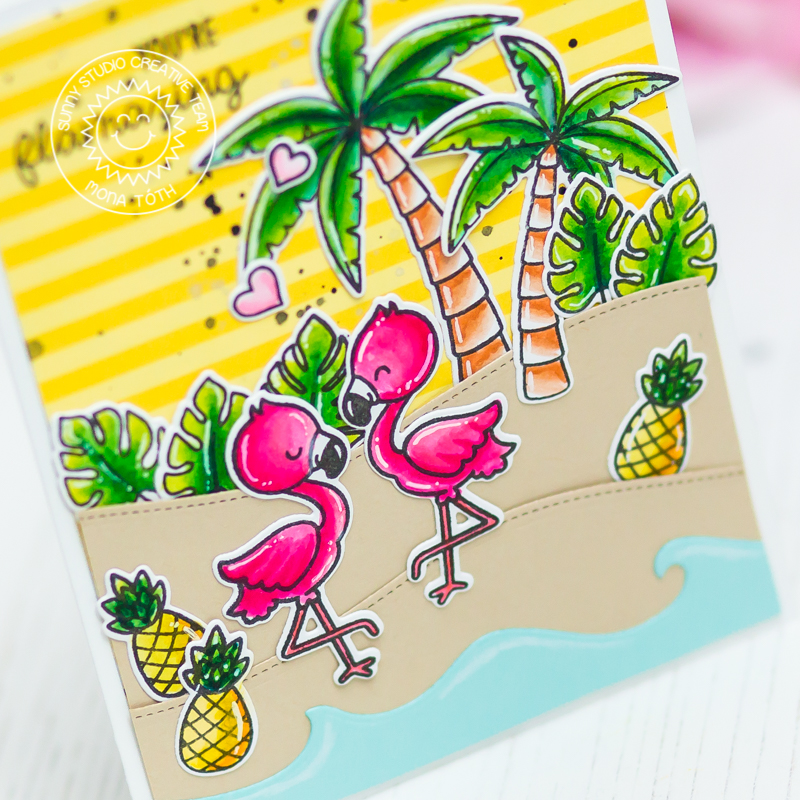
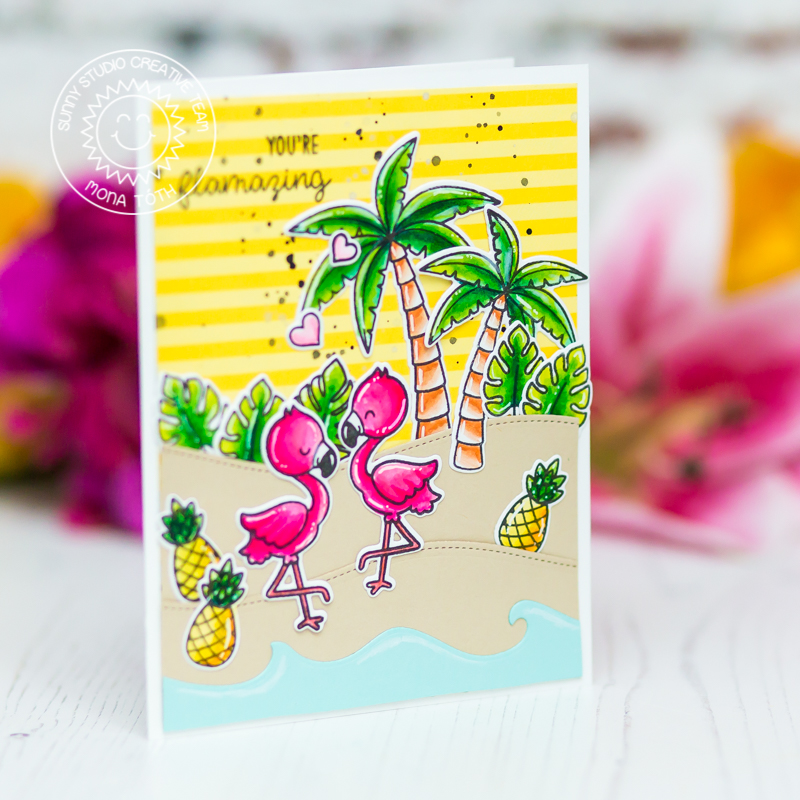
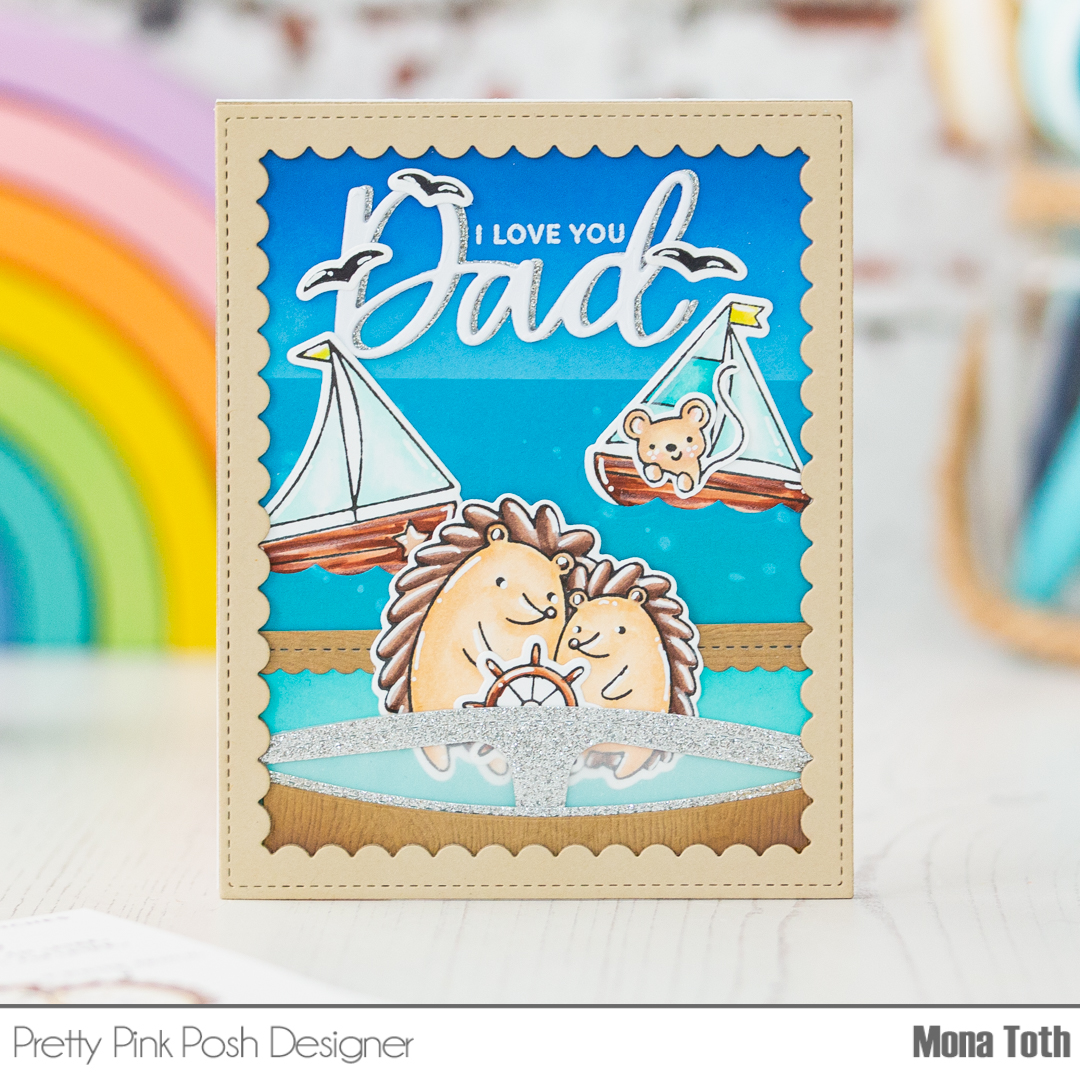
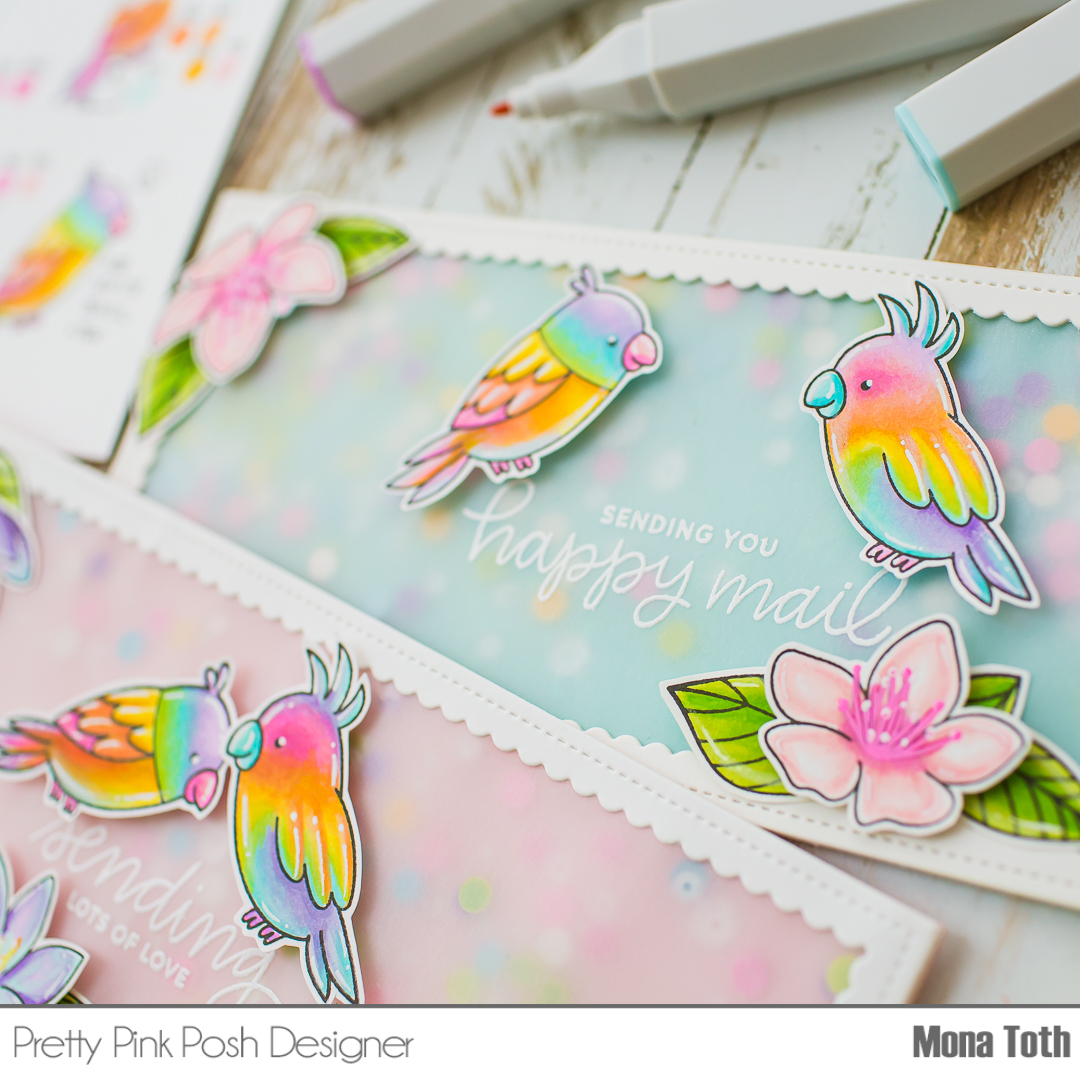
Shake It Up Card
This card features:

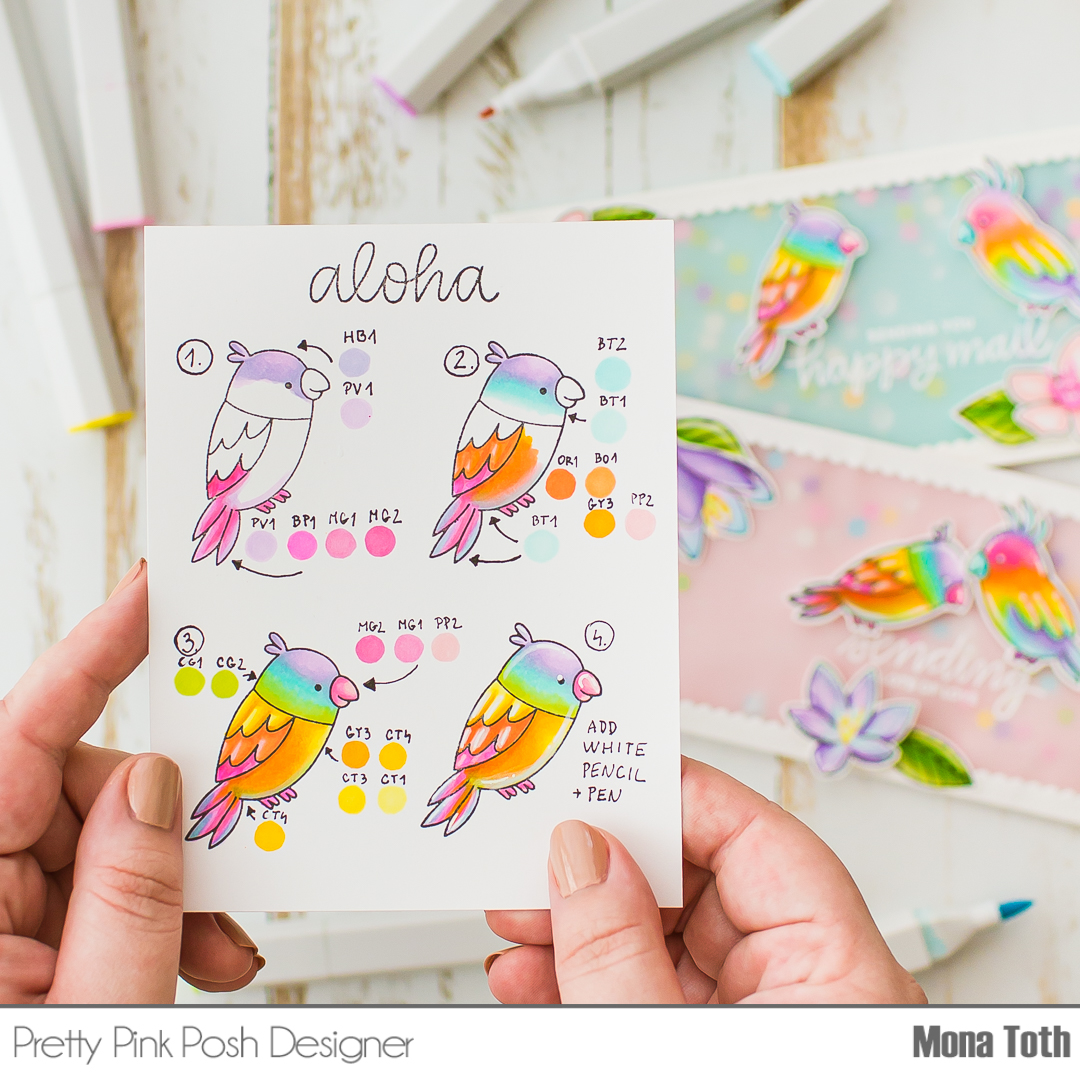
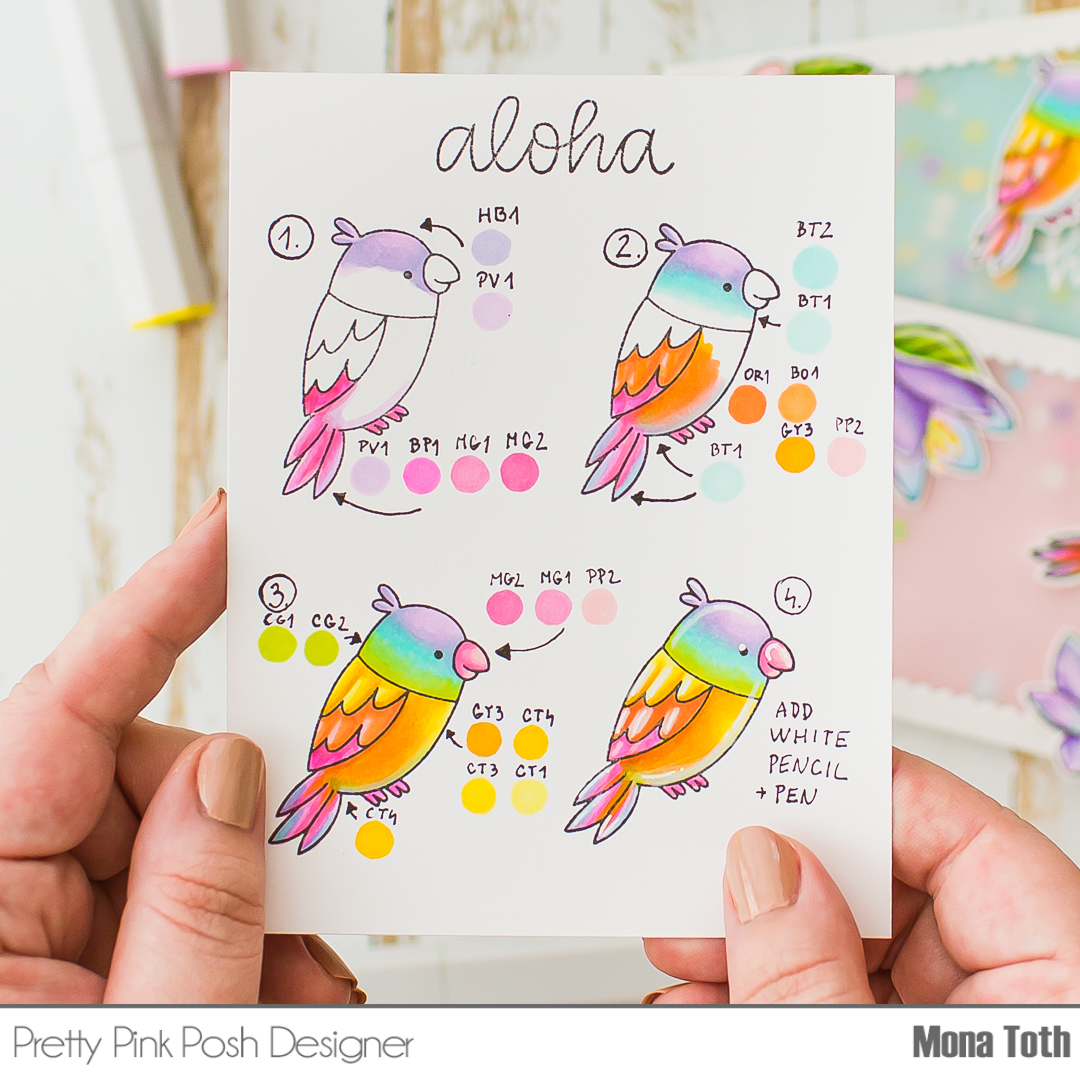
For the coloring I have used Spectrum Noir Illustrators in the following colors: LY1, CT3, GY3, BO1, OR2, GY5, GB8, GB6, GB4, BG2, GB1, CG2, GT2, JG2, BT1, BT2, IB1, IB2, TB2, TB3, TB5, TB4, TB7, BP4, MG1, DR4, PP1, BG1, BG3.


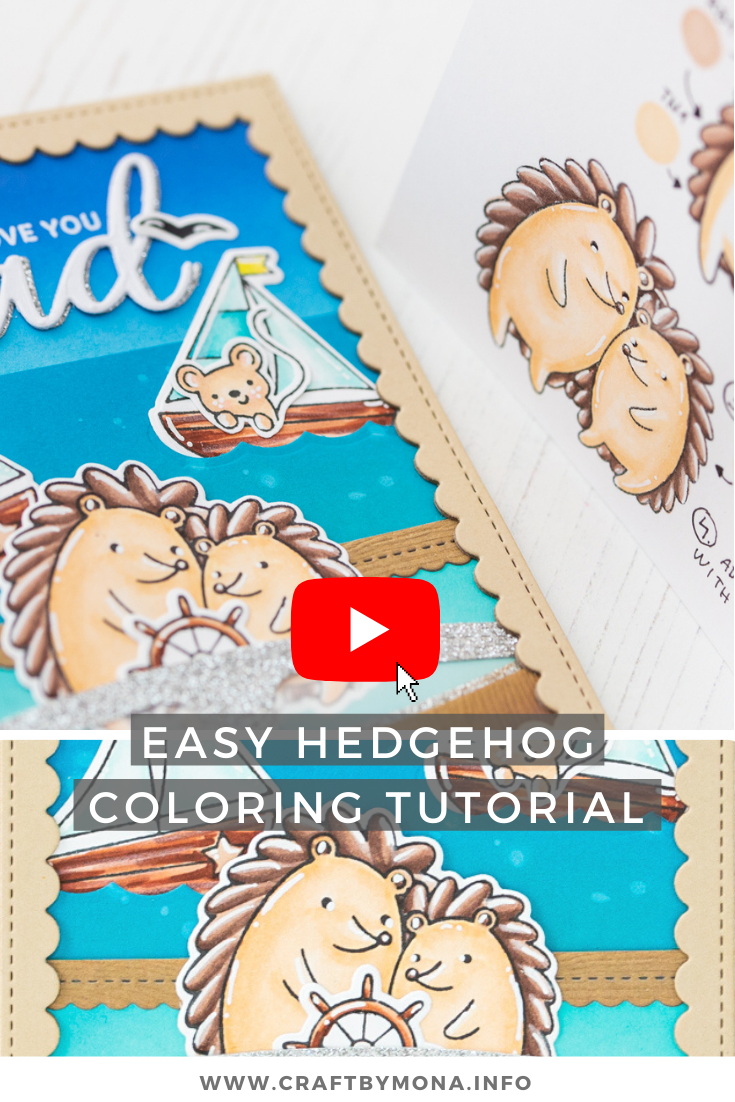


 Do you enjoy this inspiration? I really appreciate if you pin this photo to your Pinterest.