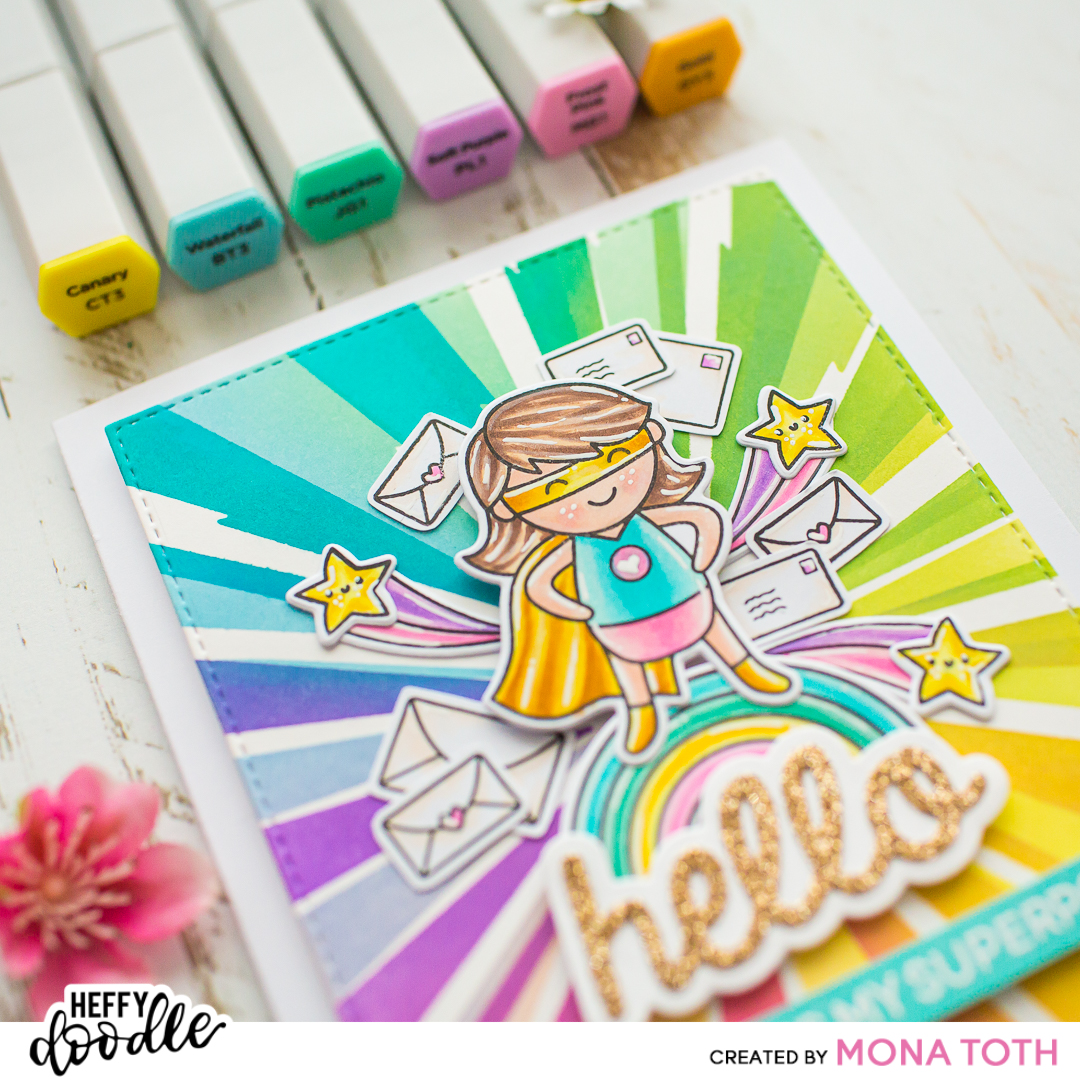
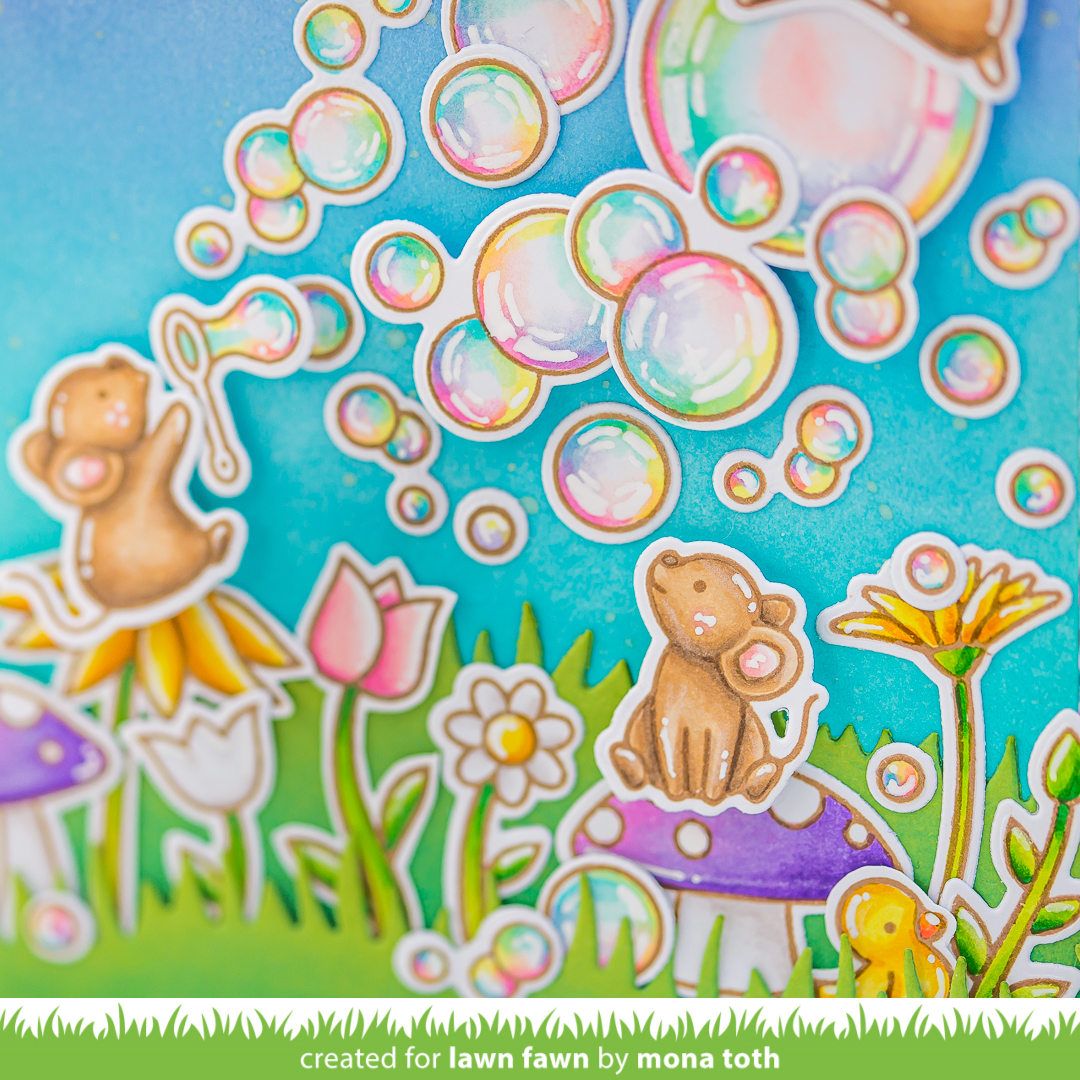
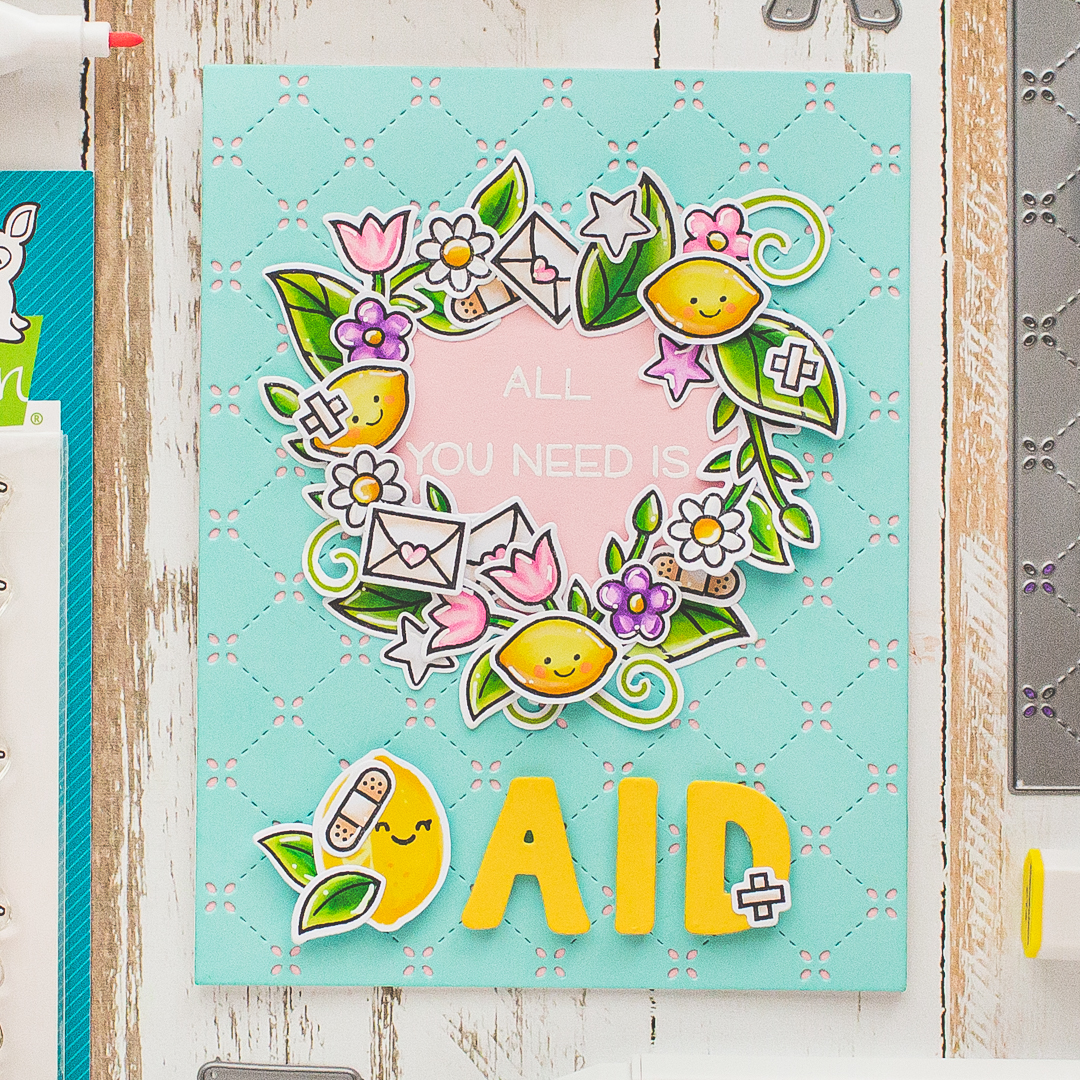
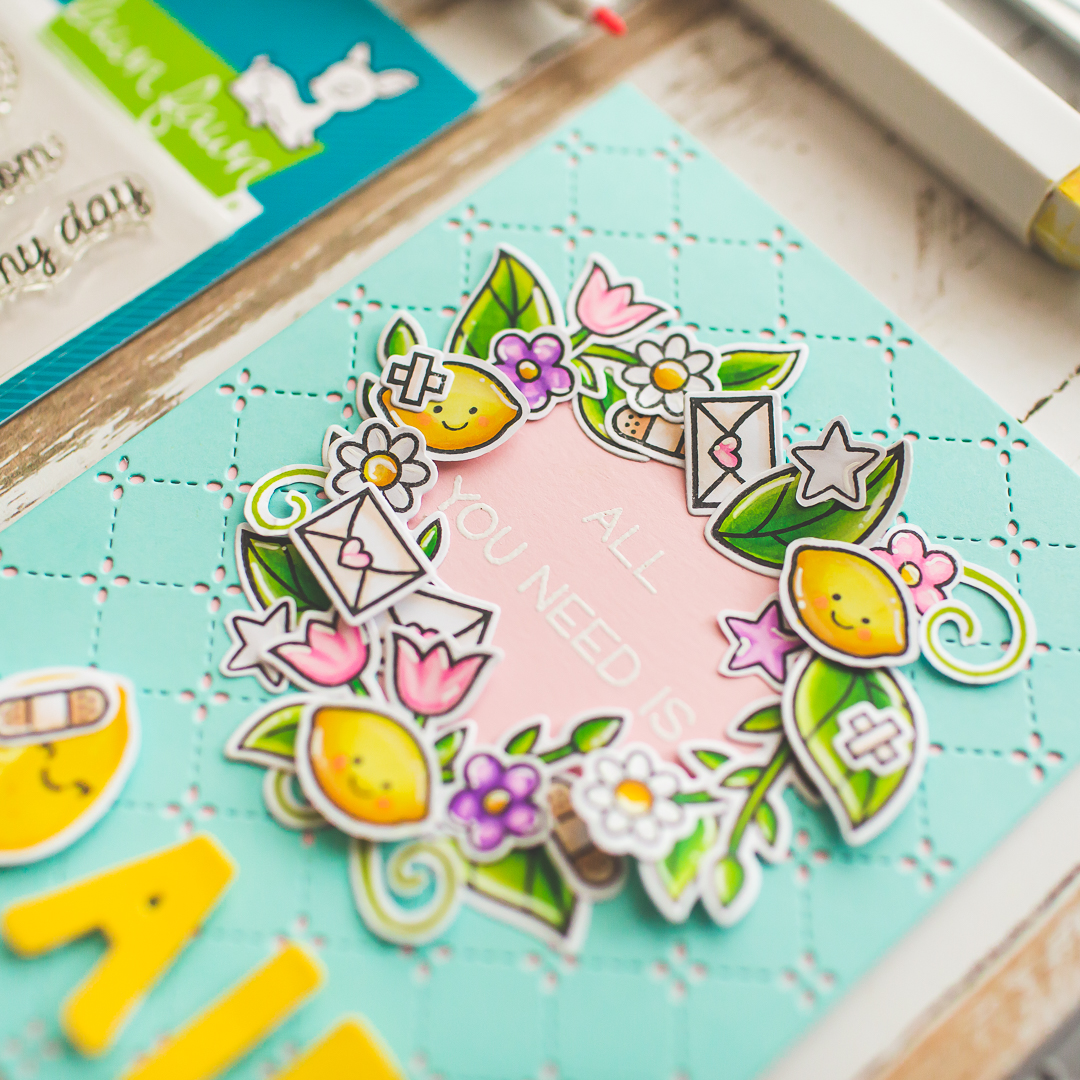
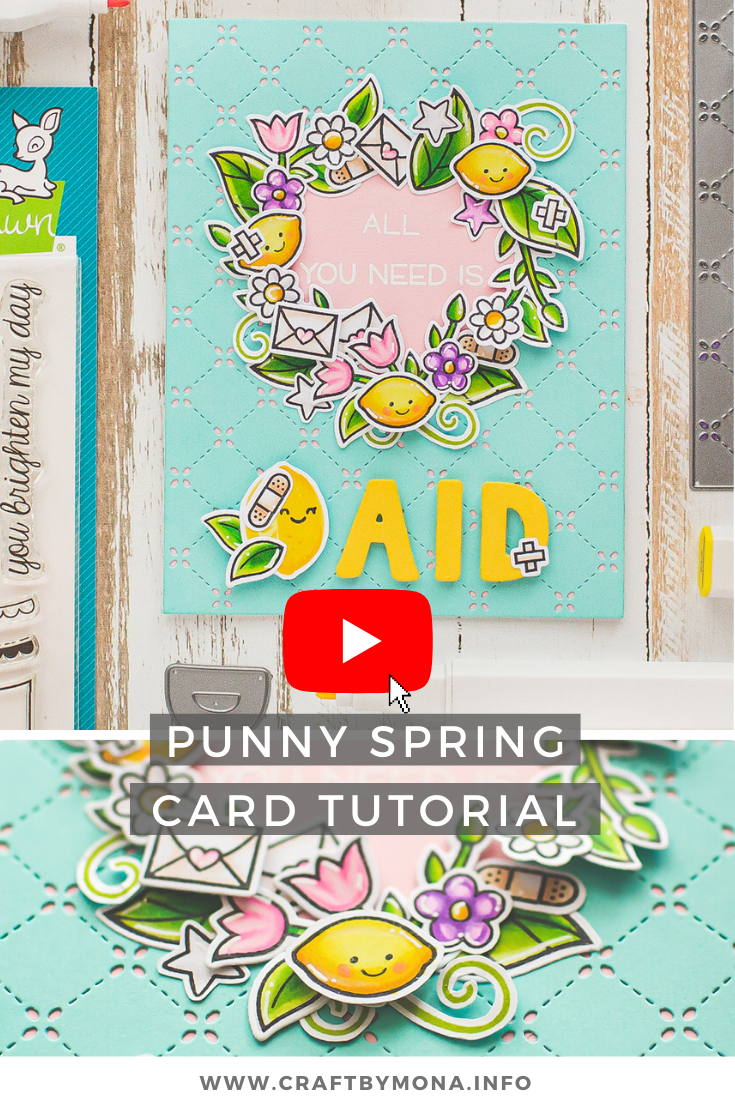
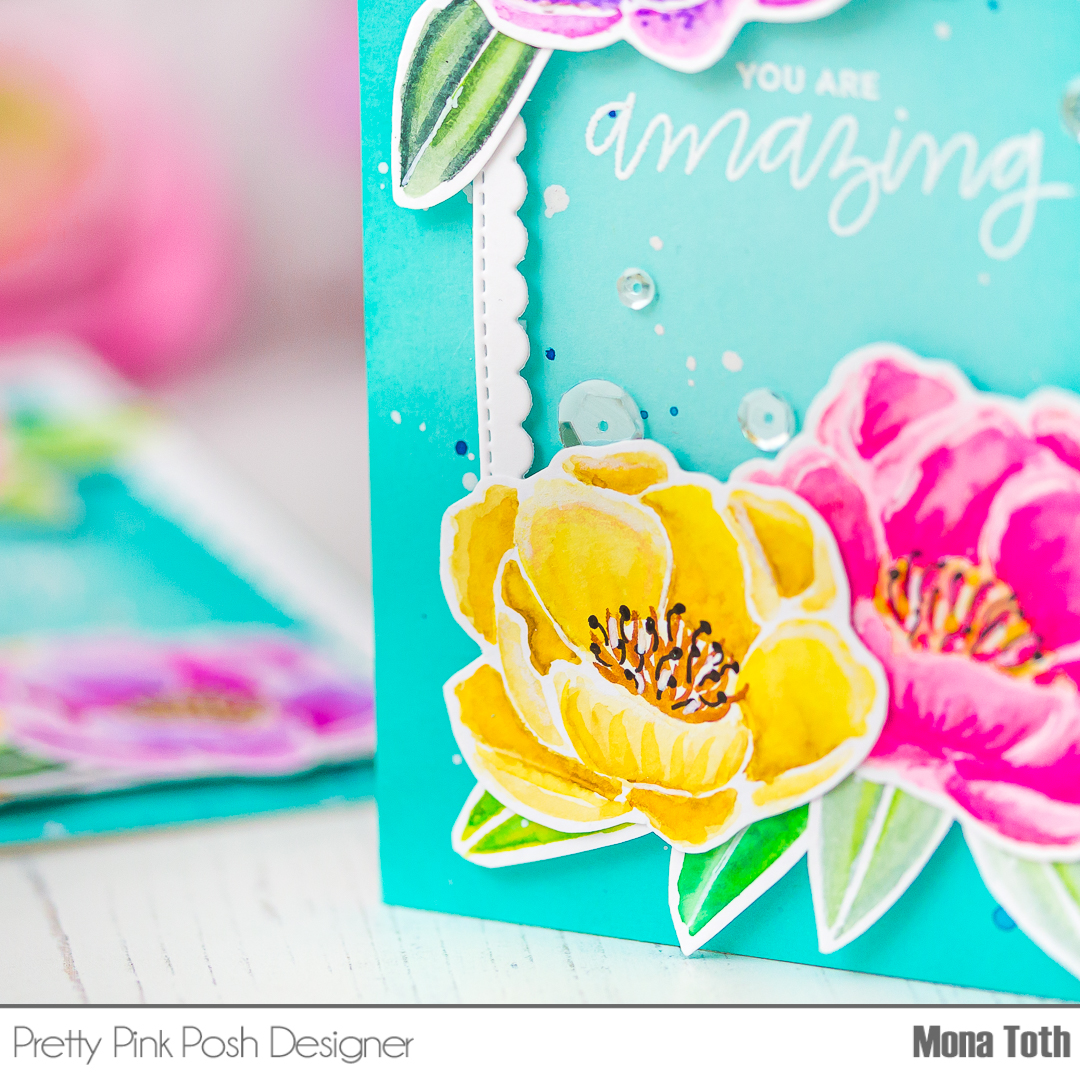
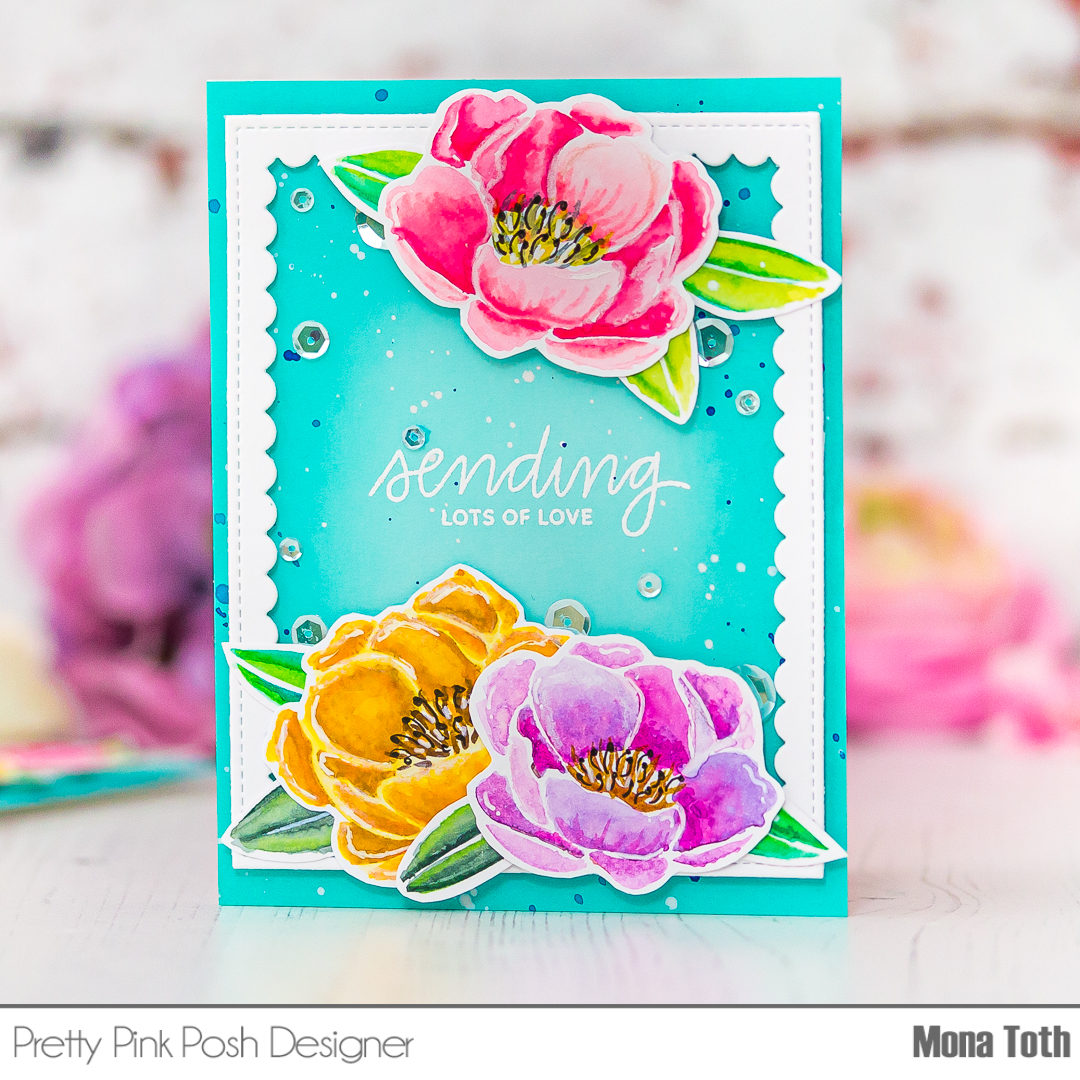
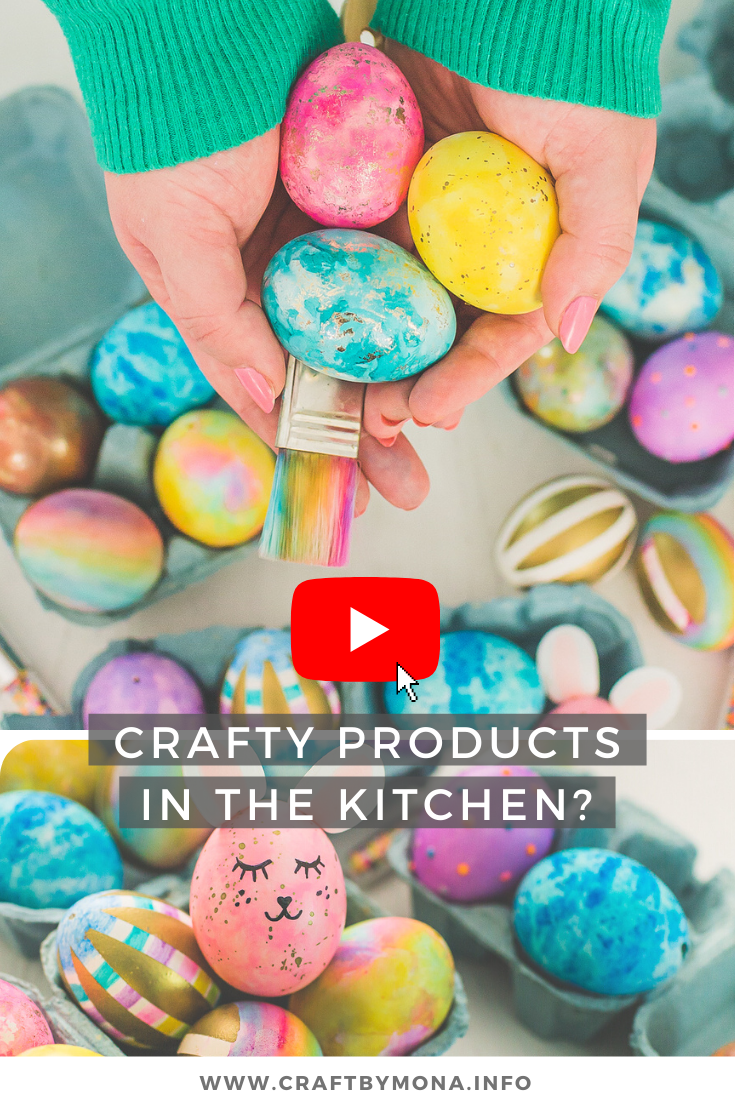
Hi crafty friend, Easter is almost here so today I have a new video with 10 quick egg decorating tips with crafty products I really love! Pick your fav techniques and let’s get into it! Easter is almost here and you will have so much fun with it!

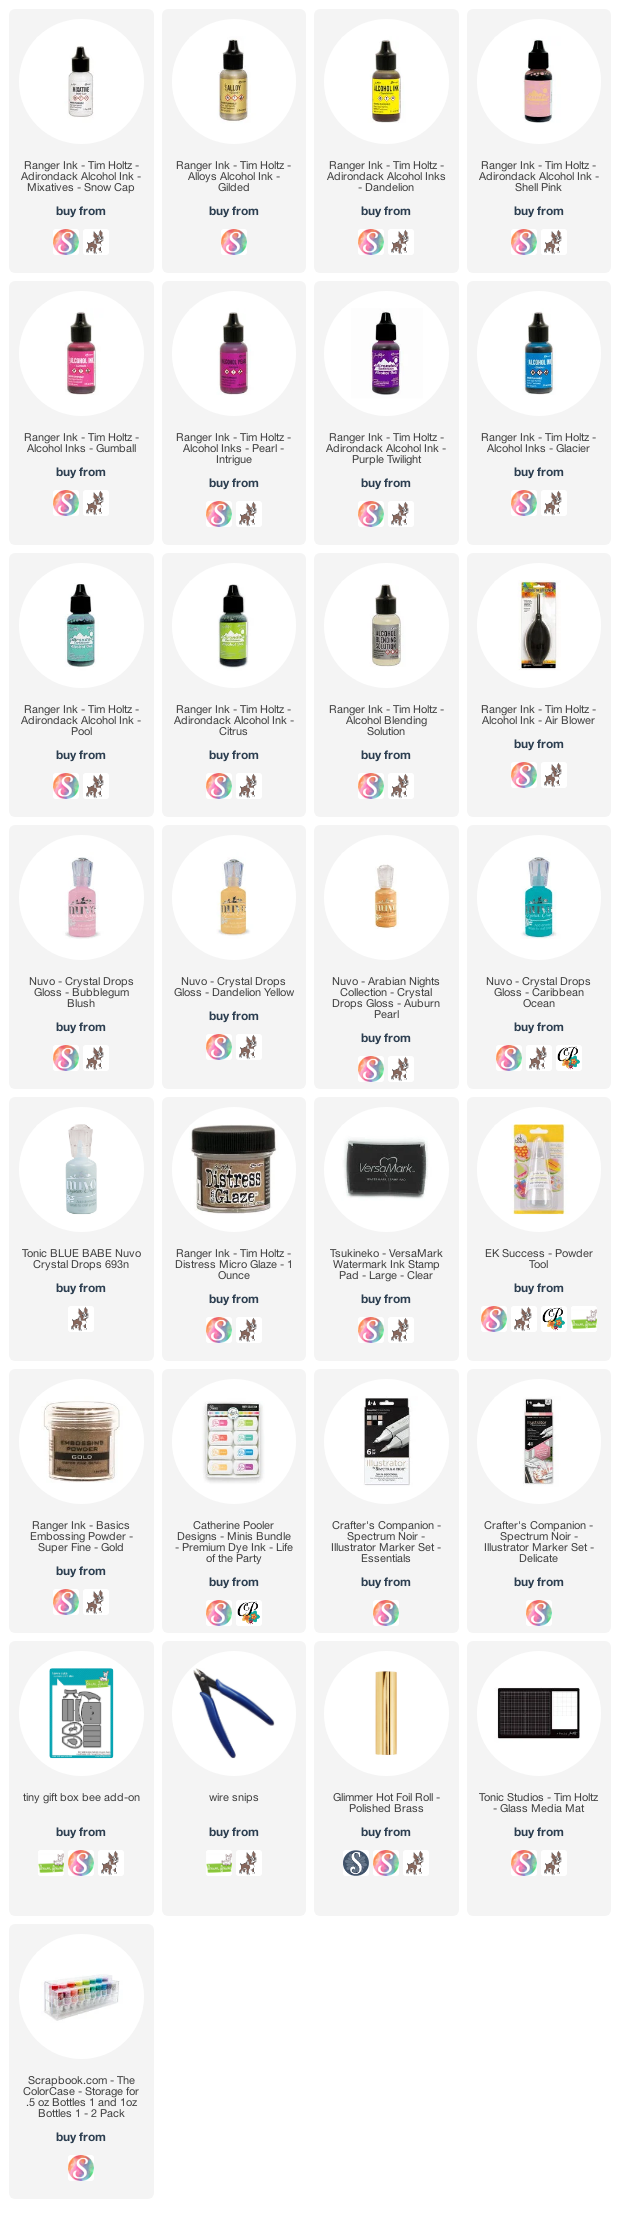
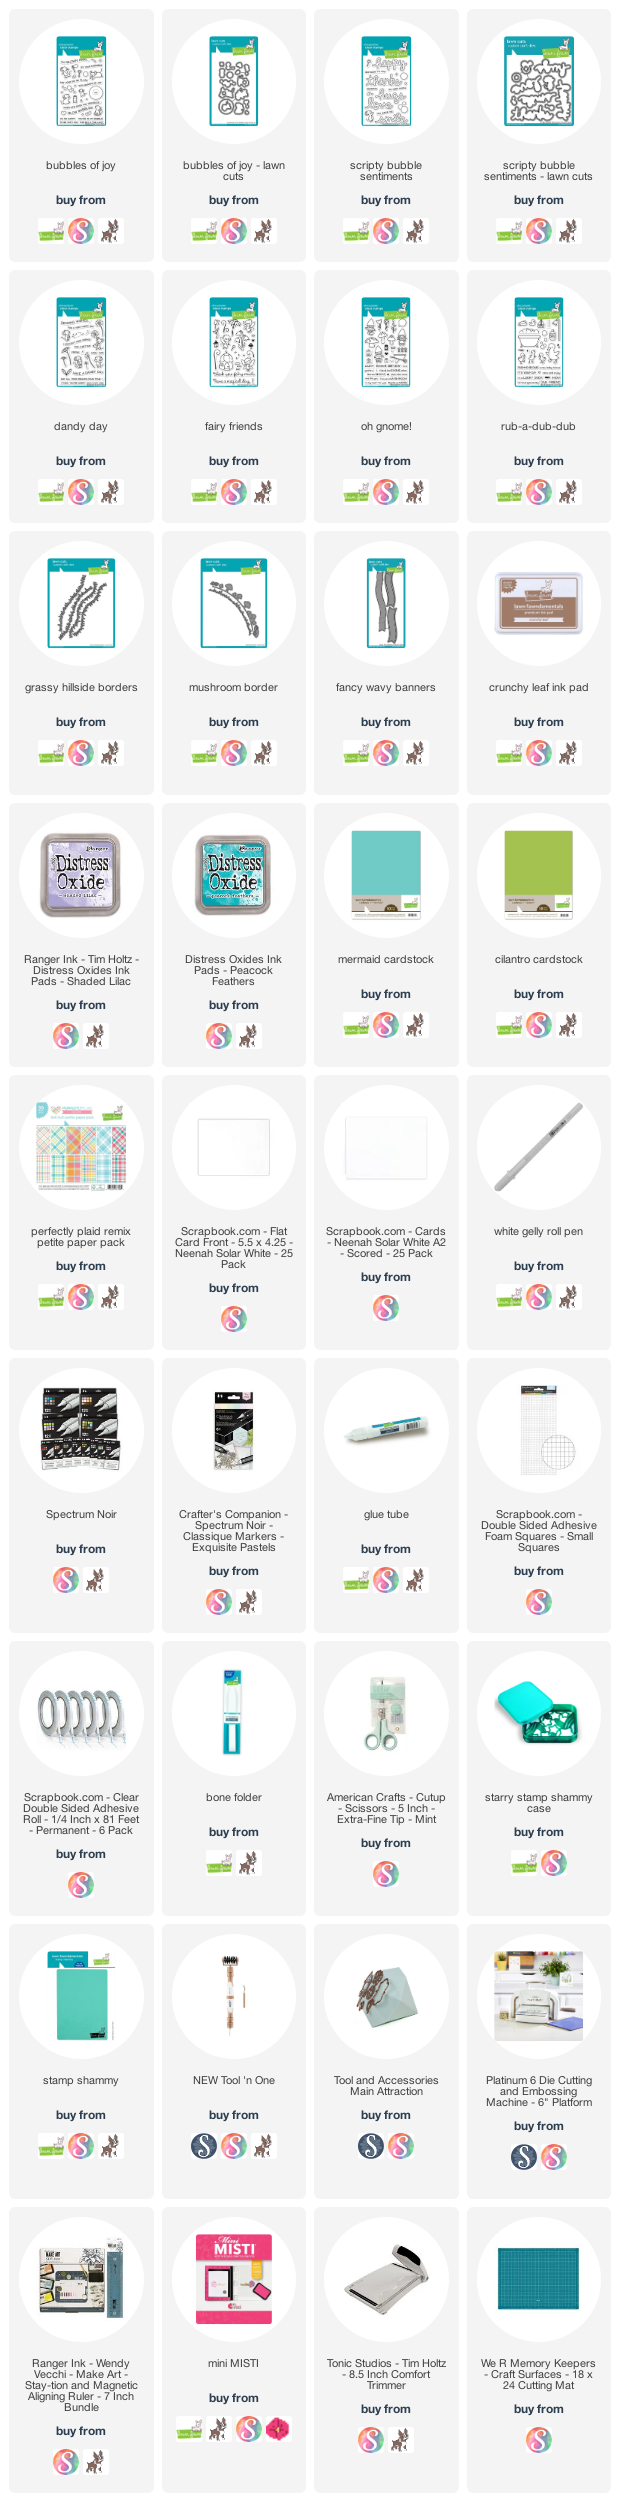
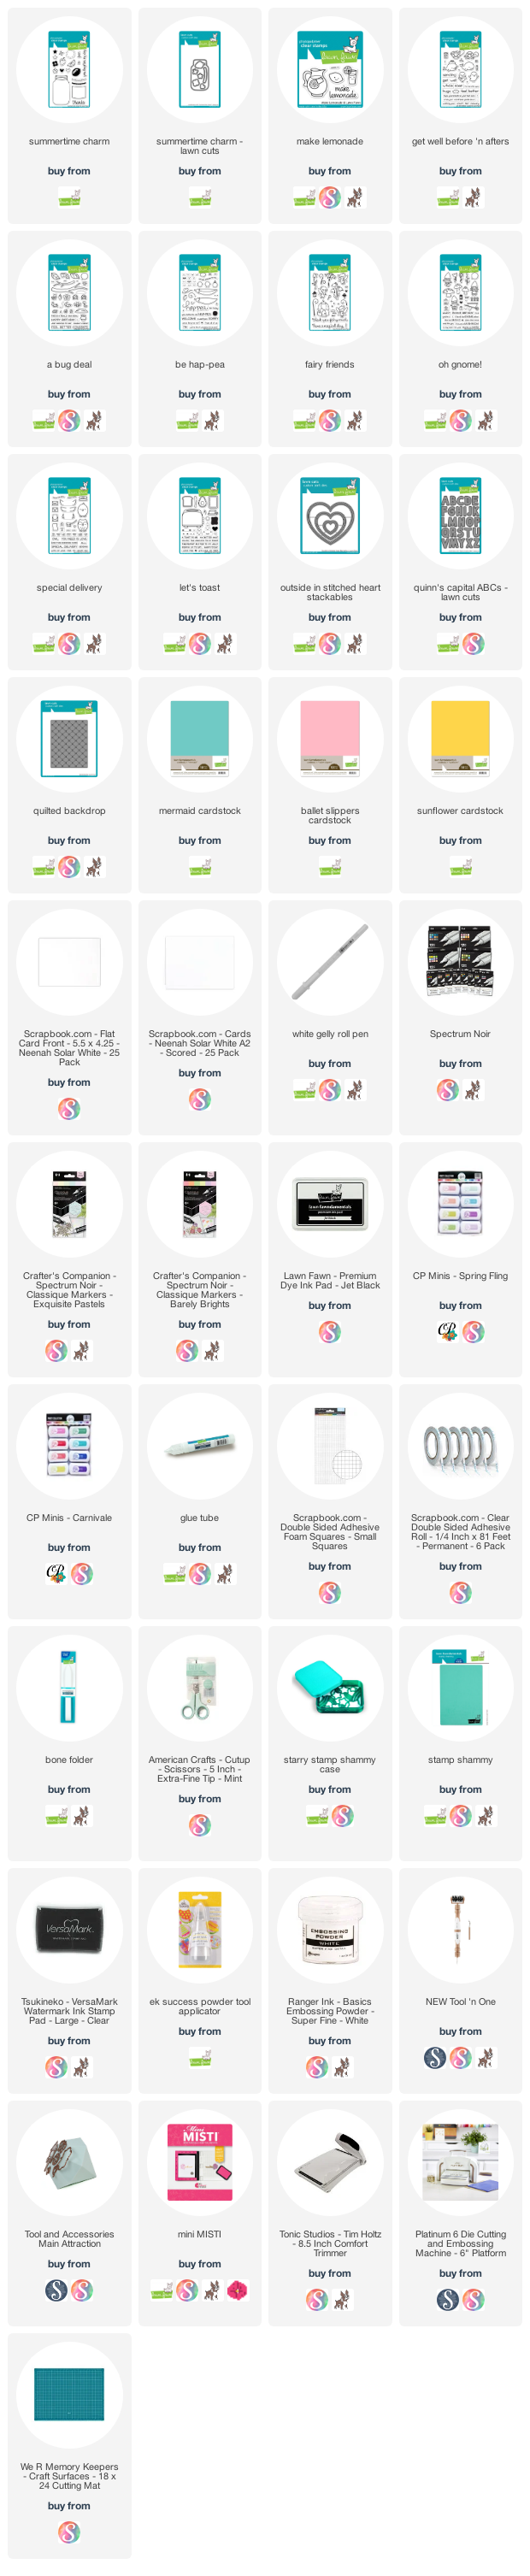
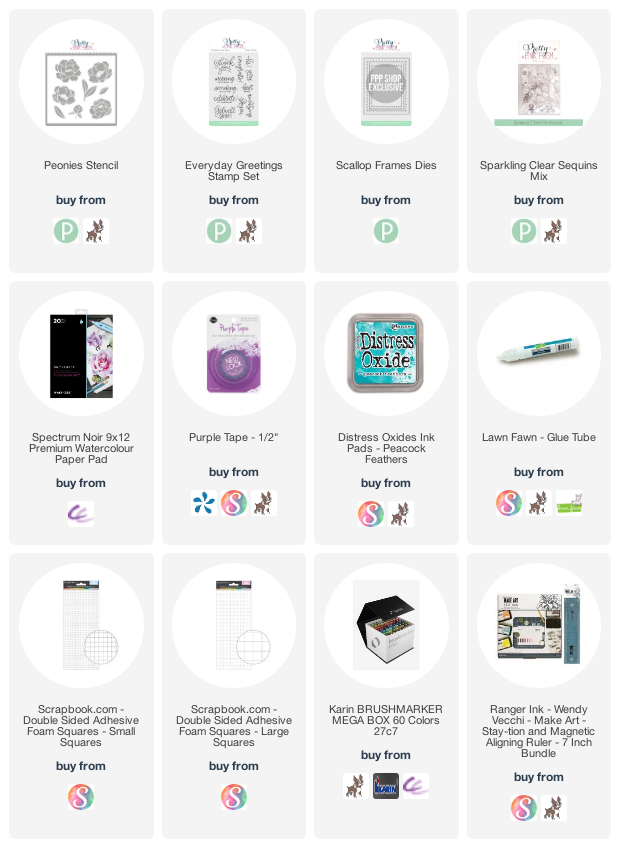
FOR THIS PROJECT I HAVE USED
And more. For the additional supplies with shop links visit the thumbnails below this post.
Do you enjoy this inspiration? I really appreciate if you pin this photo to your Pinterest.
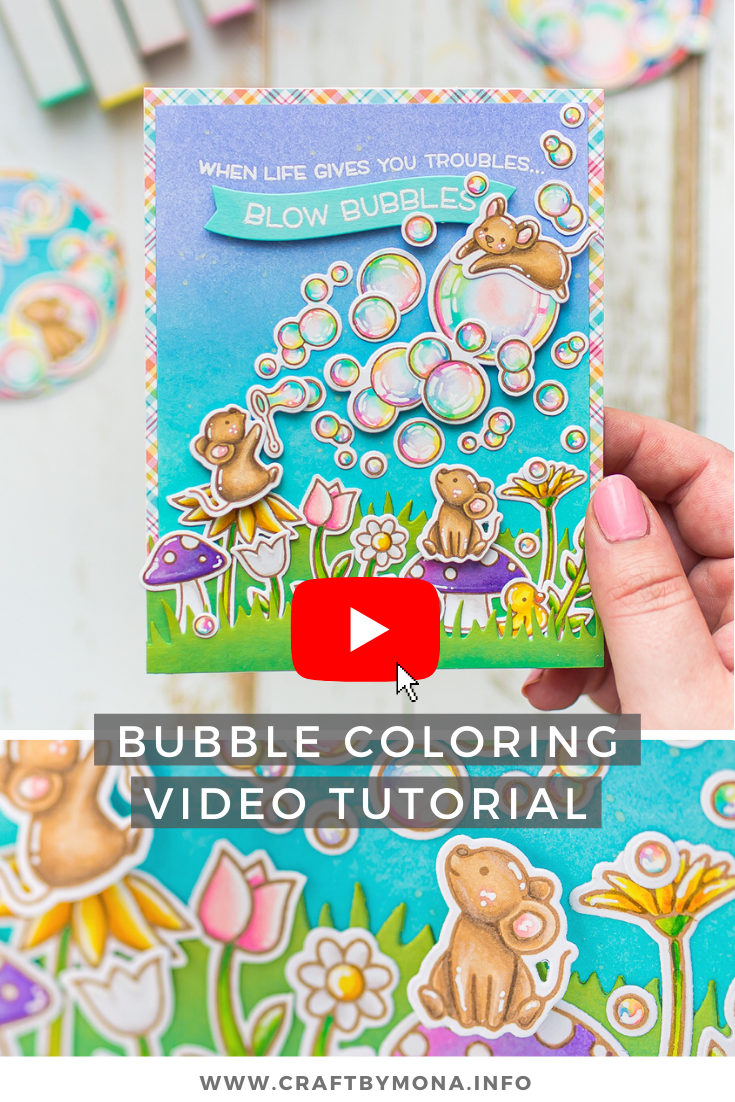
VIDEO TUTORIAL
This time no card instructions on my blog, instead of it I have a video tutorial with full of tips and tricks where I am sharing 10 quick egg decorating tips with crafty products I love! You still have time to do it! If you already have your decoration done, you can still watch it for fun, and save the ideas for next year.
This project is part of a video hop, where we are celebrating Jessica Frost Ballas for her 10K milestone on YouTube with a huge giveaway! There are over $800 in prizes! For more information watch my video.

USED SUPPLIES
Using affiliate links does not mean additional costs for you. I really appreciate your support. I am using only products I LOVE. If you buy supplies through my affiliate links, you support my channel and blog with a small commission and when you shop through my links I will do a happy dance. Affiliate Disclaimer.