
Hi crafty friends! I am back with another coloring video tutorial. From this video you will learn how to color rainbow cupcakes and how to create mini cards quickly and easily. You can find the video here.

THIS PROJECT FEATURES
- Party Palooza Stamp Set
- Sweet Stuff Stamp Set [ HDD | SSS | SBC ]
- Mini Essential Die Dies
- Starry Rainbow Die [ HDD | SSS | SBC ]
- For the additional supplies visit the thumbnails below this post.

VIDEO TUTORIAL
Be sure to check the video tutorial with extra tips and tricks. As always, you can find the used supplies below the post, and if you have any questions feel free to ask in a comment.
Watch the video above | Watch the video in HD on YouTube
CARD INSTRUCTIONS
For this project I will use this cupcake image from the Party Palooza Stamp Set, this macaron from the Sweet Stuff Stamp Set, the Mini Essential Die set as well as the Starry Rainbow Die. I stamped the images with Violet all-purpose craft ink, called Mardi Gras. I have used this color because I wanted to achieve a brighter look. Colorful outlines always help in that.

For the coloring I am using water based Pastel Tombow Brush Markers on Bristol smooth cardstock, but feel free to try it with any type of markers you have with the right cardstock. For the coloring and the full process be sure to check out the video here.


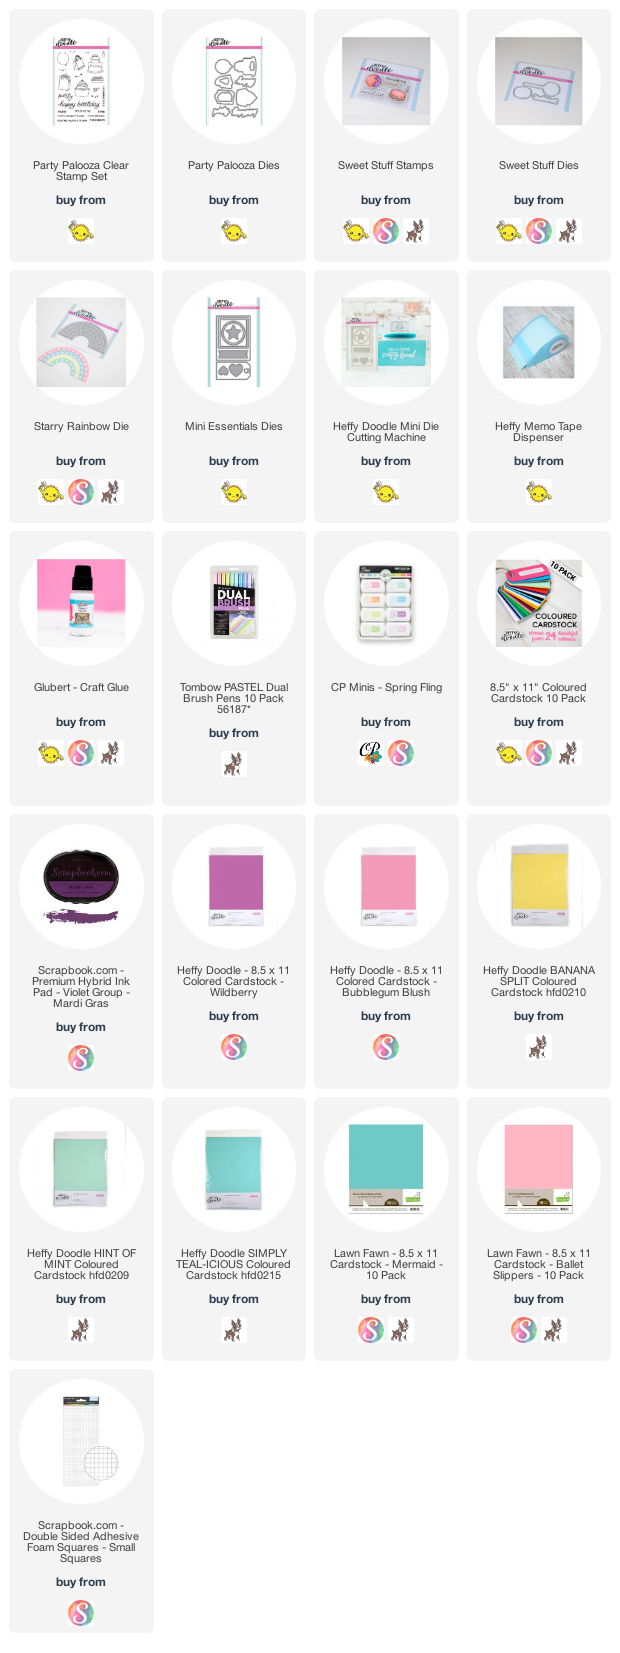
USED SUPPLIES
Using affiliate links does not mean additional costs for you. I really appreciate your support. I am using only products I LOVE. If you buy supplies through my affiliate links, you support my channel and blog with a small commission and when you shop through my links I will do a happy dance. Affiliate Disclaimer.


No comments
Type your comment below: