Showing posts with label Video. Show all posts

[VIDEO] Cute Halloween card with an interactive twist

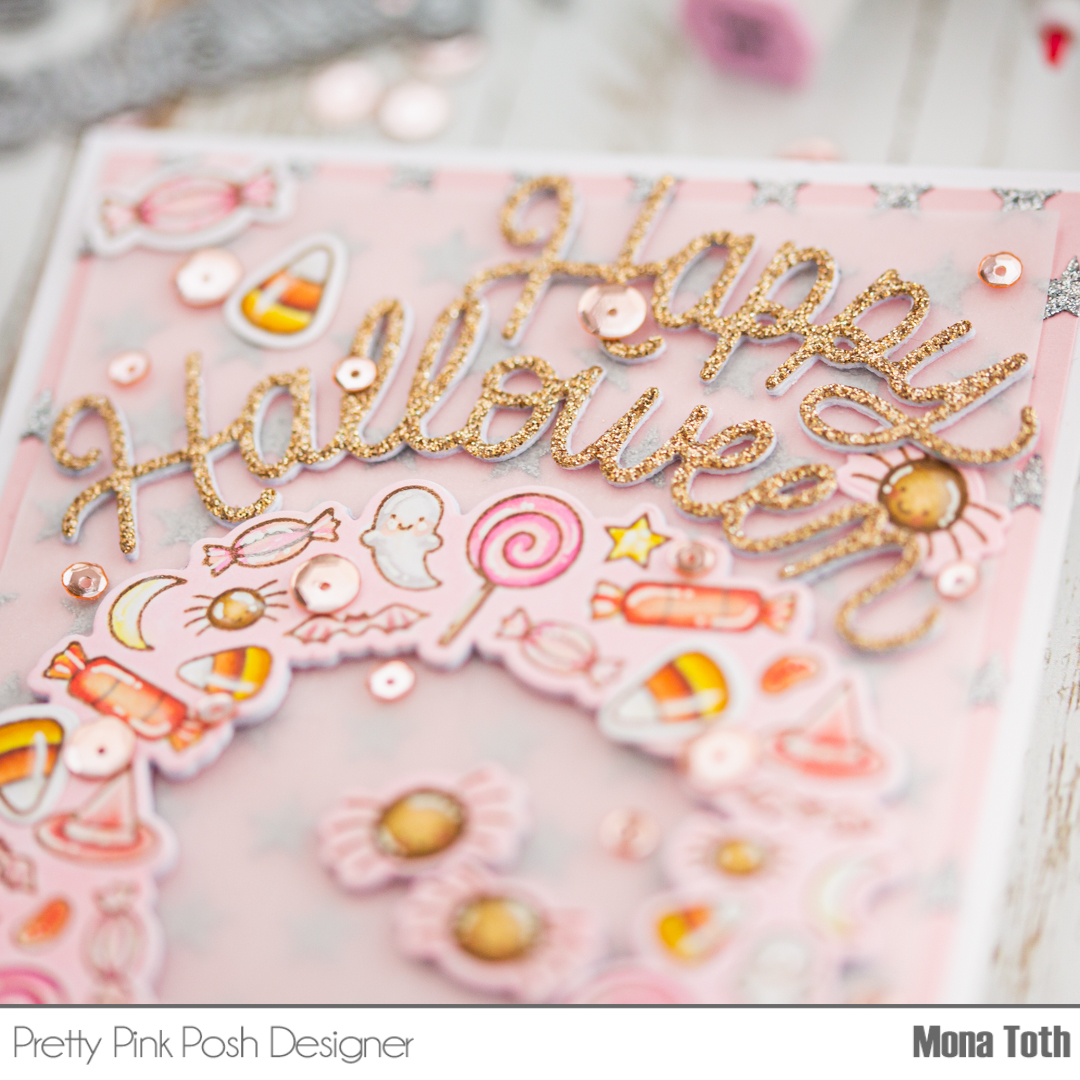
Hi crafty friend! I can’t wait to show you how I made this pinky-sparkly-girly Halloween card tutorial with an interactive twist so let's jump into it! 

Better craft photos are easier than you think. Start with 5 simple tips you can try today.
🎁 Get my free photo ebook here!

THIS PROJECT FEATURES


VIDEO TUTORIAL

From my newest video you can learn how to transform your word die-cuts easily to the wished shape as well as how to move your spiders like real inside your card! The video is super short! And I am sure, that you will LOVE it! :)  


Or click here to watch the video in HD on YouTube You can find the card instructions below this photo.


Pin this post to your Pinterest board and save this card idea for later.

CARD INSTRUCTIONS

I made the glittery background with the Stars stencils on a pale pink cardstock with the Silver Glitz Glitter Gel. In the video I am showing you what is my favorite method for this process. While the background dries, I stamped the Halloween Wreath Stamp and the other coordinating images from the same stamp set with brown alcohol marker friendly inkpad to a piece of Neenah Solar White cardstock and colored them with Spectrum Noir Illustrators.

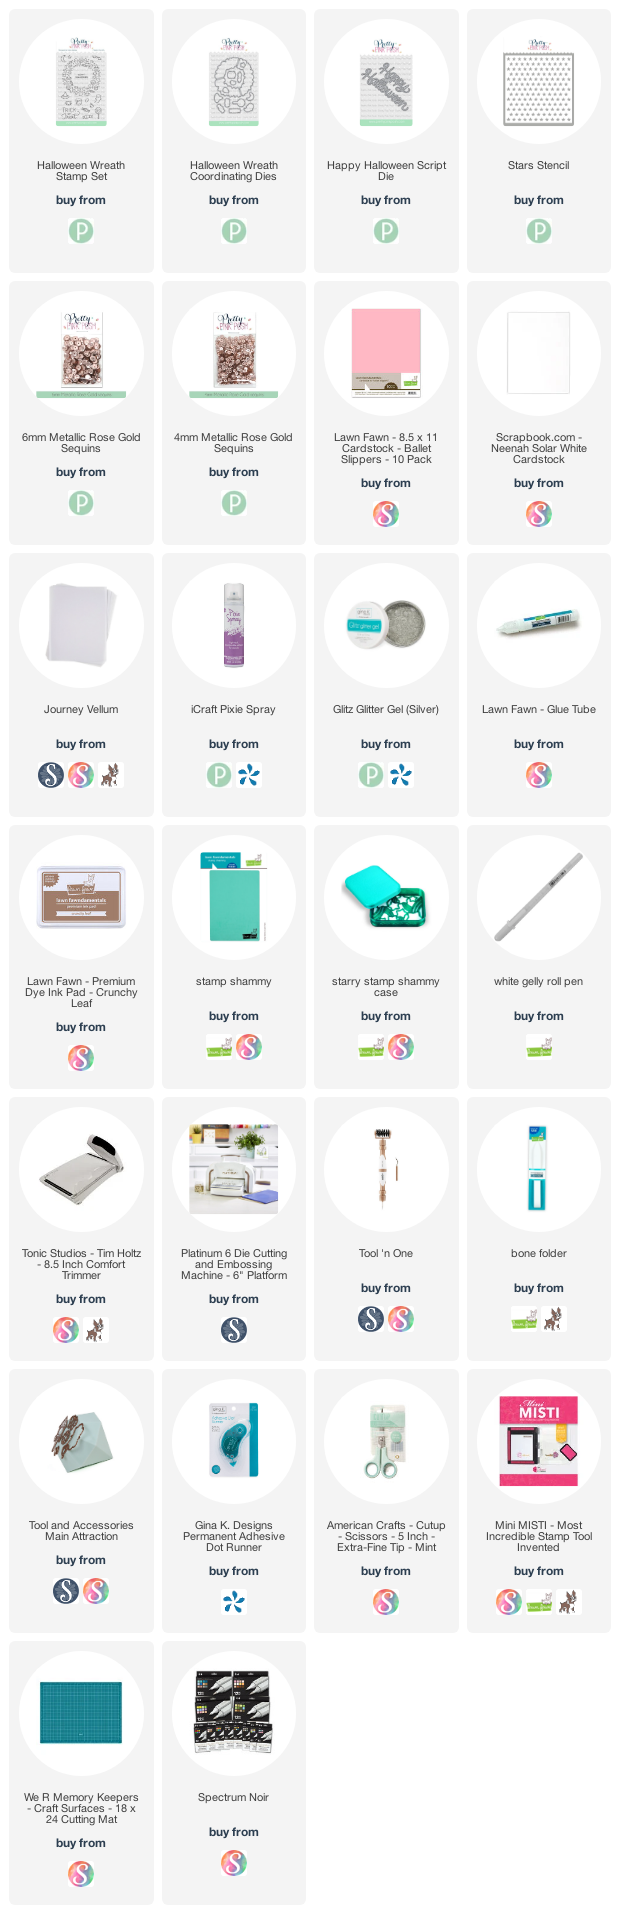
I have used the following colors: CT1, CT2, CT4, GY3, BO1, BO2, BO3, BO4, OR2, OR3, CR1, CR3, CR5, CR7, GB1 GB4, GB6, GB10, RB3, RB1, AP4, AP3, AP2, PP1, FS1, MG1, MG2, BG1, BG2, Blender. After the coloring I die-cut all the images and I colored the wheel with a pale pink alcohol marker.
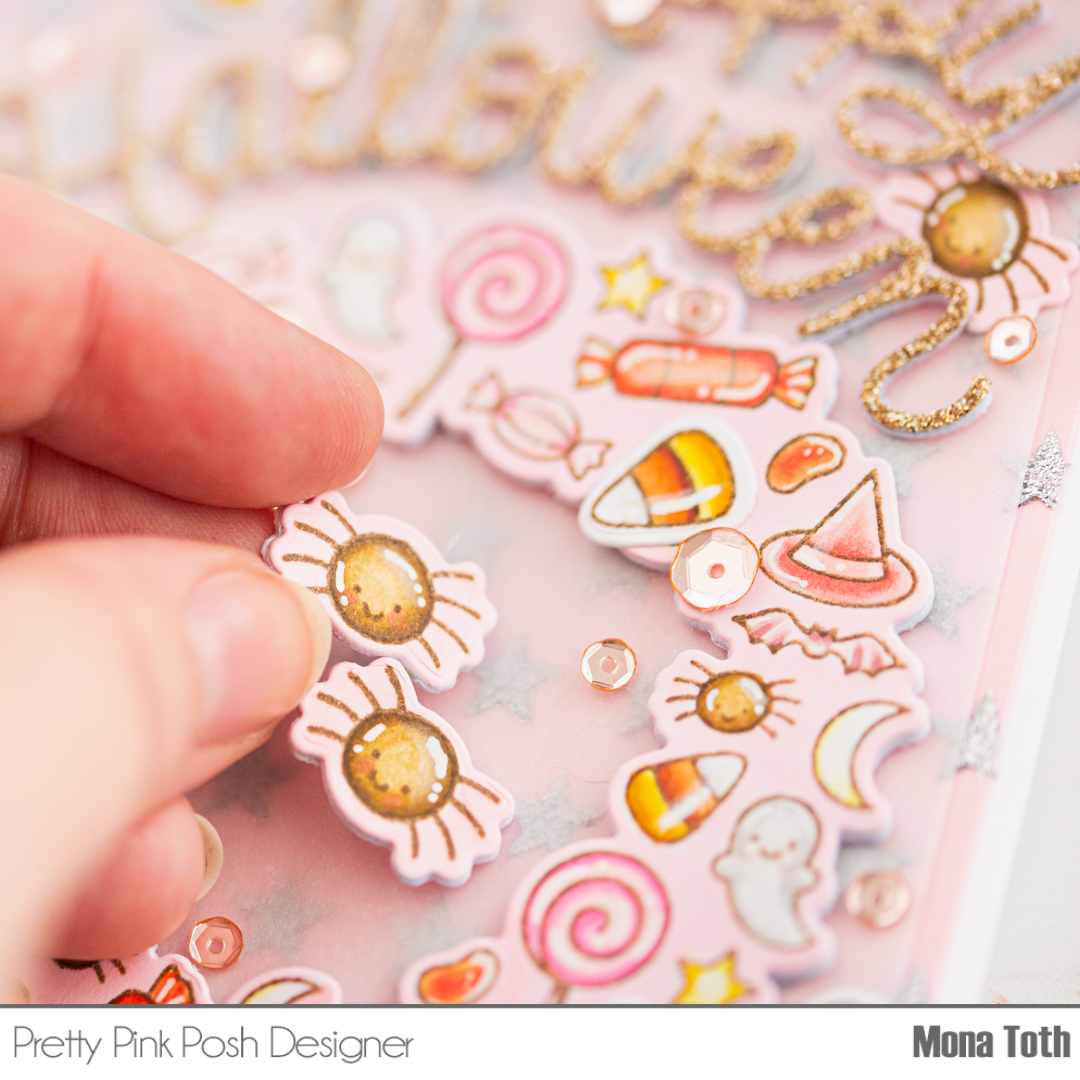

Next, I continued with the die-cutting. I made more die-cuts from heavy weight cardstock, because I wanted to add thickness to the wreath and the spiders, in this case the interactive part will be more durable. Then I transformed the Happy Halloween Die-cuts made with the Happy Halloween Script Dies. This is a fun way to alter the scripted sentiments, in the video I am describing how.
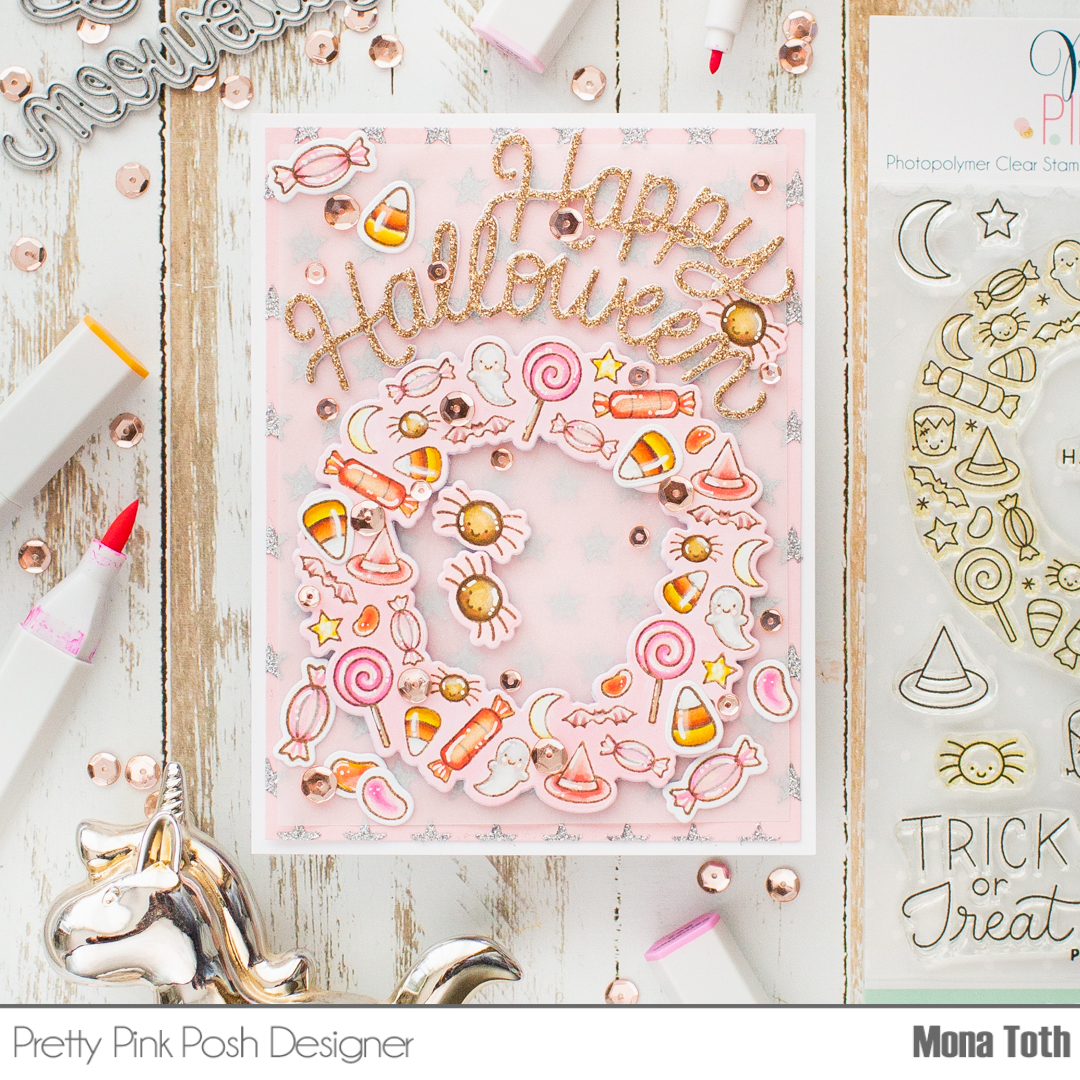
When it was done, I created the interactive element and added the spider to the circle with fishing line, and created the card front. I covered the glittery background with a piece of vellum, and styled the circle, the sentiment and the other elements. In the end I styled my card and added some Metallic Rose Gold Sequins to it as a decoration. Thank you so much for stopping by, see you next time. Hugs, Mona.

BEFORE YOU GO...

Let’s stay crafty friends! You can find more cardmaking inspiration, behind-the-scenes peeks and photography tips for crafters on my Instagram and Facebook pages.

📷✨ I’m on a mission to help cardmakers and crafters feel more confident with photography, so their beautiful creations can shine online too.

FOLLOW ON INSTAGRAM  |  EXPLORE MY SHOP


USED SUPPLIES

I’ve listed all the supplies I used below, so you can easily find them. Some of the links are affiliate links, which means I may earn a small commission if you make a purchase, at no extra cost to you. Thank you so much for supporting my blog and creative work!
[Video] Light Up Bookmark Tutorial | Lawn Fawn Fans Winter YouTube Video Hop

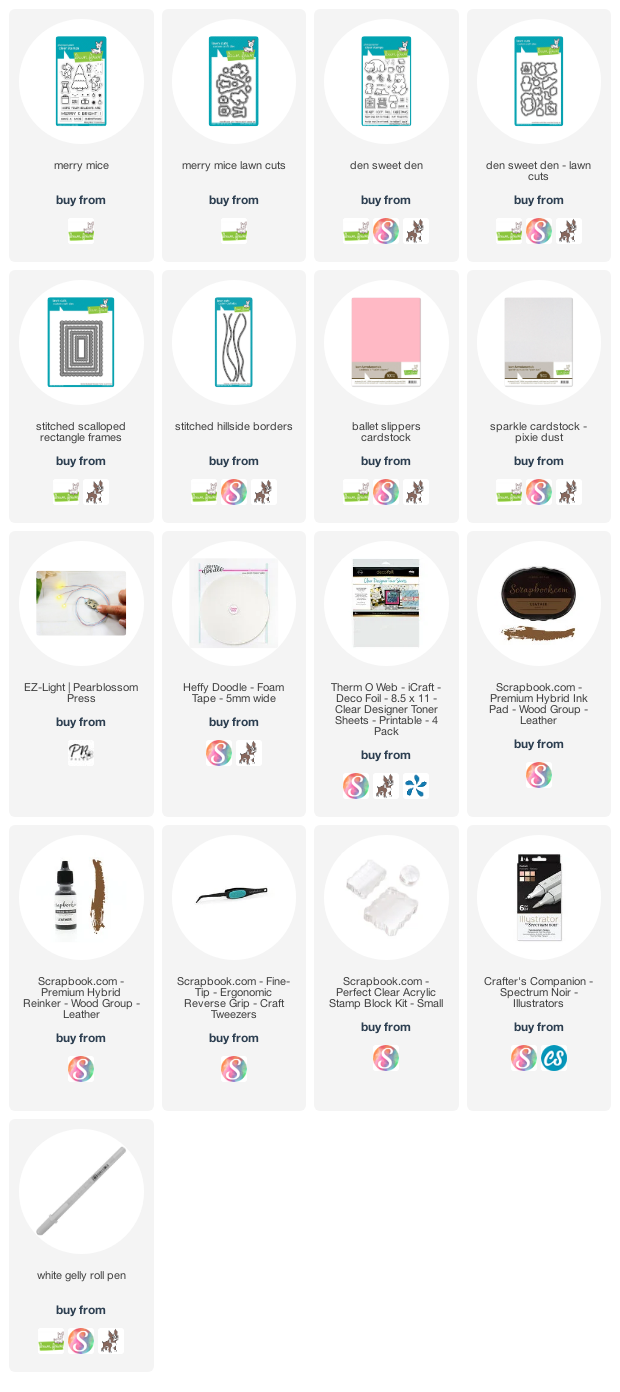
Hello sweet friends, this amazing Merry Mice Stamp Set is back in stock with its coordinating dies, and available for purchase at Lawn Fawn here. 😍 I know that many of you have it on their Wishlist so grab it while supplies last! You can see my most popular see through video tutorial below as an inspiration.


Better craft photos are easier than you think. Start with 5 simple tips you can try today.
🎁 Get my free photo ebook here!

THIS PROJECT FEATURES


Pin this post to your Pinterest board and save this card idea for later.

VIDEO TUTORIAL

From this video you can learn how to make a see through light up bookmark from start to finish. using Lawn Fawn products. I have included the coloring part in the video too, but you can skip it if you are not interested. 


Watch the video in HD on YouTube


I have used Spectrum Noir Illustrators in the following colors: GY1, CT4, GY3, GY4, GY5, FS9, TN1, TN2, TN4, EB3, FS1 FS4, CR6, BP1, MG3, Blender. You can find all the used supplies below the post. For watching the video tap here. 
The post was UPDATED in 2021.09.16.

BEFORE YOU GO...

Let’s stay crafty friends! You can find more cardmaking inspiration, behind-the-scenes peeks and photography tips for crafters on my Instagram and Facebook pages.

📷✨ I’m on a mission to help cardmakers and crafters feel more confident with photography, so their beautiful creations can shine online too.

FOLLOW ON INSTAGRAM  |  EXPLORE MY SHOP

USED SUPPLIES

I’ve listed all the supplies I used below, so you can easily find them. Some of the links are affiliate links, which means I may earn a small commission if you make a purchase, at no extra cost to you. Thank you so much for supporting my blog and creative work!

Mini scenes with tips and tricks 😍

Hi crafty friend, have you seen my latest video tutorial I made for Pretty Pink Posh?  It's all about mini scenes and other useful tips, what is handy not only for summer! 😍


Better craft photos are easier than you think. Start with 5 simple tips you can try today.
🎁 Get my free photo ebook here!

VIDEO TUTORIAL

Learn more about these cards below in the video tutorial.

Or click here to watch the video in HD on YouTube

THIS CARD FEATURES

Summer Fun stamp set 
Jungle Friends stamp set 
Summer Drinks stamp set 
Tropical Birds  stamp set 
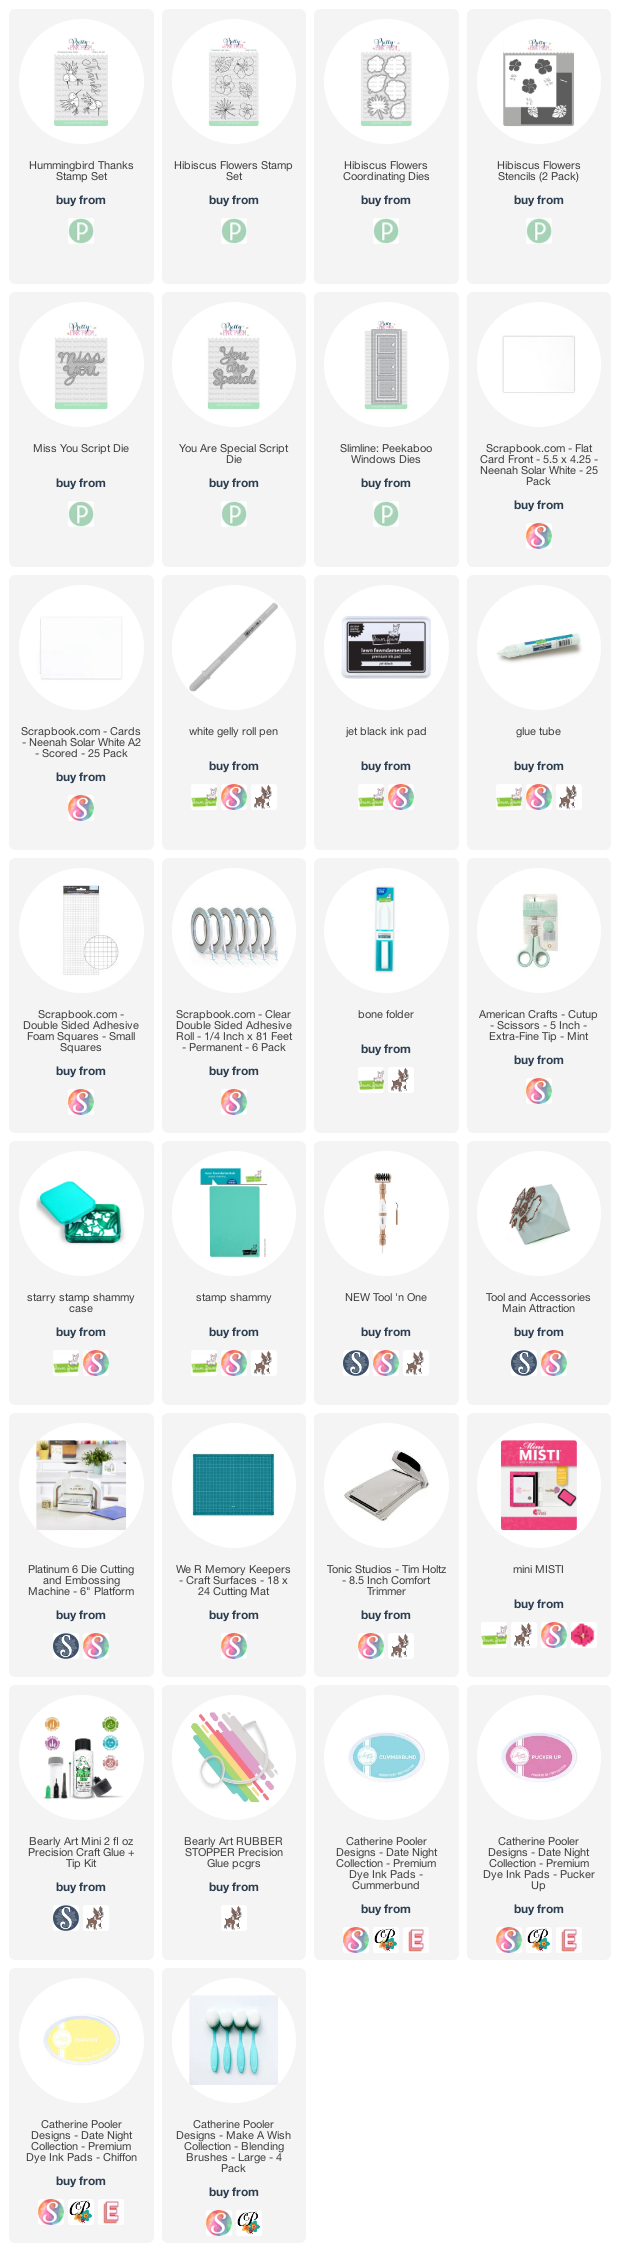
Hibiscus Flowers  stamp set 

Pin this post to your Pinterest board and save this card idea for later.

Thank you so much for checking my post, for detailed instructions please visit the original post. Happy watching, sending you big crafty hugs, Mona.


BEFORE YOU GO...

Let’s stay crafty friends! You can find more cardmaking inspiration, behind-the-scenes peeks and photography tips for crafters on my Instagram and Facebook pages.

📷✨ I’m on a mission to help cardmakers and crafters feel more confident with photography, so their beautiful creations can shine online too.

FOLLOW ON INSTAGRAM  |  EXPLORE MY SHOP

USED SUPPLIES

I’ve listed all the supplies I used below, so you can easily find them. Some of the links are affiliate links, which means I may earn a small commission if you make a purchase, at no extra cost to you. Thank you so much for supporting my blog and creative work!

[Video] Quick rainbow flowers without coloring

Hi crafty friend, today I am up on the Pretty Pink Posh blog with a new video tutorial. If you want to know how to heat emboss your die-cuts in bulk, or how to create rainbow images in less than 1 minute, then this video is for you.


Better craft photos are easier than you think. Start with 5 simple tips you can try today.
🎁 Get my free photo ebook here!

VIDEO TUTORIAL

Learn how to make rainbow flowers easily by watching the tutorial below. No coloring skills needed.

Watch the video in HD on YouTube

THIS CARD FEATURES


Pin this post to your Pinterest board and save this card idea for later.

Thank you so much for checking my post, for detailed instructions please visit the original post. Happy watching, sending you big crafty hugs, Mona.


BEFORE YOU GO...

Let’s stay crafty friends! You can find more cardmaking inspiration, behind-the-scenes peeks and photography tips for crafters on my Instagram and Facebook pages.

📷✨ I’m on a mission to help cardmakers and crafters feel more confident with photography, so their beautiful creations can shine online too.

FOLLOW ON INSTAGRAM  |  EXPLORE MY SHOP

USED SUPPLIES

I’ve listed all the supplies I used below, so you can easily find them. Some of the links are affiliate links, which means I may earn a small commission if you make a purchase, at no extra cost to you. Thank you so much for supporting my blog and creative work!
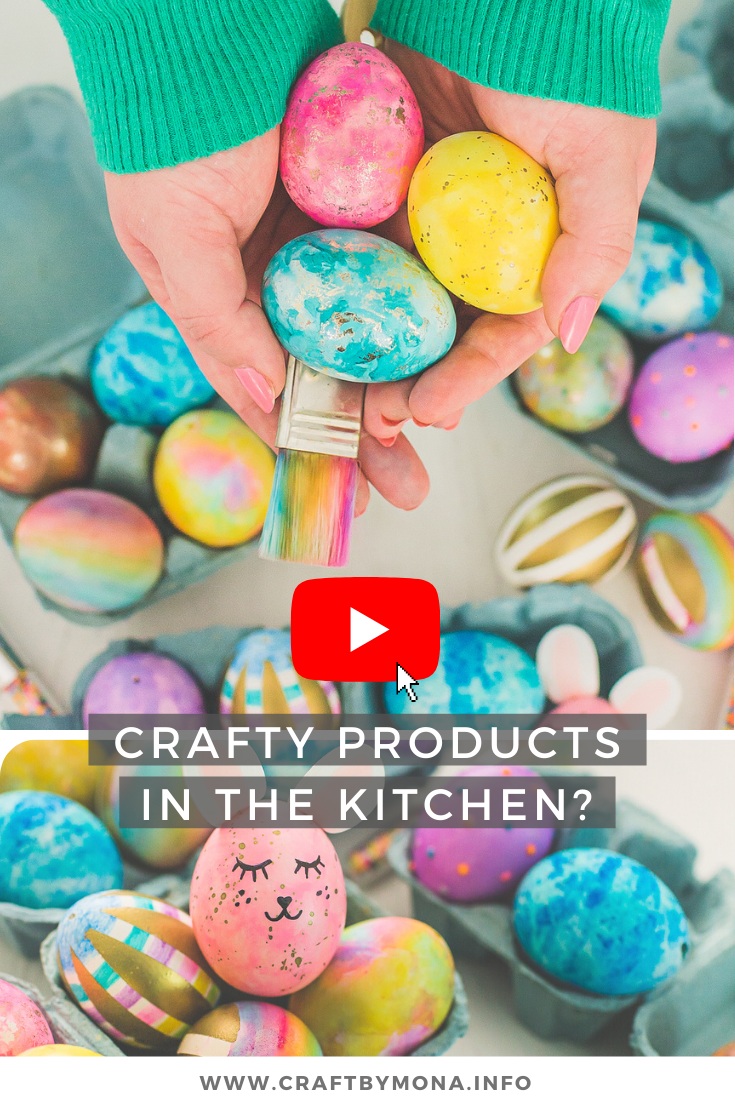
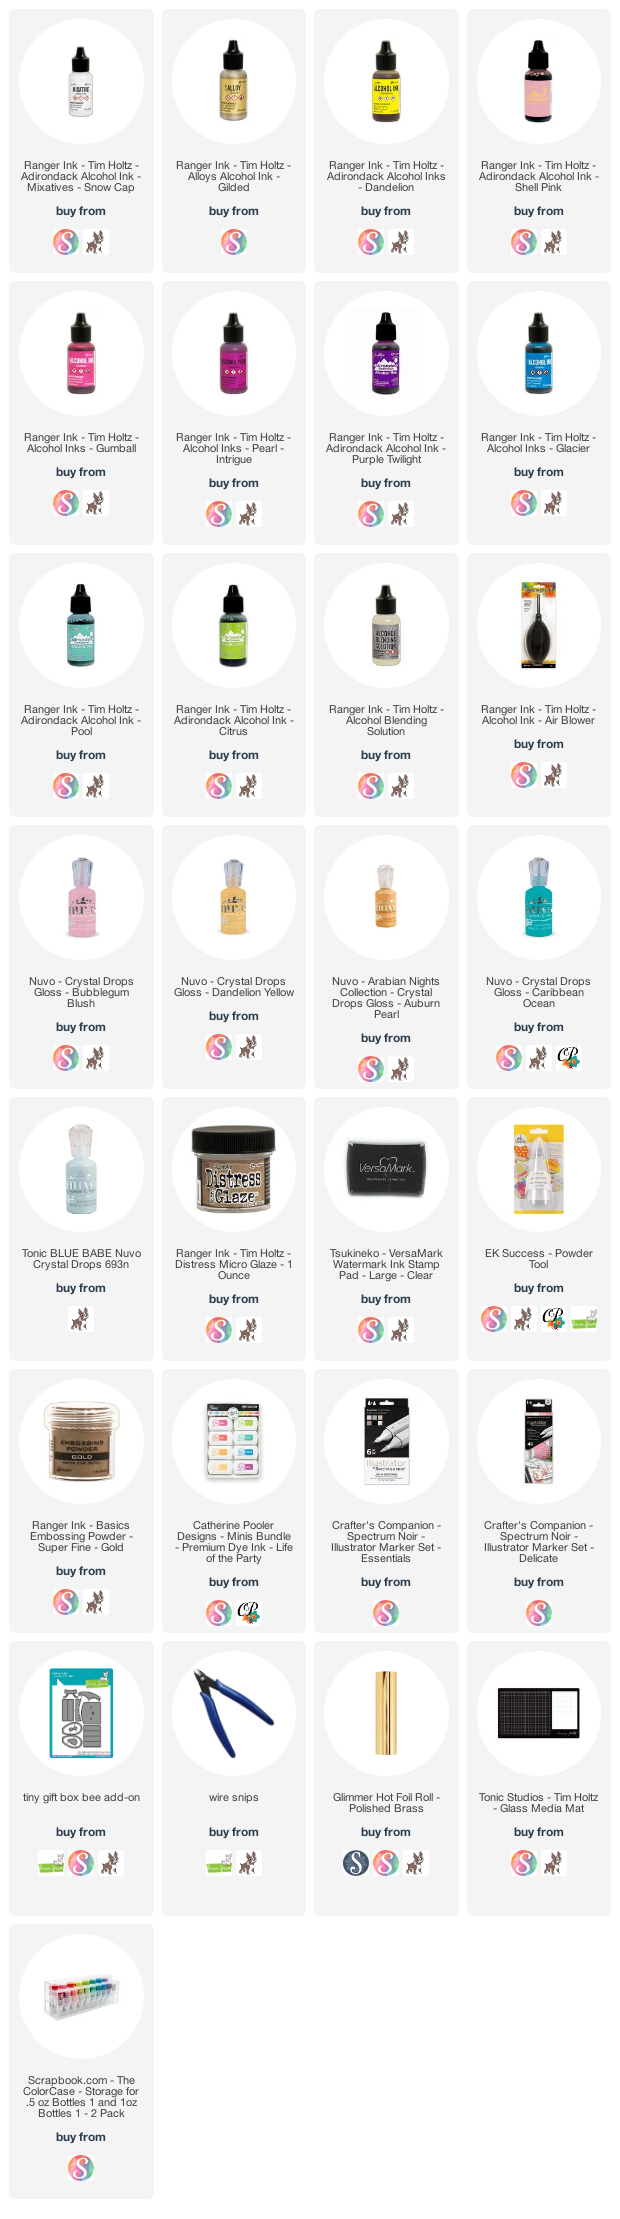
[VIDEO + GIVEAWAY] 10 Easter Egg Decorating tips you should check right now!

Hi crafty friend, Easter is almost here so today I have a new video with 10 quick egg decorating tips with crafty products I really love! Pick your fav techniques and let’s get into it! Easter is almost here and you will have so much fun with it! 

Better craft photos are easier than you think. Start with 5 simple tips you can try today.
🎁 Get my free photo ebook here!

FOR THIS PROJECT I HAVE USED

And more. For the additional supplies with shop links visit the thumbnails below this post.

Pin this post to your Pinterest board and save this card idea for later.

VIDEO TUTORIAL

This time no card instructions on my blog, instead of it I have a video tutorial with full of tips and tricks where I am sharing 10 quick egg decorating tips with crafty products I love! You still have time to do it! If you already have your decoration done, you can still watch it for fun, and save the ideas for next year.


Watch the video above | Watch the video in HD on YouTube

GIVEAWAY

This project is part of a video hop, where we are celebrating Jessica Frost Ballas for her 10K milestone on YouTube with a huge giveaway! There are over $800 in prizes! For more information watch my video.


BEFORE YOU GO...

Let’s stay crafty friends! You can find more cardmaking inspiration, behind-the-scenes peeks and photography tips for crafters on my Instagram and Facebook pages.

📷✨ I’m on a mission to help cardmakers and crafters feel more confident with photography, so their beautiful creations can shine online too.

FOLLOW ON INSTAGRAM  |  EXPLORE MY SHOP

USED SUPPLIES

I’ve listed all the supplies I used below, so you can easily find them. Some of the links are affiliate links, which means I may earn a small commission if you make a purchase, at no extra cost to you. Thank you so much for supporting my blog and creative work!

[Video] Lemon-AID card inspiration | Lawn Fawn Fans Spring YouTube Hop

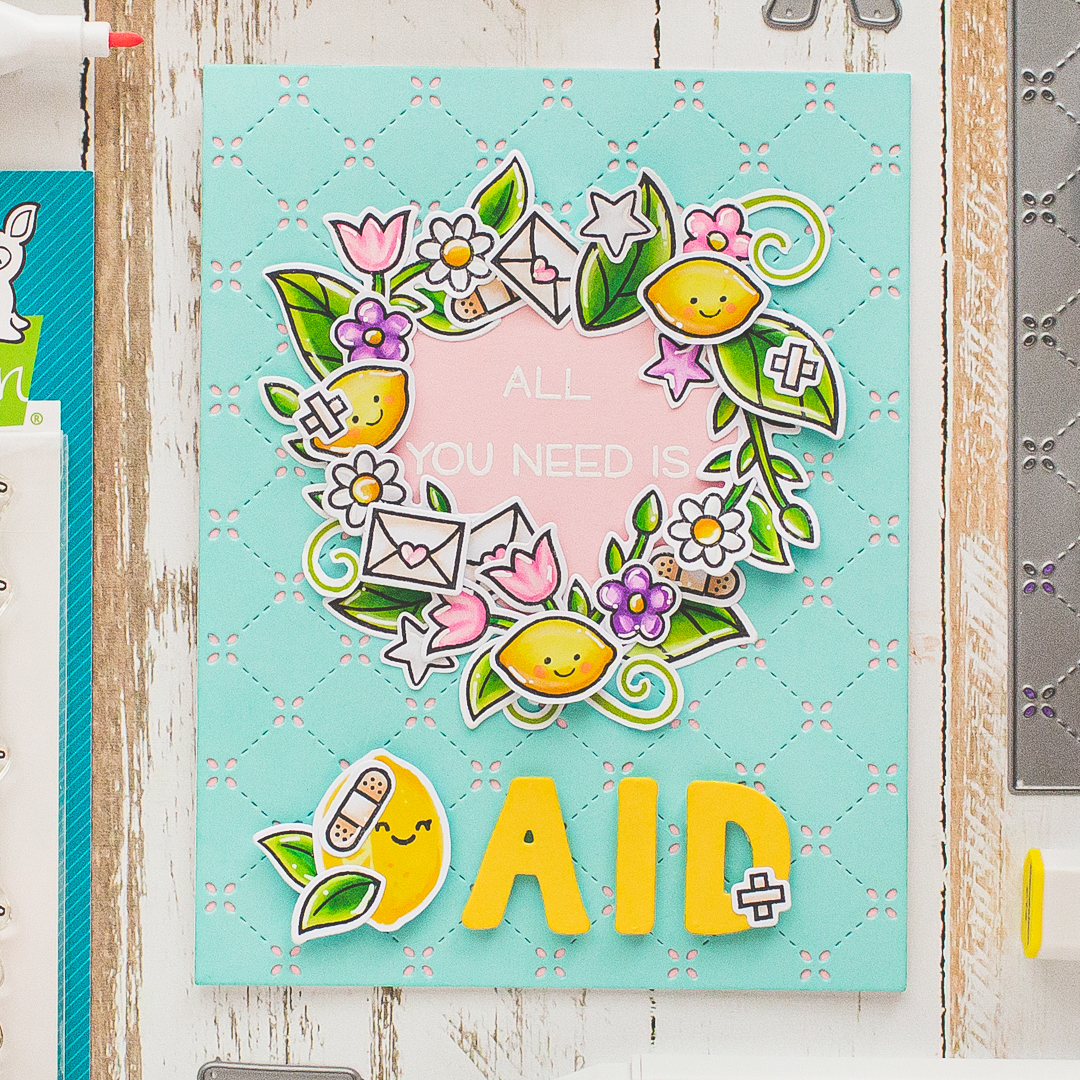
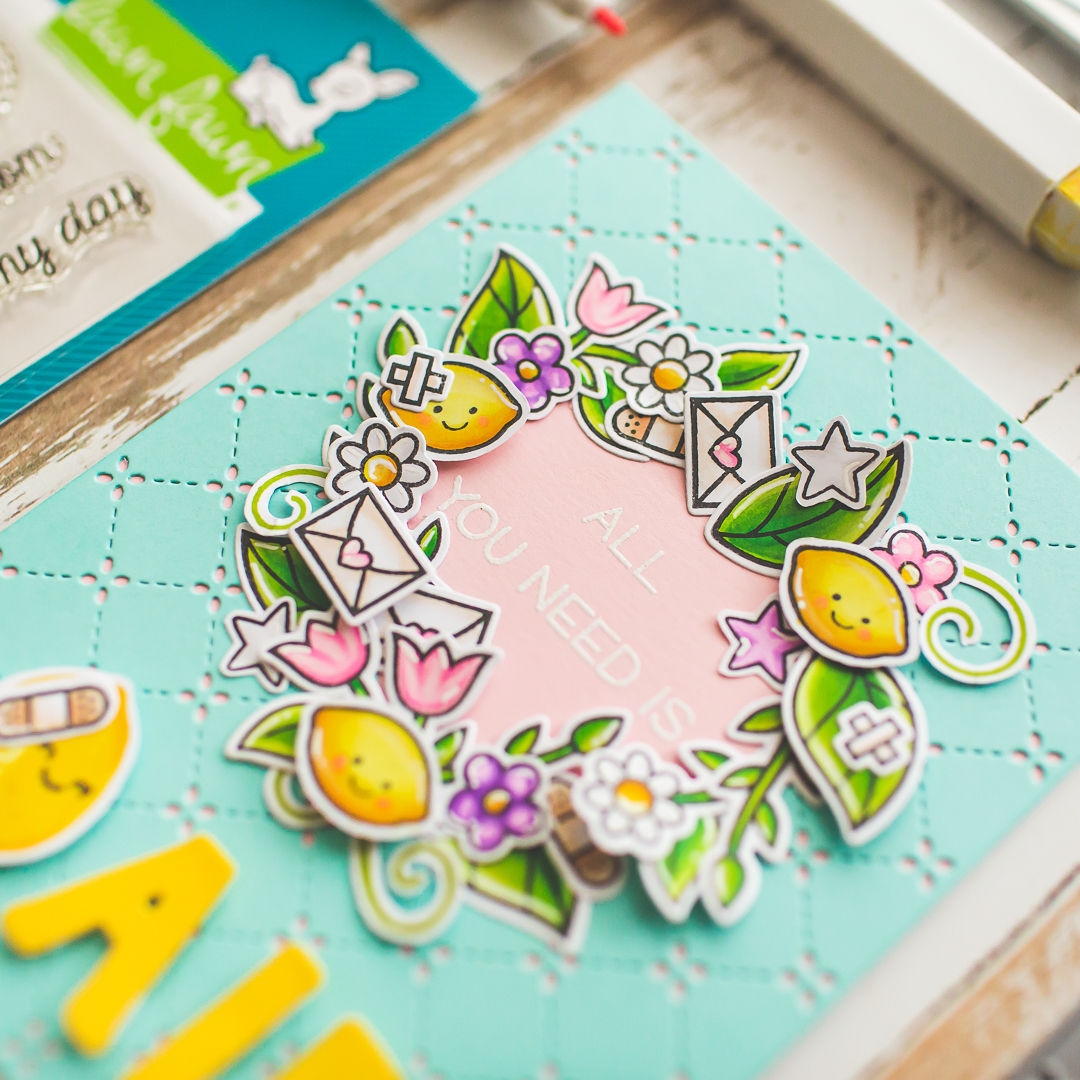
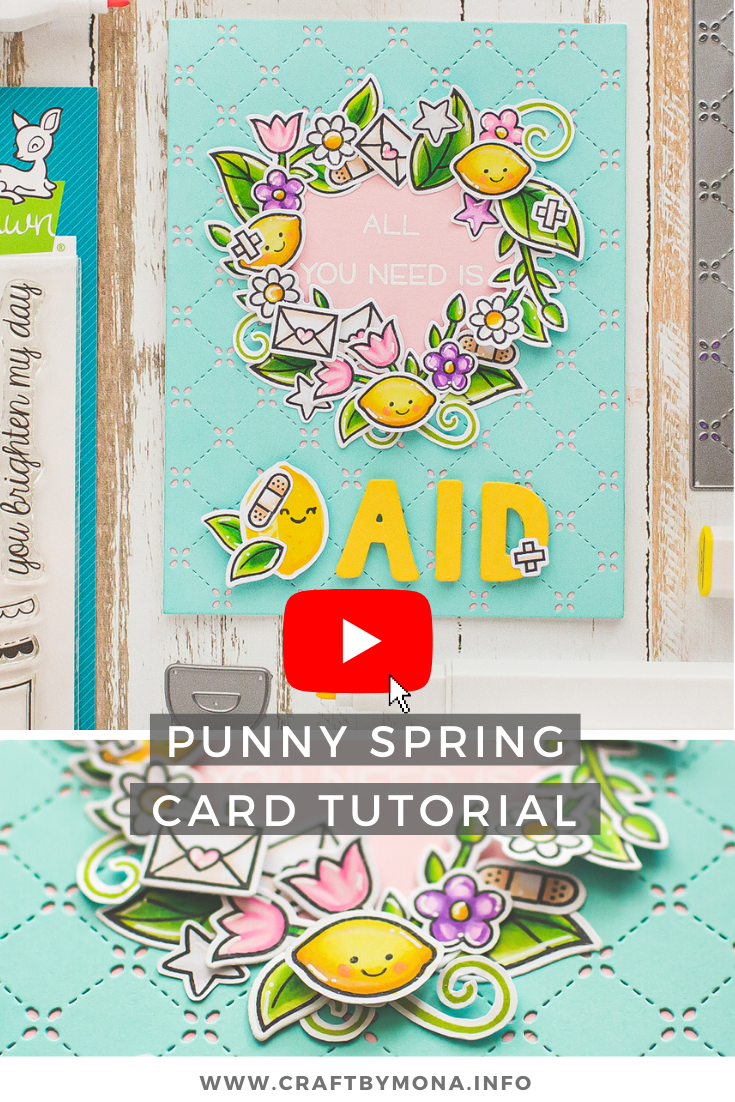
Happy Friday crafty friend! Today I have a new punny video tutorial for you with this cute lemon-AID card. Take it with love. 💓 

Better craft photos are easier than you think. Start with 5 simple tips you can try today.
🎁 Get my free photo ebook here!

This tutorial is a part of the Lawn Fawn Fans Spring YouTube Video Hop. This hop is always so much fun and there is a generous gift certificate too, so it's worth to check it out.


THIS CARD FEATURES


Pin this post to your Pinterest board and save this card idea for later.

USED COLORS

This time no card instructions, instead of it I have a quick 5 min video tutorial with instructions below. For the coloring I have used Spectrum Noir Illustrators as well as Spectrum Noir Classique's in the following colors:

Spectrum Noir Illustrators:
CT1, CT2, CT4, GY3, CG2, AG2, AG3, PL1, PL2, PL3, MG1, PP1, TN1, TN2, BG1, Blender.

Classiques (tints): BG05, TN05, PL05, MG05, CG05.


VIDEO TUTORIAL

In this video you can see the full process how I created this cute card using Lawn Fawn products. I have included the coloring part in the video too. 


Thank you so much for checking my post, Happy watching, sending you big crafty hugs, Mona.

GIVEAWAY

As I mentioned, there is a giveaway on this hop! It’s a 50 dollar gift certificate to the Only One Life Creations Online Store. For more details, check my video, start here.

BEFORE YOU GO...

Let’s stay crafty friends! You can find more cardmaking inspiration, behind-the-scenes peeks and photography tips for crafters on my Instagram and Facebook pages.

📷✨ I’m on a mission to help cardmakers and crafters feel more confident with photography, so their beautiful creations can shine online too.

FOLLOW ON INSTAGRAM  |  EXPLORE MY SHOP

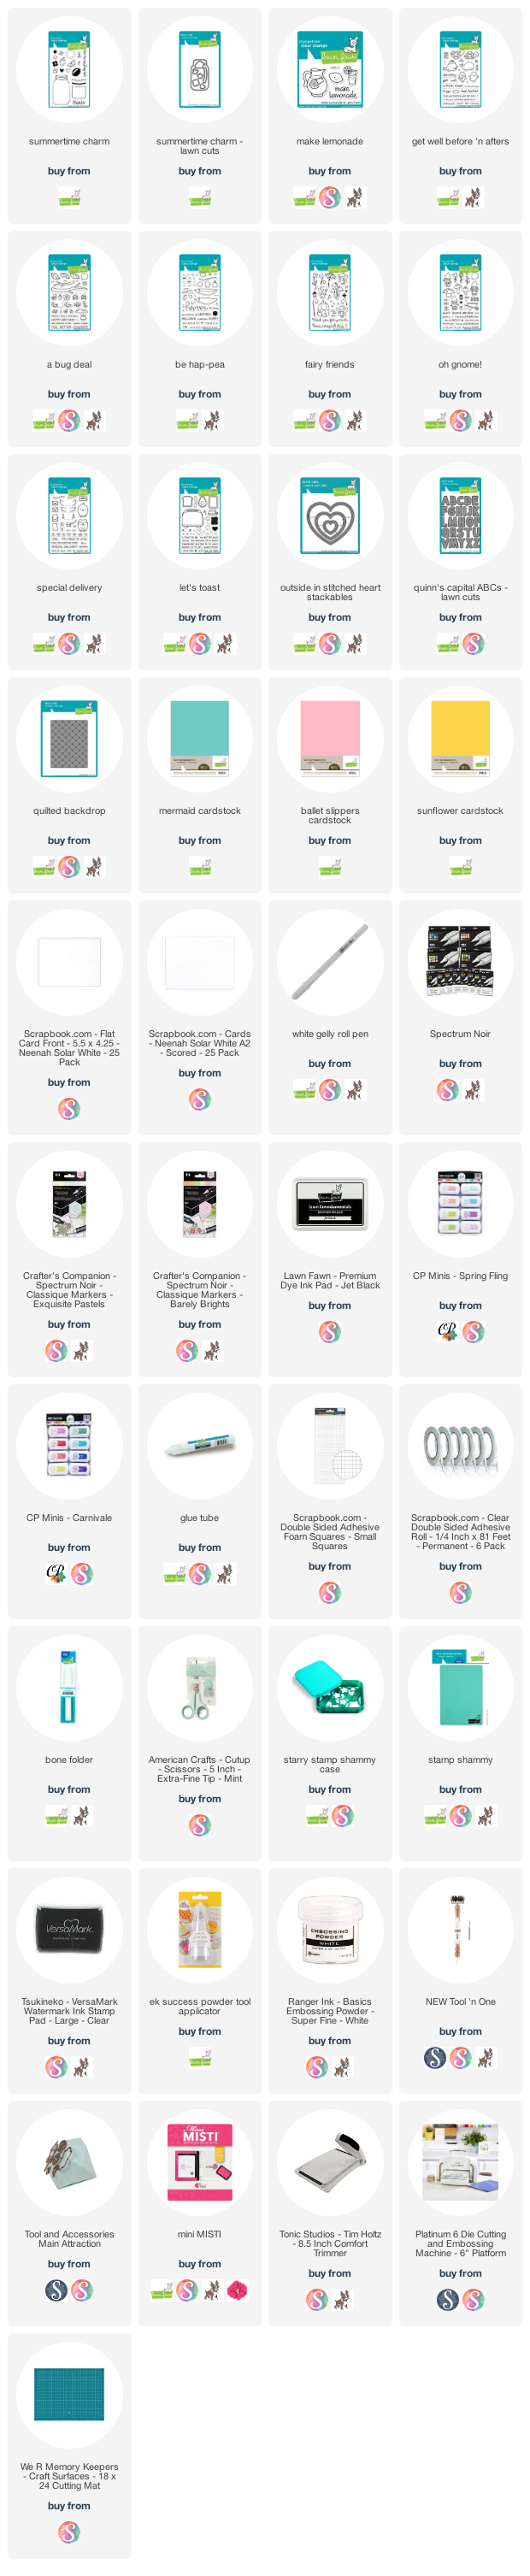
USED SUPPLIES

I’ve listed all the supplies I used below, so you can easily find them. Some of the links are affiliate links, which means I may earn a small commission if you make a purchase, at no extra cost to you. Thank you so much for supporting my blog and creative work!

[VIDEO] Amazing water-colored flowers using stencils only

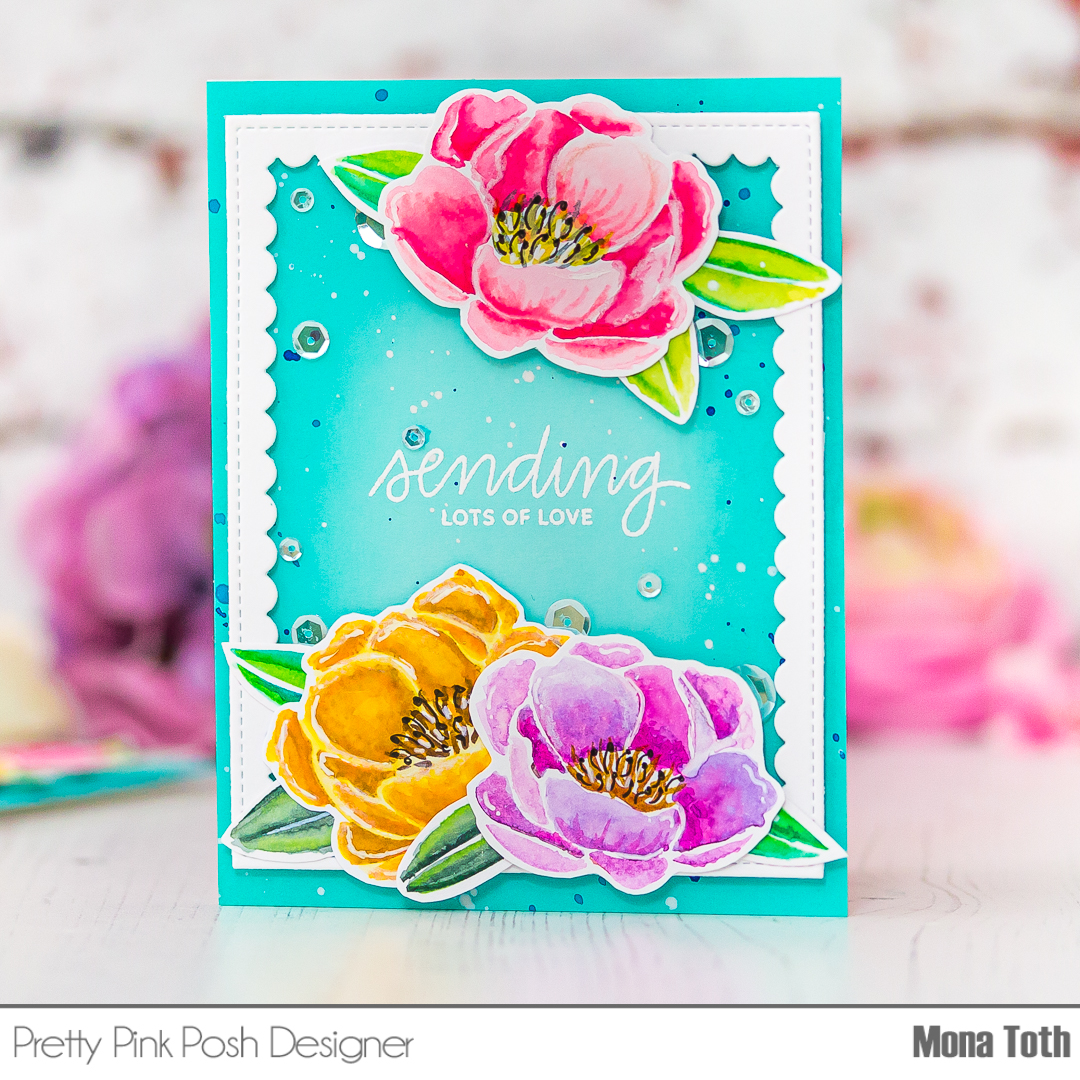
Hi crafty friends! Today I am sharing with you a fun technique video where you will learn how to create amazing water-colored flowers using only stencils and watercolor mediums. You can find the video here. 


Better craft photos are easier than you think. Start with 5 simple tips you can try today.
🎁 Get my free photo ebook here!

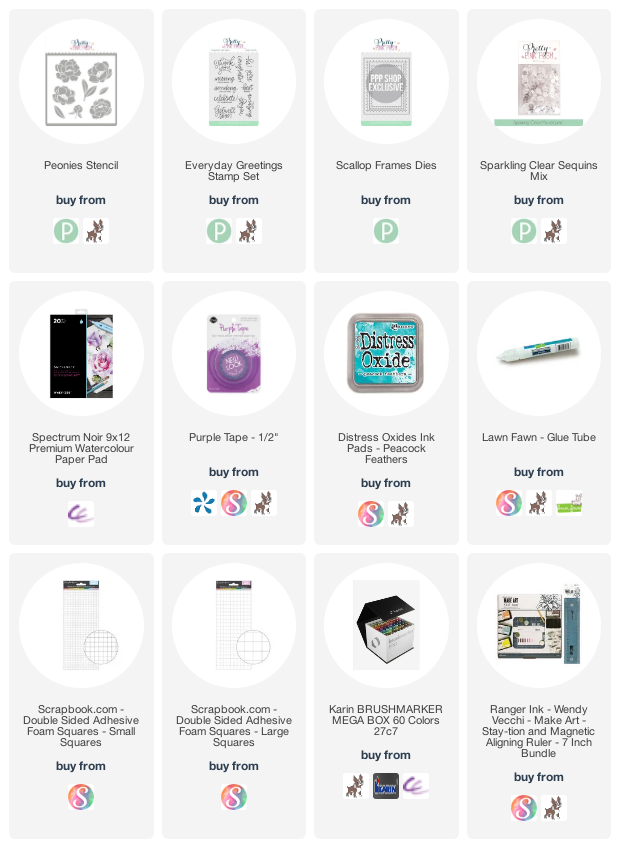
THIS CARD FEATURES


Pin this post to your Pinterest board and save this card idea for later.

VIDEO TUTORIAL

Watch my video tutorial below to learn how to create water-colored flowers using only stencils and watercolor markers. If you have any questions feel free to ask in a comment.  


Watch the video above | Watch the video in HD on YouTube


CARD INSTRUCTIONS

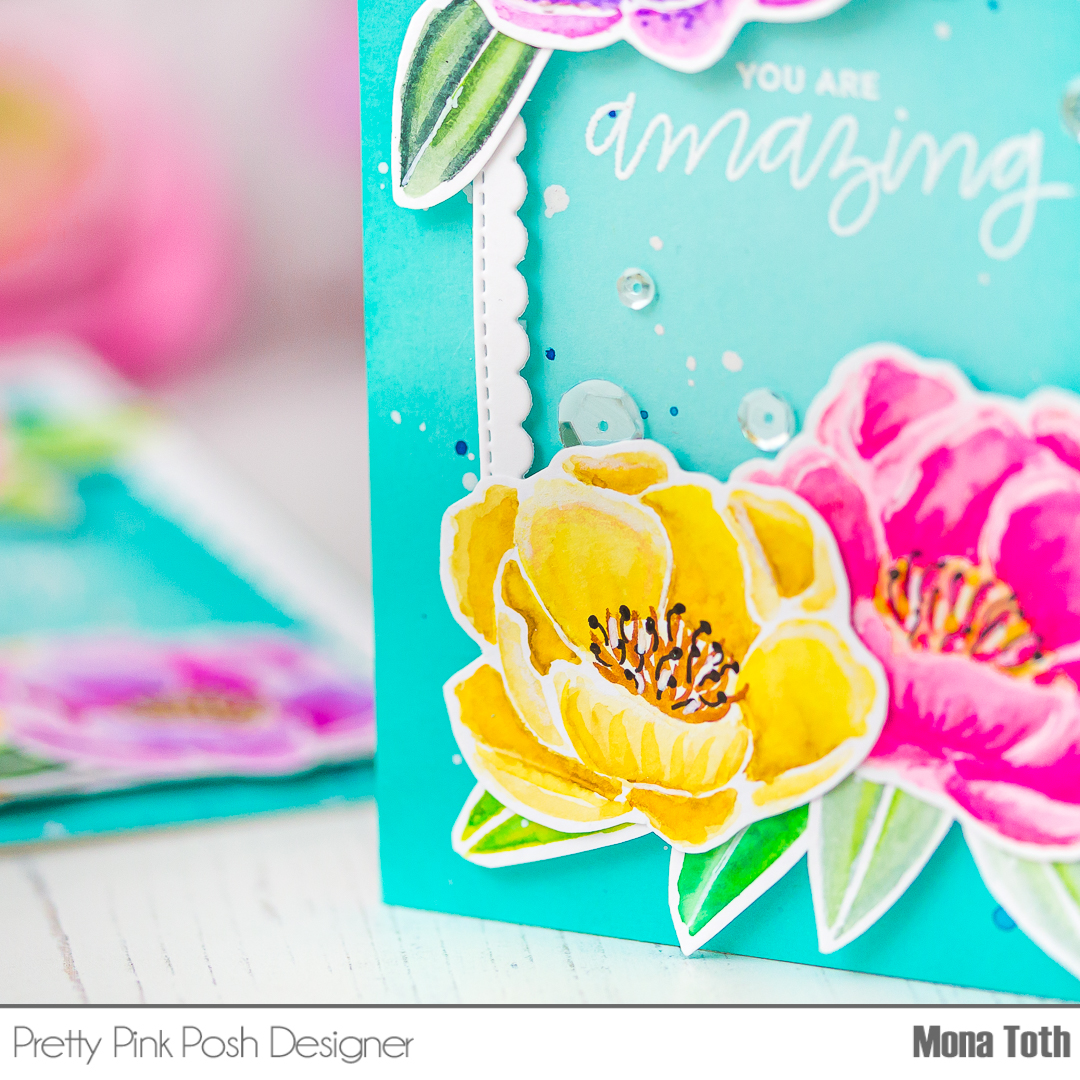
The key for this project is to have a floral stencil like the beautiful Peonies Stencil from the latest release. For this project you will also need watercolor paper, a low tack tape, brushes, paper towel, mixing palette, water-based mediums and water. You can use either your brush markers or your watercolor palette. Just use what you like more, but I will show you both options in my video tutorial.


For the entire coloring process with tips and tricks watch my video tutorial above and learn how to create amazing water-colored flowers like a pro, without stamping. For this watercoloring technique I have used Karin Markers and I am really impressed with them! But you can use any watercolor mediums you like!


When the coloring was done, I continued with fussycutting and die-cutting all the colored images. Then I picked a light turquoise cardstock in size 5.5 by 4.25”.


The following process was the ink blending. I have used Peacock Feathers Distress Oxide ink and blended the edges of the card front from outside to inside.


Next, I stamped the You Are Amazing and the Missing You So Much sentiments with watermark ink from the Everyday Greetings Stamp Set. Next, I heat embossed it with white fine embossing powder. When it was done, I splattered on it with white, and blue watercolors and let them air dry.


Because I wanted to break the background, I decided to create a white die-cut with the scalloped Frames Dies. I adhered the flowers to the frames with liquid adhesive, then I adhered the floral frame to the card with 3D foam squares.


In the end I embellished my cards with Clear sequins. If you feel like it, give it a try, it’s so relaxing  and I know the result will be amazing. Thank you so much for stopping by, see you next time. Hugs, Mona.

BEFORE YOU GO...

Let’s stay crafty friends! You can find more cardmaking inspiration, behind-the-scenes peeks and photography tips for crafters on my Instagram and Facebook pages.

📷✨ I’m on a mission to help cardmakers and crafters feel more confident with photography, so their beautiful creations can shine online too.

FOLLOW ON INSTAGRAM  |  EXPLORE MY SHOP

USED SUPPLIES

I’ve listed all the supplies I used below, so you can easily find them. Some of the links are affiliate links, which means I may earn a small commission if you make a purchase, at no extra cost to you. Thank you so much for supporting my blog and creative work!

[SPECIAL VIDEO] Vintage look card tutorial with surprises

Crafty friends are the best! We challenged each other with my sweet friend, Marine Simon to create in the others style! We did it with video tutorials and if you are looking for some inspiration we really appreciate if you are stopping by. In my video you will learn how to create vintage sepia look on your cards with markers and we have surprises for you too! :) You can find the video here.


THIS CARD FEATURES

  • Special Delivery Stamp Set [ LF | SBC | SSS ]
  • Special Delivery Box Add-on Stamp Set [ LF | SBC | SSS ]
  • Lift The Flap Tree Backdrop Die [ LF | SBC | SSS ]
  • Spectrum Noir Illustrator Markers: RB4, MB4, MB3, MB2, MB1, FS6.
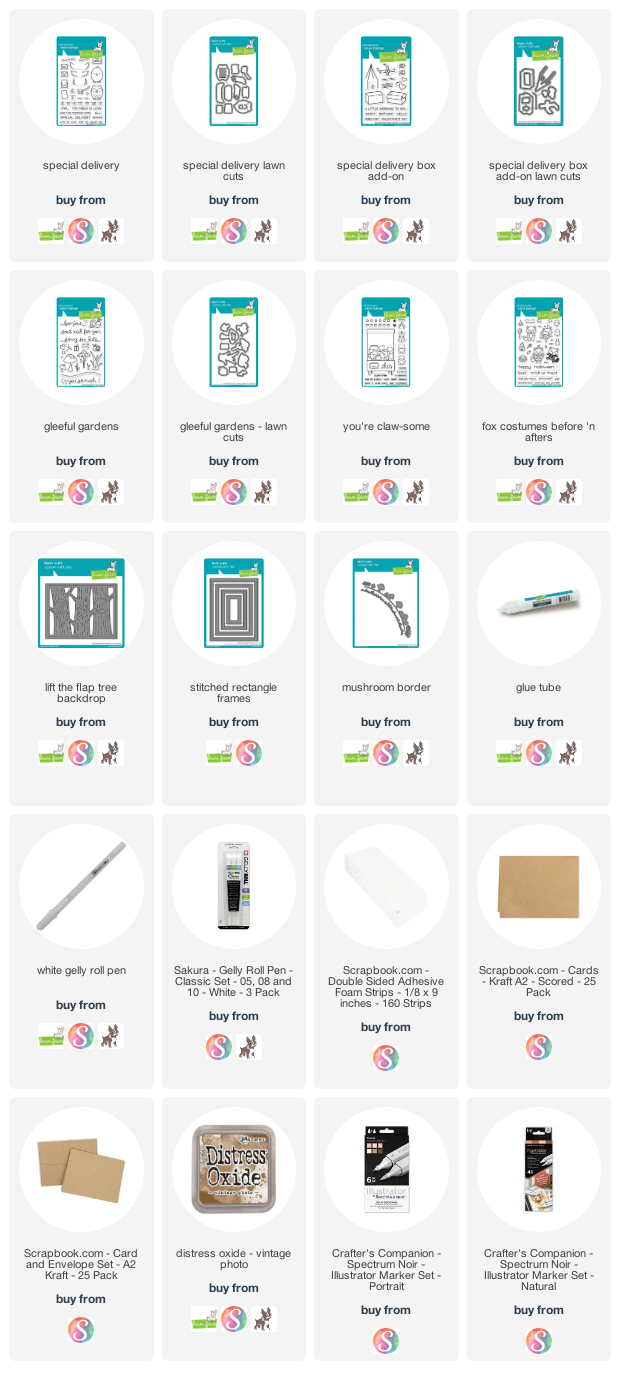
  • For the additional supplies visit the thumbnails below this post.

Do you enjoy this inspiration? I really appreciate if you pin this photo to your Pinterest.


VIDEO TUTORIAL

For the instructions and our crafty friend challenge collaboration video watch my video tutorial below. You will also learn how I created this vintage look card coloring with alcohol markers on craft cardstock. If you have any questions feel free to ask in a comment.  


Watch the video above | Watch the video in HD on YouTube

SURPRISES

I have two surprises for you, the first one is is this sweet set from Lawn Fawn, which I will send to a random lucky one who answers under my and Marines video as well. You can find my question in the video tutorial. I am really curious for you answers. I will announce the lucky one on 20th of February, on my YouTube channel as well as on my Instagram Stories.

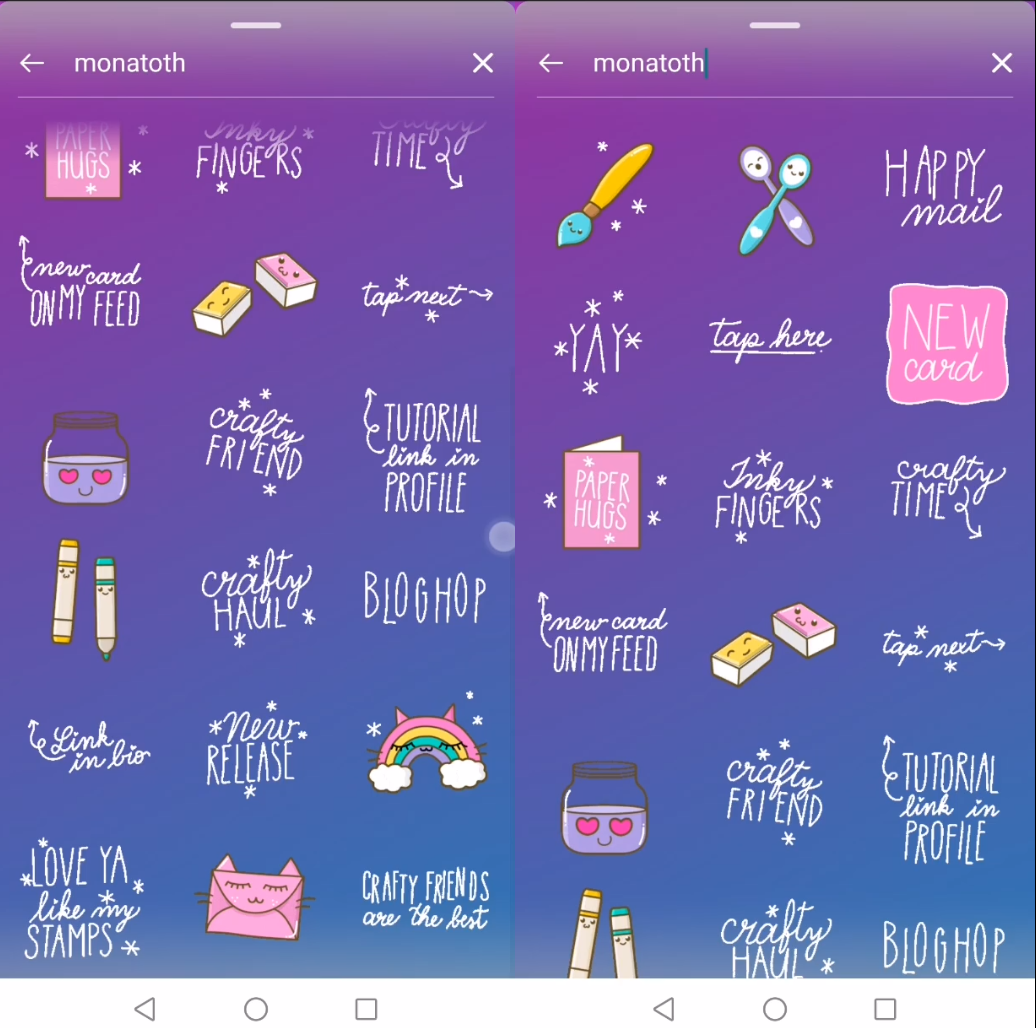
If you are following me on Instagram, you may already know, we have created crafty related GIF stickers with my husband for our crafty community. If you want to use them just type “ monatoth ” to the gif section on your stories to find them. This is my thank you for your amazing support, enjoy them and more are coming really soon! 💙


Thank you so much for stopping by and reading throug my post, have an amazing day. Hugs, Mona.


USED SUPPLIES

Using affiliate links does not mean additional costs for you. I really appreciate your support. I am using only products I LOVE. If you buy supplies through my affiliate links, you support my channel and blog with a small commission and when you shop through my links I will do a happy dance. Affiliate Disclaimer. 


[VIDEO] Lovely elegant card tutorial

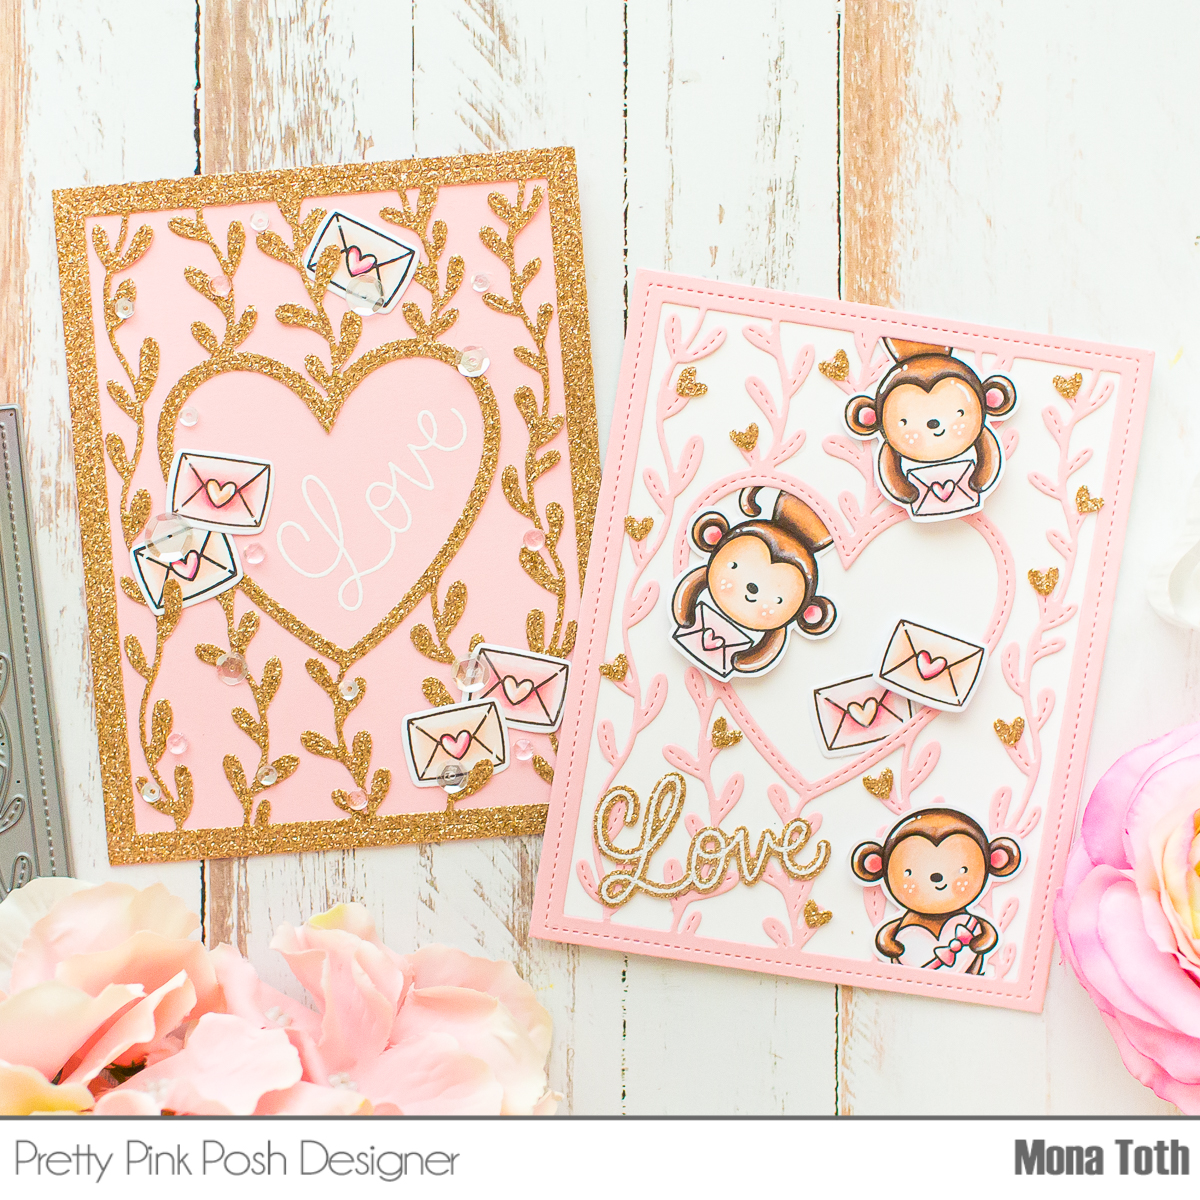
Hello crafty friends, I am back with a cute but elegant card tutorial with Pretty Pink Posh on my YouTube channel where I am showing you how to stretch these cute supplies. You can find the video here. 


THIS CARD FEATURES


Do you enjoy this inspiration? I really appreciate if you pin this photo to your Pinterest.

VIDEO TUTORIAL

Watch my video tutorial below to learn how I created these cute, but also elegant cards including the coloring with alcohol markers. If you have any questions feel free to ask in a comment.  


Watch the video above | Watch the video in HD on YouTube


CARD INSTRUCTIONS

I started the cardmaking with stamping the images with alcohol marker friendly black inkpad. When it was done, I made a quick heat set for my images and I continued the coloring process. 

For the coloring I have used the following colors from Spectrum Noir Illustrators:

Monkeys: EB7, EB4, EB1, TN2, TN1, FS7, FS6.

Cheeks: FS8, FS6.

Envelopes, chocolate box, ears: PP5, PP4, PP3, PP1, FS8, FS6, Blender.

If you are interested to watch the coloring please click here to watch the video in HD.

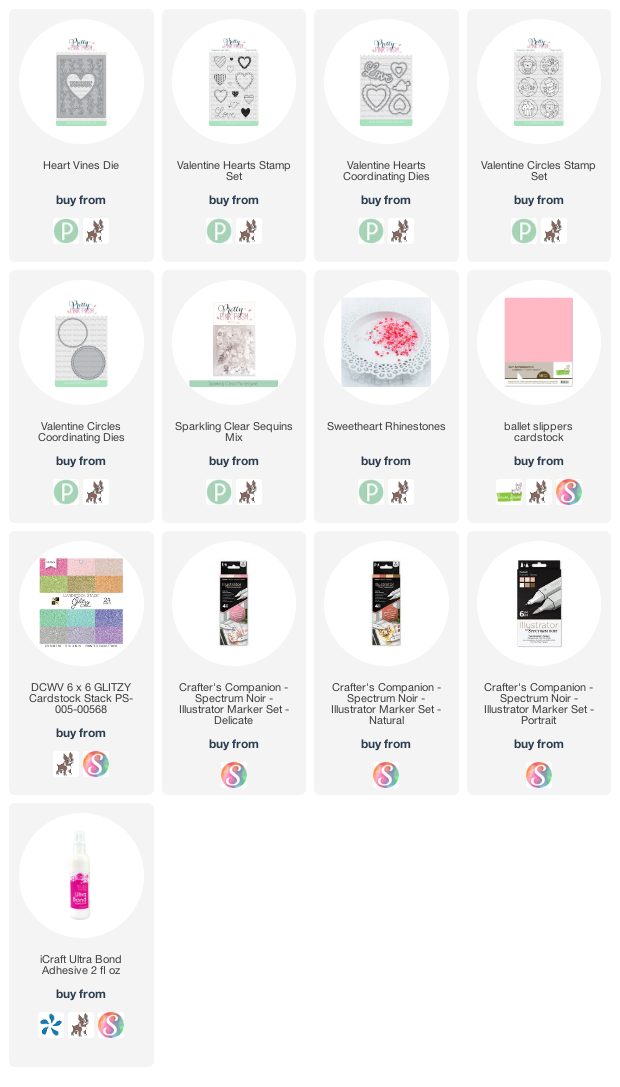
When the coloring was done, I continued with fussy cutting and die-cutting all the colored images. I have also created one soft pink and one gold glittery die-cut with the beautiful Heart Vines cover plate.


Before I have adhered the die-cuts and the images to their right place, I heat embossed the Love sentiment from the Valentine Hearts Stamp Set. Once to a pink cardstock and once to a gold glitter cardstock, which I run through my die-cut machine with its coordinating dies. Then I adhered all the parts together with liquid adhesive and 3D foam squares.

In the end I embellished my card with glittery heart die-cuts from the Heart Vines stamp set, and for the other one I adhered Sparkling Clear Sequins Mix as well as soft pink rhinestones from the newly released Sweetheart rhinestones.

These monkeys and envelopes are so adorable, they just make me smile, and the cover plate is currently one of my favorites! Thank you so much for stopping by, see you next time. Hugs, Mona.


USED SUPPLIES

Using affiliate links does not mean additional costs for you. I really appreciate your support. I am using only products I LOVE. If you buy supplies through my affiliate links, you support my channel and blog with a small commission and when you shop through my links I will do a happy dance. Affiliate Disclaimer.

[VIDEO] Pastel Slimline Card Tutorial

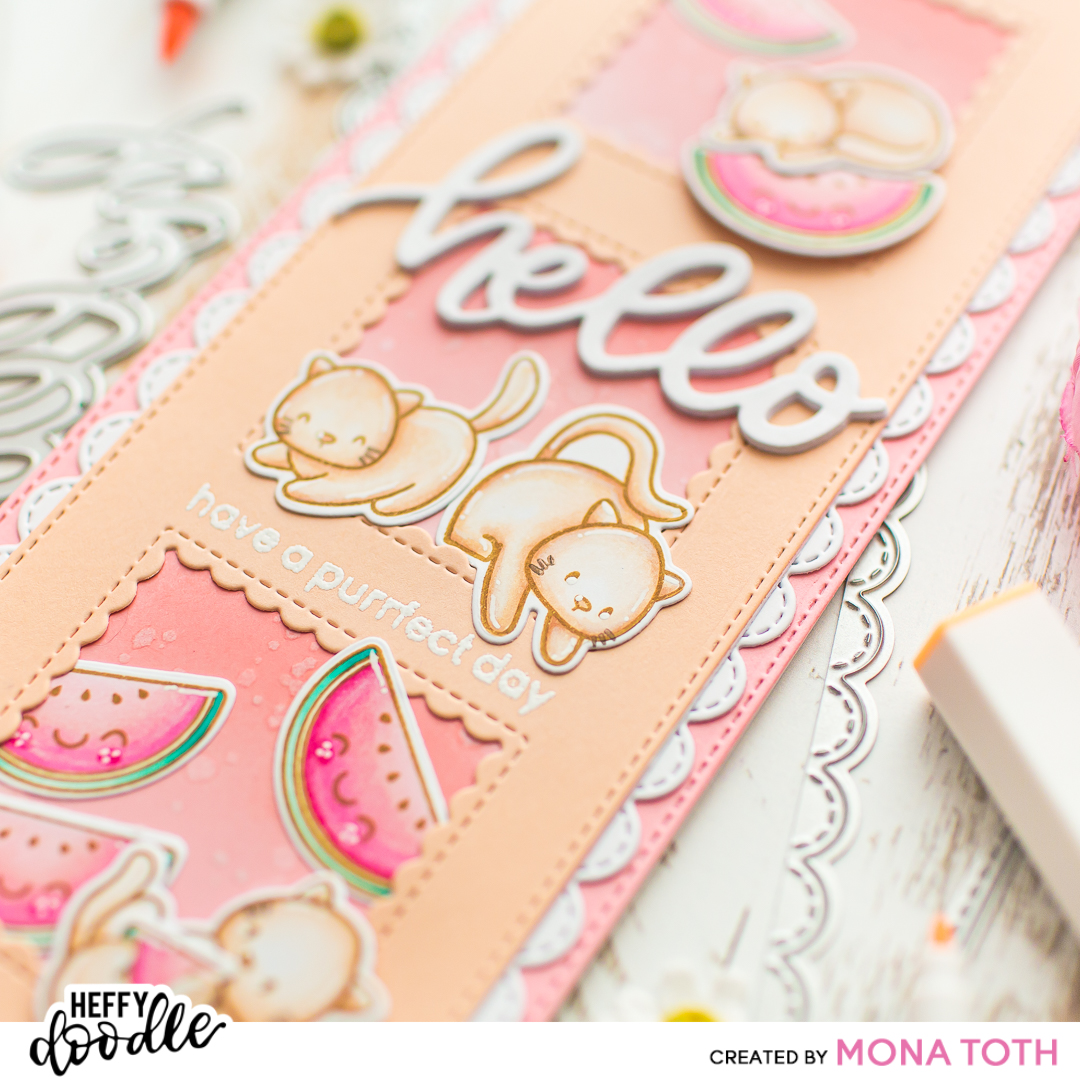
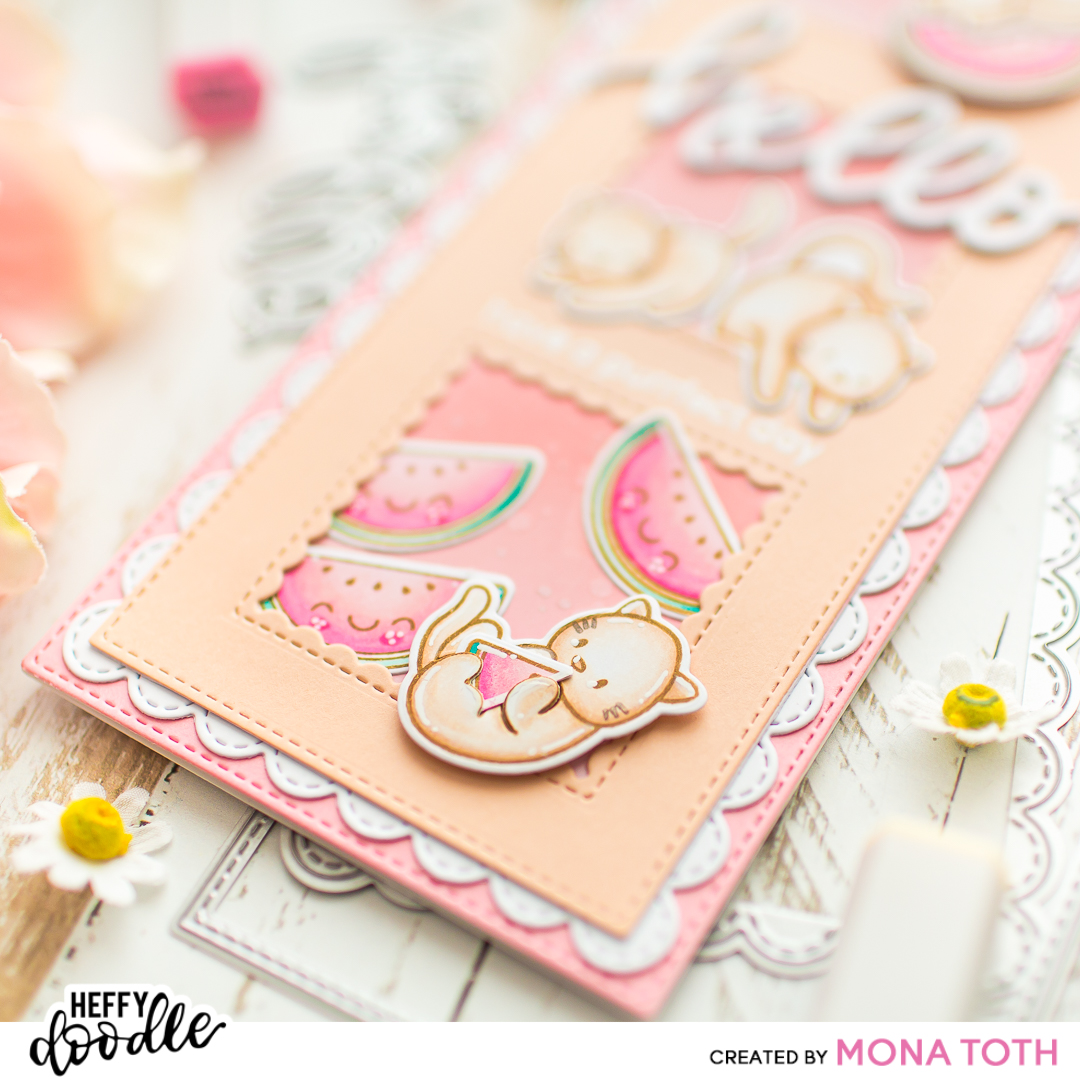
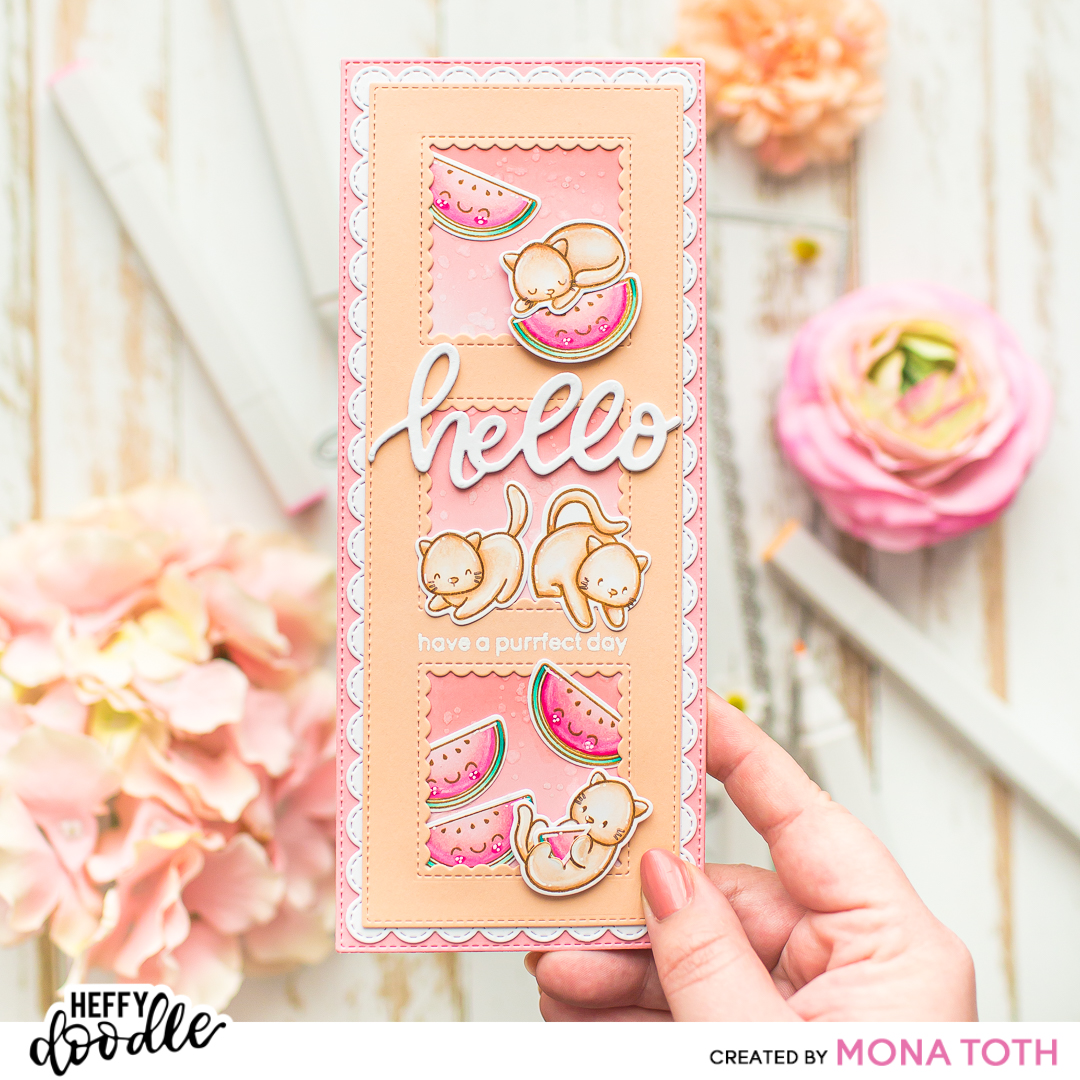
Hello lovelies, I am back with another coloring video tutorial. Today I am going to show you how I created this sweet pastel slimline card with cats and melons. You can find the video here. 


THIS CARD FEATURES

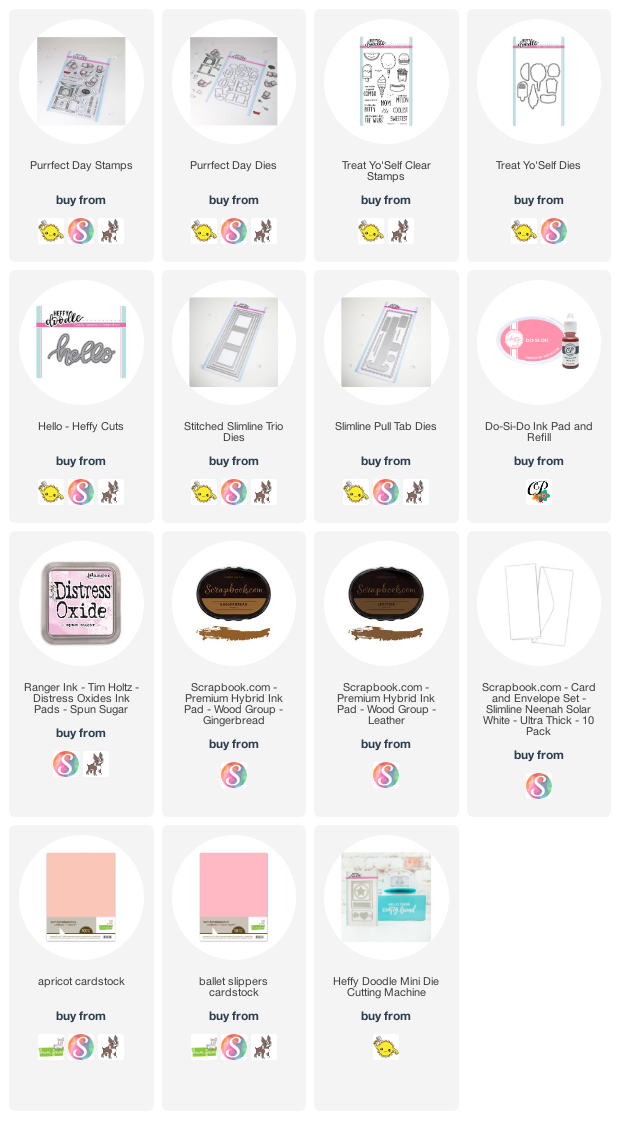
  • Purrfect Day Stamps [ HFF | SBC | SSS ]
  • Treat Yo'Self Clear Stamps [ HFF | SSS ]
  • Stitched Slimline Trio Dies [ HFF | SBC | SSS ]
  • Slimline Pull Tab Dies [ HFF | SBC | SSS ]
  • For the additional supplies visit the thumbnails below this post.


    Do you enjoy this inspiration? I really appreciate if you pin this photo to your Pinterest.


VIDEO TUTORIAL

Watch my video tutorial below to learn how I created this slimline card as well as how I colored these cute cats. If you have any questions feel free to ask in a comment.


Watch the video above | Watch the video in HD on YouTube


CARD INSTRUCTIONS

For this project I will use these cute cat images from the Purrfect day stamp set as well as this melon image from Treat Yo’self. I think it’s so much fun to mix animal stamps with fruit images. I stamped the images with lighter brown, alcohol marker friendly inkpad called Gingerbread. I used this color because I wanted to achieve a softer look for the images.

For the coloring I have used Spectrum Noir Illustrator Markers, but you can make it with any other marker as well. For the coloring and the full process be sure to check out the video tutorial here. Spectrum Noir Illustrator Markers Used: GT3, GT2, GT1, MG3, MG2, MG1, PP2, FS1, TN3, TN1, FS6, Blender. Once the coloring was done, I added highlights with white pencil and white pigment pen. Once it was done, I run the images through my mini die-cutting machine with their coordinating dies.

I have also prepared slimline die-cuts with the Stitched Slimline Trio Dies and Slimline Pull Tab Dies in different cardstock colors. For the background I made a quick ink blending with Du-si-do Pink inkpad from Catherine Pooler as well as with Spun Sugar distress oxide ink. Next, I splattered on it with clear water and white watercolor as well, and let it air dry.

After this I stamped the have a purrfect day sentiment from the “Purrfect day” stamp set with watermark ink to the pastel peach die-cut, then I heat embossed with white embossing powder. I have also created four die-cuts with the Hello word die from white cardstock. I adhered them together for more depth and now I have everything prepared to finish my card. Thank you so much for stopping by, have an amazing day, Mona


USED SUPPLIES

Using affiliate links does not mean additional costs for you. I really appreciate your support. I am using only products I LOVE. If you buy supplies through my affiliate links, you support my channel and blog with a small commission and when you shop through my links I will do a happy dance. Affiliate Disclaimer.