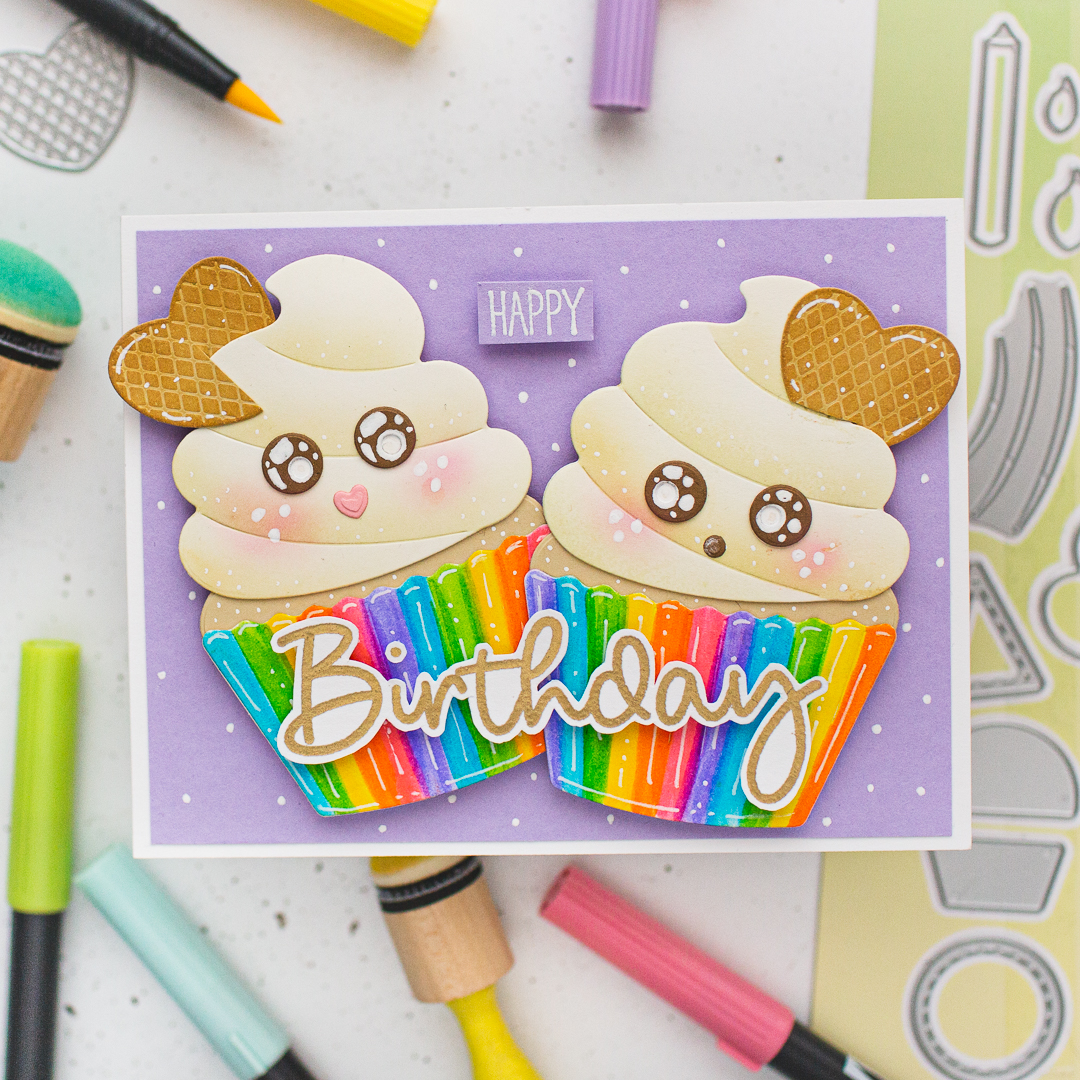
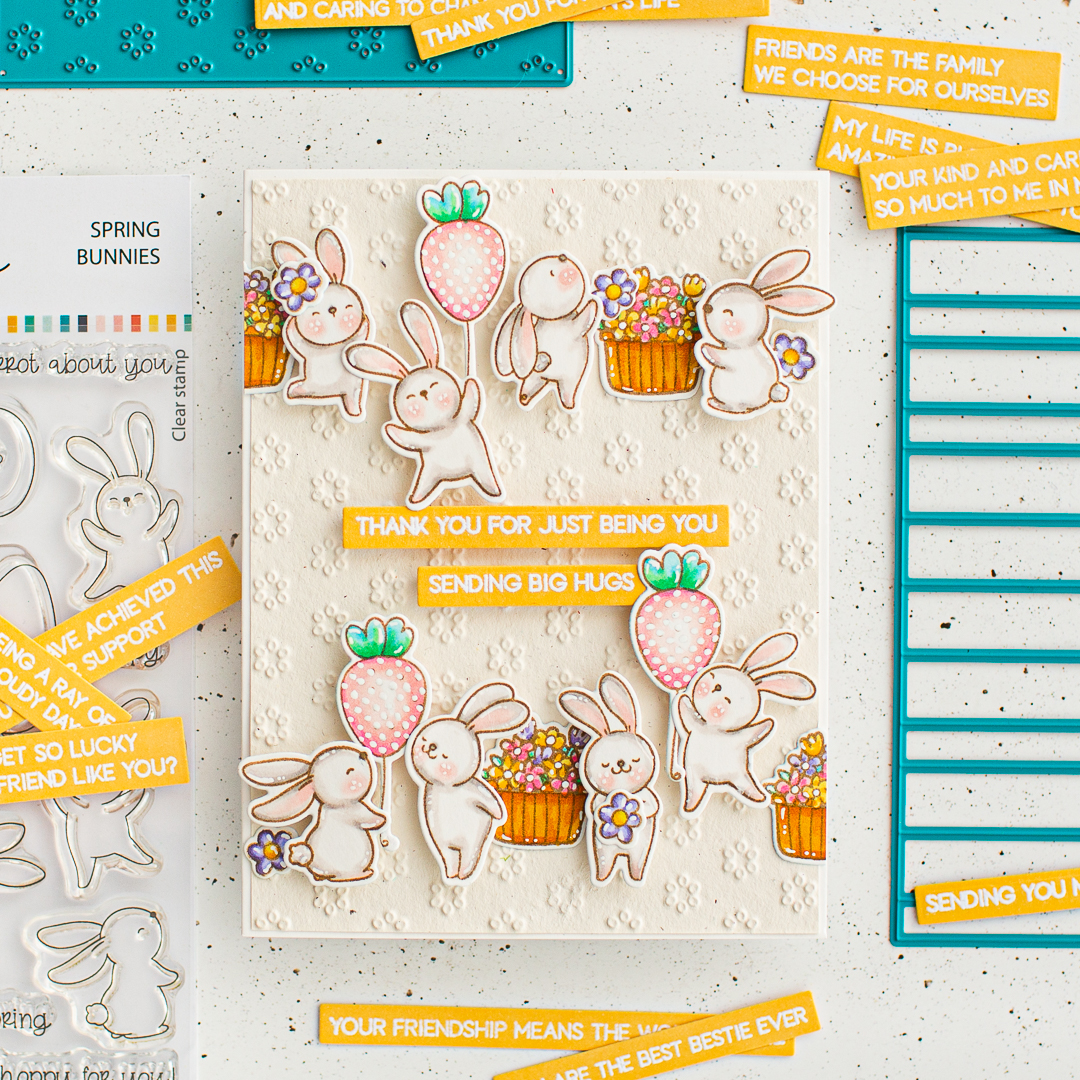
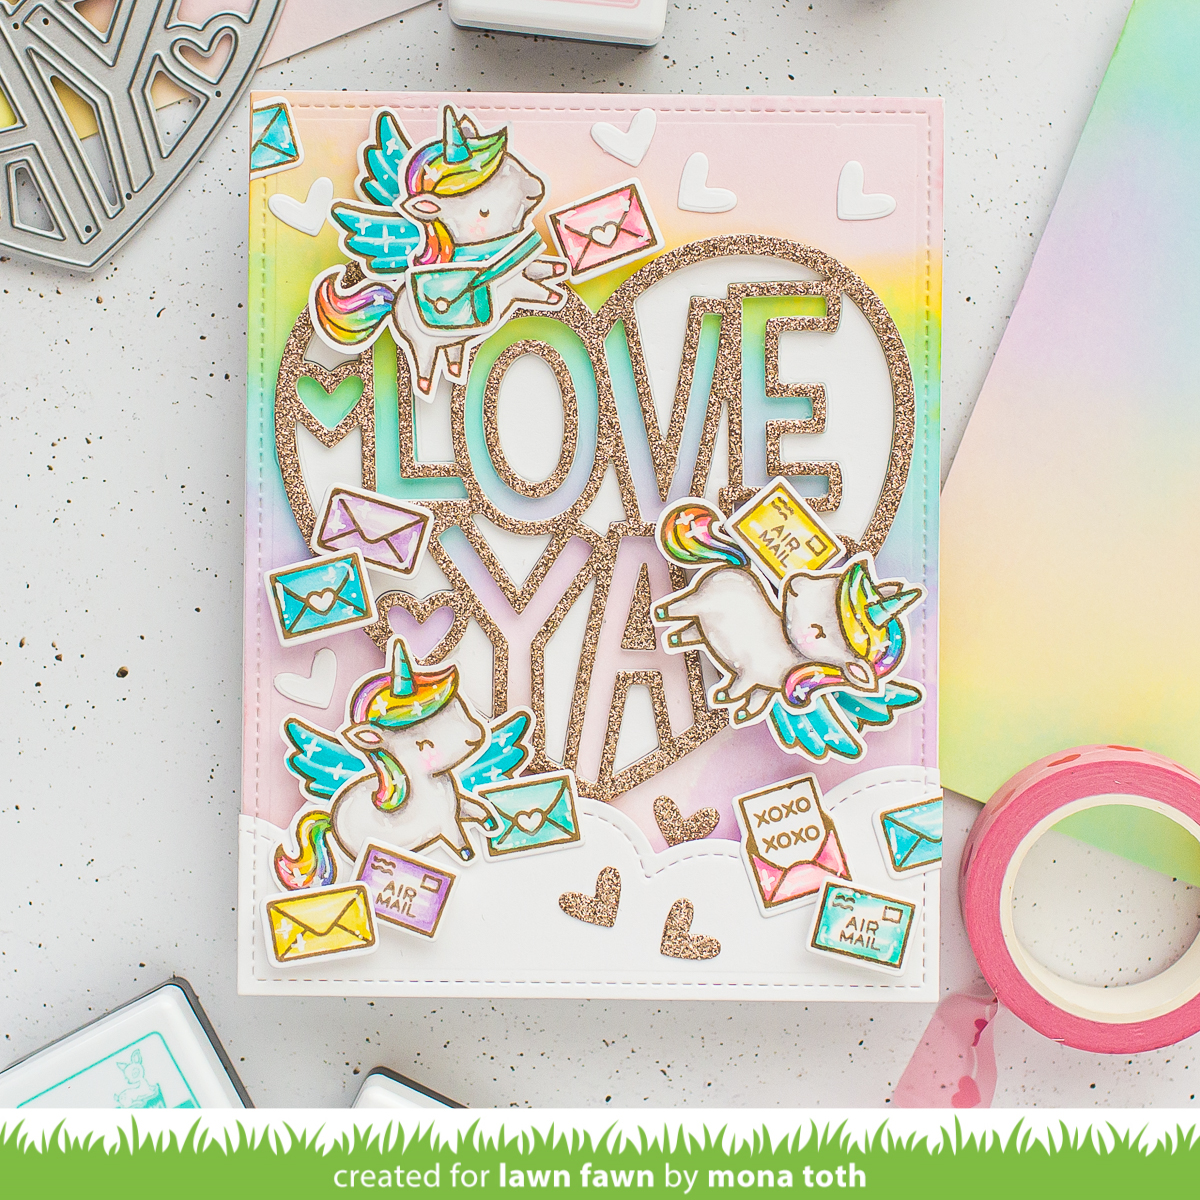
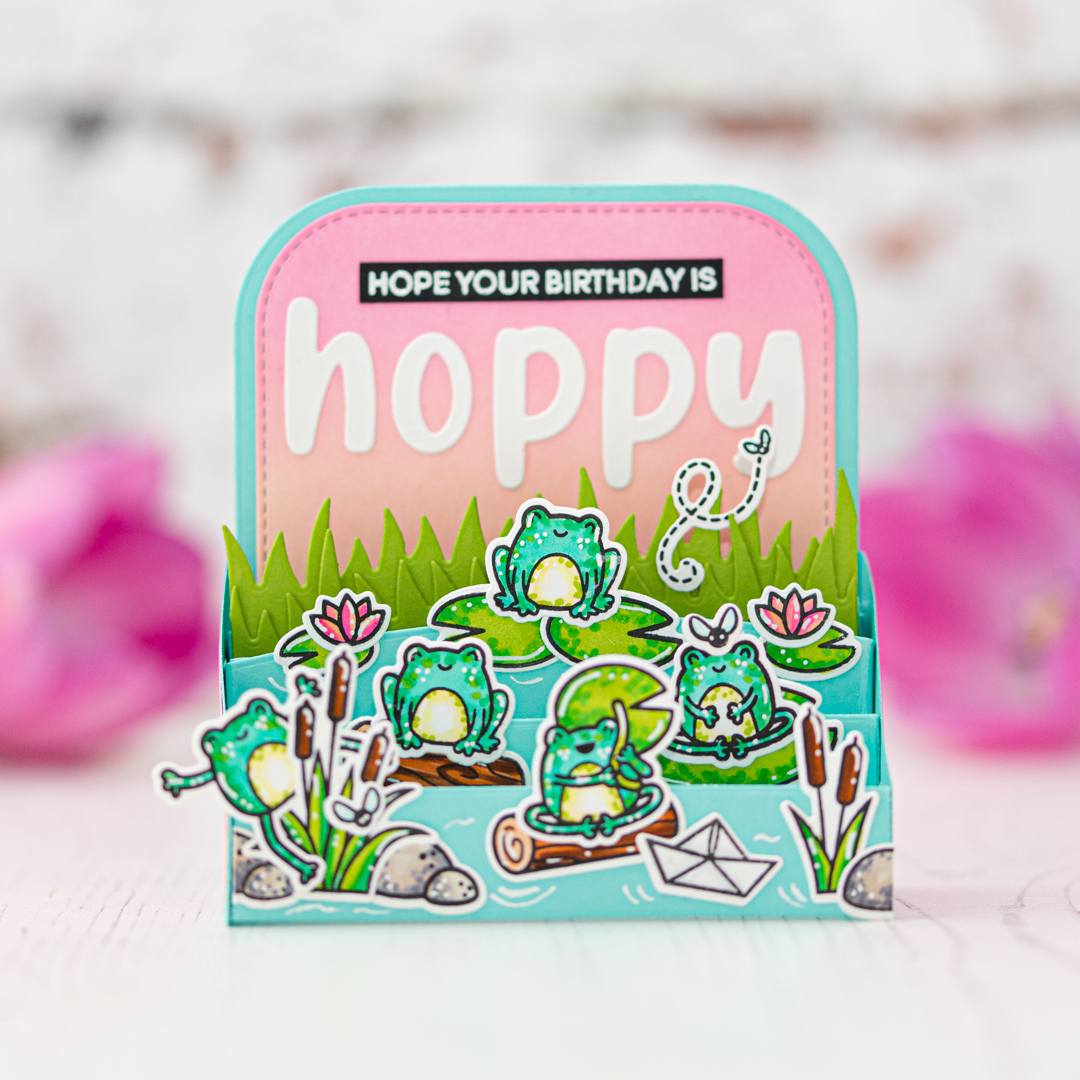
It's always exciting to try a new technique, or card type, so it was a joy to create this 3D card with the new Brooke 3D Box Card Die, what I made for the Heffy Doodle Insta Hop. (Hoppy hop 🐸😂) Come and join to hop along for the opportunity to win one of the gift cerfificates.

THIS CARD FEATURES
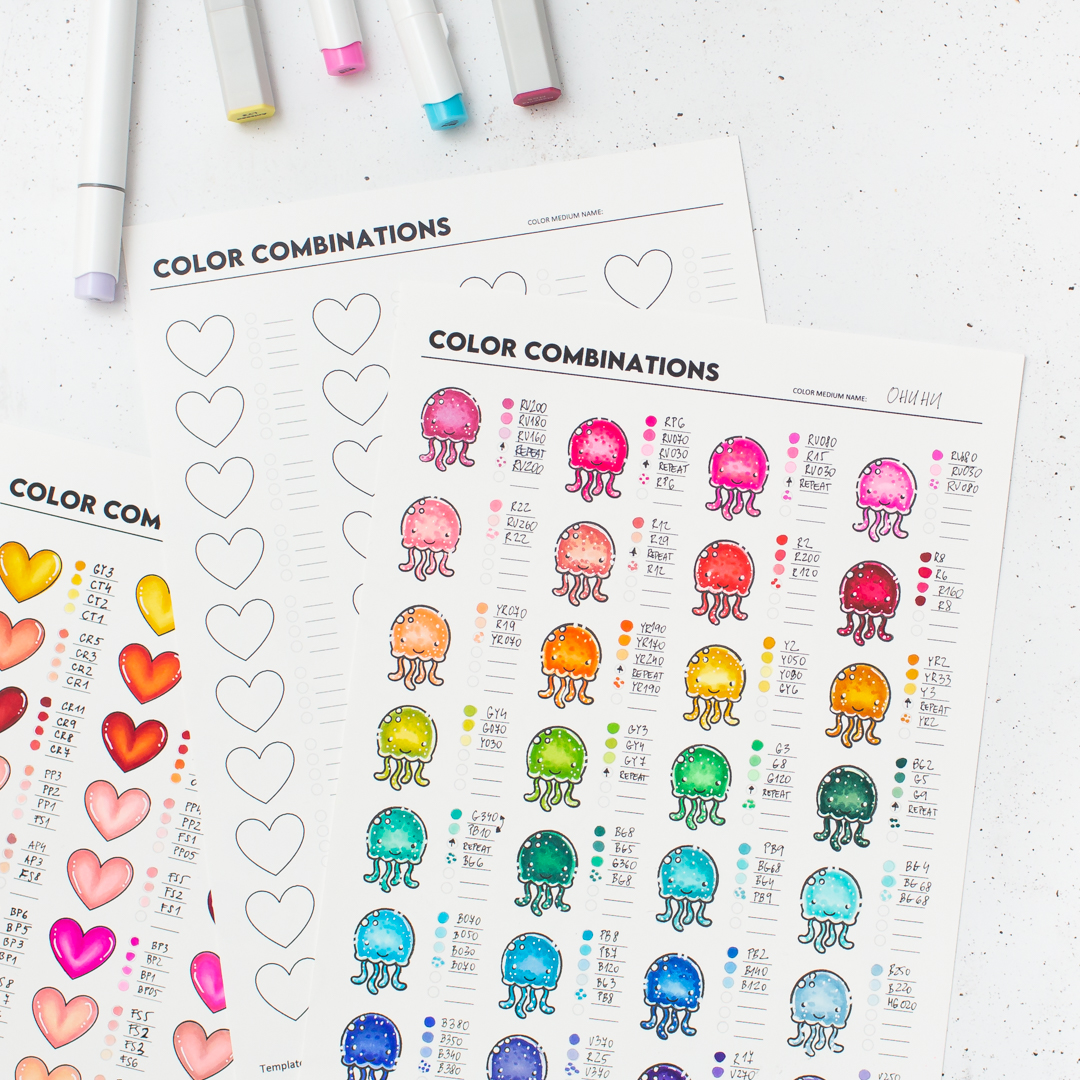
- Ohuhu 216 Colors Set
- Brooke 3D Box Card Die
- Be Hoppy Clear Photopolymer Stamps
- Be Hoppy Clear Photopolymer Dies
- Moxie Alphabet Dies
- Freshly Cut Grass
- Kitsch Flamingo Distress Oxide Ink
- Tattered Rose Distress Oxide Ink
- Cilantro cardstock
- Mermaid cardstock
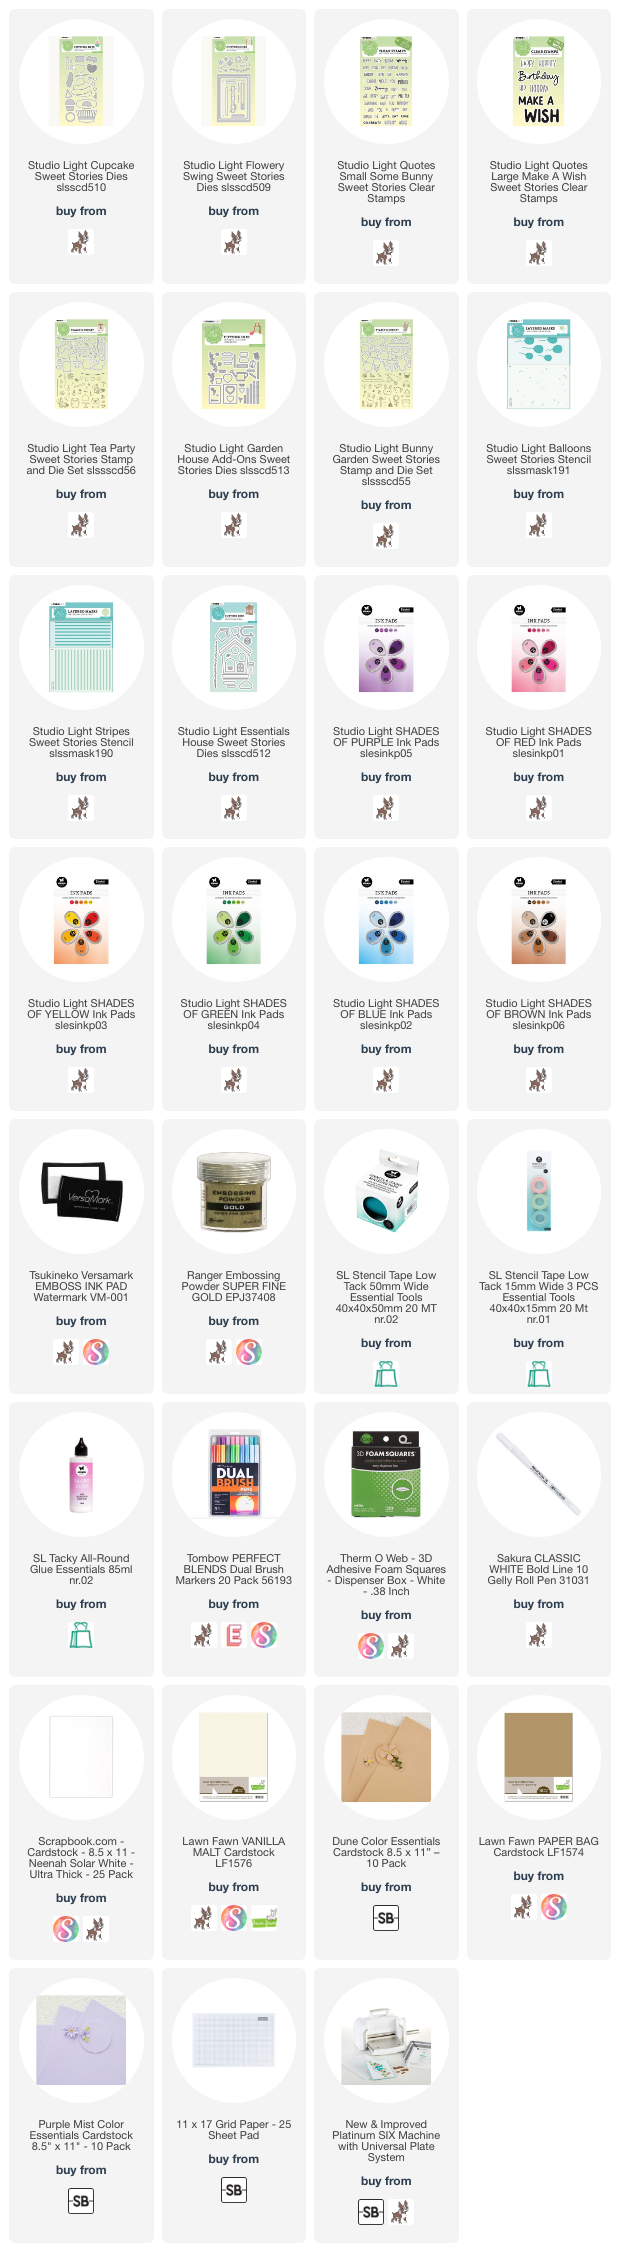
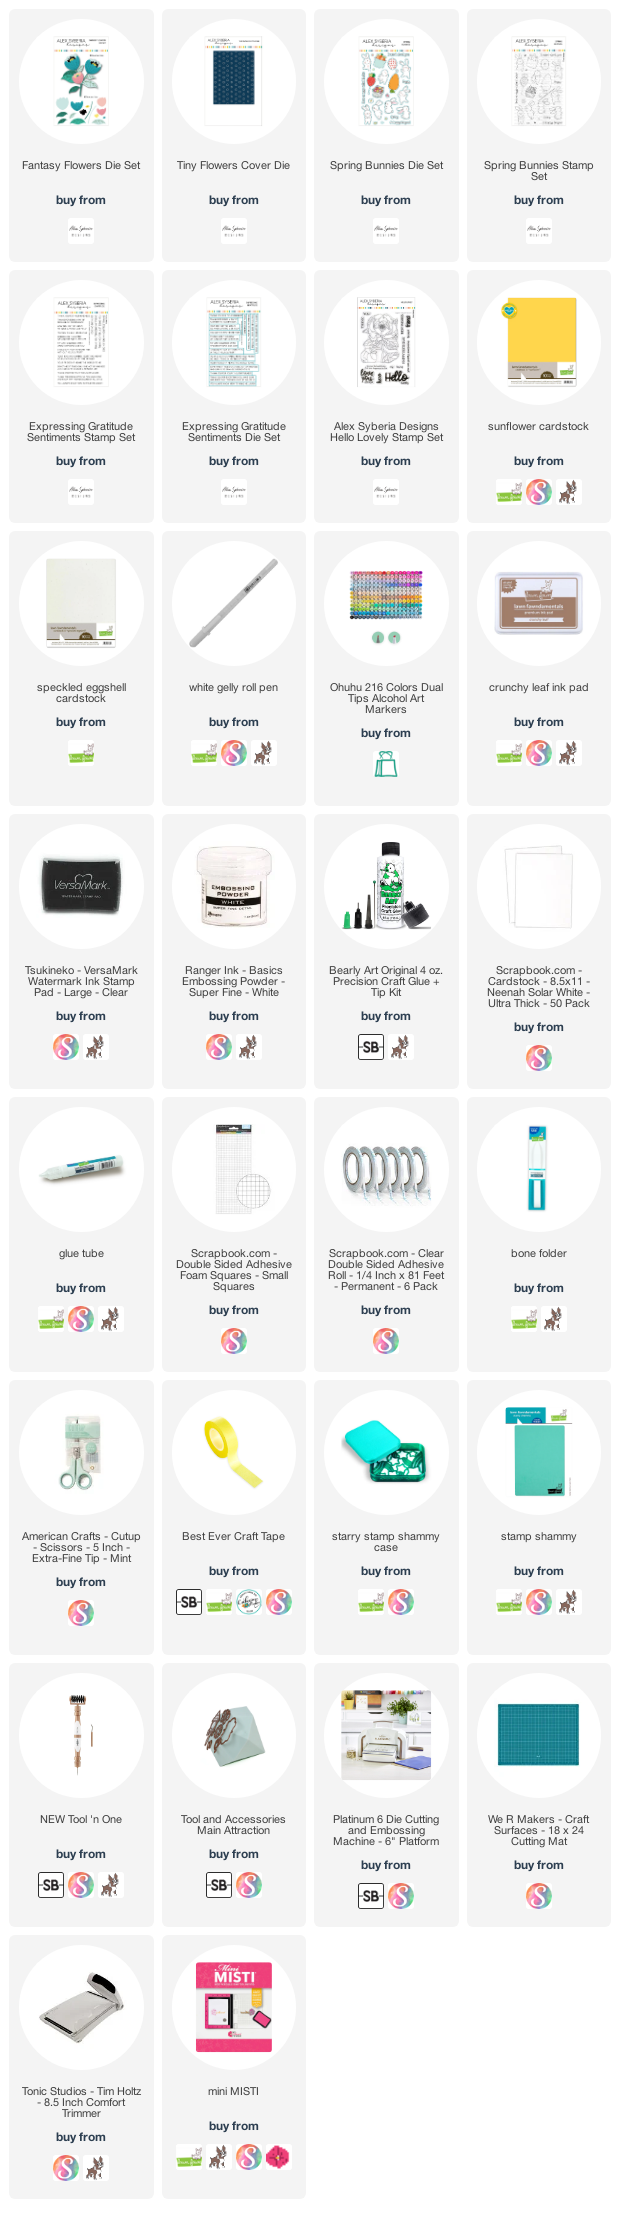
- For the additional supplies with shop links visit the thumbnails below this post.

If you got inspired please help me to spread the word by pinning this photo to your Pinterest.
💖
STAMPING AND COLORING
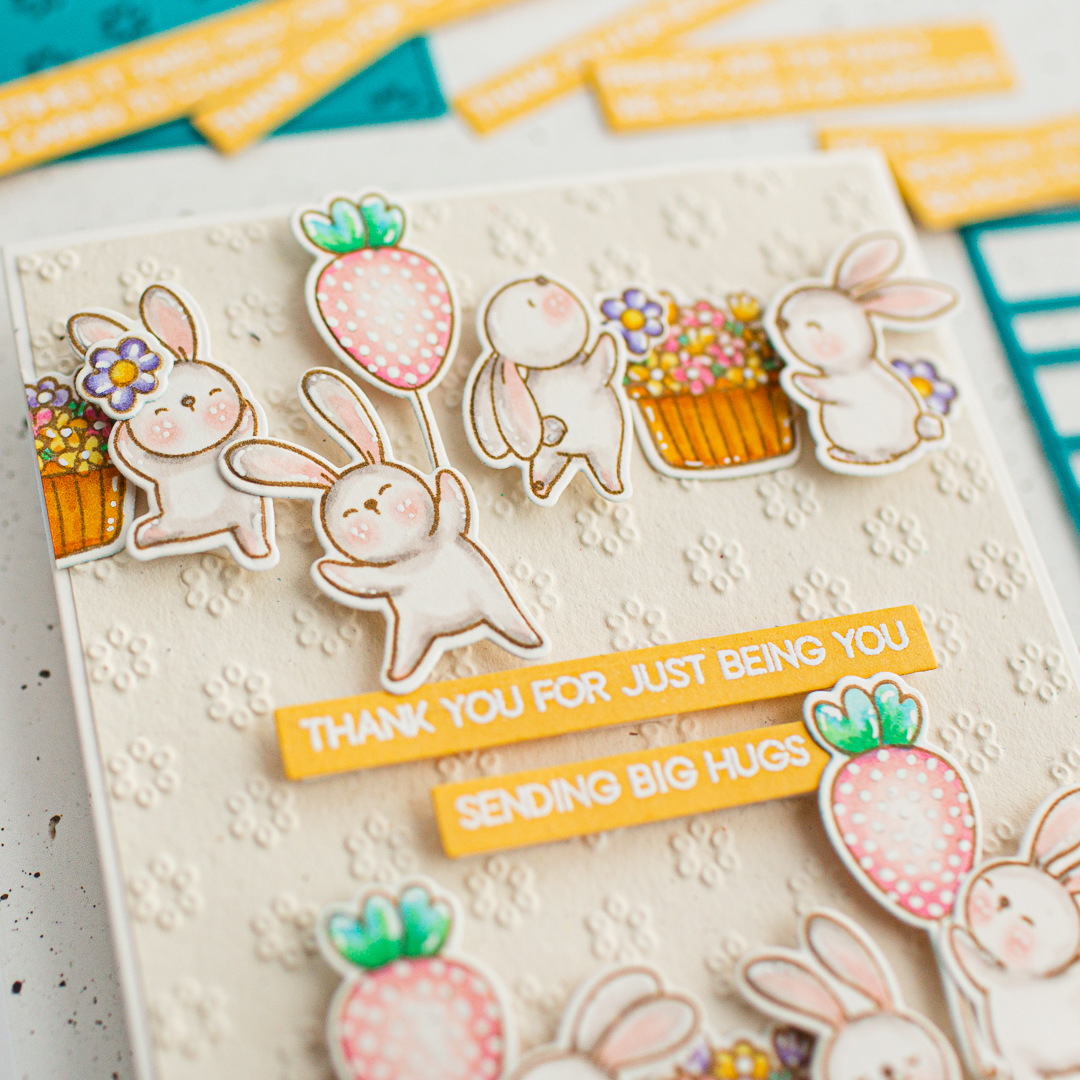
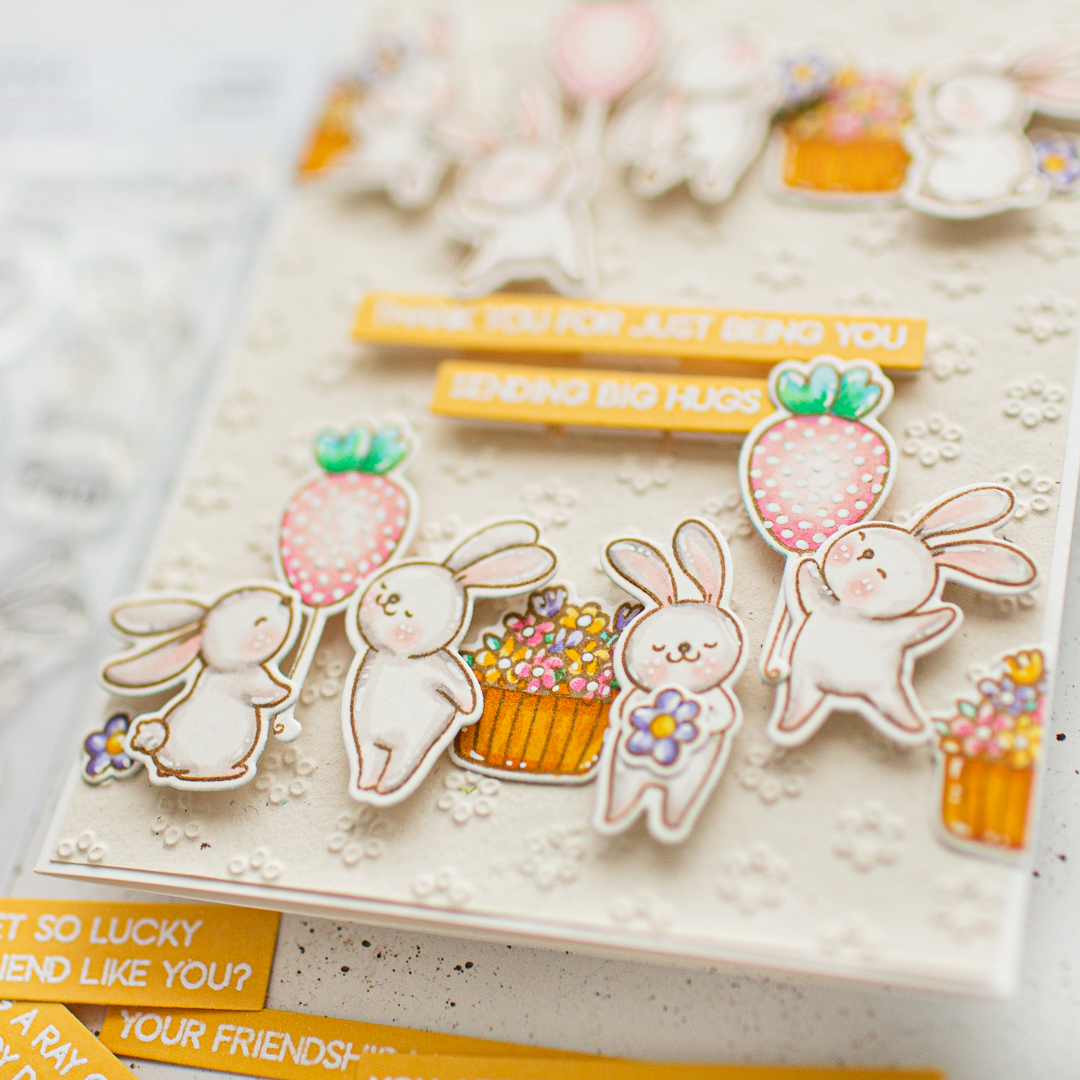
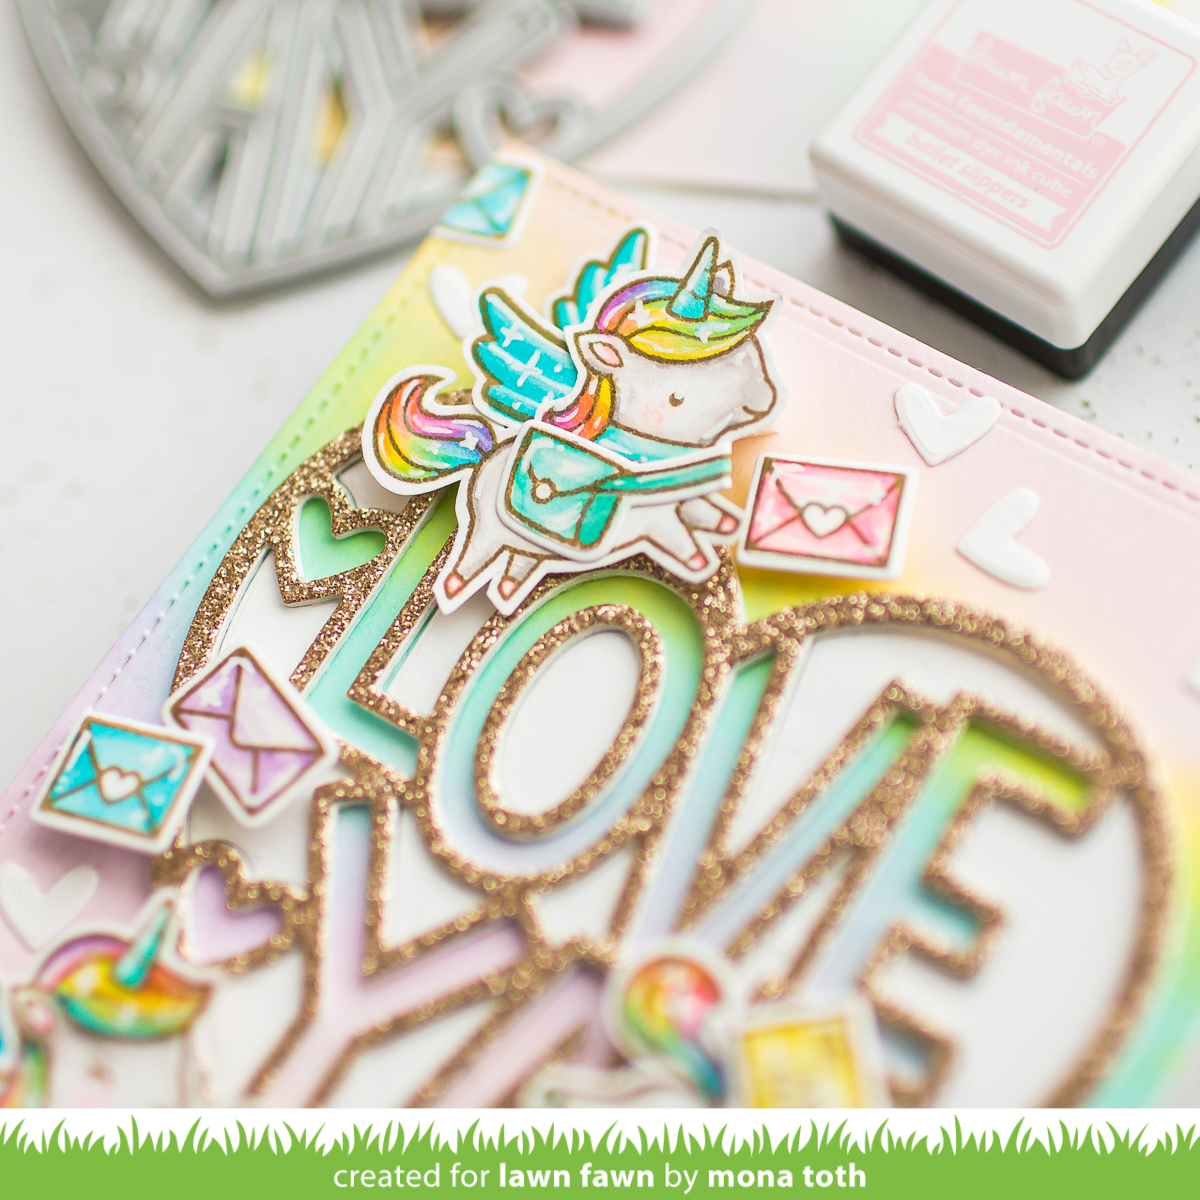
I started the cardmaking process with stamping. I inked the cute frog images from the Be Hoppy Clear Photopolymer Stamps with Jet Black inkpad to Neenah Solar White Cardstock, then I gave them a little heat set with my heat gun, to fix the ink on the cardstock. After a heat set, I started the coloring process with Ohuhu markers.
POP-UP CARD BASE
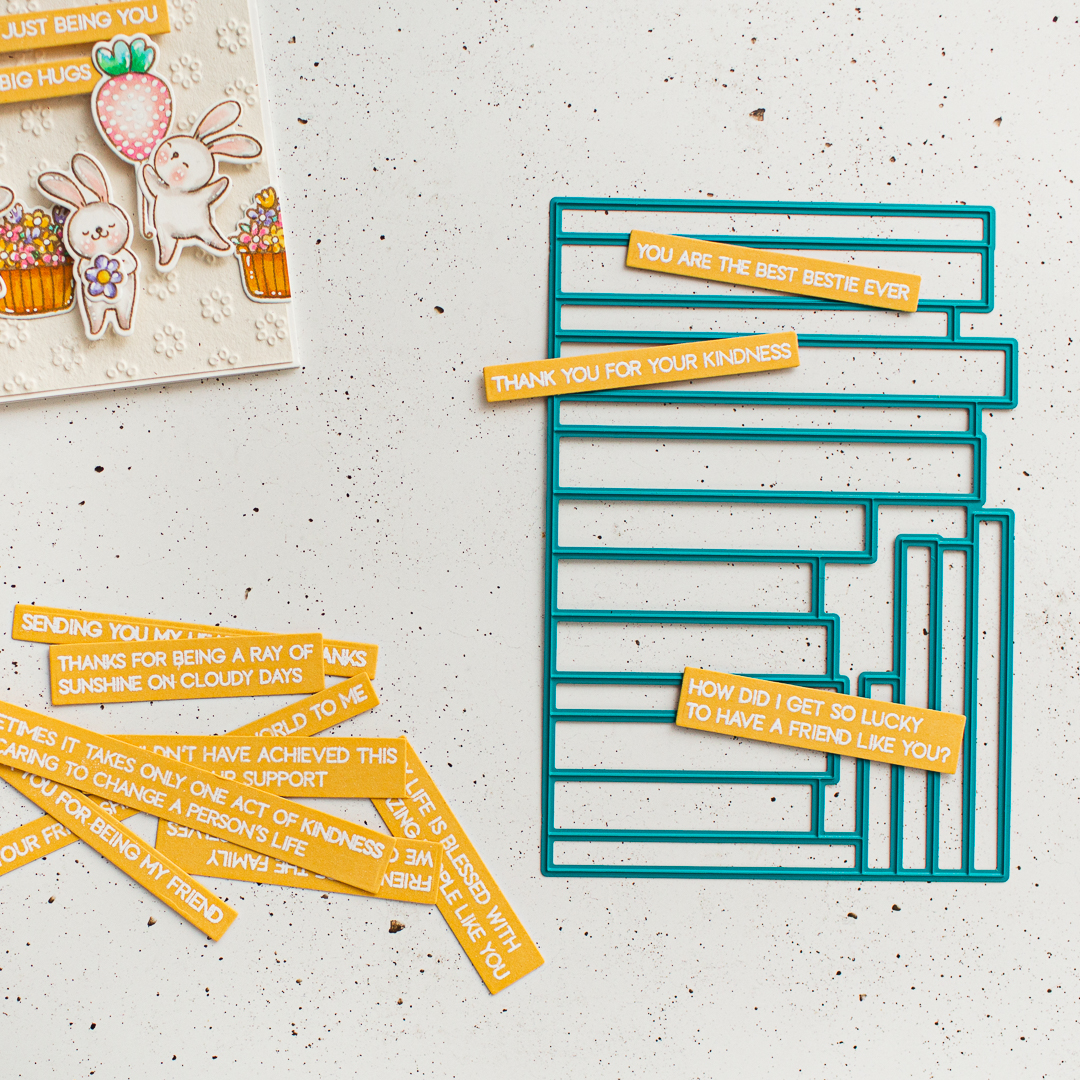
When the coloring was done, I created the diecuts with the Brooke 3D Box Card Die from Mermaid cardstock. I also made a few die-cuts with the Freshly Cut Grass Dies with Cilantro cardstock. Next, I created some stitched Die-cuts from Neenah Solar White Cardstock and made on it a quick inkblending with Kitsch Flamingo and Tattered Rose Distress Oxide Inks. That's what you see in the background and on the sides of the card.


SENTIMENT
Before I put the colored critters to my box, I created the sentiment to the background. I created the "HOPPY" text with the new Moxie Alphabet Dies and I also stamped the sentiment from the Be Hoppy Clear Photopolymer Stamps with watermark ink. After this I heat embossed it with white fine embossing powder on a black cardstock.

WRAP UP
Last but not the least, the colored images found their place. Thank you so much for stopping by, don't forget to join the IG hop fun by April 27, 2023 at 11:59 PM EDT

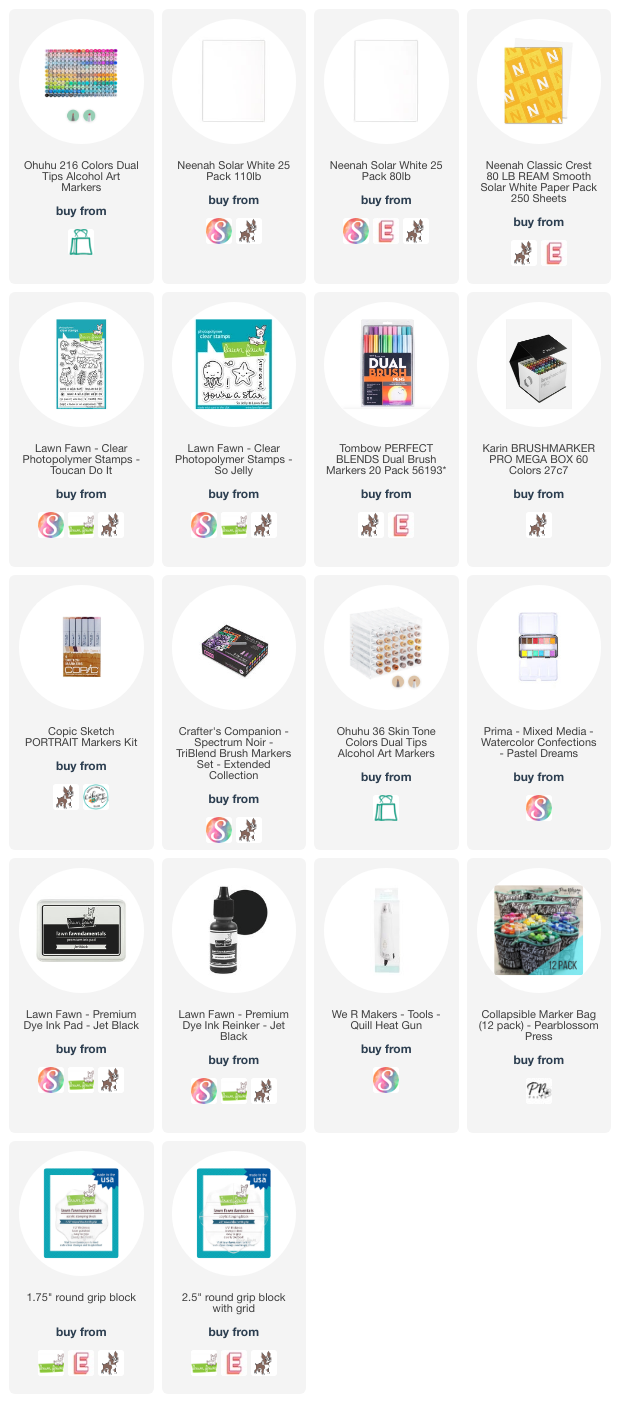
USED SUPPLIES
Affiliate links were used where possible. I may earn a commission if you click them and make a purchase (at no additional cost to you). I am using only products I LOVE. If you buy supplies through my affiliate links, you support my channel and blog with a small commission and when you shop through my links I will do a happy dance. Affiliate Disclaimer.
.JPG)
.JPG)
.JPG)

.JPG)