Showing posts with label tombow marker. Show all posts

[VIDEO] Mini card inspiration with rainbow cupcake coloring tutorial

Hi crafty friends! I am back with another coloring video tutorial. From this video you will learn how to color rainbow cupcakes and how to create mini cards quickly and easily. You can find the video here


THIS PROJECT FEATURES


Do you enjoy this inspiration? I really appreciate if you pin this photo to your Pinterest.

VIDEO TUTORIAL

Be sure to check the video tutorial with extra tips and tricks. As always, you can find the used supplies below the post, and if you have any questions feel free to ask in a comment.

Watch the video above | Watch the video in HD on YouTube


CARD INSTRUCTIONS

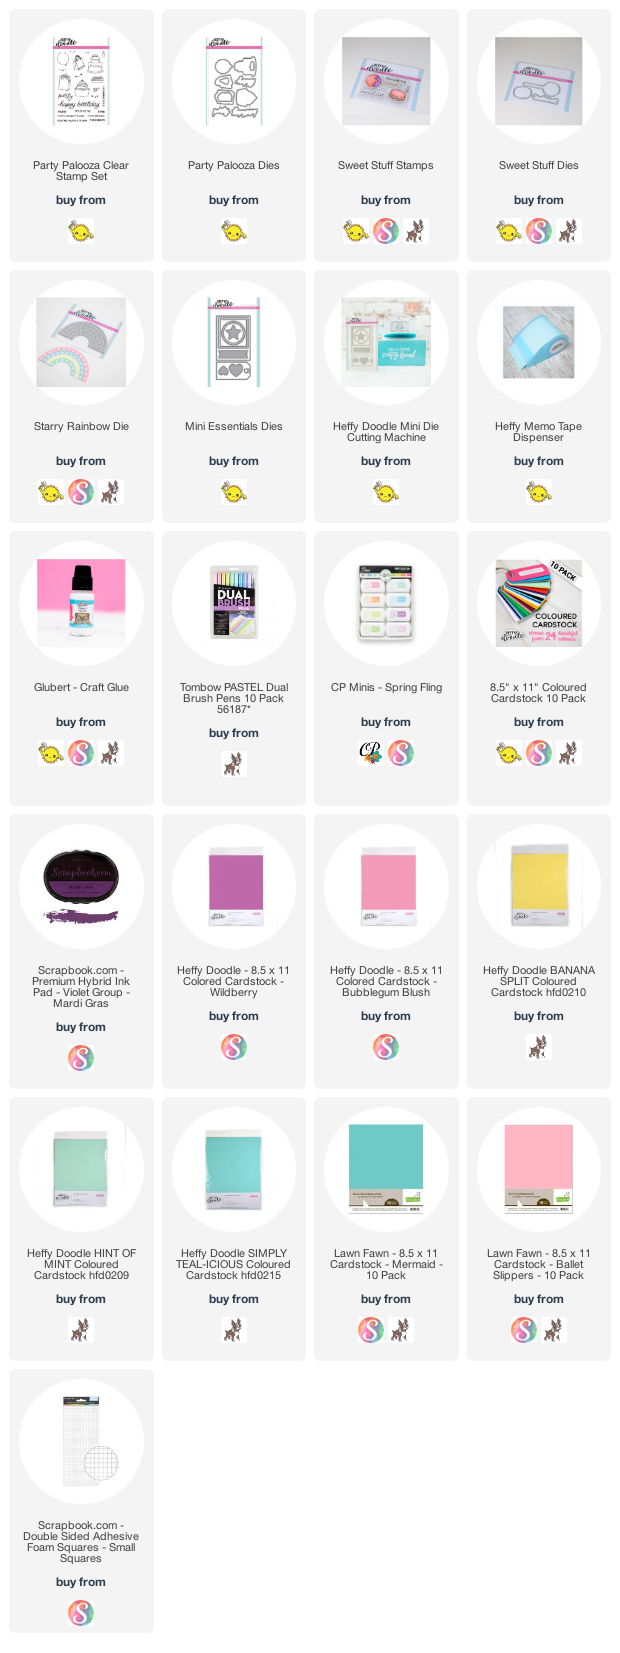
For this project I will use this cupcake image from the Party Palooza Stamp Set, this macaron from the Sweet Stuff Stamp Set, the Mini Essential Die set as well as the Starry Rainbow Die. I stamped the images with Violet all-purpose craft ink, called Mardi Gras. I have used this color because I wanted to achieve a brighter look. Colorful outlines always help in that.


For the coloring I am using water based Pastel Tombow Brush Markers on Bristol smooth cardstock, but feel free to try it with any type of markers you have with the right cardstock. For the coloring and the full process be sure to check out the video here.


Once the coloring was done, I added highlights with white pencil and white pigment pen, then I run the images through my mini die-cutting machine with their coordinating dies. I have created two mini card fronts with the largest die from the Mini Essentials Dies from light pink and blue cardstock. I have also created rainbow with the Starry Rainbow Die and Heffy Doodle cardstock.


Next, I stamped the happy birthday sentiment from the Party Palooza Stamp Set  to my card fronts with watermark ink, then I heat embossed it with white fine embossing powder. When it was done, I made a quick ink blending on the mini card fronts. I have used the Be Mine and It’s a Boy inkpad colors from the Spring Fling Mini set by Catherine Pooler. Next, I splattered on it with white, pink and blue watercolors and let them air dry.


In the end I just adhered everything together with different types of adhesives and put it to a 3 and ¾ by 5 and 7/8 card base which I folded in half. In the end I created one more die-cut with the Starry Rainbow Die, this time from white cardstock and used the small stars to embellish my card. Thank you so much for joining me, see you next time, have an amazing day, Mona.


USED SUPPLIES

Using affiliate links does not mean additional costs for you. I really appreciate your support. I am using only products I LOVE. If you buy supplies through my affiliate links, you support my channel and blog with a small commission and when you shop through my links I will do a happy dance. Affiliate Disclaimer.

Sunny Studio Stamps | Fabulous Flamingos


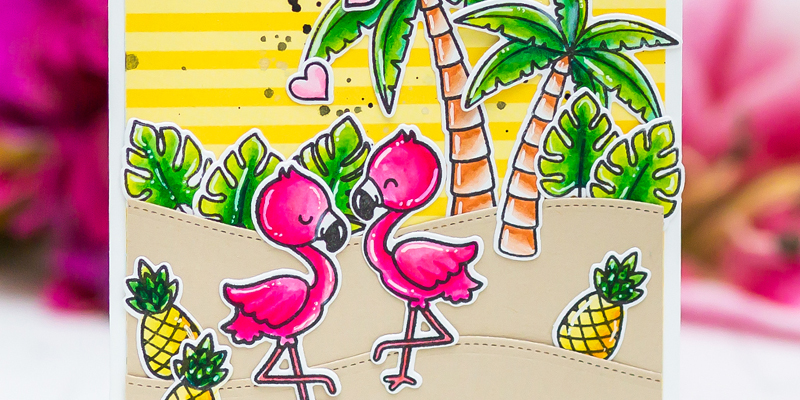
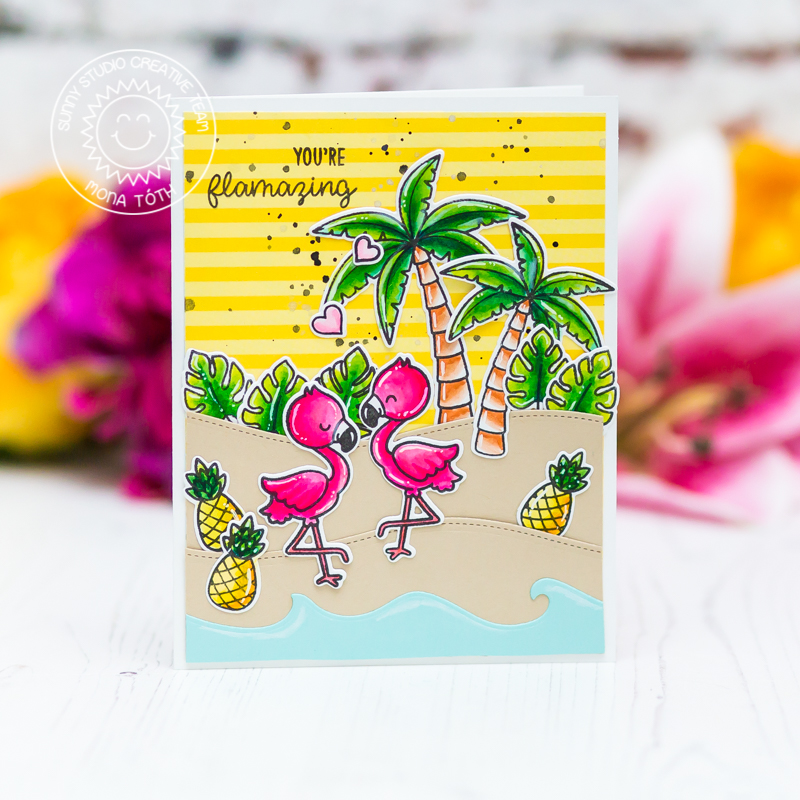
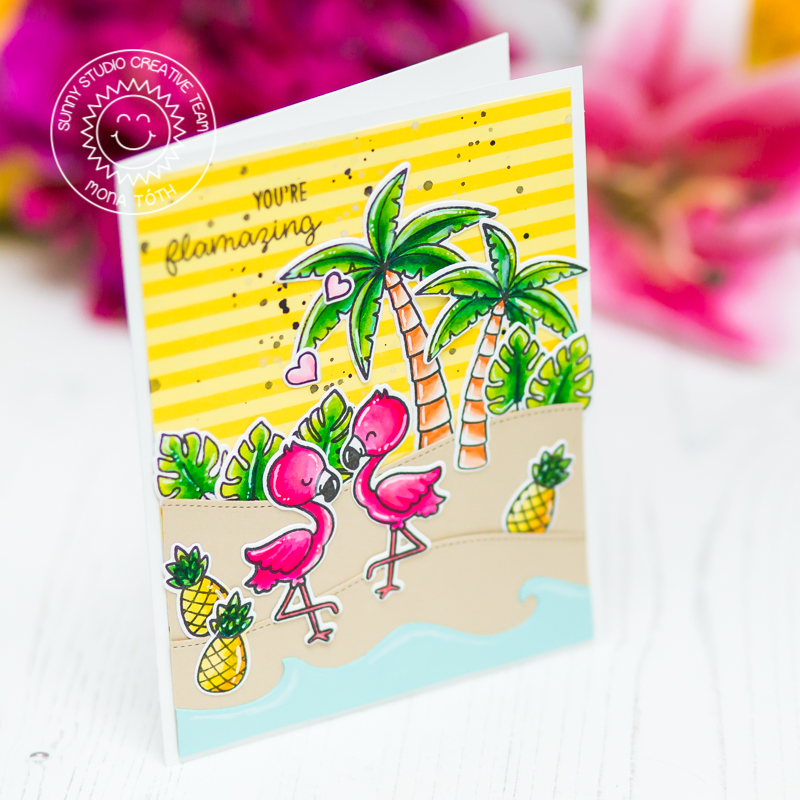
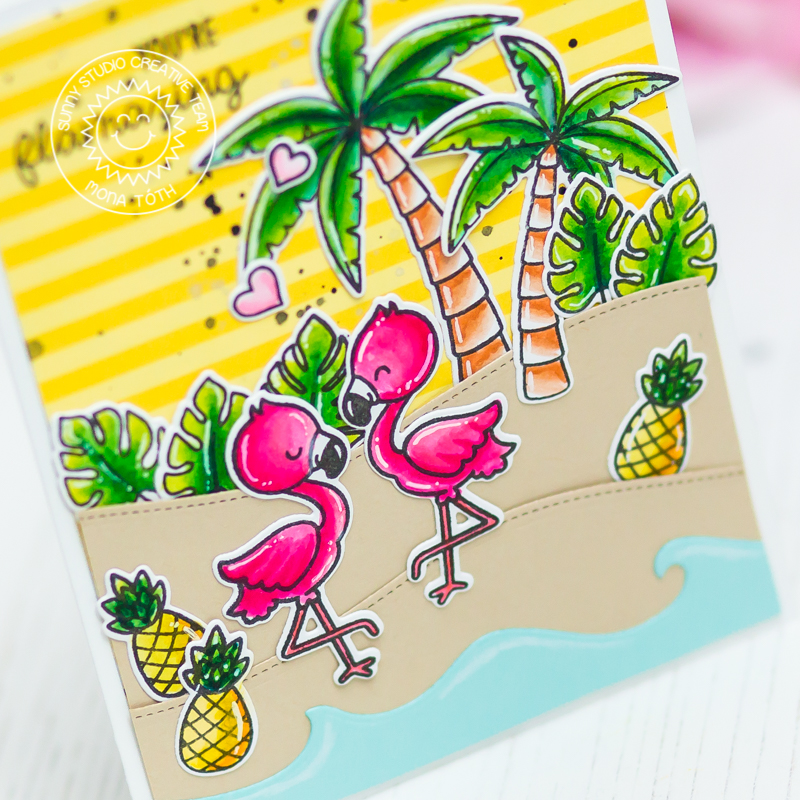
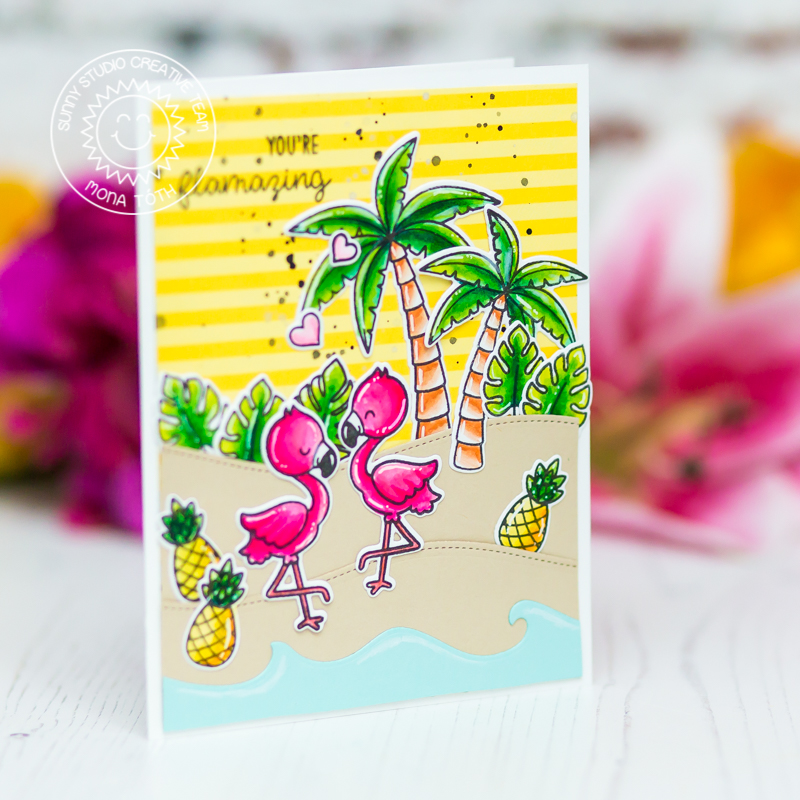
Hi crafty friends! Today I am showing you a cute summer card with the Fabulous Flamingos stamp and die set from Sunny Studio Stamps.


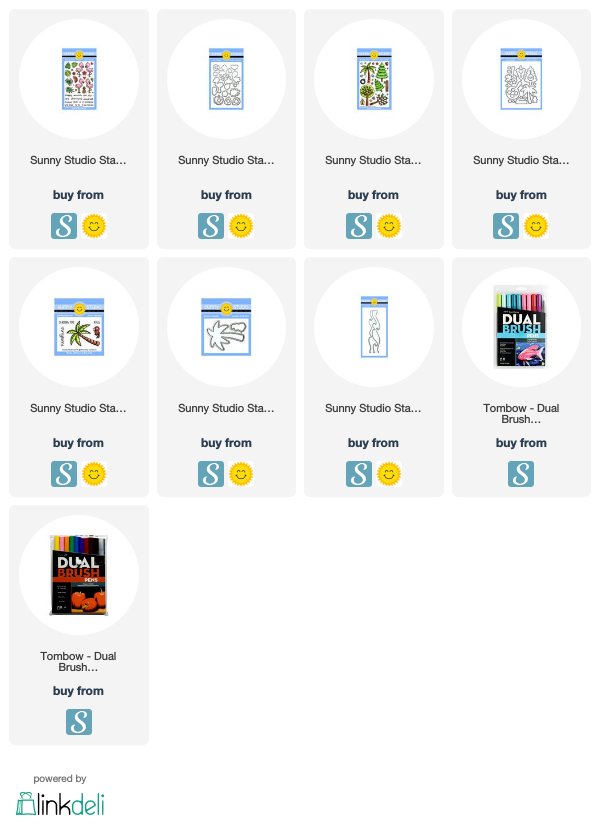
I started the card making with Stamping and coloring. I stamped the images with the Fabulous Flamingos, Seasonal Trees and the Sending Sunshine stamp sets and colored them with my Tombow Markers. After the coloring I ran them through my Die-cut machine with the coordinating dies.


The next step was the scene. I picked a yellow, stripy cardstock from the Summer Splash Paper Pad and splattered on it with black watercolor. When it was done I adhered it to the card base. Next I made a few die-cuts with the Catch a Wave and Woodland Borders dies.


I stamped the sentiment to the top of my card, adhered everything together and a piece of summer to the envelope is ready.


I really love the result I hope you too. Thank you very much for reading through my post, I hope that you have enjoyed it and I have inspired you! See you next time. 

SUPPLIES


I prepared for you the list of products which I used for making this project. If you buy these through my links you help me running this blog. (You can find the affiliate disclosure here). Thank you for your support!


SAVE IT


My projects compressed into a photo :) If you like it, save it to your Pinterest board. Thank you!