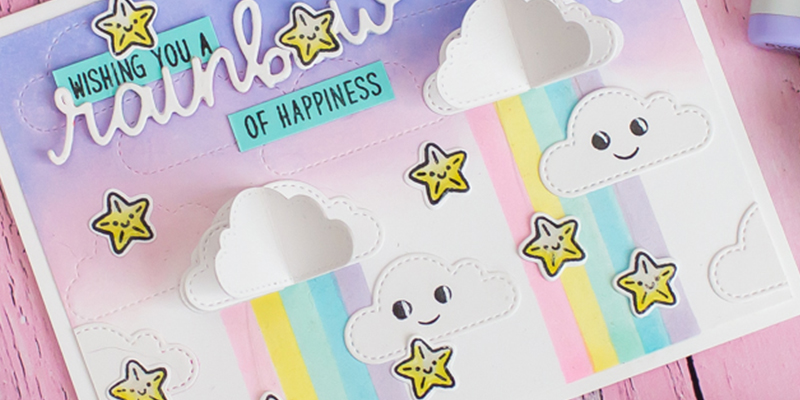
Hi crafty friends! Today I am showing you a really easy interactive card with the Fluffy Clouds Dies from Sunny Studio Stamps.

I started the card making with ink blending with Shaded Lilac and Spun Sugar Distress Oxide Inks.
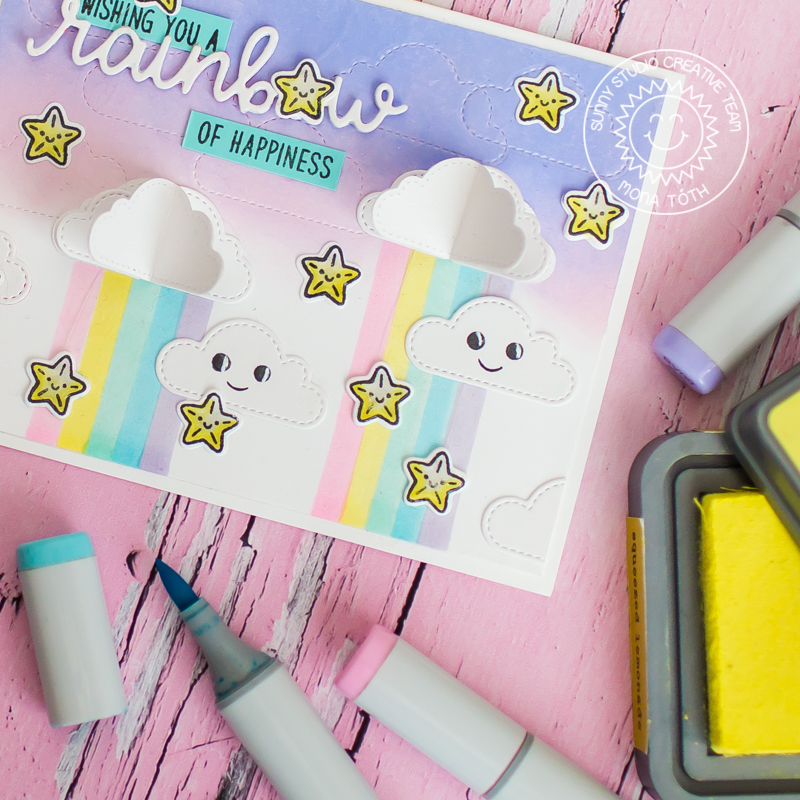
Next I styled the clouds with the stitched edges on the background, and I ran them through my die-cut machine.
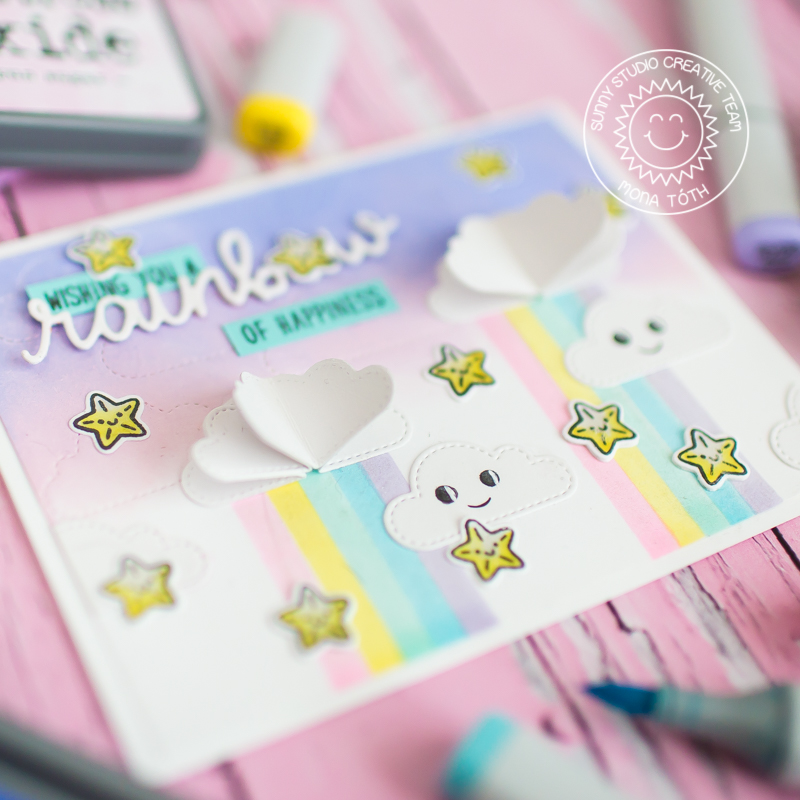
Next I created the rainbow stripes with my Copic Sketch Markers. I used a ruler and I made rainbow stripes with the chisel nib. Used Copics: Y13,RV02, BG01, BG11,BV00.

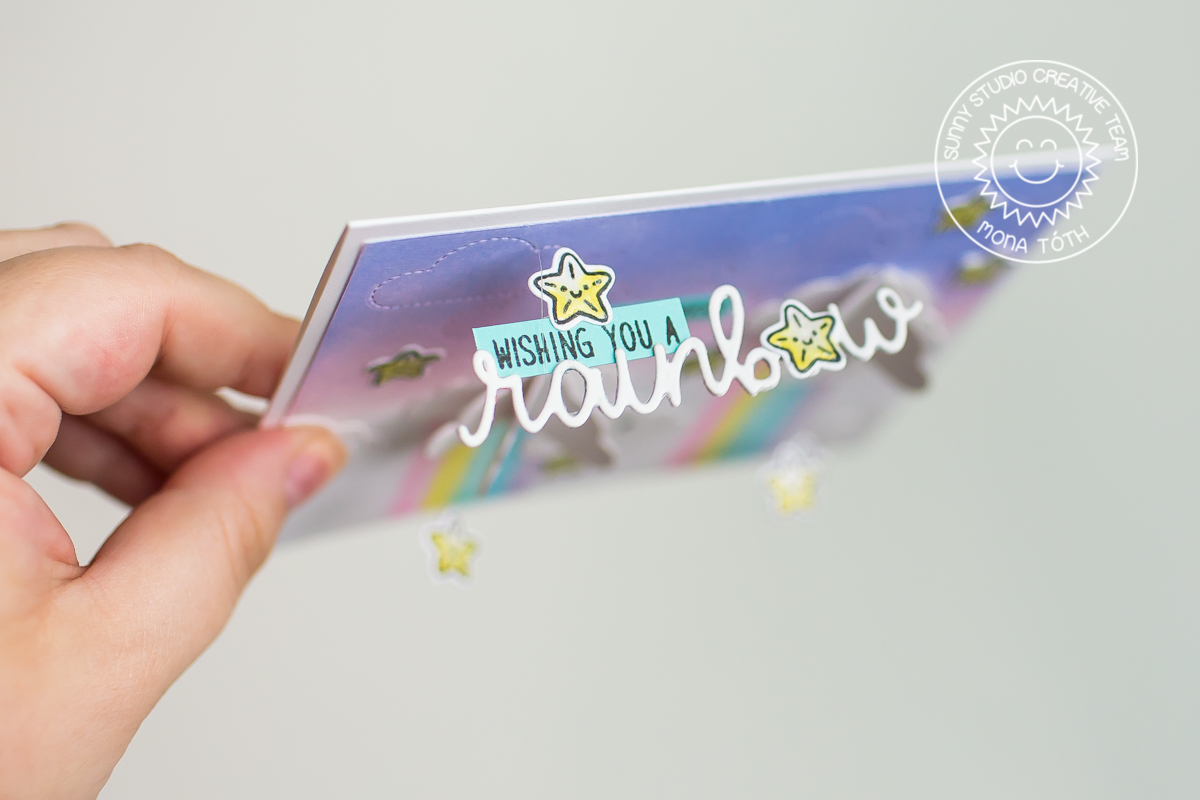
Once it was done I stamped and colored the cute stars with the Best Fishes Stamp Set and for some stars I made a clear die-cut too and I adhered clear fishing lines between the papers so when I shake my card it will shake too. When it was done I stamped the sentiments from the Over the rainbow sentiment stamp with black ink to the teal cardstock.

The next step was the Die-cutting! YAY! I Die-cut 2 parts of the Rainbow sentiment and I adhered a clear fishing line between the Die-cuts then I styled the sentiment. Once it was done, I adhered it to the back side of the front paper, and because of this the sentiment can move.

 When it was done I made 4pc of Fluffy Cloud Die-cut, folded them in half and adhered together and I got a cool 3D cloudie. I repeated the process and I also made "single" clouds too, and added eyes to them with a bubble stamp from the Best Fishes stamp set.
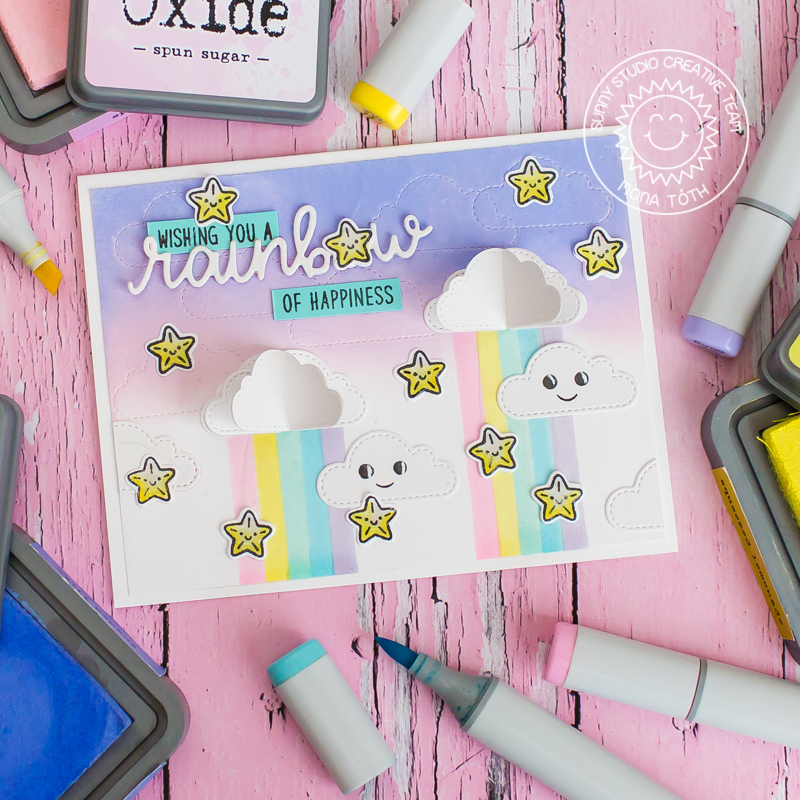
In the end I put my card together and I can tell you, I really love this soft and cute result. I hope you like this inspiration, have an amazing day, see you next time. :)
SUPPLIES
I prepared for you the list of products which I used for making this project. If you buy these through my links you help me running this blog. (You can find the affiliate disclosure here). Thank you for your support!
SAVE IT
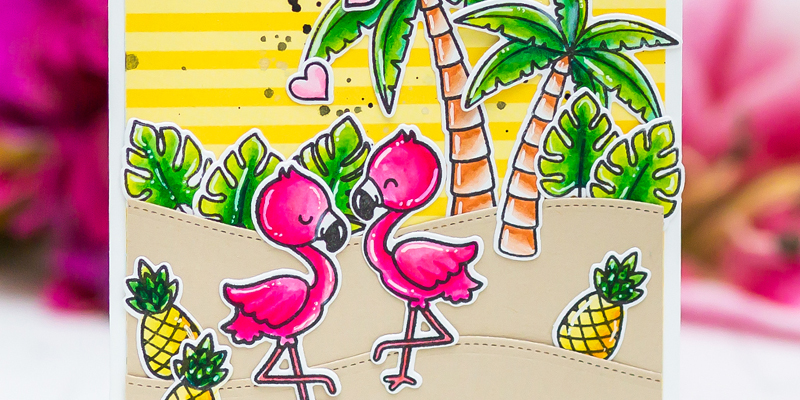
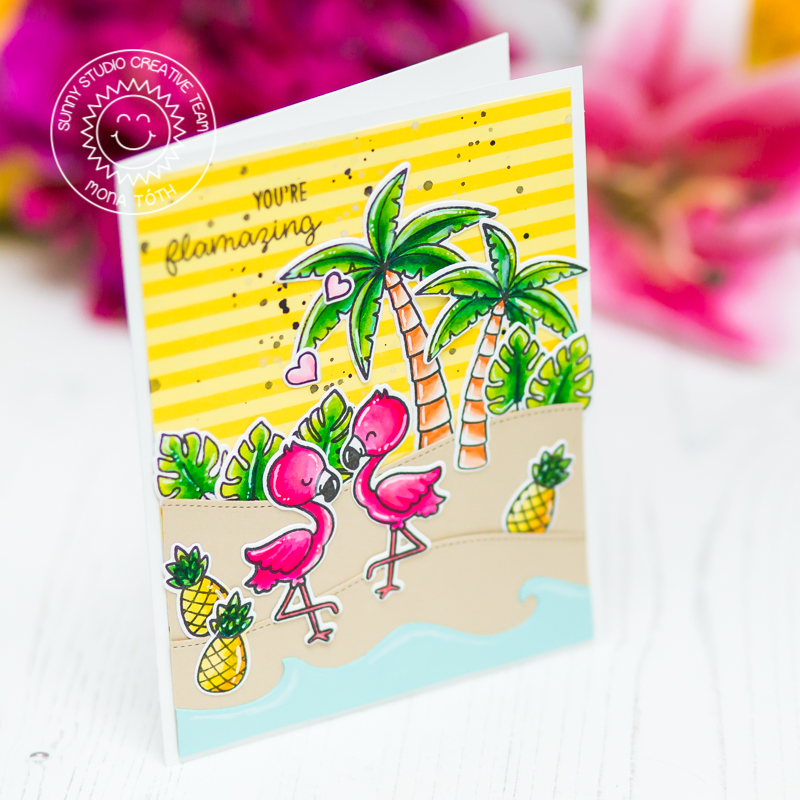
My projects compressed into a photo :) If you like it, save it to your Pinterest board. Thank you!