Showing posts with label crafty tips. Show all posts

Stuck Posting Your Cards? Here’s What Helps Me - A Crafter’s Step-by-Step Guide

A few weeks ago, I was sitting at my craft table, wondering what card I should make next. It took me a while to get it: I need to focus on what I feel like creating!


I dusted off my Daniel Smith watercolors and used those instead of my beloved Ohuhu Markers. I didn’t even stay in my craft room! So, I had no plans, just wet my brush and started painting in my sketchbook.

A joyful floral watercolor painting in a sketchbook, created with Daniel Smith paints during a relaxed crafting session.
This post contains affiliate links and I may earn a commission if you click them and make a purchase, at no additional cost to you.

It felt so good to make something fun and enjoy the creating process. At the end, I just took a phone shot of it, as it was.

If you’ve ever felt stuck or pressured to create, you’re not alone!

Because the truth is, a lot of crafters struggle with sharing their work online at some point. I've been there too! And that’s exactly why I made this post. So let’s dive into what helps me get unstuck and find my way back.


Why Is It So Hard to Post Your Cards Online?


Research¹²³ confirms that creative activities like crafting can boost happiness and wellbeing. They give us a meaningful way to express ourselves and feel more grounded.


At the same time, crafty communities and online forums show that it’s super common to feel stuck or hesitant about posting what we’ve made.

So, what’s really going on here?


Is posting really the hard part? Or is it something else hiding underneath? Here are some sneaky thoughts and situations that can hold you back:

Life happens


When you just don’t feel like it. And that’s totally okay. Your crafty supplies will wait until you’re ready to craft again!

A hand holding a Lawn Fawn clear stamp set called "Big Acorn," featuring cute acorn and face stamps for fall-themed crafting.

Fear of judgment


That tiny bird on your shoulder whispering, “What if people don’t like it?” Yep, I know her too. But the truth is: the people who matter will love it because you made it. And those who might roll their eyes? They probably would judge you anyway, no matter what you do. It’s not about you. It’s about them.


Trend pressure


Sometimes we feel like we should post, especially with collabs or design team commitments. But what if you gave yourself a craftless week... just to reset? You might even find yourself missing it.

Perfectionism


Have you ever wondered before posting a card: “Is it good enough?”

The truth is, we’re always harder on ourselves than on others. I mean, would you zoom in on a crafty friend’s work just to spot every little “mistake”? I don’t think so! You’d see the heart in it. The colors. The joy.

Handmade rainbow card created with Pinkfresh Studio products, featuring ink blending, sequins, and a sentiment that includes a small mistake, but it’s still beautiful and good enough.
A Pinkfreshstudio card I made back in 2021, the sentiment is totally off, and thats okay.

Try looking at your own creations through your crafty friend’s eyes. It might just change everything.

Overwhelm


Cardmaking is the fun part. But everything around it can feel like a lot:

  • prep your project
  • craft, actually
  • video recording
  • keep your space tidy
  • set up your gear
  • style your props
  • take the photos
  • edit them
  • cut the video
  • do the voiceover
  • write captions
  • and finally… post

And it doesn’t just feel like a lot! It is a lot! No wonder you're tired before you even start! Because we're crafters and want to create, not deal with all that hassle. I see you, and I totally get it.

Hands masking over stamped strawberries using teal washi paper

Lack of motivation


If you barely get any reactions to your posts, it can feel like shouting into the void. Even if you say, likes don’t matter, let’s be honest, it still hurts.

But please remember, likes don’t define you and your art! The worth of your handmade creation comes from you!

Your art is totally enough, and so you are!


How to Overcome Craft Posting Anxiety and Stay Motivated


As a step zero, check back to the previous section and try to identify what’s blocking you right now. Before I can move forward, I need to understand what’s holding me back. But the moment I realize and acknowledge it! That’s a really good start!

5 Steps to Get Back to Crafting and Sharing


When we’ve been putting something off, it tends to grow in our minds. Posting can feel that there’s a whole mountain behind it, unless we "fussycut it" into smaller pieces.

Cute fruit stamp images with smiley faces, colored with Copic markers. Includes lemons, oranges, and strawberries on a turquoise background.

Set Your Creative Goal


I’m not talking about mega goals, like: “I want to be a pro colourist!”. I mean regular ones. Like: “I want to enjoy crafting again” or “I want to start posting my cards.” Each of these goals leads to different steps.

If your goal is to enjoy crafting again, your first step might be something as simple as looking through your stamps for five minutes. That’s it. Done! Check it off. Then write your next step directly into your calendar, or set a reminder if that helps!
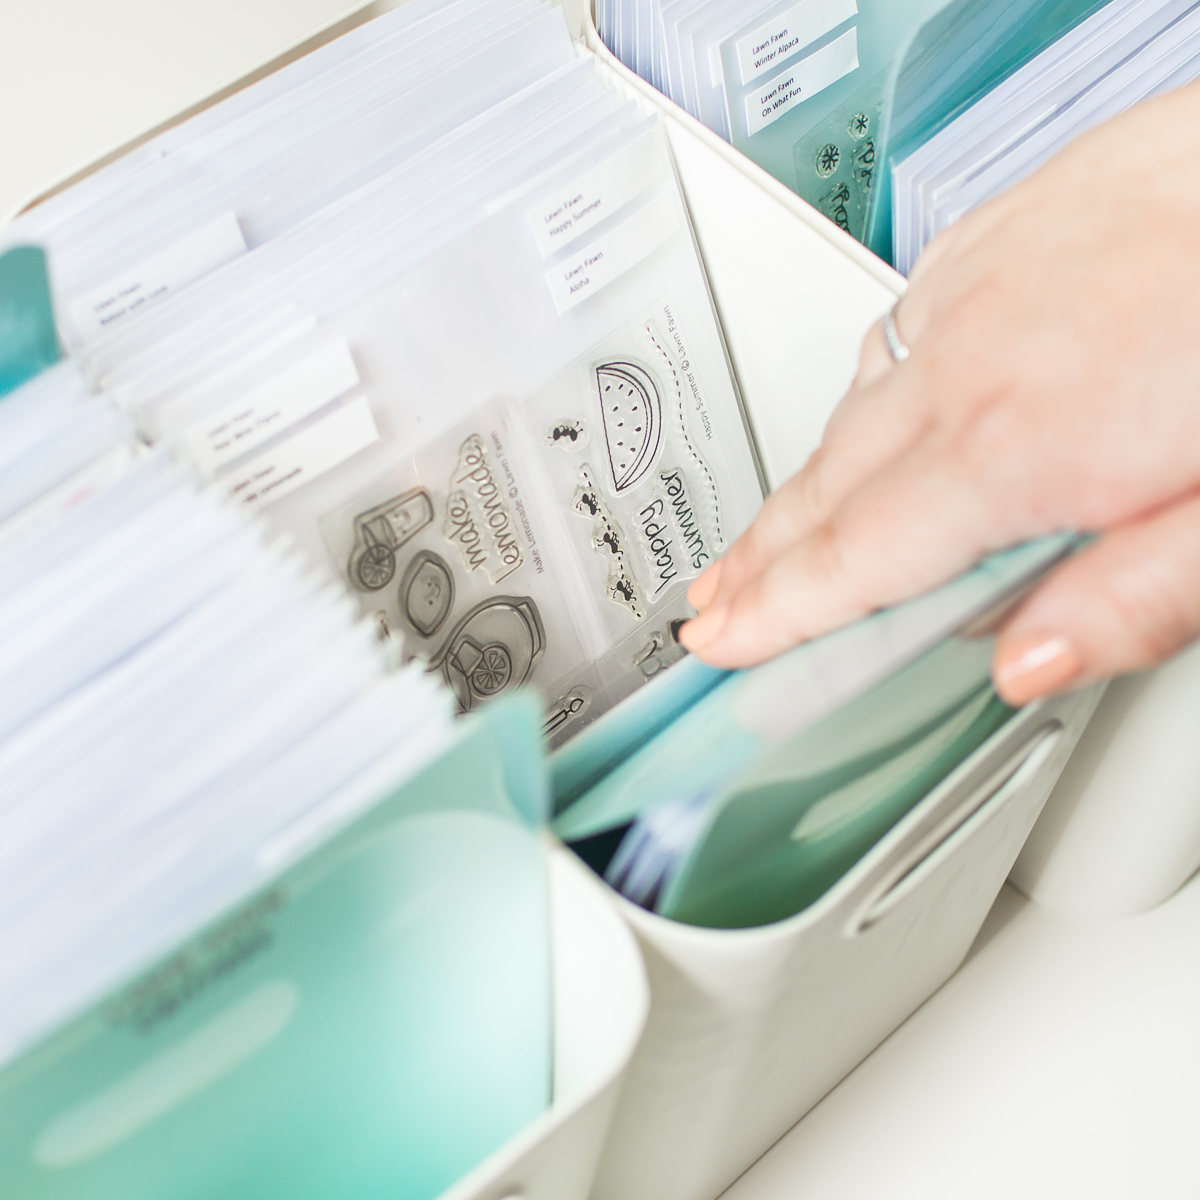
Organizing clear stamp sets by theme in labeled avery elle storage pocket sleeves.

A few months ago, I set myself a personal goal that was just... way too big. No matter how hard I tried, I couldn’t move forward. It took me some time to realize, I can only make progress if I focus on the very next tiny step. This approach helped me a lot, and I truly believe it can help you too.


Create with Joy


Focus on the fun part! Let yourself rediscover your crafty treasures. Pick the supplies you enjoy, and create just for yourself. You don’t need a 49th stamp or the newest die for it. Just play with what you already have! No pressure to share. This is all about finding your mojo again. You can always post your cards later, when you feel like it.


Decide When to Share


Your handmade cards don’t expire. And unless you're on a Design Team, there’s no deadline to post them.

When your project is finished, just ask yourself: “Do I want to share this now?” If your answer is yes, just go ahead! But if your gut screams “hell noooo,” then don’t force it. You can do it next time.

A stack of handmade rainbow greeting cards held in hand, with “hugs” sentiment on top.

Plan Your Workflow

If you want to enjoy your crafty session to the fullest, a simple plan can do wonders. It takes the pressure off your shoulders and gives your creative mind a space to play! And if you're working on a craft collaboration or a DT project, you need to try it! It’s a game changer!

To avoid burnout, try this:

  • Plan your week ahead! It helps you escape those last-minute deadline panics.
  • Pick your crafting day (or crafting hours) and let your people know: “This is my me-time!”
  • Mark your photo session in your calendar, and try to pick a time when there's beautiful daylight. Your creations deserve to shine in the best light!
  • Set another time for writing captions, editing videos, or whatever your content needs.
  • Smaller bites feel easier, and that means you’re more likely to actually get them done.

Stack of clear trays labeled with cardmaking projects, stored neatly next to a rainbow disc-bound notebook.

While you’re crafting, toss your used supplies into a box. Later, when you’re writing your captions or recording your voiceovers, everything will be right there, ready to go.


Take Your Card Photos and Edit


If you can wait for daylight before taking your photos!

Here’s a quick checklist for taking photos of your cards:

  • Go close to your window! Trust me, natural light is your card's best friend.
  • Pick a backdrop! In this Instagram post, I shared 25 backdrop ideas to try.
  • For photo props, grab a few bits from your supply box.
  • Take 2-3 photos of your card

Wondering what I use to photograph my cards? Grab my free gear list, and check all the photo tools I use in my craftroom.

Now, let’s talk about editing.


I know! It can feel like a lot. But editing is part of photography. A photo without editing is like a card without a sentiment. It’s just not finished. Think of it like layering your colors and adding those final white highlights at the end of your coloring. It just makes everything pop! 


This is exactly what editing does to your craft photos. It makes a difference, and it’s really worth it.

I know! This feels like an additional step in your already endless list of “crafting”. But editing doesn’t have to be hard, and you don’t have to do it alone. With the right tools, you can make every photo as beautiful as your handmade creations effortlessly.


If you ever wished you could just tap a button and make your craft photos look amazing? 

Now you can! After years of experimenting, I created a 2-step editing shortcut to help you pop your photos in seconds. It's called Crafter’s Photo Filters and I believe they are the secret tool your crafty routine’s been missing! For more info check it out here or by clicking the photo below.

Before After images after editing a handmade card, with the step by step guide and the video tutorial


Post and Engage with Your Community


Writing a caption can easily become overthinking level 900! But in the beginning, just keep it simple. Share what products you used, and anything else that feels right. Don’t be afraid to tag the brands you used, if you want to!

Once you’ve posted, take a minute to check your past posts. Reply to a comment or two, and show some love for your fellow crafters. Even 5 minutes of kindness counts! That little kindness find its way back to you someday.

Cute handmade card inspired by Friends TV show with stamped characters, pizza boxes, and coffee mugs made with Lawn Fawn stamps and dies.

You can Do It!


A few years ago, I couldn’t speak English at all. But I knew I wanted to post my cards on Instagram in English, and I wanted to connect with fellow crafters from around the world. So I set myself a goal: I’m going to learn English.

I started with super tiny steps, and I just kept going! I met so many kind and inspiring crafty friends. I slowly became more confident expressing myself, and then came the collab requests… That’s when I set a new goal: I want to learn to speak for voiceovers!

Mona Tóth smiling while holding her multi-page feature in Papercraft Essentials magazine.
Eek! I still can’t believe I got a feature in Papercraft Essentials magazine! 

Over the years, I’ve recorded hundreds of English voiceovers and way more posts for companies like Lawn FawnPretty Pink PoshScrapbook.com and more. And it makes me happy that I followed my goal!

Was my first voiceover perfect? Absolutely not! But without all those tiny efforts, I would have never started to make posts, videos and help crafters with photography in English.

I believe the same is true for you!

Start with tiny steps in your craft room, and you can bring your crafty mojo back.

If you're in the same boat with language learning, you have to read my friend Orsi’s post5! She wrote a super useful and honest article about how to keep going even when you don’t feel like it. I highly recommend it! It’s truly worth reading.

Start Where You Are


You don’t have to be perfect to start sharing your handmade crafts. Just start where you are, with what you have, and let each tiny step build your confidence.

Sharing your work can feel like a lot, and honestly, we all have days when we don’t feel like posting.
But if you sit down and think about how to break it into smaller, more manageable parts, it gets so much easier. Just start with one thing, and start small.


And if you're already feeling that little spark to start sharing your card photos, come join us in my private facebook group called "Share Your Craft Photos!"

It’s a happy little corner where we celebrate our love for crafting and photography together. You are warmly welcome to join!

Crafty Hugs,
Mona


I found the best word die storage | Memorydex Rolodex Spinner

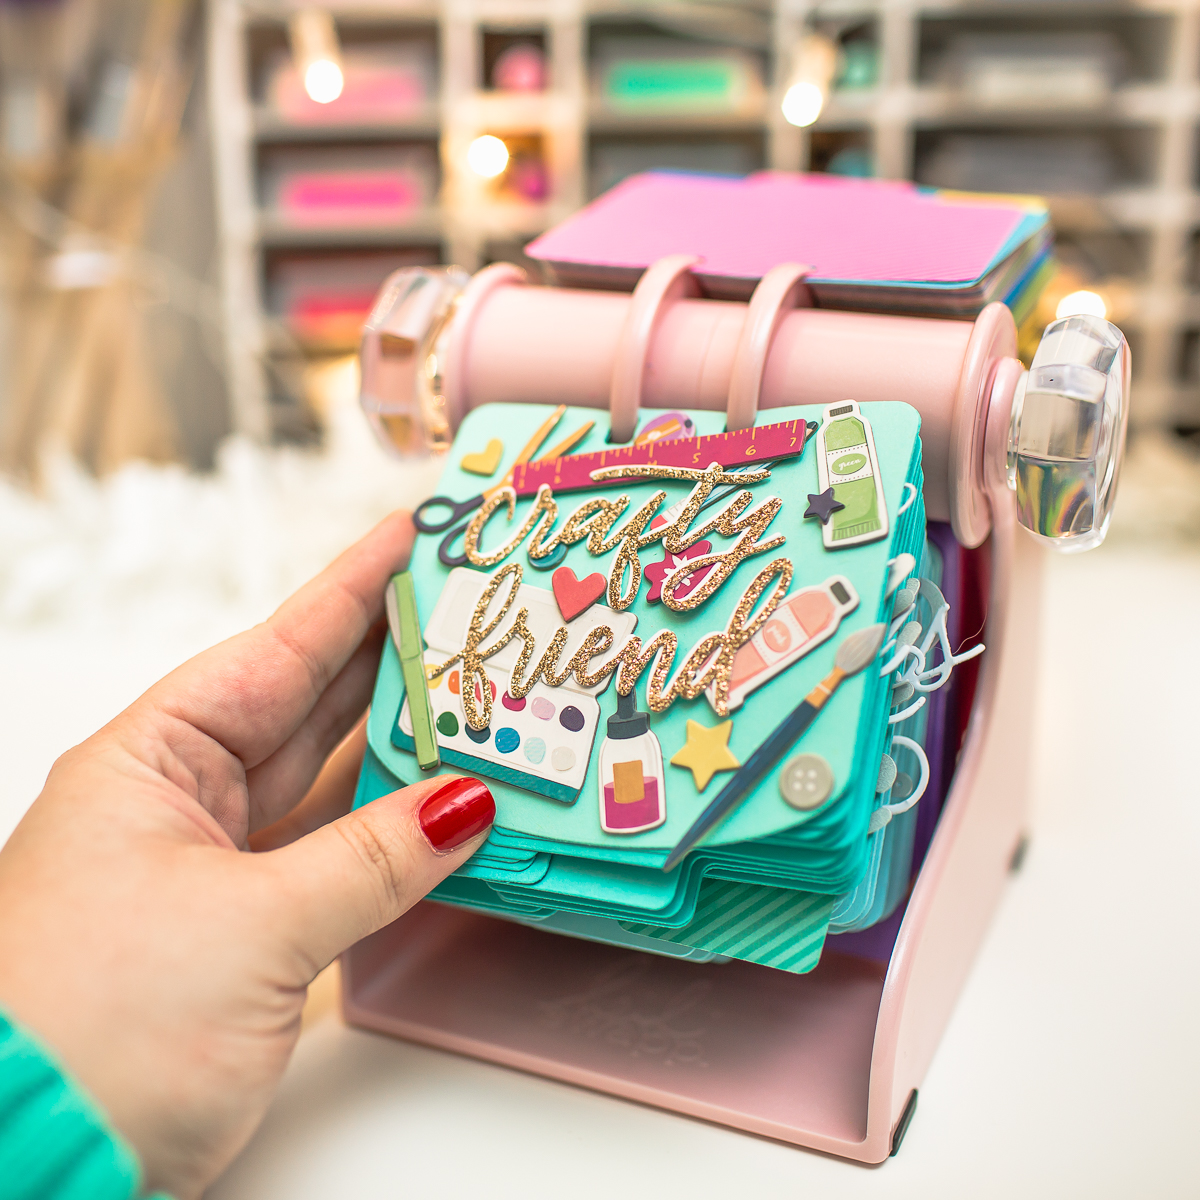
I was searching for a good solution to store my word dies since forever and now I feel that I have finally found it!

This beautiful tabletop Rolodex Spinner was created originally for memory keeping, but when I saw it, I fell in love with it, and I knew that I want it, and I will use it as a crafty assistant on my desk. 


I filled it with my dies and had soo much fun with it. In case if you want to check my video, you can find it here.


I created colorful cards from heavyweight cardstock in rainbow order, and turned it to my word die organizer. So, I got the Memory dies for myself and I created lots of colorful cards. Next, I created labels with the names of die-cut-s, so any time I am using a metal die I will know, what is its name and which brand it is. 


After I adhered the die-cuts to their right place, I added the printed label, then I turned the card, and adhered on it a smaller piece of magnet what I cut from leftover magnets. I can tell you I am in love with this blush amazingness. Heidi, thank you so so much for this product!  I really love it! 

VIDEO TUTORIAL

I am sharing with you all the process in my video, be sure to check it out! I was searching for a good solution to store my word dies since forever. I feel that I finally found the best word die storage, be sure to check it out how. Clickable tutorial link


SALES


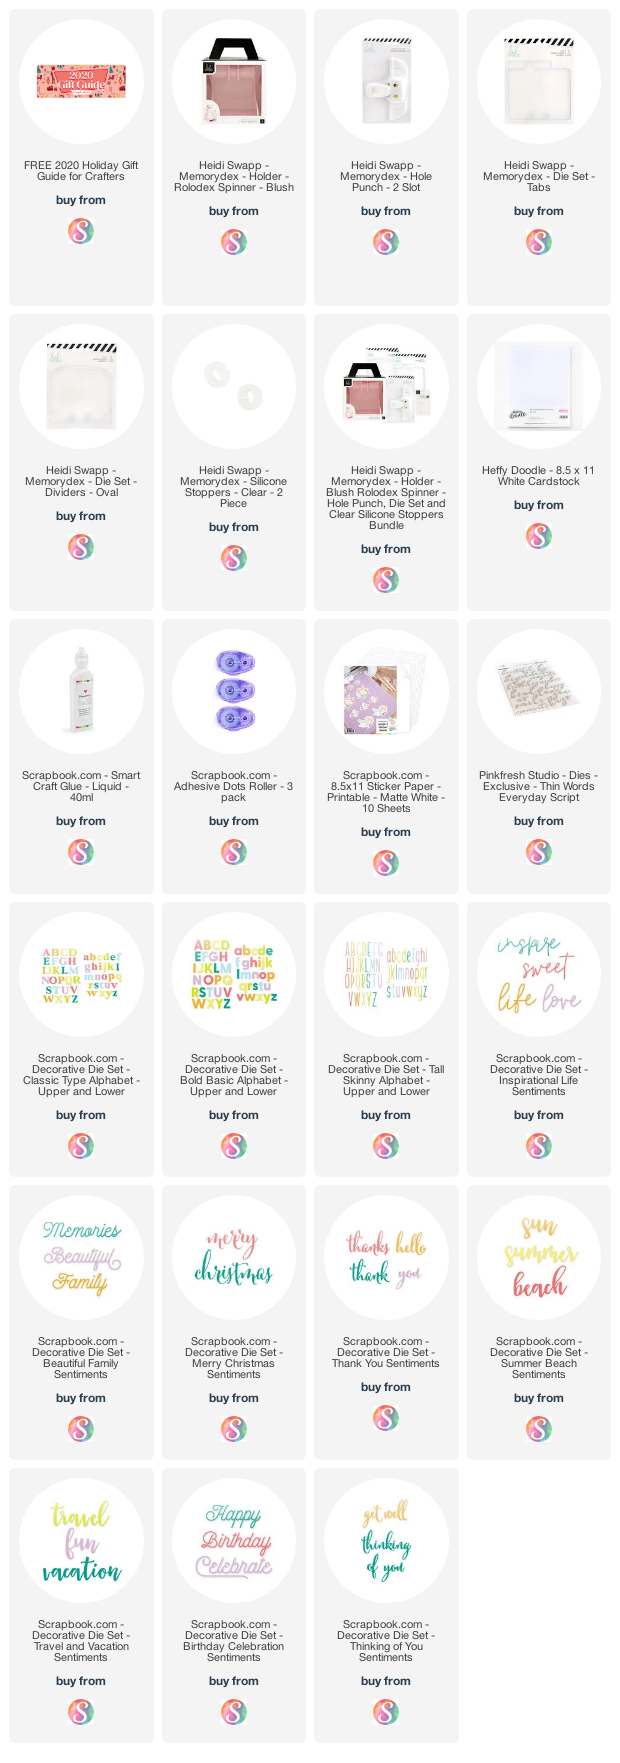
It's the Scrapbook.com PRE-BLACK FRIDAY SALE! Now until November 23rd, join us as All American Crafts Brands are ON SALE and All Scrapbook.com Branded-Items are at their lowest prices! Check out the free Holiday Gift Guide and freebies, too!


Thank you so much for stopping by, if you like organizing posts be sure to check out my Craftroom tips what every crafter should know post too. Have an amazing day, see you next time. Mona

USED SUPPLIES


I am using products only I LOVE. If you buy supplies through my affiliate links, you support my channel and blog with a small commission and when you shop through my links I will do a happy dance. Using affiliate links does not mean additional cost for you. I really appreciate your support. Affiliate Disclaimer.


PIN IT

My projects compressed into a photo :) If you like it, save it to your Pinterest board. Thank you!


Craftroom tips what every crafter should know


Do you know the feeling, when you are in a hurry with a project, when you have to post in a few hours, but you can’t find the Die-cut what you just held in your hand? Where can it be? You just put it here, but it’s not there and you are super nervous. If you don’t know what I am talking about, then all my respect is yours! When I am not organizing my projects, I am doing this activity and I can be really close to a Hulk transformation. 😂


Now, if you are still reading, I congratulate you, here comes the essence. I will show you some tricks on how I organize my projects and with this, the process of crafting will be a more joyful process. As always you can find the used supplies bellow my post. The first and most important thing in cardmaking is the white cardstock. A cardbase and cardfront is every time needed


If you prepare the bases and fronts in advance, you can save a lot of time or the most time saving tip is to buy them precut. Honestly it is not a 5 min project, but it will save you time for other things (trust me loooots of time). 


I mostly use Neenah Solar White cardstock because I love it! I use it for my coloring and its super useful that it is available in an already cut 5.5” x 4.25” size. In this case I just have to order in time before I use all of them. 


I am extremely happy that the colorful precut 5.5" x 4.25"card bases are available too, and I can use them not only as bases, but for die-cutting too. 


I buy and use the scored card base the same way so I just have to fold it in half and my base is ready. I mostly use horizontal but I have some vertical ones too. 


Two times in a year I cut my favorite papers and cardstock to 5.5” x 4.25” and organize them into my storage box. I put them on my crafty desk as close as I can. 


I made laminated dividers for better transparency. I printed the name of the paper on a colored copy paper, rounded the edges with corner chomper, laminated the whole and cut to size. 


If you don’t have time for making dividers, then check out white dividers. You just have to cut to size from the bottom and put the name of the cardstock on a vinyl sticker. 


I love this method, because when I look at the box, I instantly know which one I need and also, I can track their number so I know when to shop them. The point is there are at your fingertips. I use the Storage Bin with Lid, because it fits perfectly in my ALEX (Ikea) drawer, so when I need one cardstock, I just open the drawer and pull one out. 


Now that cardstocks are OK, let’s have a little preparation. The steps are really easy. For example, you want to create 4 projects until the end of the day. You plan all the projects and make sketches for each one. This way you will know which products you want to use. I prefer the stamping -> die-cutting -> heat embossing combo. 


When I am making more projects at once, I use Thicker Storage Solutions by Stampendous. I love it because it can hold the 8.5” x 11” cardstock, the inkpad, stencil and the prepared die-cuts and stamped images, almost everything what I need for the project. If I make it only tomorrow or the next week, then I write the project’s name on a sticky notes, stick it to the box’s side so I immediately know what’s inside. 


There are near future projects which are urgent but not instantly. For these I prepare the stamped die-cut images and I know which word dies I am going to use


I put all of these to a transparent envelope and I write to a masking tape the content and date of project. Later I can use the masking tape for die-cutting. This plastic envelope is made from sturdy plastic so even a Metal Die can’t harm it. It can be re-used lots of times. I have them at home in various sizes


If I need to create lots of projects then I put the Clear Craft Storage Box with 6 Tabbed Dividers to my desk and I put the projects into it in order. I know, this sounds a little too much for organizing, but I have a main job beside crafting so I would be lost without this level of organization. 


Sometimes I just feel I want to color, not having a project in mind. Then I just stamp and die cut for example cute critters from Lawn Fawn and I put them into clear containers which are transparent and easy to use. I can organize them separately so I can avoid mixing them. 


Also, in this way I will actually use all of them. Before I started using these containers, I just made them but somehow forgot about coloring and using them on cards. I heard that others have this problem too! 


So, if you want to improve in this field, try it out! What I extremely love, that you need to gently twist the lid when you open it, so the contents are not spilling out. There are two sizes I have the larger one and this is the smaller one available together with the clear box so you can stack them.


If you are ready with your project put all the supplies back to their places, so you will know where to look for them and you will avoid the unnecessary search for them. 


In the end I just want to share with you how I store my 6”x6” and 6”x8” stencils. It’s super simple, but I just LOVE it! I am using a 6x8 ring album for it, and 6x8” Open Page Protectors. These page protectors are perfect quality, and I can put back my scencils tons of times. 


For my 6x8 Exclusive stencils I put the back sleeves from the original packaging to the page protectors, because there is the printed name, but for the other stencils I print out the brand and the name of the Stencil to a colored copy paper. 


To one-page protector I put 2 stencils so I save space too. As you can see my album is full, so I will order this beautiful pink album soon for my new stencils. 


I hope you found this post helpful, in the near future I will have some different Quick Craftroom Tips. If you don’t want to miss it, subscribe to my newsletter. Please, write in your comment what is a topic which you would like to read about! Thanks for stopping by, big crafty hugs, Mona

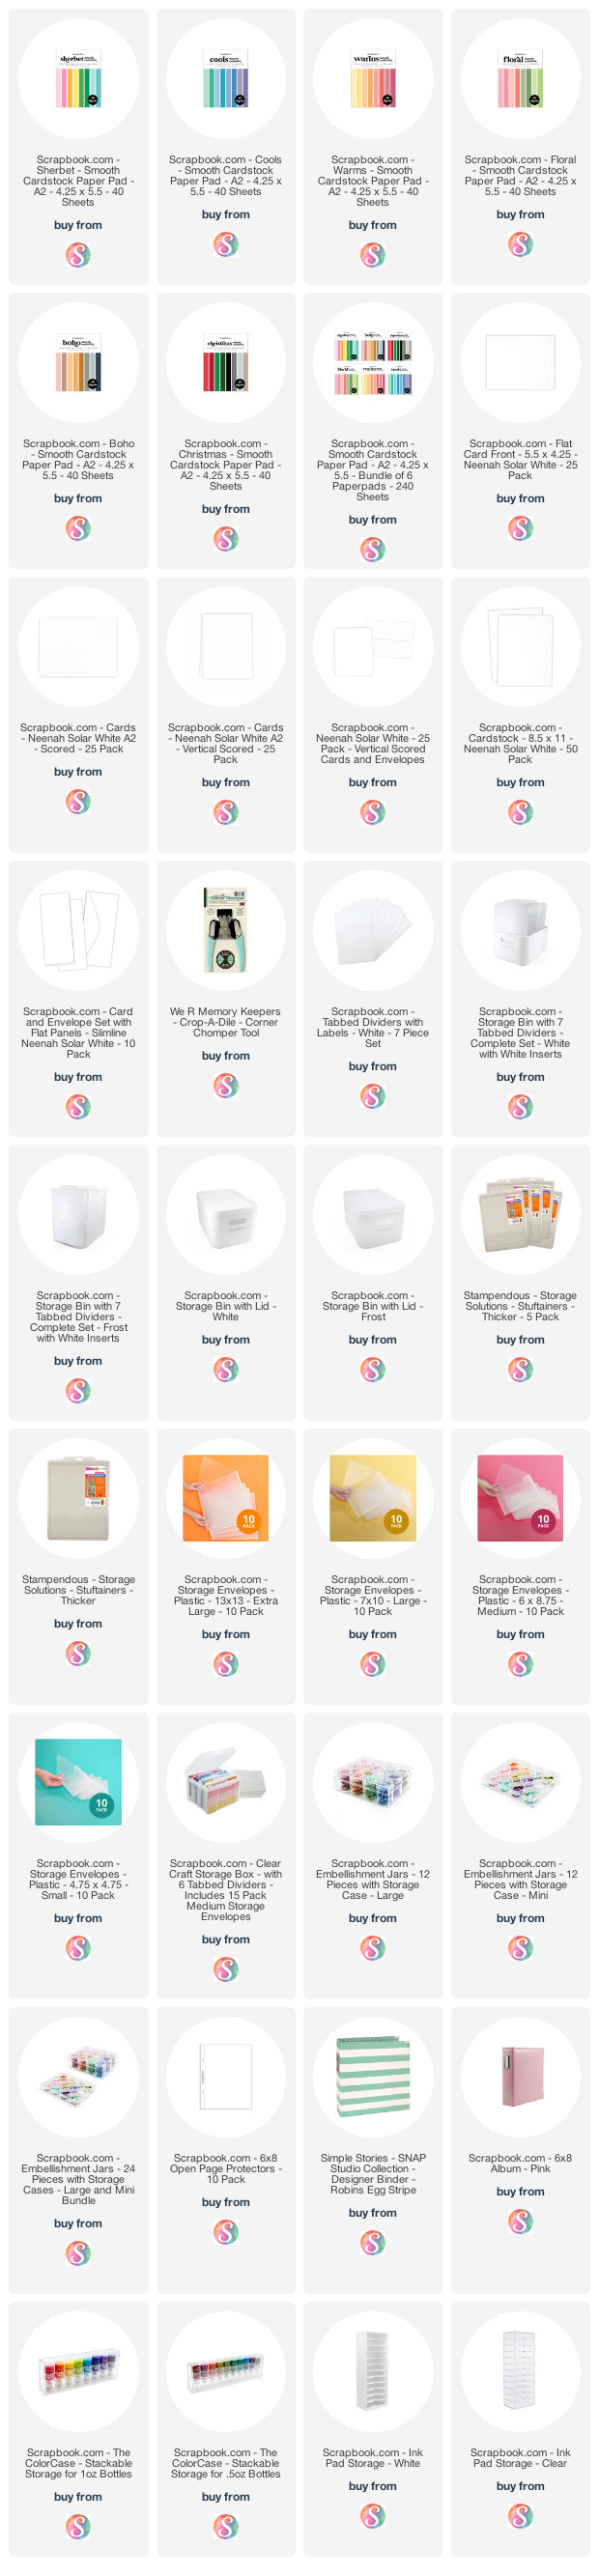
USED SUPPLIES

I am using products only I LOVE. If you buy supplies through my affiliate links, you support my channel and blog with a small commission and when you shop through my links I will do a happy dance. Using affiliate links does not mean additional cost for you. I really appreciate your support. Affiliate Disclaimer here.


PIN IT

I you like this post, please pin it to your pinterest board to share with your crafty friends! Thank you so much, I really appreciate it! :)