Showing posts with label coloring tutorial. Show all posts

How to Draw Woodgrain with Markers 🎬

Hello there, I have a new Lawn Fawn Inspiration for you with adorable critters and woodgrain die-cut coloring video tutorial on my YouTube Channel


Disclaimer: This post contains affiliate links and I may earn a commission if you click them and make a purchase (at no additional cost to you).

THIS CARD FEATURES

For the additional supplies with shop links visit the thumbnails below this post.

If you got inspired please help me to spread the word by pinning this photo to your Pinterest. 

💖


STAMPING AND COLORING

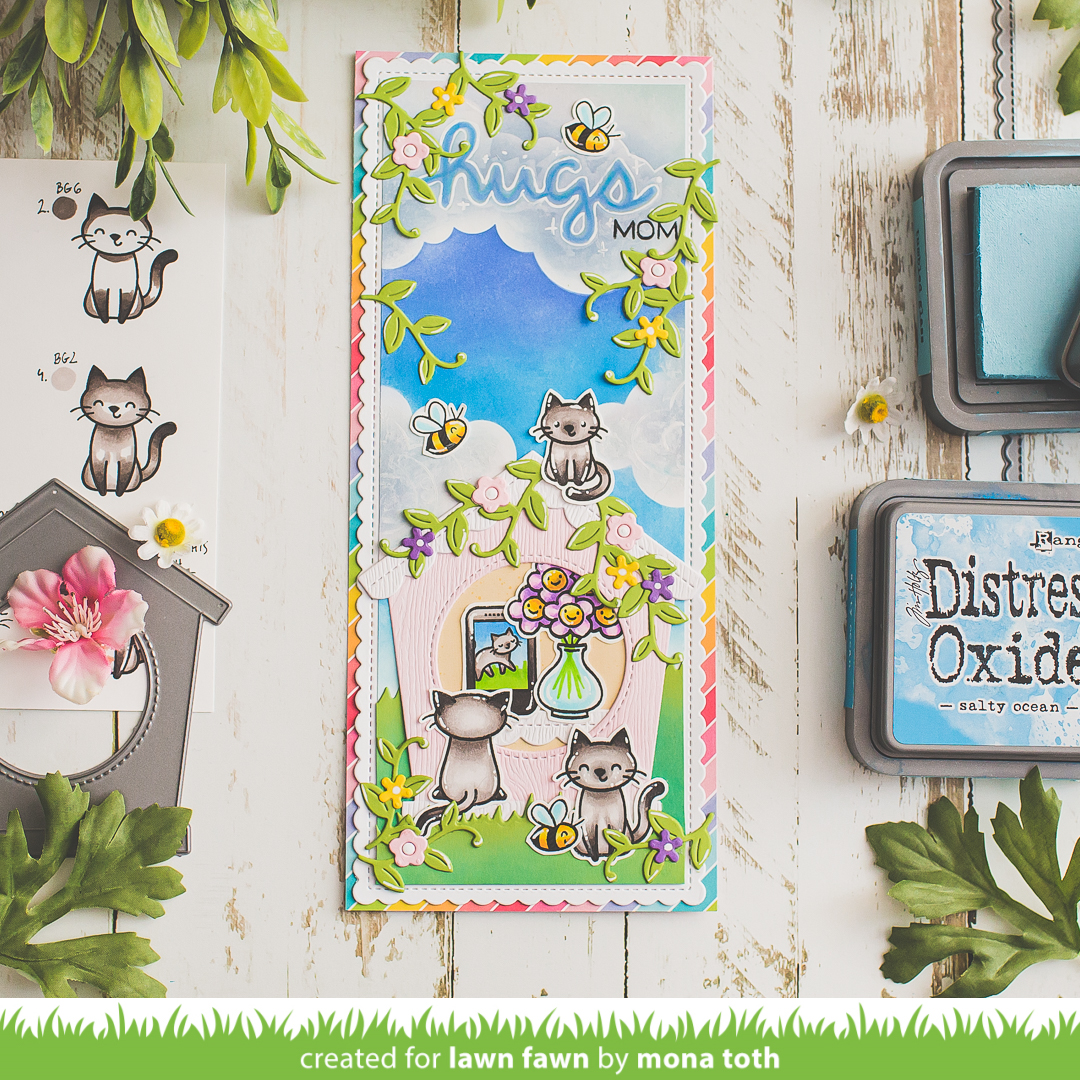
I stamped the critters from and the other elements with Crunchy Leaf Inkpad to Neenah Solar White Cardstock. After a heat set, I started the coloring process with Ohuhu Markers. I made a quick coloring on the tiny pieces, which means I am not layering them and I am using only 2 shades per color.  


Because the Beavers and the wood are the stars of this card, I played with them a bit more. When the coloring part was done, I added highlights with white pen. If you enjoy watching card tutorials from start to finish you can find the coloring process video over the Lawn Fawn YouTube channel.

Here are the Ohuhu colors I have used for the coloring for this card. If you have those markers too feel free to download my free swatching chart here.

CARD BACKGROUND 

I created 3 die-cuts with the grass border dies with the cilantro cardstock. Then I have created a pond with the  hillside border dies and mermaid cardstock.  I also created the edge of the pond with hillside border dies and paper bag cardstock. Then I placed this tiny die from the Sandy Beach Accents on the pond and run them through my die-cut machine with the largest Stitched Rectangle Stackables to have a stitched edge on the entire card front.

 
Next, I did a quick ink blending on the pond with peacock feathers distress oxide ink. I continued the same process with the same ink on the grass die-cuts. Then I blended the last grass and the background with cracked pistachio distress oxide ink. Now I have everything ready to finish this card, so I am adhering the die-cut pieces to the ink blended card front. 


SENTIMENT

In my video tutorial I’m gonna teach you, how I created this woodgrain effect sentiment easily with Ohuhu Markers. Its beginner friendly, the video is very short (only 3 minutes), but I recommend you to watch it first, and when you have 30 mins for practicing go through it once more but this time with your supplies. Feel free to stop it as many times you need. 


WRAP UP

Now I have everything ready to finish this card, so I adhered everything together. I put the colored die-cut images to their right place with 3D adhesives. And last but not the least the wooden signs found their place as well. 
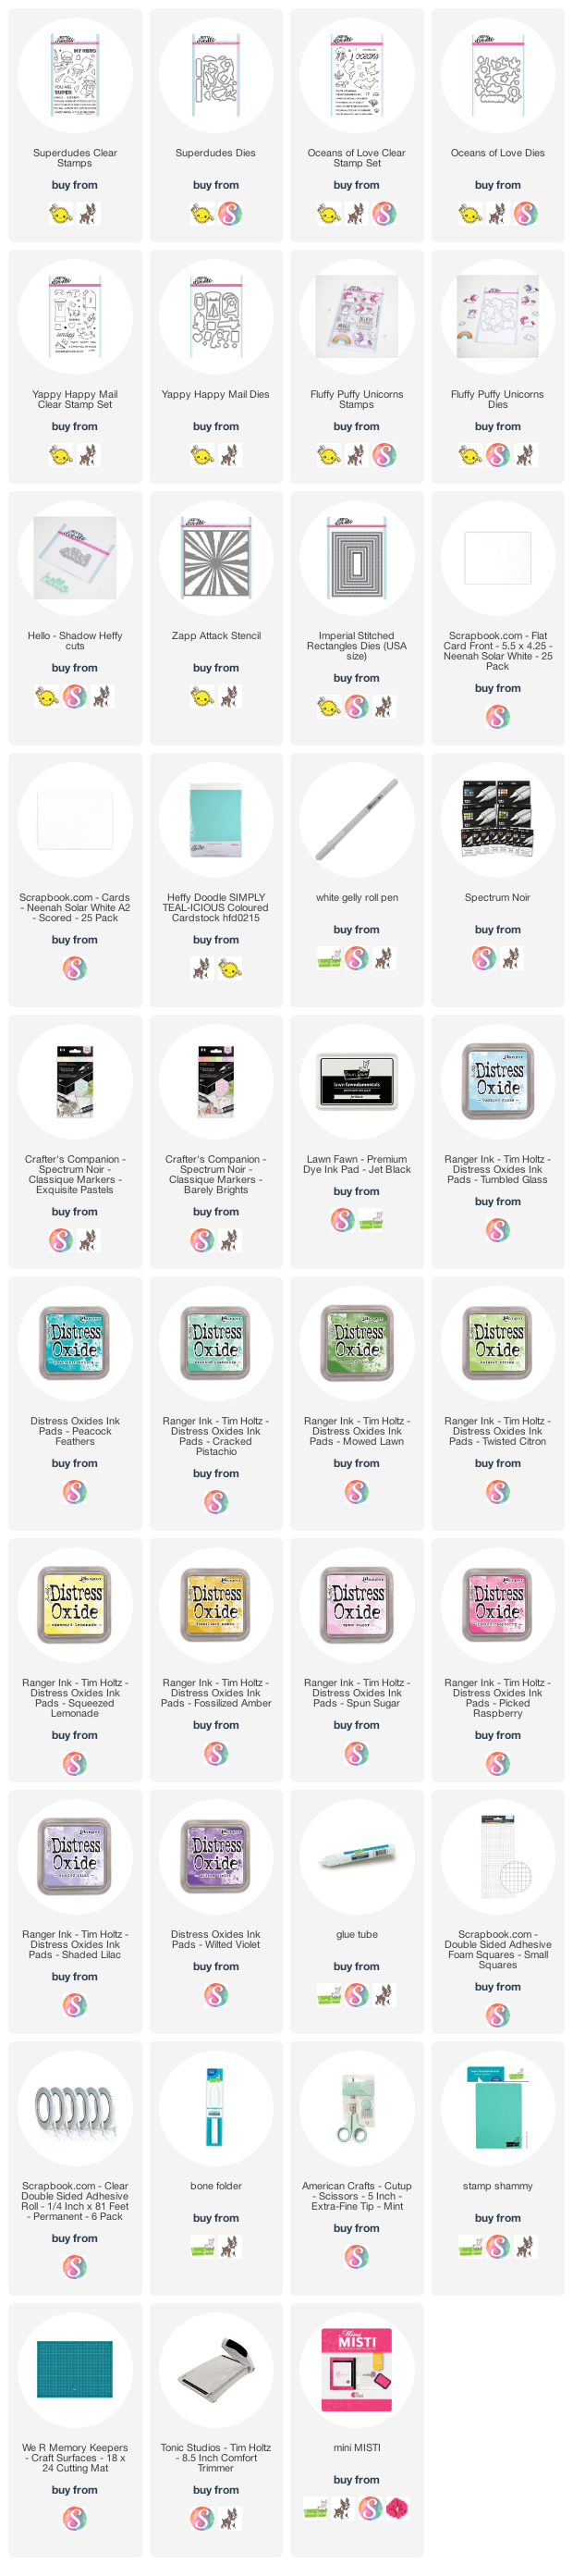
USED SUPPLIES

Affiliate links were used where possible. I may earn a commission if you click them and make a purchase (at no additional cost to you). I am using only products I LOVE. If you buy supplies through my affiliate links, you support my channel and blog with a small commission and when you shop through my links I will do a happy dance. Affiliate Disclaimer.

Mini scenes with tips and tricks 😍

Hi crafty friend, have you seen my latest video tutorial I made for Pretty Pink Posh?  It's all about mini scenes and other useful tips, what is handy not only for summer! 😍


VIDEO TUTORIAL

Learn more about these cards below in the video tutorial.

Or click here to watch the video in HD on YouTube

THIS CARD FEATURES

Summer Fun stamp set 
Jungle Friends stamp set 
Summer Drinks stamp set 
Tropical Birds  stamp set 
Hibiscus Flowers  stamp set 

Do you enjoy this inspiration? I really appreciate if you pin this photo to your Pinterest.


Thank you so much for checking my post, for detailed instructions please visit the original post. Happy watching, sending you big crafty hugs, Mona.

USED SUPPLIES

Affiliate links were used where possible. I may earn a commission if you click them and make a purchase (at no additional cost to you). I am using only products I LOVE. If you buy supplies through my affiliate links, you support my channel and blog with a small commission and when you shop through my links I will do a happy dance. Affiliate Disclaimer.

Inspirations with the Clearly Besotted July & August Release

Hi crafty friend, I am thrilled to join Clearly Besotted for their newest release as a guest designer for this month. It's not a secret I am in love with their adorable stamps! I have 5 inspirations for you and I hope that you will enjoy them too!


In their newest release there are 12 gorgeous stamp sets and they are releasing today at 8pm BST. The sets can be purchased from the Clearly Besotted Shop (UK based), Simon Says Stamp (US based), Card Nouveau (based in Belgium), ArtCreatiu (based in Spain) and Cloud9 Crafts (based in the Netherlands).  Now let's see my inspirations below.


Shake It Up Card 

This card features:


For the coloring I have used Spectrum Noir Illustrators in the following colors: LY1, CT3, GY3, BO1, OR2, GY5, GB8, GB6, GB4, BG2, GB1, CG2, GT2, JG2, BT1, BT2, IB1, IB2, TB2, TB3, TB5, TB4, TB7, BP4, MG1, DR4, PP1, BG1, BG3.

[VIDEO] Paper hugs for Mother's Day | card inspiration

Paper hugs for Mother's day? Oh yes, we can say it with a personalized heart warming card which has it's own magic. The secret ingredient for the magic card is to create a card with a memory which both of you share together. You still have time to create and send it, however if you can’t give it to her anymore, you can still make it for yourself to think about her and the good memories. Today I am up on the Lawn Fawn blog with a new video tutorial, where I am sharing this lovely slimline card which I made for Mother's day with coloring instructions. Let's color seal pointed cats together with alcohol markers. 

THIS CARD FEATURES

Magic Iris Birdhouse Add-On [ LF | SBC ]
For the additional supplies with shop links visit the thumbnails below this post.


Do you enjoy this inspiration? I really appreciate if you pin this photo to your Pinterest.


VIDEO TUTORIAL

This time no card instructions on my blog, instead of it I have this tutorial. You can watch the video below or click HEREHERE to watch at my YouTube channel.
 

Watch the video above | Watch the video in HD on YouTube


USED COLORS


For the coloring I have used Spectrum Noir Illustrators in the following colors: GY3, CT4, CT3, CT1, AG1, AG2, IB1, IB2, TB1, TB2, TB3, TB4, PL1, PL2, BG1, BG2, BG4, BG6, BG10, Blender. Classiques: (tints): BG05, PL05, IB05.


USED SUPPLIES

 
Using affiliate links does not mean additional costs for you. I really appreciate your support. I am using only products I LOVE. If you buy supplies through my affiliate links, you support my channel and blog with a small commission and when you shop through my links I will do a happy dance. Affiliate Disclaimer. If you are reading this from your email check the visual supply list here.


[VIDEO] Cute comics inspired superhero card

Hi crafty friend, today I am sharing with you a new video tutorial, where I show how to create this comics rainbow effect background with ink blending as well as, how to color your stamped images like this.


THIS CARD FEATURES

 
Superdudes Stamp and Die Set [ SSS | HDD ]
Yappy Happy Mail Stamp and Die Set [ SSS | HDD ]
Fluffy Puffy Unicorns [ SBC | SSS | HDD ]
Zapp stencil [ SSS | HDD ]
For the additional supplies with shop links visit the thumbnails below this post.


Do you enjoy this inspiration? I really appreciate if you pin this photo to your Pinterest.


CARD INSTRUCTIONS


I stamped the superhero image from the Superdudes stamp set, as well as some envelopes from the Yappy Happy Mail, the rainbow from the Fluffy Puffy Unicorns and my favorite star from the Oceans of Love stamp sets with Jet Black inkpad.


For the coloring I have used Spectrum Noir Illustrator and Spectrum Noir Classique Alcohol markers on Neenah Solar White Cardstock, but feel free to try it with any type of markers you have with the right cardstock. For the coloring and the full process be sure to check out the video here.


When the coloring part was done, my next step was the highlighting. First, I have used white pencil then I continued with white pigment pen to make them more eye catchy and to pop the images out. When the highlighting process was done, I run them through my mini die-cutting machine which is always next to me if I need to cut something small.


The next step was the die-cutting I created one die cut from Bristol smooth cardstock with the Imperial Stitched Rectangles Dies, then I continued with ink blending the Zapp Attack stencil. First I have used lighter Distress Oxide Inkpads in rainbow order in the following shades: Tumbled Glass, Cracked Pistachio, Twisted Citron, Squeezed Lemonade, Spun Sugar and Shaded Lilac.


When the light background was done, I turned the Zapp stencil a bit, and I continued with the second layer through it. I have used the Peacock Feathers, Mowed Lawn, Fossilized Amber, Picked Raspberry, and Wilted Violet Distress Oxide inkpads. The result is a pretty high contrasted rainbow comic background.


Next, I have created die-cuts with the Hello Shadow Heffy cuts Dies. The thinner one from gold, and the shadow from white, then I stamped the sentiment to the teal-icious cardstock with the Super Dudes stamp set and watermark ink. Then I heat embossed it with fine white embossing powder then I cut it for the right size. In the end I styled all the colored images and die-cut pieces together and adhered them with 3D foam squares and liquid adhesive to their right place.


VIDEO TUTORIAL


Learn how to create this rainbow effect background and how to color the images from this video tutorial with extra tips and tricks. As always, you can find the used supplies below the post, and if you have any questions feel free to ask in a comment. Thank you so much for checking my post, Happy watching, sending you big crafty hugs, Mona.


Watch the video above | Watch the video in HD on YouTube


USED SUPPLIES

 
Using affiliate links does not mean additional costs for you. I really appreciate your support. I am using only products I LOVE. If you buy supplies through my affiliate links, you support my channel and blog with a small commission and when you shop through my links I will do a happy dance. Affiliate Disclaimer.