Hello lovelies and welcome to the Heffy Doodle Friends Blog Hop. I am supper happy that I am a part of this hop so I made a video tutorial too with two cards including the coloring.
As always you can find the supply list below. Now let see the cards what I created and also don't forget to comment on my blog, because there is a giveaway too! Yaaay!
VIDEO TUTORIAL
If you like the text version more here you go:
First I am starting with the background. I am going to use the new Cloudy Skies Stencil from Heffy Doodle and I am going to show you a trick what I learned from Lesley, who is the owner of the heffy doodle. she is super sweet and oh so creative! I cut these small parts from the stencil, so I can put my card inside easily and make an ink blending on it.
For the ink blending first I am using the Spun Sugar Distress Oxide ink, then I continue with the Shaded Lilac color. Once the fluffy clouds are done, I need to close the sky with the top of the stencil, so I hold it in the place and starting the ink blending again. For the sky I wanted to make a little darker background so I used the Blueprint Sketch Distress Oxide with the previous ones. I added clear and white splatters on it, removed the stencil and after a quick heat embossing the background is done.
The next step was the stamping and coloring. I used the Absotoothly Awesome Stamp and dies to create the images and now I am going to make a quick coloring with my copic markers.
My used copic colors are the following:
After the coloring I created a super sweet die-cut with the Tooth Plush Die as well as Sparkle & Shine Heffy Cuts. I don't wanted to sew the cute teeth, so I run the largest part through my die-cut machine. I decided to make it from white glitter cardstock, it is really cute, shiny and sparkle. As a final touch I added cheeks to this cuteness with mini daubers and spun sugar distress oxide ink.
I adhered the background to a white cardbase with Gina K. Designs Permanent Adhesive Dot Runner. I wanted to add dimension to the Fairies and the gold coins so I used White Foam Squares from Gina K designs. I love this adhesive so much, because it's super permanent. In the end I styled and put my card together.
Hope you have enjoyed the tutorial, see you next time and good luck! Mona
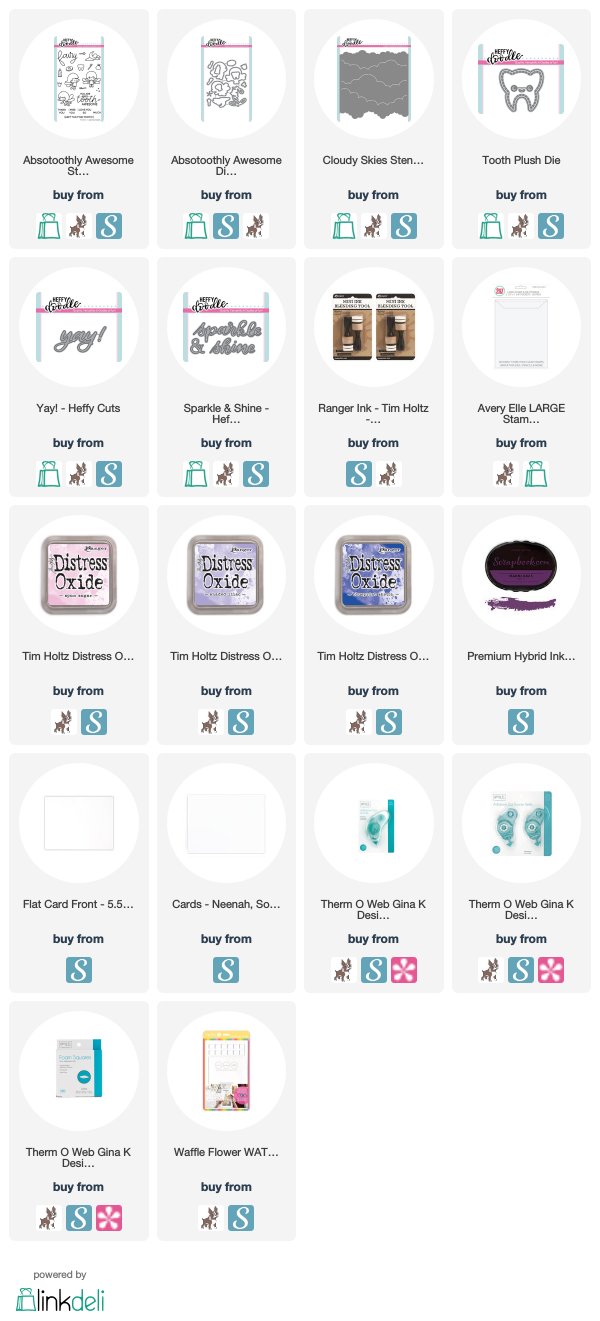
SUPPLIES
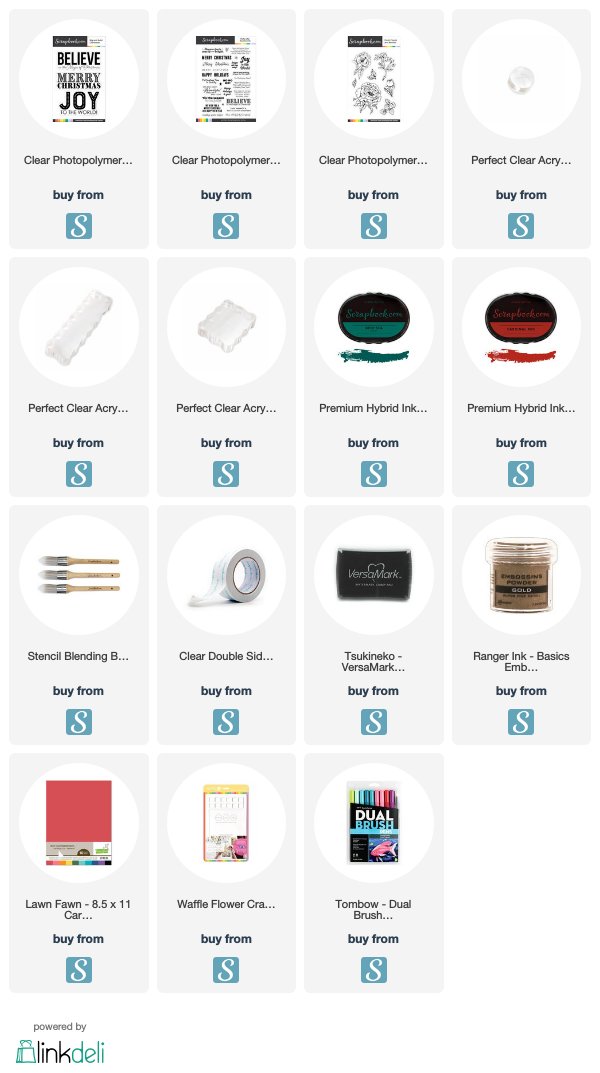
I prepared for you the list of products which I used for making this project. If you buy these through my links you help me running this blog. (You can find the affiliate disclosure here). Thank you for your support!

GIVEAWAY
The winner (chosen at random) who leaves a comment on each stop on the hop will receive a £50 voucher to the Heffy Doodle store. Winner will be announced on Monday, August 5, 2019 on the Heffy Doodle Blog.
LINE UP
PIN ME


