Showing posts with label handmade card. Show all posts

How to Draw Woodgrain with Markers 🎬

Hello there, I have a new Lawn Fawn Inspiration for you with adorable critters and woodgrain die-cut coloring video tutorial on my YouTube Channel

Better craft photos are easier than you think. Start with 5 simple tips you can try today.
🎁 Get my free photo ebook here!

THIS CARD FEATURES

For the additional supplies with shop links visit the thumbnails below this post.

Pin this post to your Pinterest board and save this card idea for later.

STAMPING AND COLORING

I stamped the critters from and the other elements with Crunchy Leaf Inkpad to Neenah Solar White Cardstock. After a heat set, I started the coloring process with Ohuhu Markers. I made a quick coloring on the tiny pieces, which means I am not layering them and I am using only 2 shades per color.  


Because the Beavers and the wood are the stars of this card, I played with them a bit more. When the coloring part was done, I added highlights with white pen. If you enjoy watching card tutorials from start to finish you can find the coloring process video over the Lawn Fawn YouTube channel.

Here are the Ohuhu colors I have used for the coloring for this card. If you have those markers too feel free to download my free swatching chart here.

CARD BACKGROUND 

I created 3 die-cuts with the grass border dies with the cilantro cardstock. Then I have created a pond with the  hillside border dies and mermaid cardstock.  I also created the edge of the pond with hillside border dies and paper bag cardstock. Then I placed this tiny die from the Sandy Beach Accents on the pond and run them through my die-cut machine with the largest Stitched Rectangle Stackables to have a stitched edge on the entire card front.

 
Next, I did a quick ink blending on the pond with peacock feathers distress oxide ink. I continued the same process with the same ink on the grass die-cuts. Then I blended the last grass and the background with cracked pistachio distress oxide ink. Now I have everything ready to finish this card, so I am adhering the die-cut pieces to the ink blended card front. 


SENTIMENT

In my video tutorial I’m gonna teach you, how I created this woodgrain effect sentiment easily with Ohuhu Markers. Its beginner friendly, the video is very short (only 3 minutes), but I recommend you to watch it first, and when you have 30 mins for practicing go through it once more but this time with your supplies. Feel free to stop it as many times you need. 


WRAP UP

Now I have everything ready to finish this card, so I adhered everything together. I put the colored die-cut images to their right place with 3D adhesives. And last but not the least the wooden signs found their place as well. 

BEFORE YOU GO...

Let’s stay crafty friends! You can find more cardmaking inspiration, behind-the-scenes peeks and photography tips for crafters on my Instagram and Facebook pages.

📷✨ I’m on a mission to help cardmakers and crafters feel more confident with photography, so their beautiful creations can shine online too.

FOLLOW ON INSTAGRAM  |  EXPLORE MY SHOP

USED SUPPLIES

I’ve listed all the supplies I used below, so you can easily find them. Some of the links are affiliate links, which means I may earn a small commission if you make a purchase, at no extra cost to you. Thank you so much for supporting my blog and creative work!

Put your die-cuts to the next level [video]

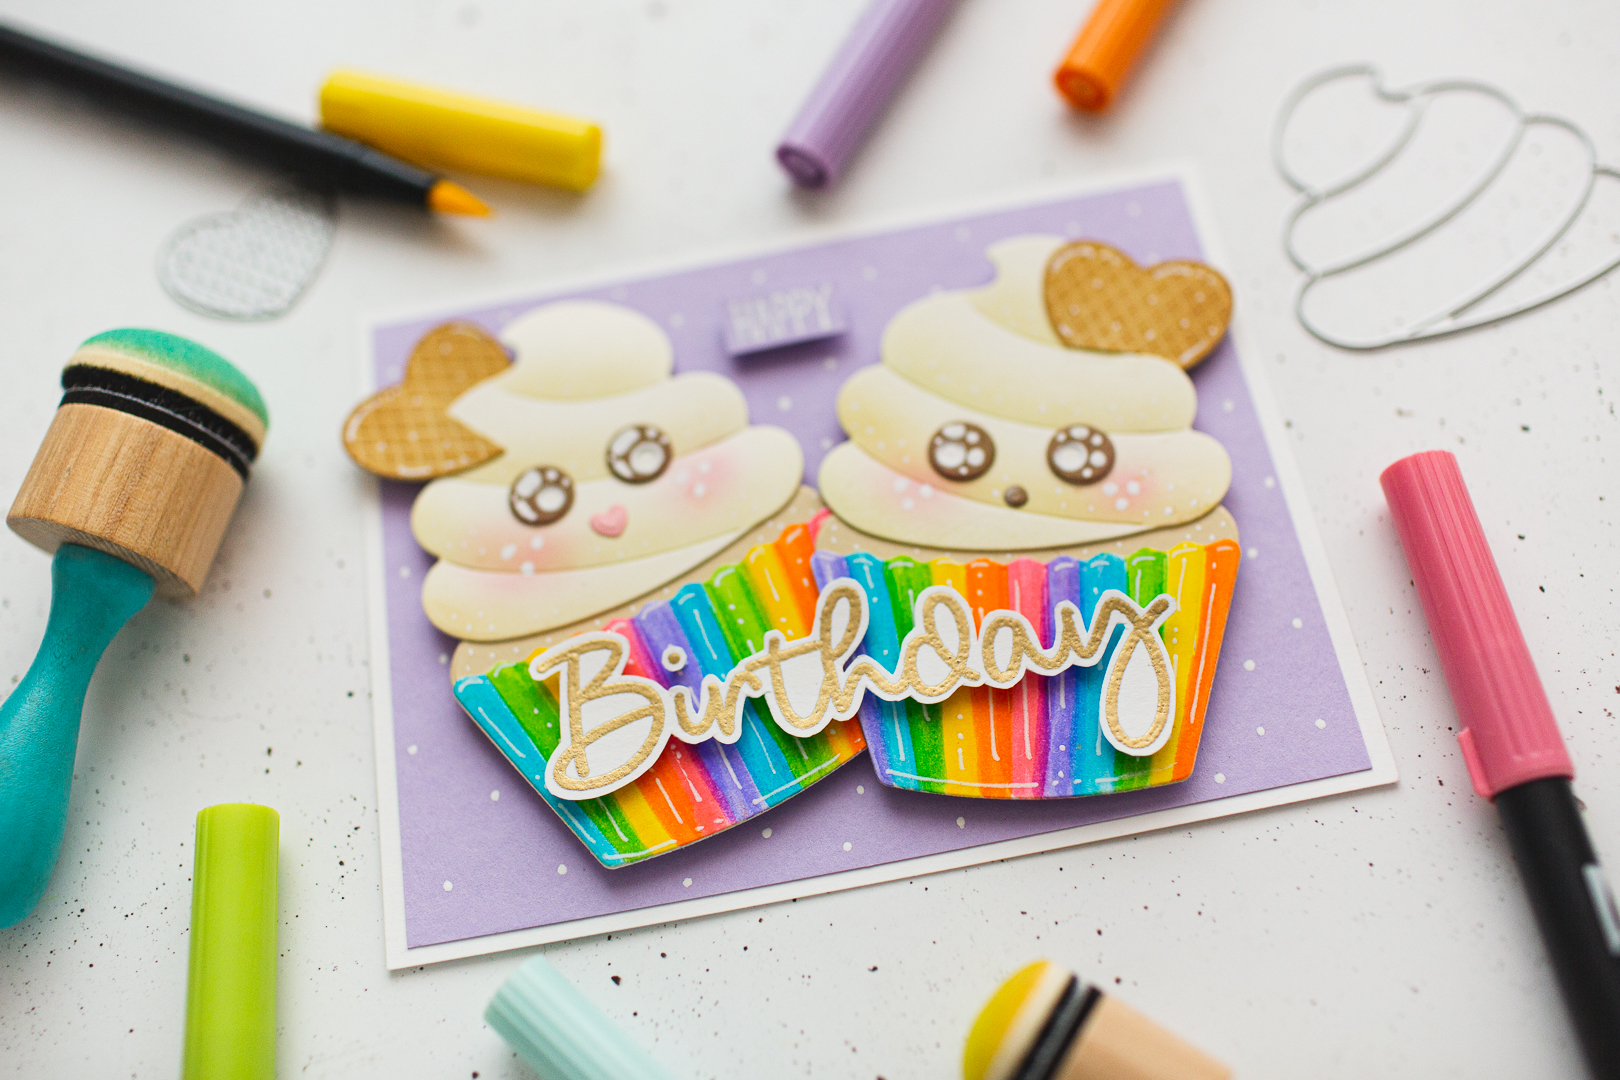
If you enjoy die-cutting and find it relaxing like me, then you will love this simple, but effective idea what I created with the newest Sweet Stories release by Studio Light. These little tricks add to your die-cuts more life and depth as well. 

THIS CARD FEATURES

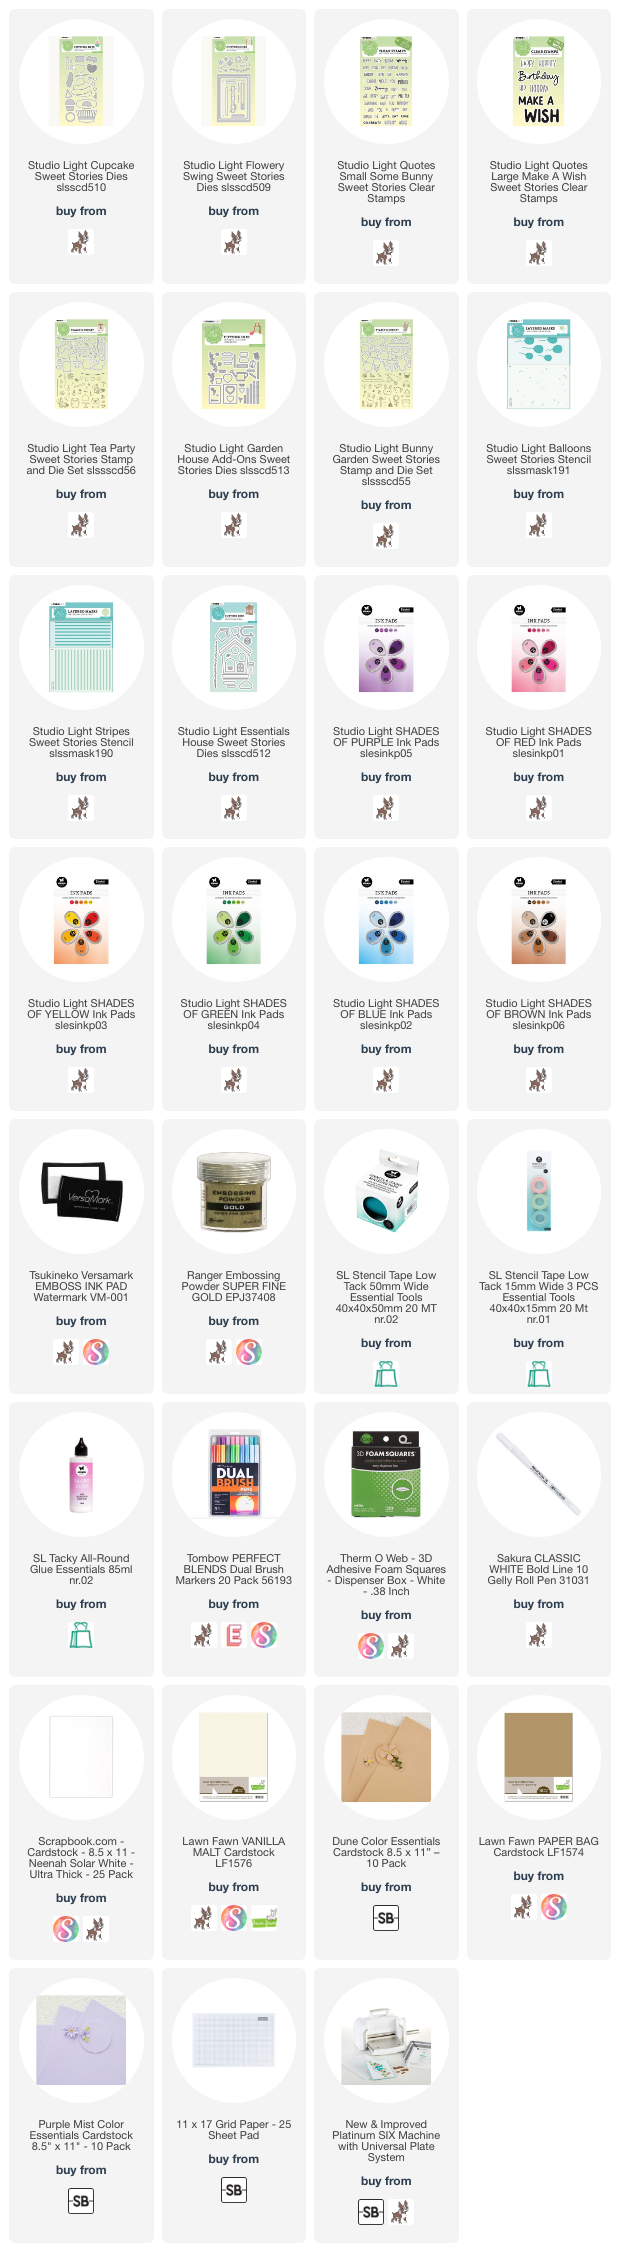
For the additional supplies with shop links, visit the thumbnails below this post.

Pin this post to your Pinterest board and save this card idea for later.

INK BLENDING TRICK

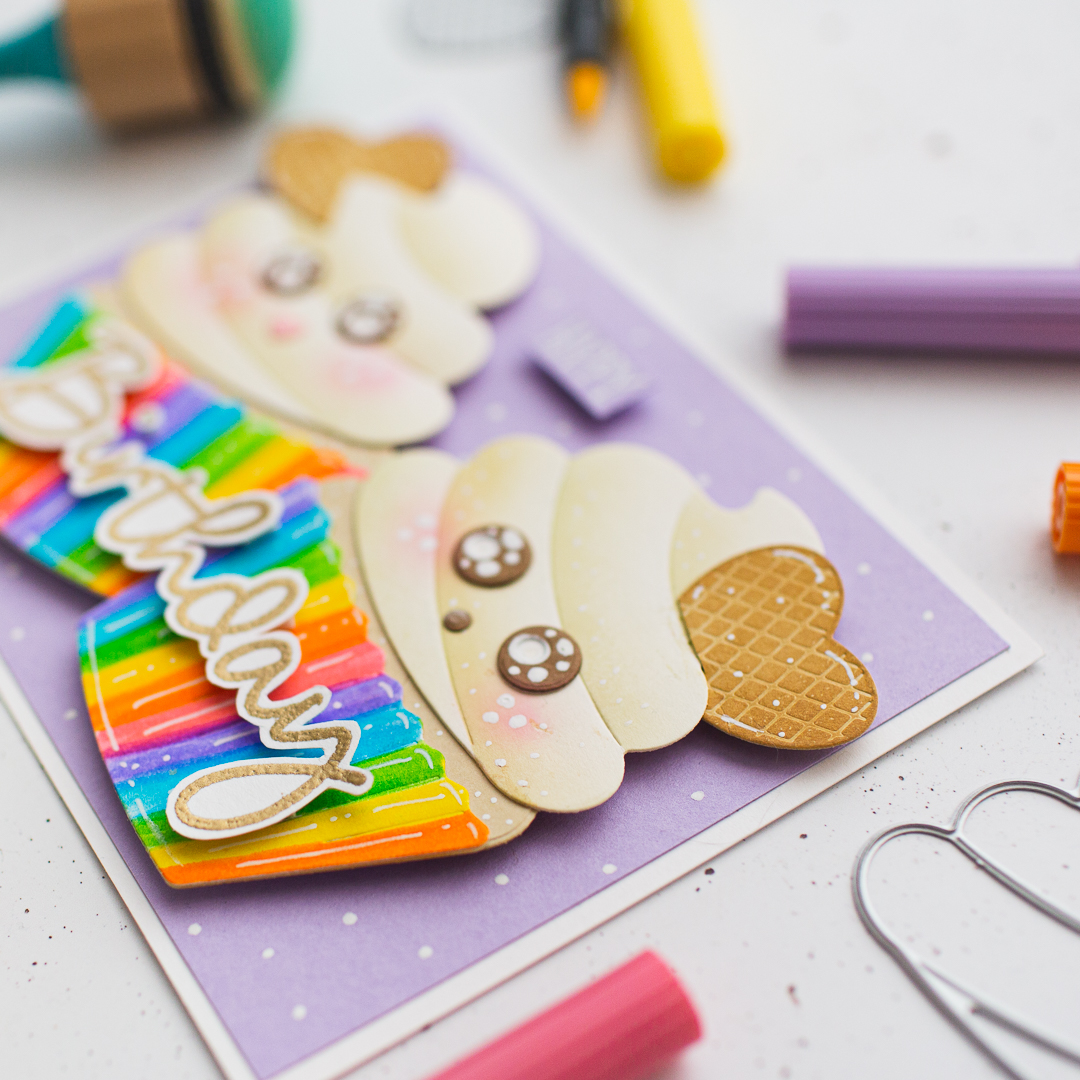
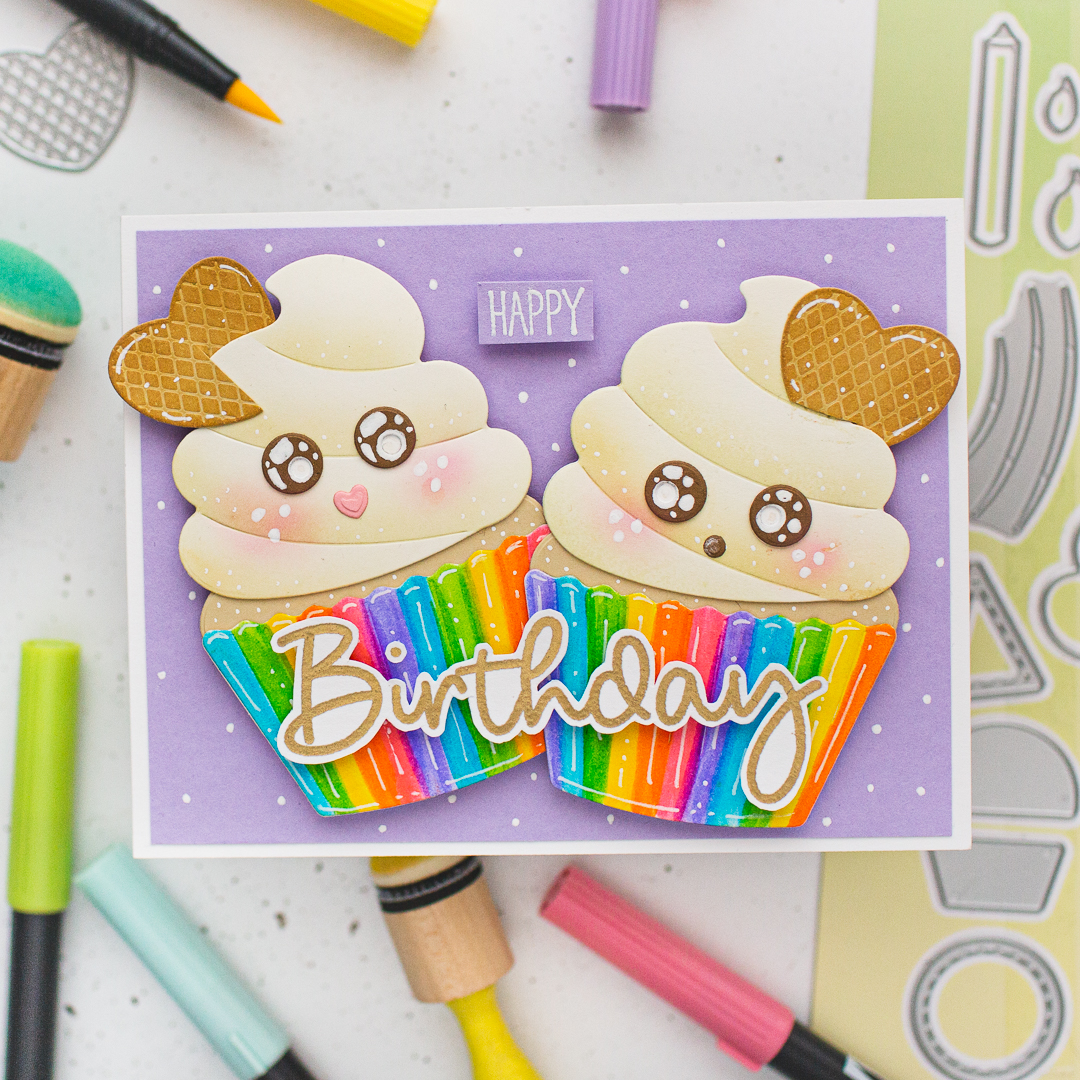
I created a whip die-cut with the Cupcake Dies from Vanilla Malt cardstock and I die-cut another one but this time before die-cutting I adhered a masking tape on the top of the die-cut and run it through my die-cut machine. I peeled back the tape and used it as a mask on each level of the whip to create this 3D effect with ink blending. I have used brown ink for the edges of the whip as a shadow and the pink ink set for the blush. I repeat the same process once more for the other one as well. 

Better craft photos are easier than you think. Start with 5 simple tips you can try today.
🎁 Get my free photo ebook here!

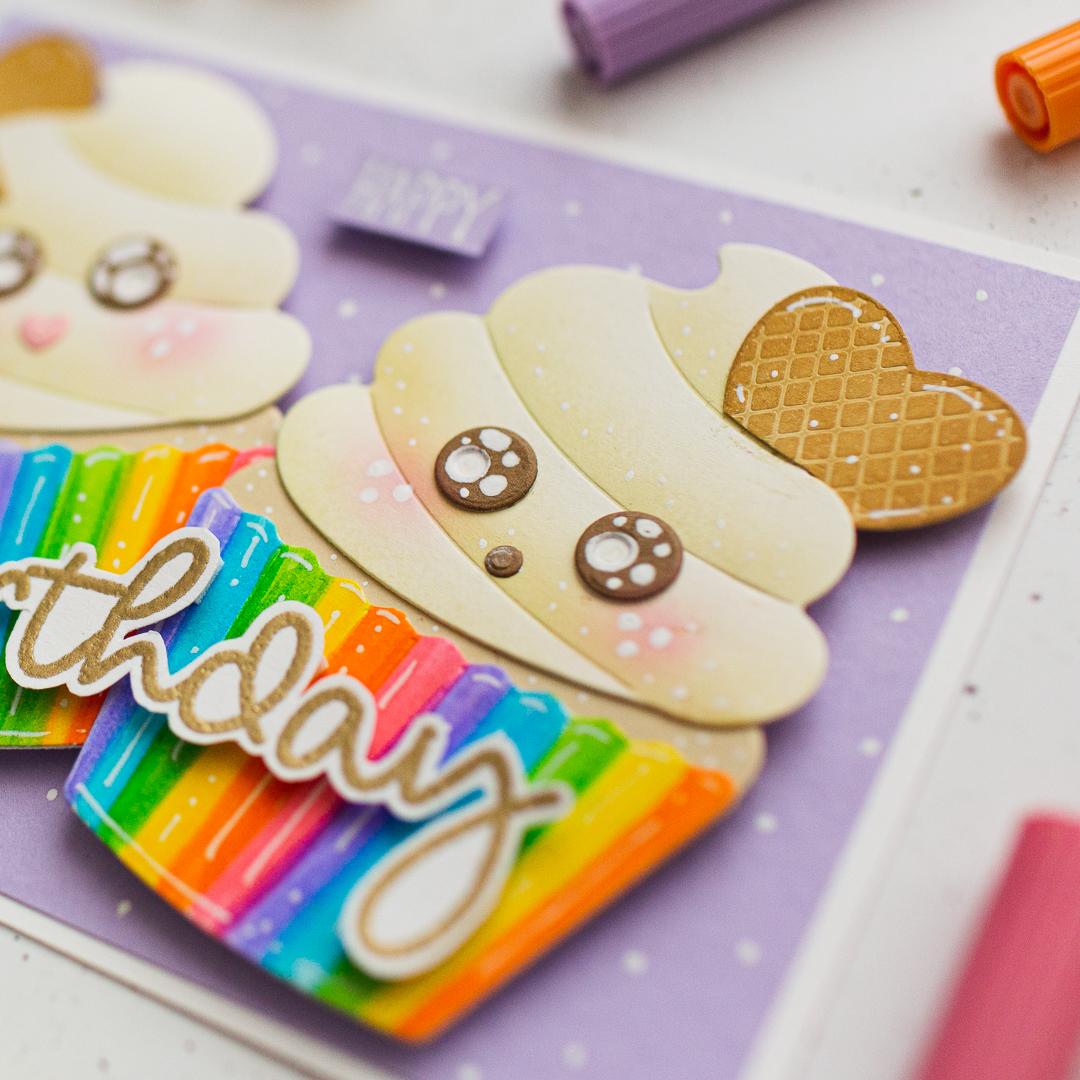
I also blended the adorable waffle heart die-cut with blending tool and brown ink, to bring it to life a bit. If you want to see the ridges from the die-cutting in the original cardstock color, use a regular blending tool instead of a blending brush. It makes a huge difference! :) 

COLORING


When I saw the cup of the cupcake die from the Cupcake Sweet Stories Die Set I knew that I want to create a rainbow cup! So I grabbed my Tombow Markers and colored the lines in rainbow order. Very simple but so cute!


ADDING HIGHLIGHTS


The final touches always take your art to the next level. This is why I love to add those shiny details to my creations. They pop out the image more, and look at those eyes, the card is very sweet because of that! :) So a great white pen can make magic with your creations as well.


SENTIMENT


I stamped the "Birthday" word from the Make A Wish Sweet Stories Clear Stamps to a piece of Neenah Solar White cardstock with my Misti and watermark ink, then I heat embossed it with Gold Embossing Powder. Then I repeated the same process with the "happy" word from the Some Bunny Sweet Stories Clear Stamps. Stamped on to a piece of purple cardstock called Purple Mist, then I heat embossed with white embossing powder.


WRAP UP

Finally I have adhered the die-cuts to their right place with Foam Squares, to give them 3D dimension, and I repeat the same with the sentiments as well. 

VIDEO TUTORIAL

If you enjoy video tutorials more then watch this short reels about this project.


BEFORE YOU GO...

Let’s stay crafty friends! You can find more cardmaking inspiration, behind-the-scenes peeks and photography tips for crafters on my Instagram and Facebook pages.

📷✨ I’m on a mission to help cardmakers and crafters feel more confident with photography, so their beautiful creations can shine online too.

FOLLOW ON INSTAGRAM  |  EXPLORE MY SHOP

USED SUPPLIES

I’ve listed all the supplies I used below, so you can easily find them. Some of the links are affiliate links, which means I may earn a small commission if you make a purchase, at no extra cost to you. Thank you so much for supporting my blog and creative work!