THIS PROJECT FEATURES

Do you enjoy this inspiration? I really appreciate if you pin this photo to your Pinterest.
CARD INSTRUCTIONS
I created my background with the best Halloween stencil ever, called
Spooky Sky stencils! For the base I have used colorful inkpads from Catherine Pooler (see the colors at the end of the post) then I blended dark blue through the 1st "cloud" part. For the yellow stars layer I have used yellow gouache with my fingers through the stencil and let it dry. After that I continued with the 3rd "bat" part with a black ink.

I wanted to create a spooky night coloring but with adorable images, so I stamped the images from the above mentioned stamps with brown inkpad and colored them with Spectrum Noir Illustrator markers with the following colors: FS1, PL1, PL2, PL3, PL4, PL5,
BO4, BO3, BO1, GY4, GY3, CT4, CT3, CT1, GB10, GB6, GB4, GB2, FS5, Blender.
When the coloring was done, I die-cut the beautiful Happy Halloween script sentiment from white and gold glitter with the new Happy Halloween Script die set as well as a deep orange die-cut with the Easter Basket Dies, and put them together with liquid and 3D adhesives.
For my Instagram click here or tap on the graphic above.
PROMOTION
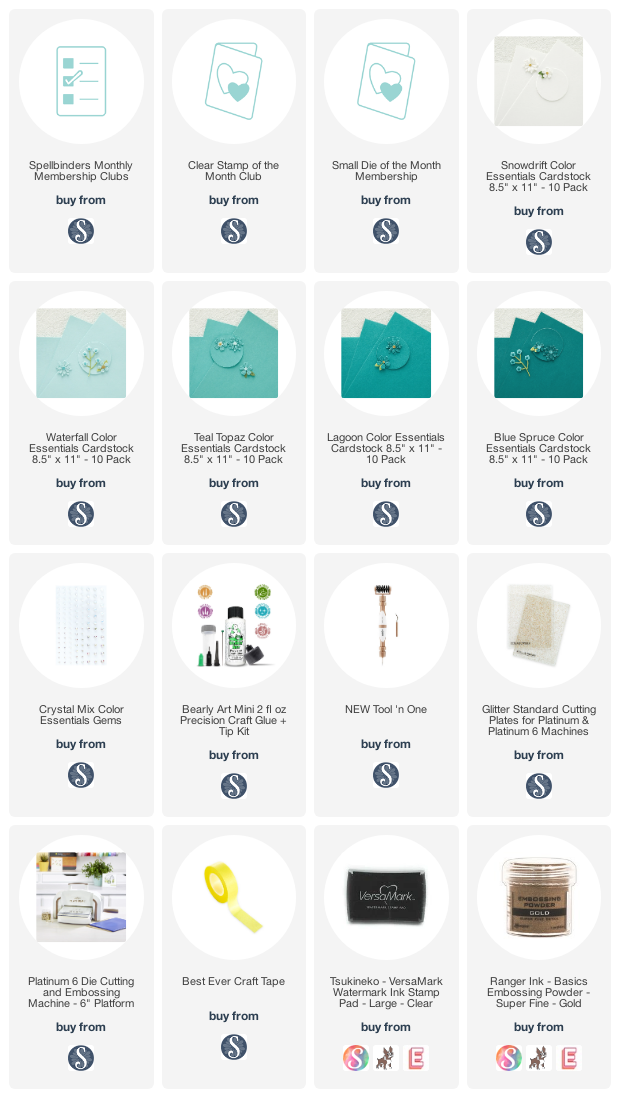
Pretty Pink Posh has a limited amount of bundles available where you can buy the whole collection in one easy click. Plus, you’ll get 10% off when you buy it altogether. Shop HERE or tap the image below! USED SUPPLIES
Affiliate links were used where possible. I may earn a commission if you click them and make a purchase (at no additional cost to you). I am using only products I LOVE. If you buy supplies through my affiliate links, you support my channel and blog with a small commission and when you shop through my links I will do a happy dance. Affiliate Disclaimer.


