Showing posts with label Therm O Web. Show all posts

Fun techniques with stencils | Waffle Flower Crafts Hop

Hi crafty friend! Welcome to Waffle Flower’s November 2020 Release day! Today Waffle Flower is rolling out their new release that includes 3 stamp sets, 1 stamp-n-stencil combo, and 14 stencils! All of the products from this month’s release are already waiting for you on the website here! 

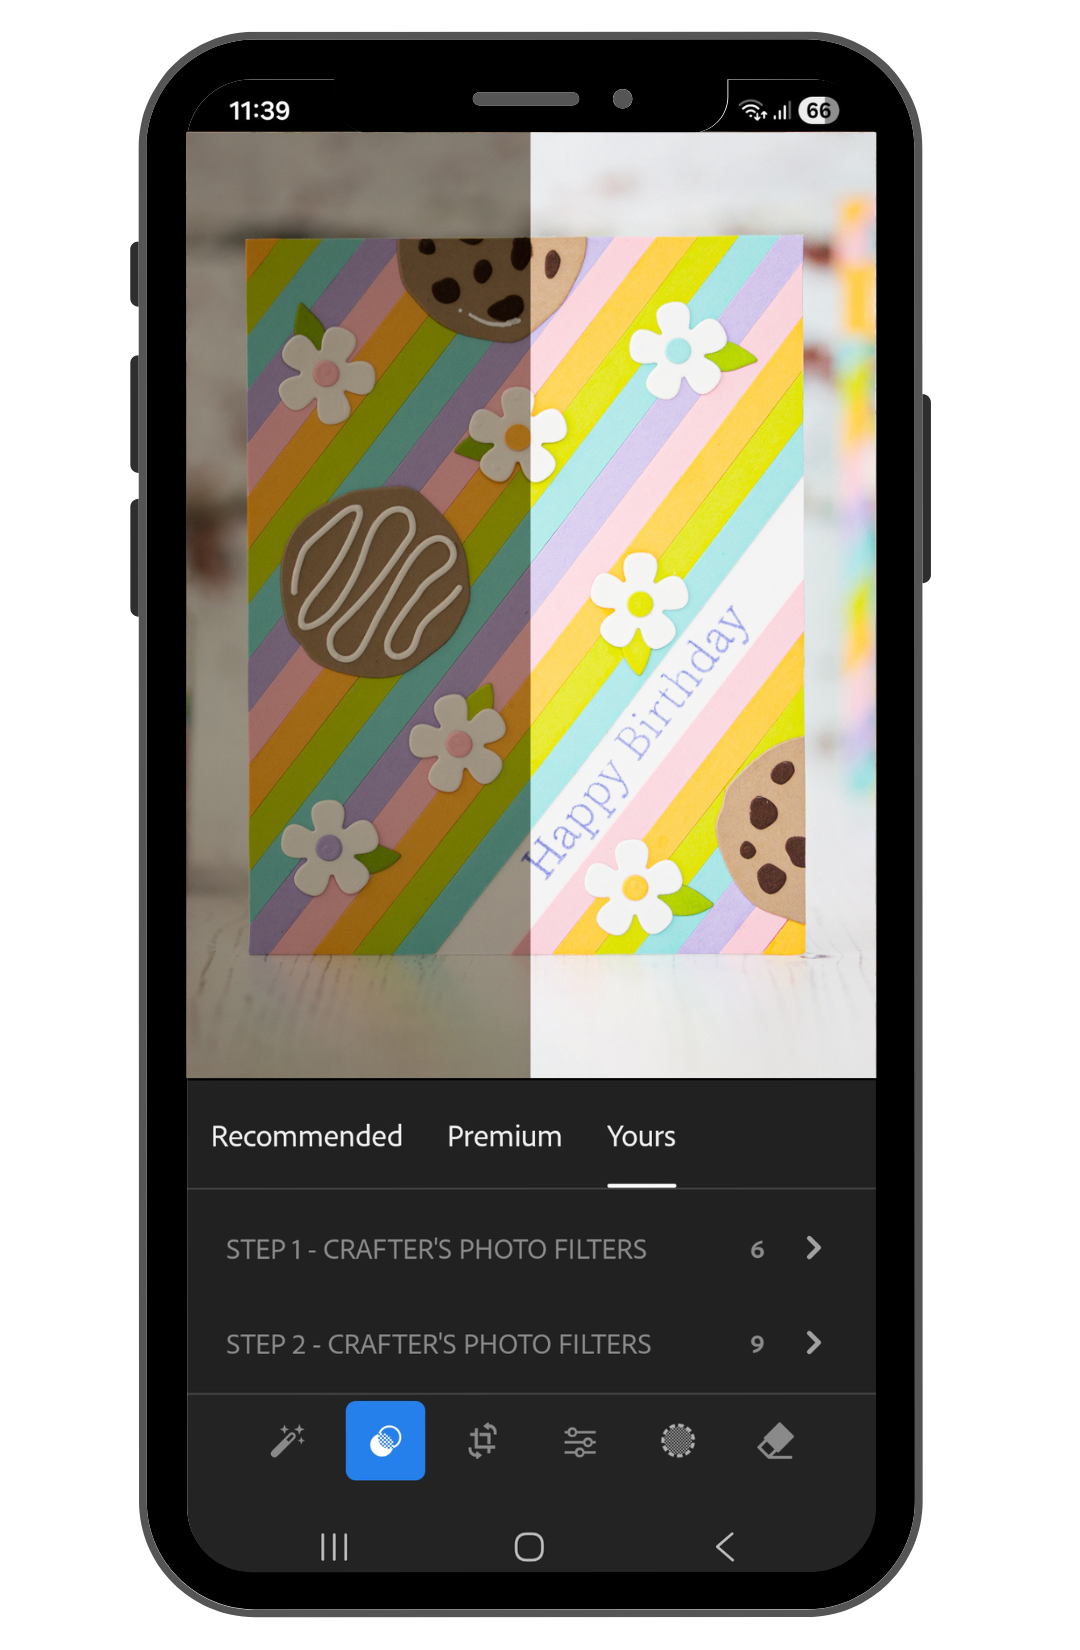
Do your projects look better in real life? Start with 5 simple ways to make your craft photos do them justice. 🎁 Get my free photo ebook for cardmakers and colorists here!

This month’s Waffle Flower release is all about creativity boosters! For many of us, time in the craftroom is all about clearing the mind and recharging! With that goal in mind, Waffle Flower packed this release full of stencils and silhouettes designed to feed your imagination! So, take a mini-break from your holiday crafting and take a look at these new goodies! 


As you know I am a rainbow color lover, and when I saw the new amazing stencils, I knew that I will create something colorful with them. I have used the Paint Strokes Stencil, the Stripes Builder Stencil and the Infinite Petals Stencils in creating these rainbow cards. 


For the first one I just picked Distress Oxide inkpads in random rainbow colors and made a quick ink blending through the Paint Strokes Stencil and it turned out magically! I really LOVE the result. Because the background is very colorful, I just added a gold heat embossed Peony Bouquet Vellum Die-cut and a gold heat embossed sentiment which I have created with the Spotlight Holiday Elements stamp set. 


For my second rainbow card I did the same like the previous one, but this time with the Stripes Builder Stencil. I put the stencil to the top of my card diagonally and I wanted to make it a bit imperfect, so I overlayed sometimes the colors. 


When the colorful background was done, I heat embossed on it the image with sentiment from the Spotlight Holiday Elements stamp set and finally I added a little bling with the Gold Glitz Glitter Gel through Keeway's Sky Scene Stencil. 


For my last rainbow card, I made the same thing with the Infinite Petals Stencils. I just turned it 4 times to get this amazing and colorful look. 


I added a little bling too with the Gold Glitz Glitter Gel trough Keeway's Sky Scene Stencil. In the end I just added an airy shaded Peace sentiment because I like the rainbow focus. 


One of my favorites from this release is this new and super cute Fall for You stencil-n-stamp. Stencils are used to create larger elements and the coordinating stamps add focal points and fine details. Waffle Flower’s first stencil-n-stamp is the adorable Fall for You by artist Cassie Loizeaux (stencil-n-stamp). 


I have created these cards with ink blending through the stencils with different Distress Oxide Colors, then stamped with watermark ink with the coordinated stamp set and heat embossed it with white and gold embossing powders. 


As a last step for the background I added Teal and Gold Glitz Glitter Gel through the 3rd stencil and let it dry. In the end I just put a big Peace word die-cut and heat embossed sentiment and put my card together. I love how these cards turned out. 


Thank you so much for stopping by, as always, you can find the used supplies below the post. And now giveaway time! YAAAY! 

Ready to see some of these goodies in action? Check the full lineup of guest designers and team members in today’s Blog Hop on the Waffle Flower blog! Your next stop is the super talented Rachel Alvarado! Happy Hopping! 


GIVEAWAYS

For today’s hop, Waffle Flower is giving away $25 gift certificate to THREE lucky winners. You can leave a comment on this blog and along the hop by 11:59pm EDT on November 8th, 2020 for your chances to win. Winners will be chosen at random from the comments left on any of the posts in this blog hop and will be announced on the Waffle Flower Blog on 11/11/2020. 

SPECIALS

From now till November 8th, 2020, all orders over $50 placed at waffleflower.com will receive a FREE set of Merry Bow Stencil (No code required; Limited 1 per customer; While supplies last). 


USED SUPPLIES

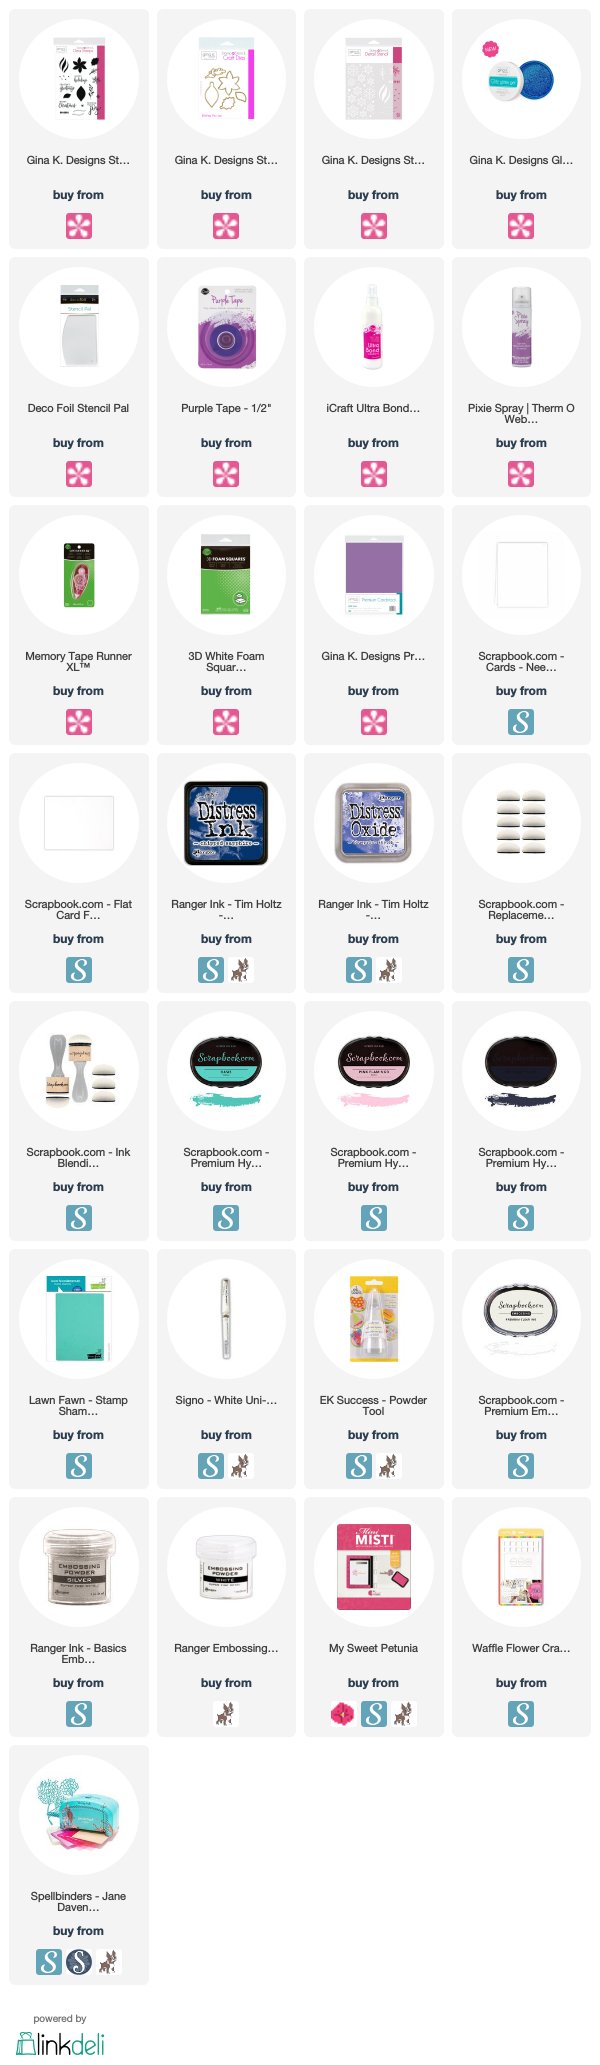
I’ve listed all the supplies I used below, so you can easily find them. Some of the links are affiliate links, which means I may earn a small commission if you make a purchase, at no extra cost to you. Thank you so much for supporting my blog and creative work!

Fun card background ideas

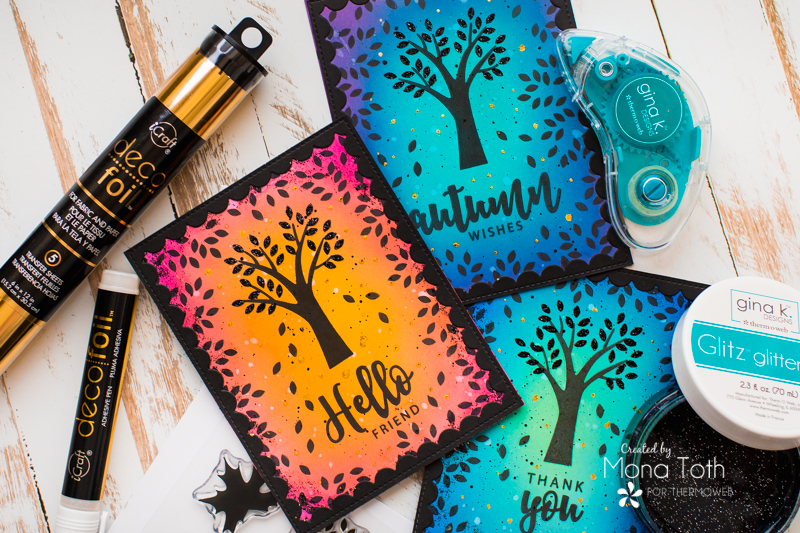
Hi crafty friend, I wanted to let you know, that I have a new step-by-step tutorial on the Therm O Web blog with fun techniques using the Glitz Glitter Gel and Deco foil Flock transfer sheets. 


For the full tutorial please visit my post on the Therm O Web Blog. This post is just a sneaky peak. Thank you so much for stopping by, have an amazing day. Mona

USED SUPPLIES


I am using products only I LOVE. If you buy supplies through my affiliate links, you support my channel and blog with a small commission and when you shop through my links I will do a happy dance. Using affiliate links does not mean additional cost for you. I really appreciate your support. Affiliate Disclaimer here.

[Video] No laminator foiling hacks with Deco Foil Transfer Sheets


Hi crafty friend I am back with an another video tutorial, where I am showing you how can you foil easily without laminator as well as how I created these cute Lawn Fawn Halloween tags with the new Deco Foil Transfer Sheets by Therm O Web.

VIDEO TUTORIAL


If the video is not working above please open it here. If you like written tutorials more, visit my original post on the Therm O Web blog. Thank you so much for stopping by, big hugs Mona! 


USED SUPPLIES


I am using products only I LOVE. If you buy supplies through my affiliate links, you support my channel and blog with a small commission and when you shop through my links I will do a happy dance. Using affiliate links does not mean additional cost for you. I really appreciate your support. Affiliate Disclaimer here.

Spectrum Noir Illustrator Markers Used: TN7, BO3, BO1, OR2, GY3, CT4, CT3, GY2, FS7, FS6, FS3, MG1, MG3, PV3, PL3, AB1, AB3, True Black, Blender

Rina K. Designs Release by Therm O Web | Blog Hop

Hello crafty friends and welcome on the Therm O Web Blog Hop, where we celebrate the new Rina K. Designs Electro Pop release with Therm O web! I have an inspiration for you with a step by step tutorial, I hope you will enjoy it. As always, you can find all the used supplies below the post. 

Do your projects look better in real life? Start with 5 simple ways to make your craft photos do them justice. 🎁 Get my free photo ebook for cardmakers and colorists here!

For my card I have used Electro Pop inkpads I am going to use various Stamp and Stencil products, Glitz Glitter Gels and Electro Pop inkpads by Rina K designs. I am in love with these fabulous products. This is just a teaser of my post, if you want to see the tutorial, check the full post here on the TOW blog.


I hope you like my inspiration, feel free to comment which product is your favorite from the new release.


After your comment it is time for you to hop! Next up is the amazing and talented Katrina Hunt. Or you can start over on Therm O Web blog. Don’t forget to leave a comment for a chance to win one of the $50 value gift certificates. They will pick two random winners. The entries will be closed on Sunday, March 22nd at 11:59 pm CST. Winners will be announced by 24h at 1pm CST on the Therm O Web blog.


Thanks for stopping by, see you next time. You can find the used supplies below.

Hugs, Mona


USED SUPPLIES

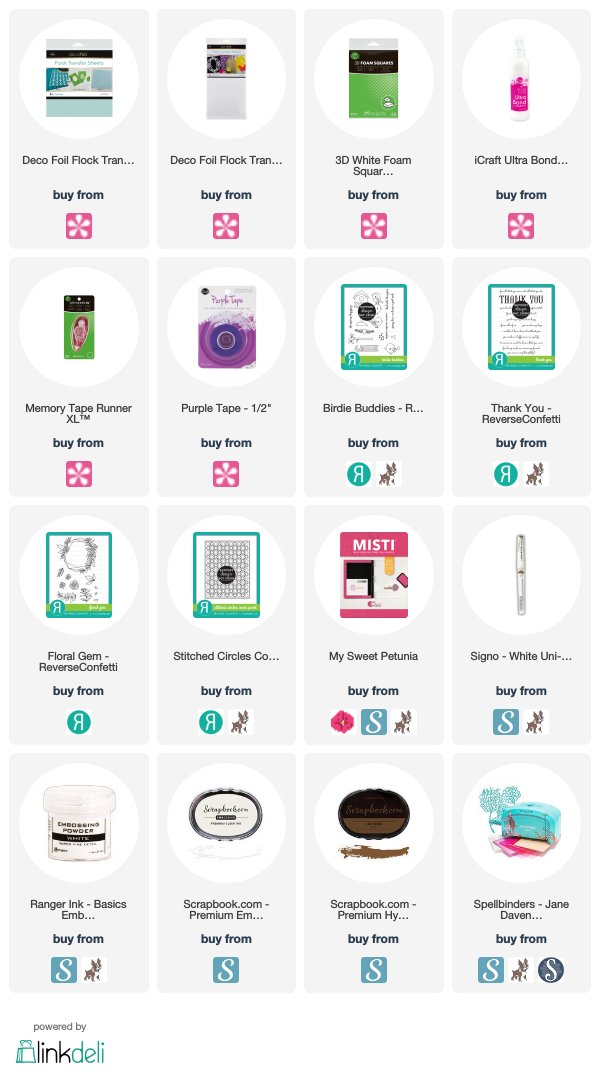
I’ve listed all the supplies I used below, so you can easily find them. Some of the links are affiliate links, which means I may earn a small commission if you make a purchase, at no extra cost to you. Thank you so much for supporting my blog and creative work!  

Helpful tips to create shaker card | Essential video tutorial

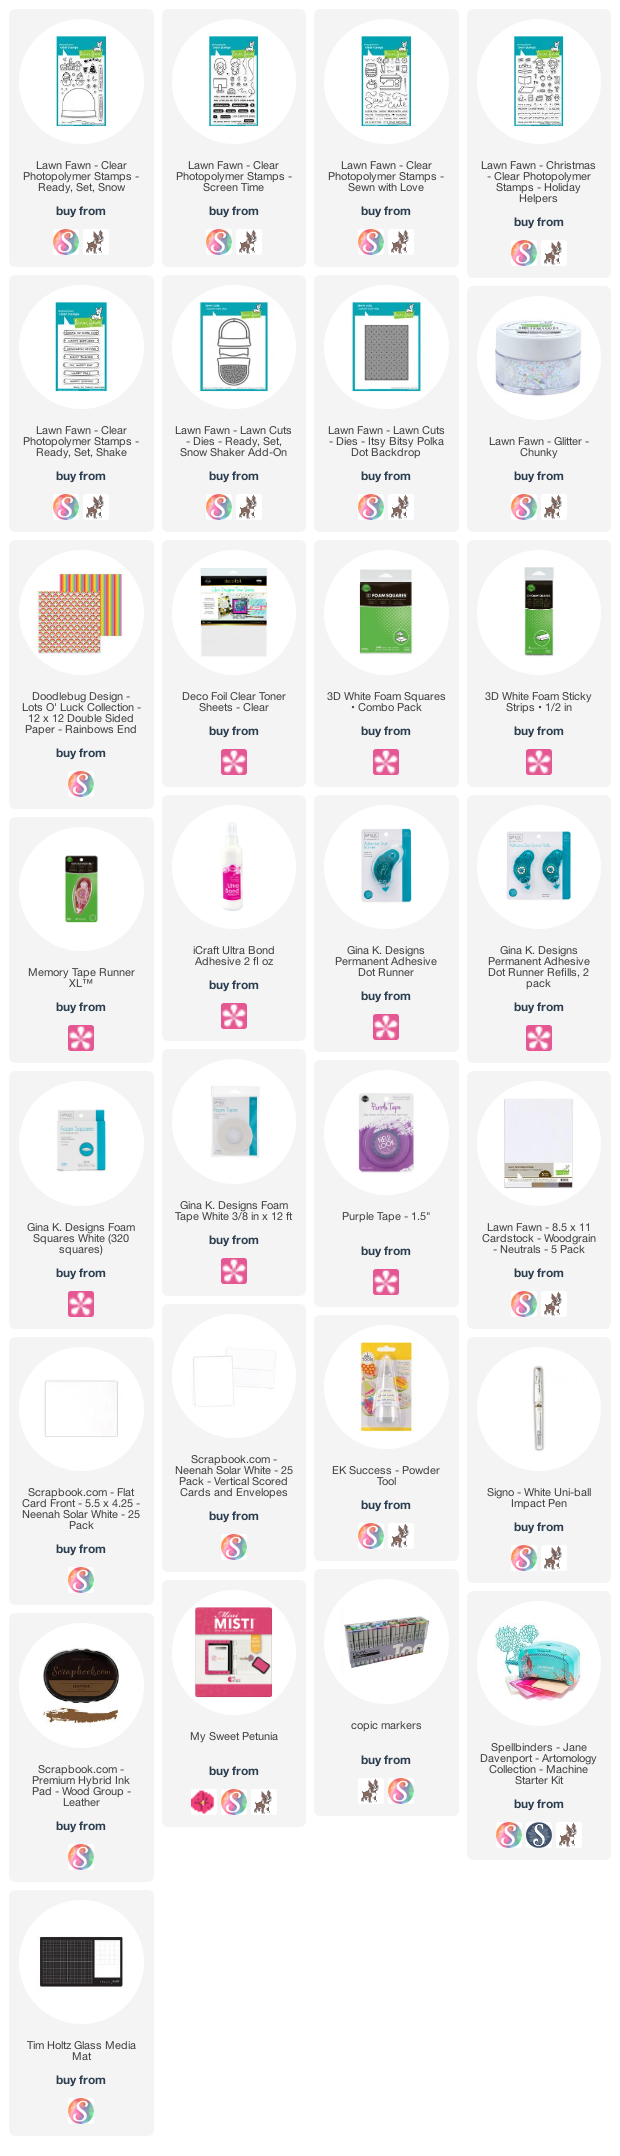
Hi lovelies, today I am going to show you my favorite way to make a shaker card on Therm O Web’s Youtube Channel. In this video I am telling you three tips which are essential in creating them.

This post is just a sneaky peek, for the full post please visit Thermoweb's blog. You can find the video tutorial here or below.


Thank you for stopping by, for more inspiration feel free to visit my Instagram. Hugs, Mona

SUPPLIES

I prepared for you the list of products which I used for making this project. If you buy these through my links I receive a small commission with no additional cost of you. (You can find the affiliate disclosure here). Thank you for your support!

Card tutorial with Glitz Glitter Gel | Therm O web

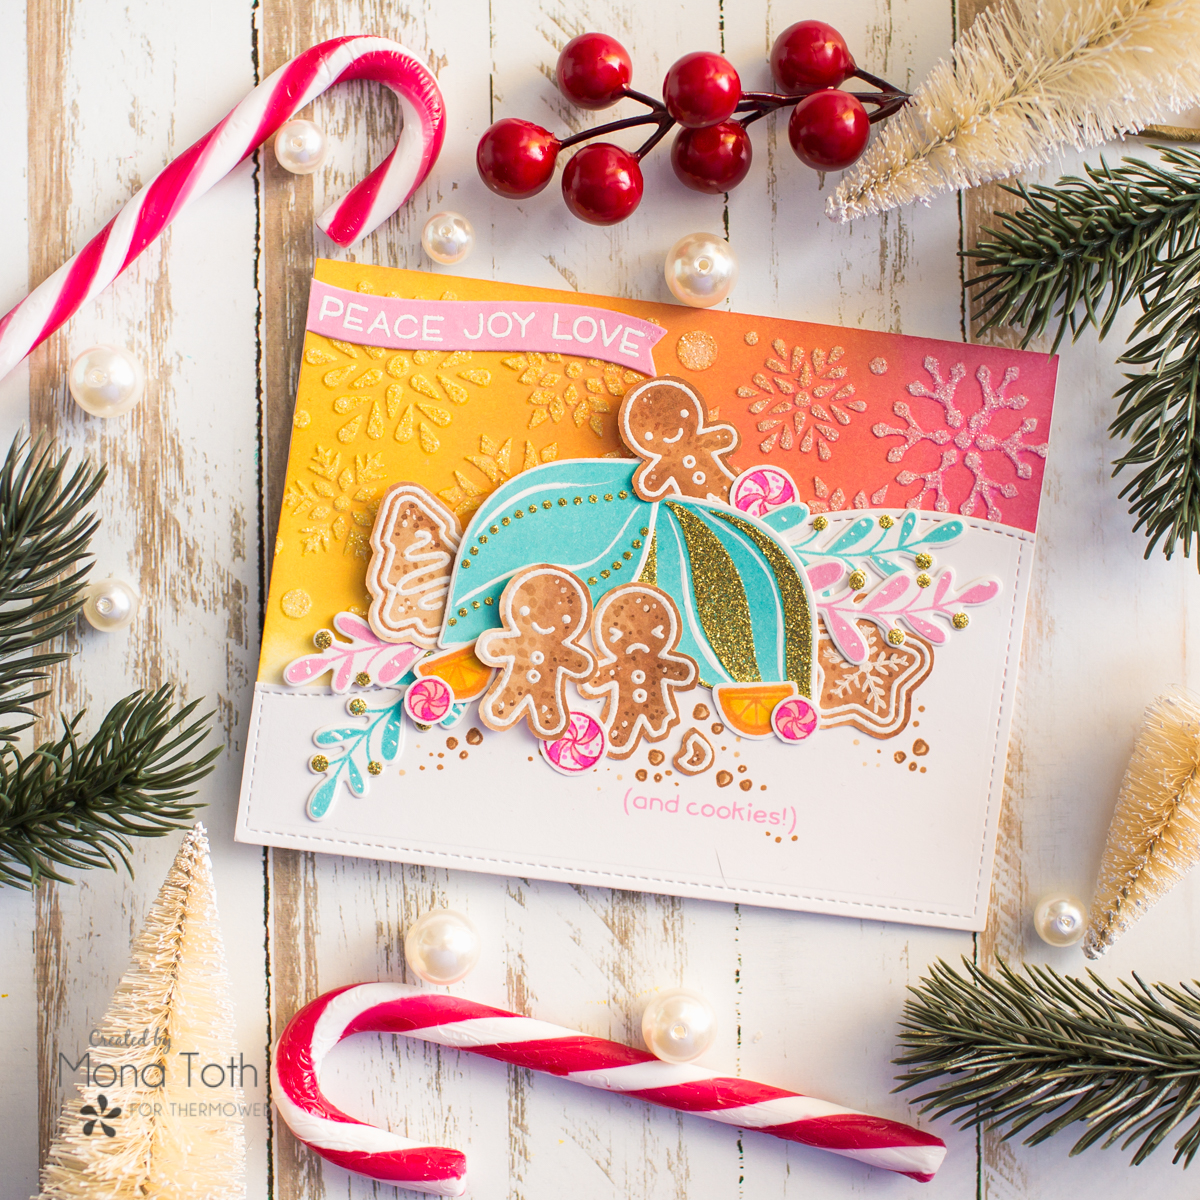
Hello crafty friends, today I have a quick step by step tutorial on Thermoweb's blog with two cute cards with the fabulous Wishing You Joy Stamp’n Stencil Set by Gina K. Designs which I spiced with Lawn Fawn stamps and images.


I am going to use the beloved Glitz and Glitter gel in various colors as well. This post is just a sneaky peek, for the full post please visit Thermoweb's blog. 

SUPPLIES


I prepared for you the list of products which I used for making this project. If you buy these through my links I receive a small commission with no additional cost of you. (You can find the affiliate disclosure here). Thank you for your support!


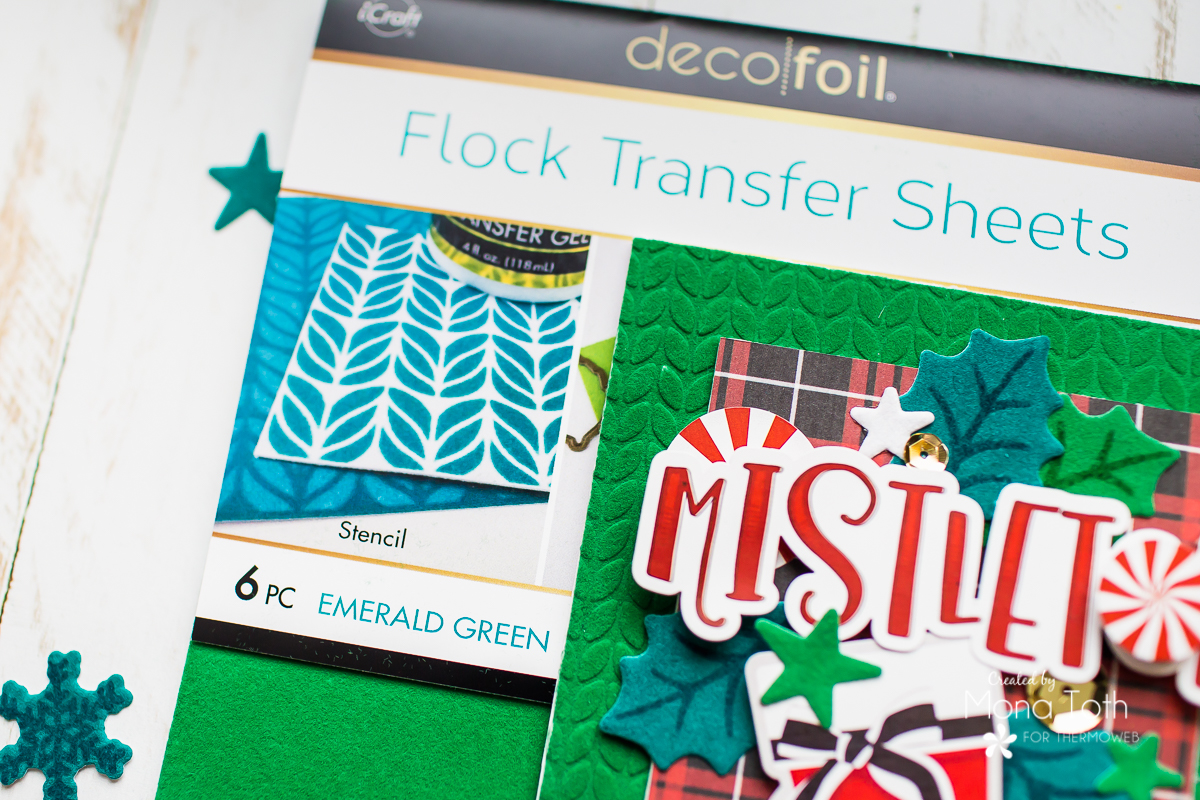
Step by step tutorial with Flock Transfer Sheets | Thermboweb | Reverse Confetti

Hi crafty friends, today I have a step by step photo tutorial on the Thermoweb blog with fabulous Stamps and Dies from the latest release by Reverse Confetti. I am going to use the beloved Deco Foil Flock Transfer Sheets as well.


This post is just a sneaky peek, for the full post please visit Thermoweb's blog.
Thank you for stopping by! Mona


SUPPLIES


I prepared for you the list of products which I used for making this project. If you buy these through my links I receive a small commission with no additional cost of you. (You can find the affiliate disclosure here). Thank you for your support!


Holiday cards with Deco Foil Flock and Photoplay Paper | Thermoweb

Hello crafty friends, today I have a tutorial for you, on how to add more dimension to your card with different products.


In this tutorial I am going to use some new and festive colors of Deco Foil Flock Transfer Sheets. As well as the Christmas Kringle and Co. collection by Photo Play Paper.


This post is just a sneaky peek, for the full post please visit Thermoweb's blog. You can find the video tutorial below.


Thank you for stopping by! Mona

SUPPLIES


I prepared for you the list of products which I used for making this project. If you buy these through my links I receive a small commission with no additional cost of you. (You can find the affiliate disclosure here). Thank you for your support!

Quick Fall cards | Thermoweb


Hello crafty friends, today I am going to show you a fun project which is perfect for bulk cardmaking. I have a video tutorial too. As always you can find the used supplies at the end of this post.


This post is just a sneaky peek, for the full post please visit Thermoweb's blog and the you can find the video tutorial here.


VIDEO


Thank you for stopping by! Mona


SUPPLIES


I prepared for you the list of products which I used for making this project. If you buy these through my links I receive a small commission with no additional cost of you. (You can find the affiliate disclosure here). Thank you for your support!


New Gina K. Designs Release | Thermoweb Instagram Hop


Hello lovelies, I am back again with another beauty with the new Gina K. Designs Stamp 'n Stencil collections with Therm O web! This time we have an Instagram hop where you can win prizes! Yaaaaay! Since we're mixing it up with inspirations from both teams, there will be prizes from both teams, too! ThermOWeb and Gina K Designs are each giving away a $50 gift certificates to their stores! Don't forget to jump to my Instagram!


If you like my card for today feel free to follow my easy steps to create yours. As always, you can find all the used supplies below.


First I picked the fabulous Rainbow Shattered Glass Decofoil Transfer Sheets and adhered them to the decofoil Foam Adhesive. Next I cut them to the right sizes. Next I applied the Decofoil Metallix gel in Champagne Mist color through the new Wishing You Joy stencil to the foiled adhesive and let it dry.


While it dries I made a stamping with watermark ink to the Clear Designer Toner Sheets with the amazing Wishing You Joy stamp set and heat embossed with white embossing powder. 


Next I put my card together. I added tiny sequins to the foiled background and adhered the Clear Designer Toner sheets to the card with Memory tape runner.


In the end I missed something turquoise from my second card, so I stamped a few branches, adhered them to the final card and it was ready.


SUPPLIES

I prepared for you the list of products which I used for making this project. If you buy these through my links I receive a small commission with no additional cost of you. (You can find the affiliate disclosure here). Thank you for your support!


SAVE IT


My projects compressed into a photo :) If you like it, save it to your Pinterest board. Thank you!