Showing posts with label small die of the month. Show all posts

August Small Die of the Month

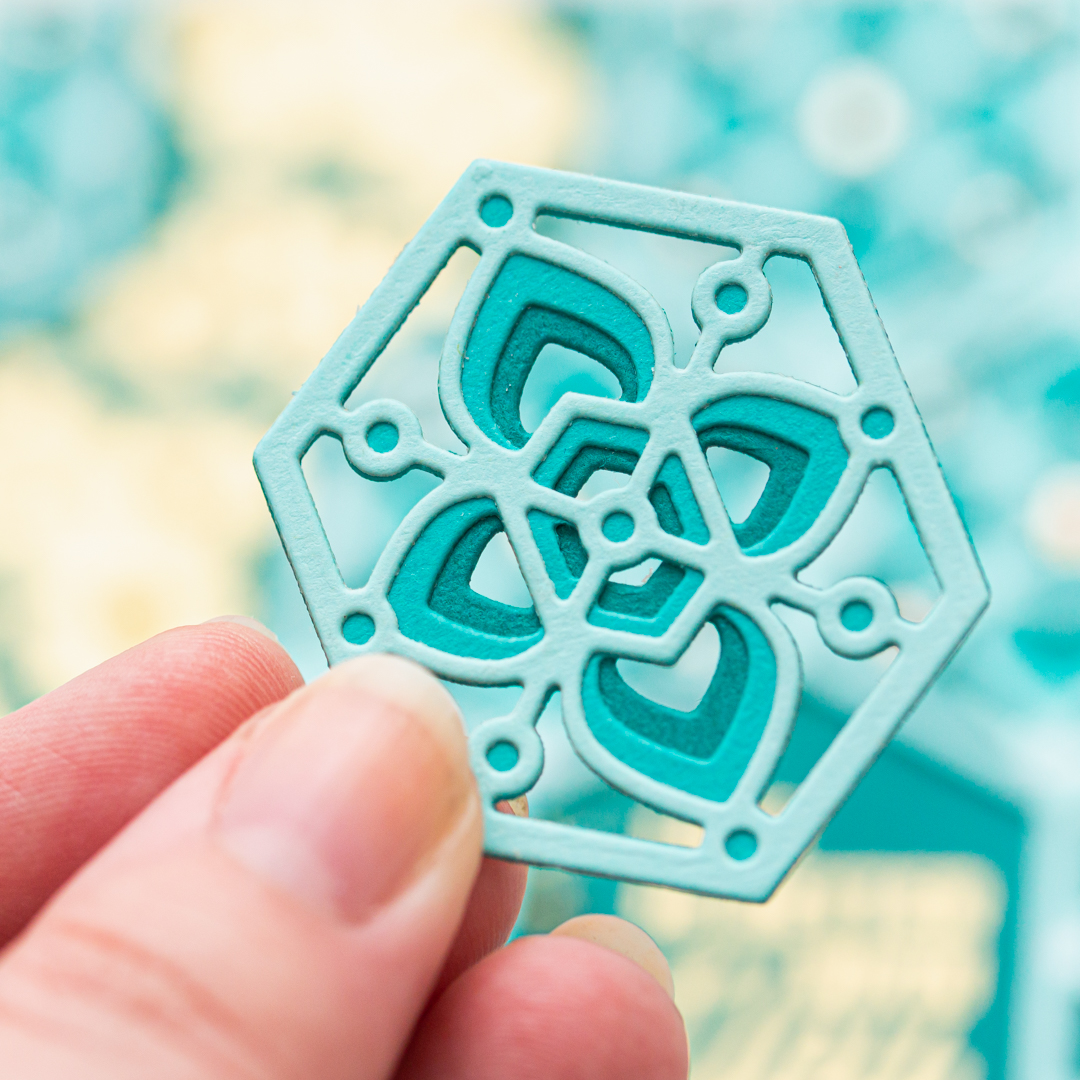
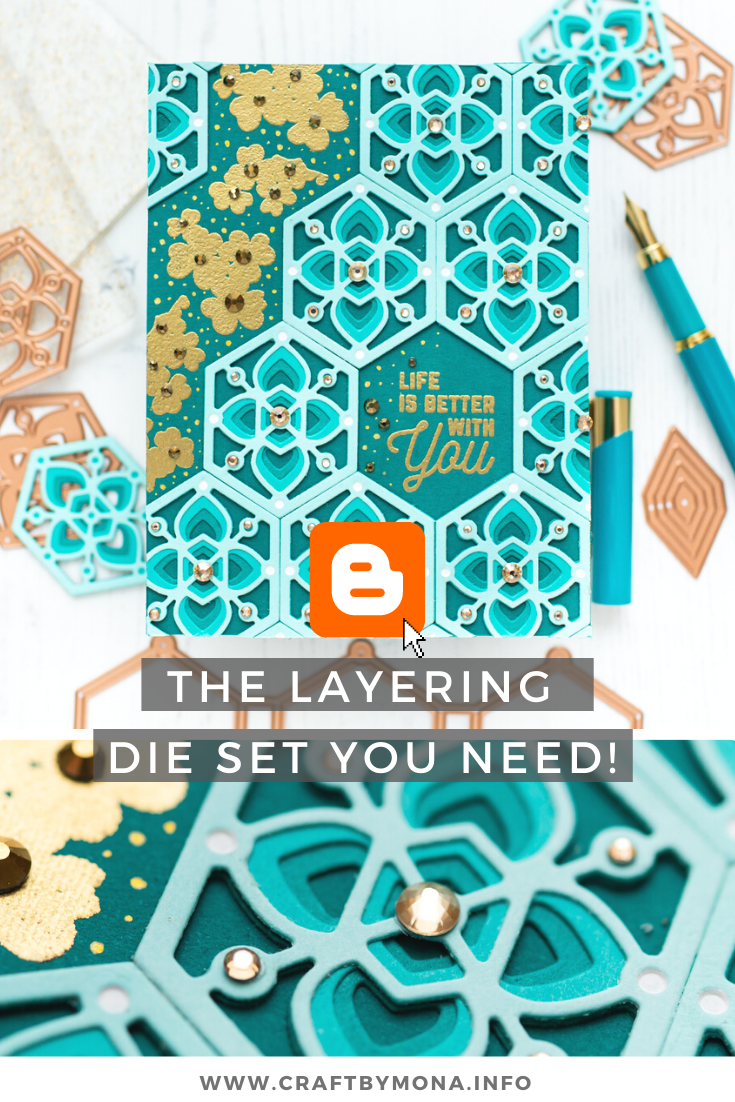
If you like to play with the dimension and the depth of your cards, then you will love the August Small Die of the Month kit. It has several dies to get a perfect layered look and you can mix and much them in different ways. 


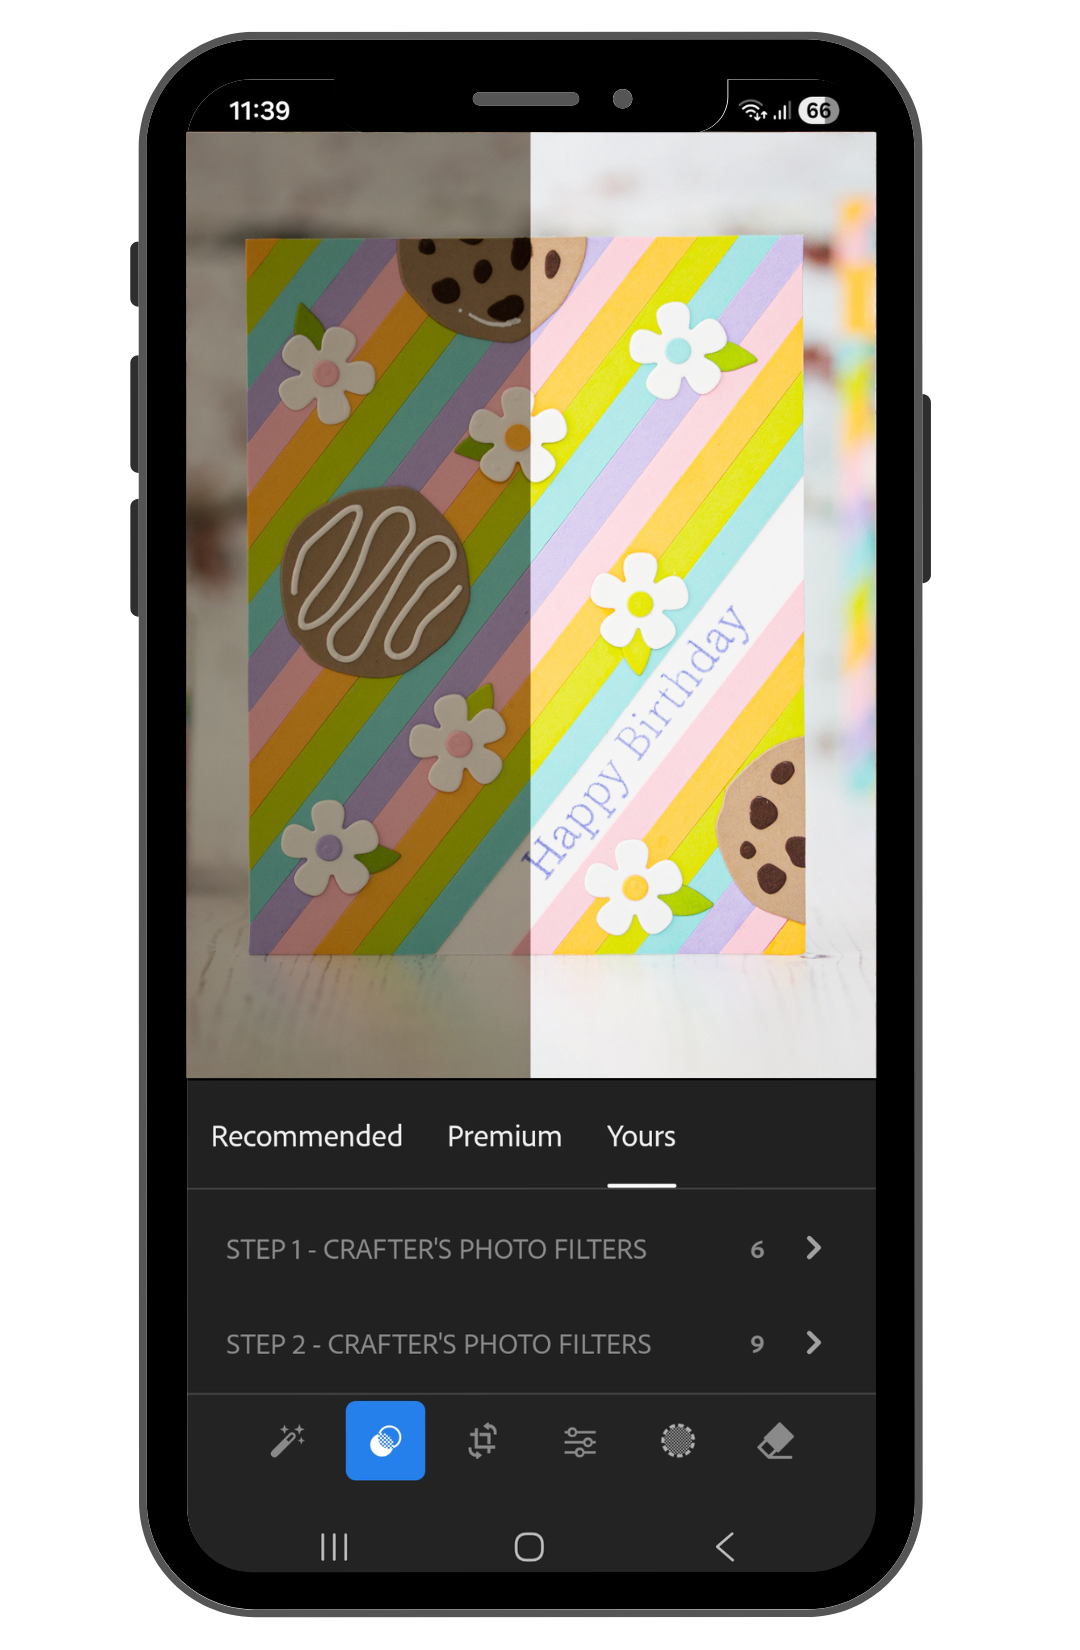
Better craft photos are easier than you think. Start with 5 simple tips you can try today.
🎁 Get my free photo ebook here!

THIS CARD FEATURES

  • Small Die of the Month Membership
  • Clear Stamp of the Month Membership
  • There are several Value Club options available for those who would like to join multiple clubs at once. The FAQ about these kits can be found here.
  • Color Essentials Gems Gold Mix
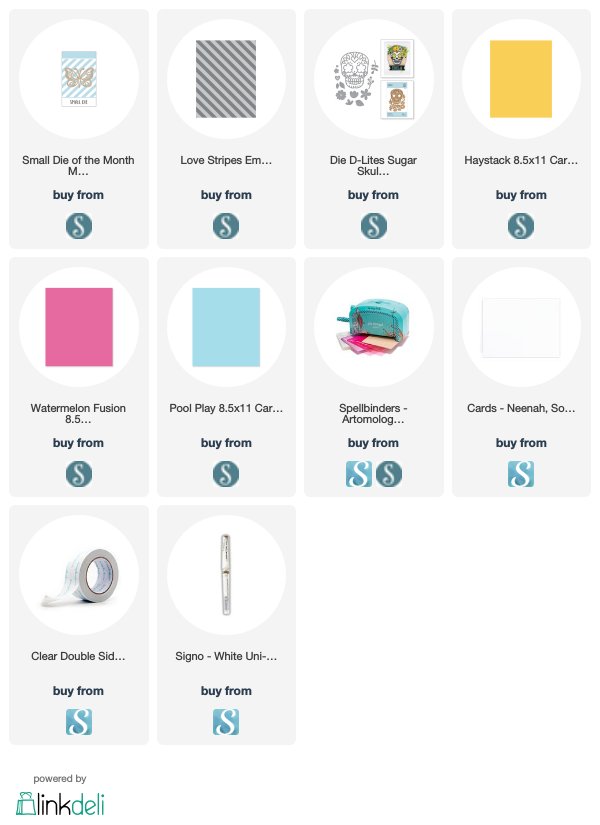
  • For the additional supplies with shop links visit the thumbnails below this post.
 

Pin this post to your Pinterest board and save this card idea for later.

CARD INSTRUCTIONS

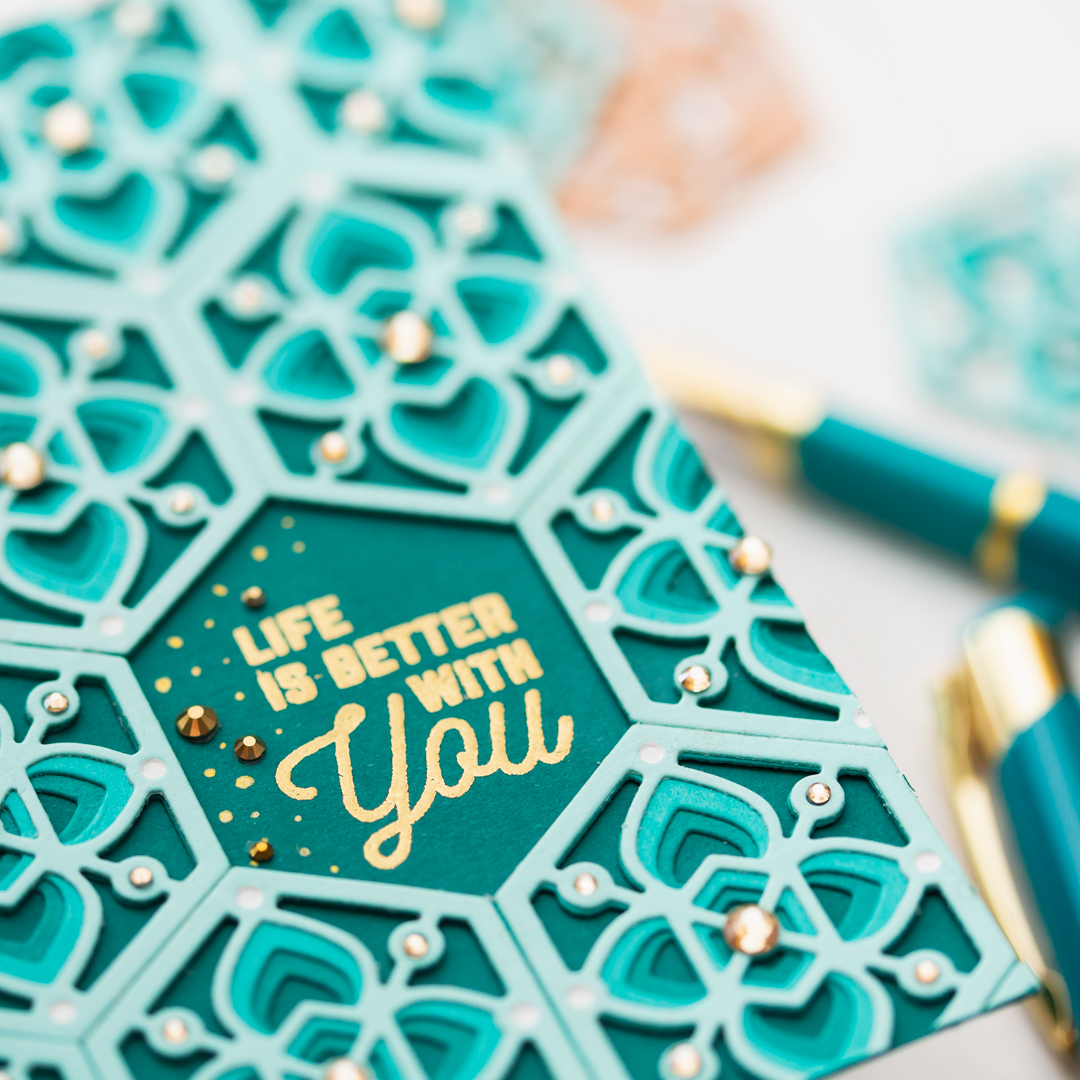
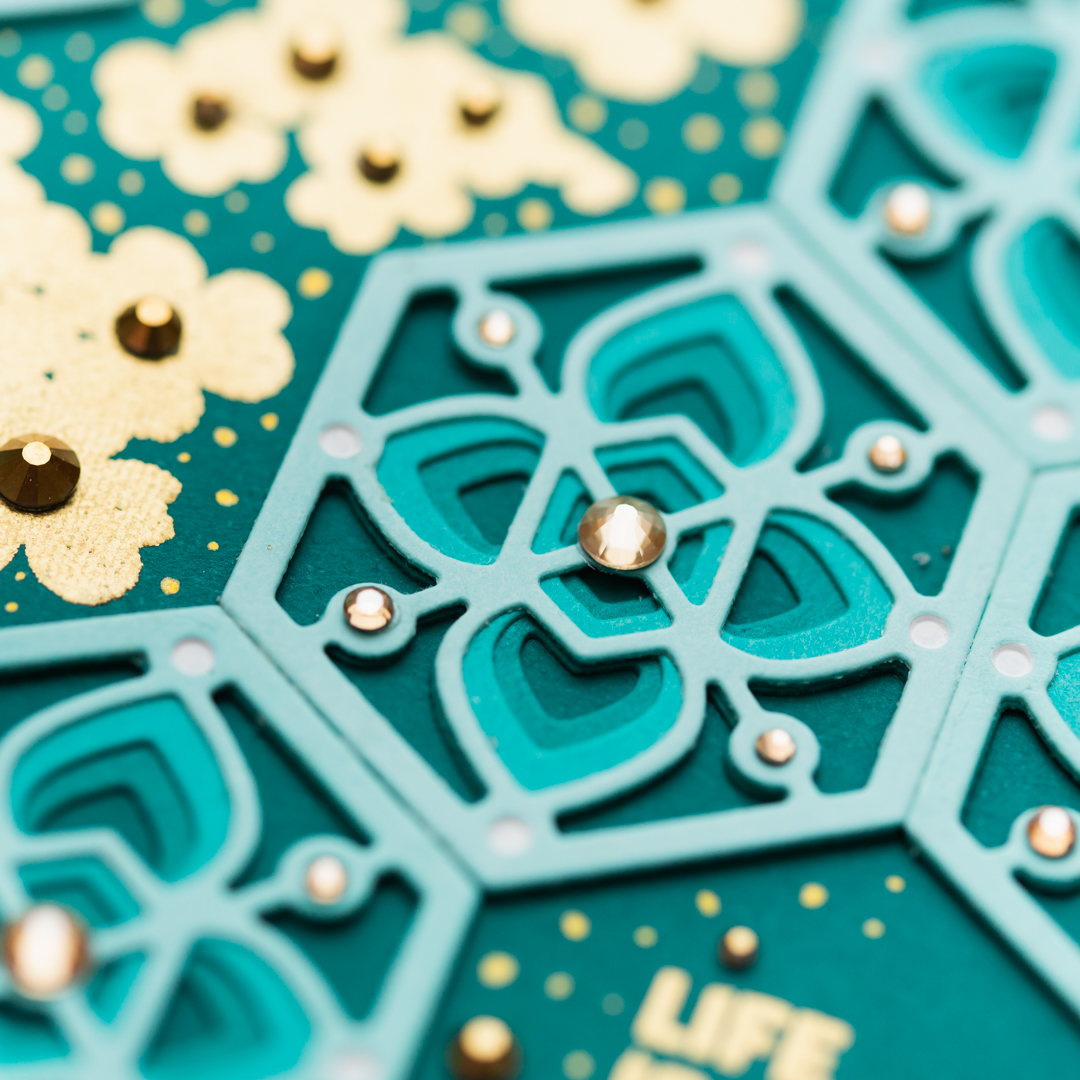
For this inspiration I have used only 3 layer able dies from this beautiful set, and created an asymmetrical elegant card. I die-cut lots of die-cut pieces with each layer able dies. The top pieces I have created with the lightest teal cardstock which I have, called Waterfall. For the second layer pieces I used the Teal Topaz cardstock and for the last layers I went with Lagoon cardstock color, and my background will be slightly darker as well, for a beautiful and elegant look. 


I rolled over the die-cut with my Tool-n-One tool to remove the small paper dots and other leftovers. This tool saves my creating process and I never skip to use it with intricate dies. Next, I put the together all the die-cut pieces with Bearly Art Precision Craft Glue, and I put on the top of them a heavy book and rest them few mins under it.
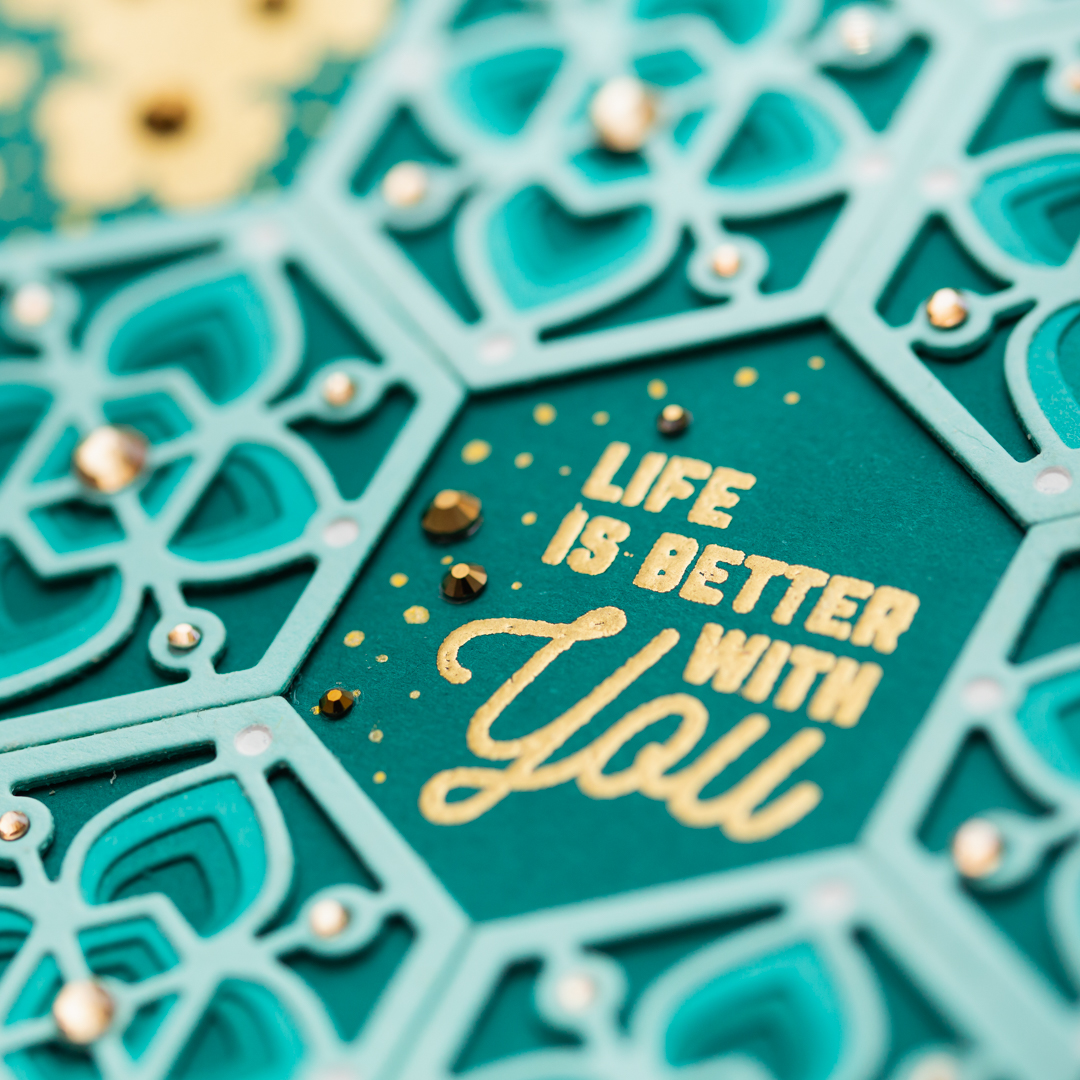
This month the Clear Stamp of the Month and the Small Die of the Month coordinates well, so I stamped the sentiment with watermark ink to Blue Spruce Color Essentials Cardstock and heat embossed with gold embossing powder. 


I have also heat embossed the beautiful solid floral images from the same set, to the left side of my cardstock. I really like how this beautiful flower looks like; it's perfect as a pattern too.


In the end I put my card together with Bearly Art Precision Craft Glue, and I adhered beautiful Gold Mix Color Essentials Gems to embellish my card. Thank you so much for joining me today, you can check all the Spellbinders monthly clubs here.


BEFORE YOU GO...

Let’s stay crafty friends! You can find more cardmaking inspiration, behind-the-scenes peeks and photography tips for crafters on my Instagram and Facebook pages.

📷✨ I’m on a mission to help cardmakers and crafters feel more confident with photography, so their beautiful creations can shine online too.

FOLLOW ON INSTAGRAM  |  EXPLORE MY SHOP

USED SUPPLIES

I’ve listed all the supplies I used below, so you can easily find them. Some of the links are affiliate links, which means I may earn a small commission if you make a purchase, at no extra cost to you. Thank you so much for supporting my blog and creative work!
Stitching ideas for cards | Small Die of the Month

Let's start the month with a short stitching reel with the newest dies from my favorite Club Kit by Spellbinders!


Better craft photos are easier than you think. Start with 5 simple tips you can try today.
🎁 Get my free photo ebook here!

THIS CARD FEATURES

Pin this post to your Pinterest board and save this card idea for later.

CARD INSTRUCTIONS

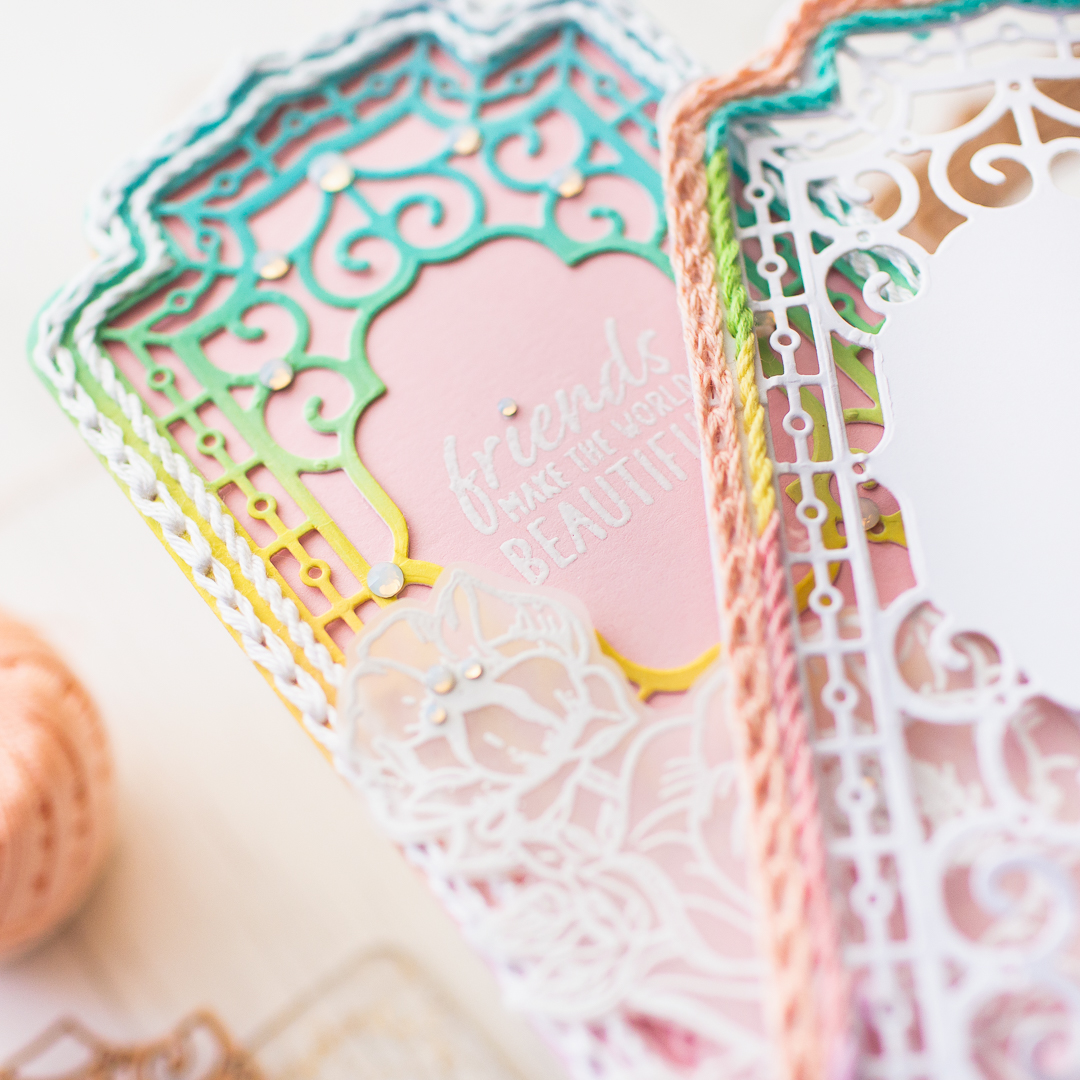
I started the cardmaking with Die-cutting. I fixed the dies from the July - Small die of the Month kit with yellow craft tape, and run it through my die-cut machine with a white heavy weight cardstock. I have also made a soft pink die-cut but only with the largest die. This will be the backing.


Next, I rolled over the die-cut with my Tool-n-One tool to remove the small paper dots and other leftovers. This tool saves my creating process and I never skip to use it with intricate dies. 


When it was done, I made a quick diagonal ink blending on the card with Salvaged Patina, Cracked Pistachio, Squeezed Lemonade, Spun Sugar and Shaded Lilac Distress Oxide inks, which are linked below the post then I wiped it with distress micro glaze to make it long lasting.


I was already in LOVE with the design, but I wanted to add white stitched details as well. And this die-set was perfect for these techniques so I needed to! I made a quick Instagram REEL video on how to make this twisted stitching, because it’s really easy and oh so relaxing.


This month the Clear Stamp of the Month and the Small Die of the Month coordinates well, so I stamped the sentiment with watermark ink to Pink Sand Color Essentials Cardstock and heat embossed with white embossing powder. I have also heat embossed the beautiful floral image from the same set, this time to a piece of vellum. I really like how this beautiful flower looks like; I will use it for another project soon.


Next, I put my card together with Bearly Art Precision Craft Glue, and backed the card with a yellow cardbase I made with the same largest die. I just folded the cardfront, and run it through my die-cut machine, but I didn’t run it through until the end, so I am able to open it.


As final touches I adhered beautiful Crystal Mix Color Essentials Gems to embellish my card. Thank you so much for joining me today, don't forget to check the stitching video on my Instagram. 


BEFORE YOU GO...

Let’s stay crafty friends! You can find more cardmaking inspiration, behind-the-scenes peeks and photography tips for crafters on my Instagram and Facebook pages.

📷✨ I’m on a mission to help cardmakers and crafters feel more confident with photography, so their beautiful creations can shine online too.

FOLLOW ON INSTAGRAM  |  EXPLORE MY SHOP

USED SUPPLIES

I’ve listed all the supplies I used below, so you can easily find them. Some of the links are affiliate links, which means I may earn a small commission if you make a purchase, at no extra cost to you. Thank you so much for supporting my blog and creative work!

November Glimmer of the month | Spellbinders

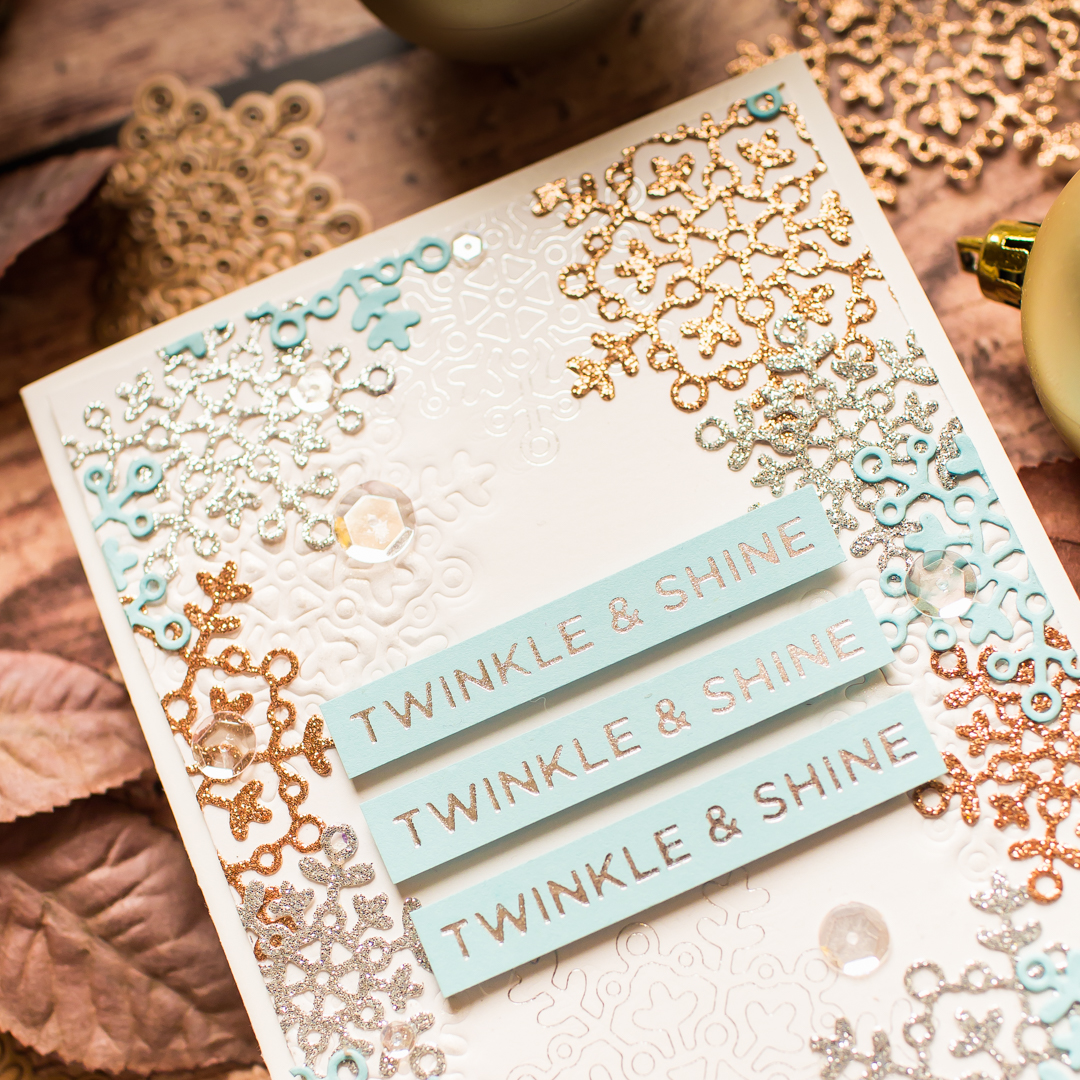
Hi crafty friends, today I am going to show you my another project with the absolutely amazing November Small Die of the Month kit from Spellbinders, but this time I am going to feature the November Glimmer of the Month kit from Spellbinders. You can find the used supplies below the post.


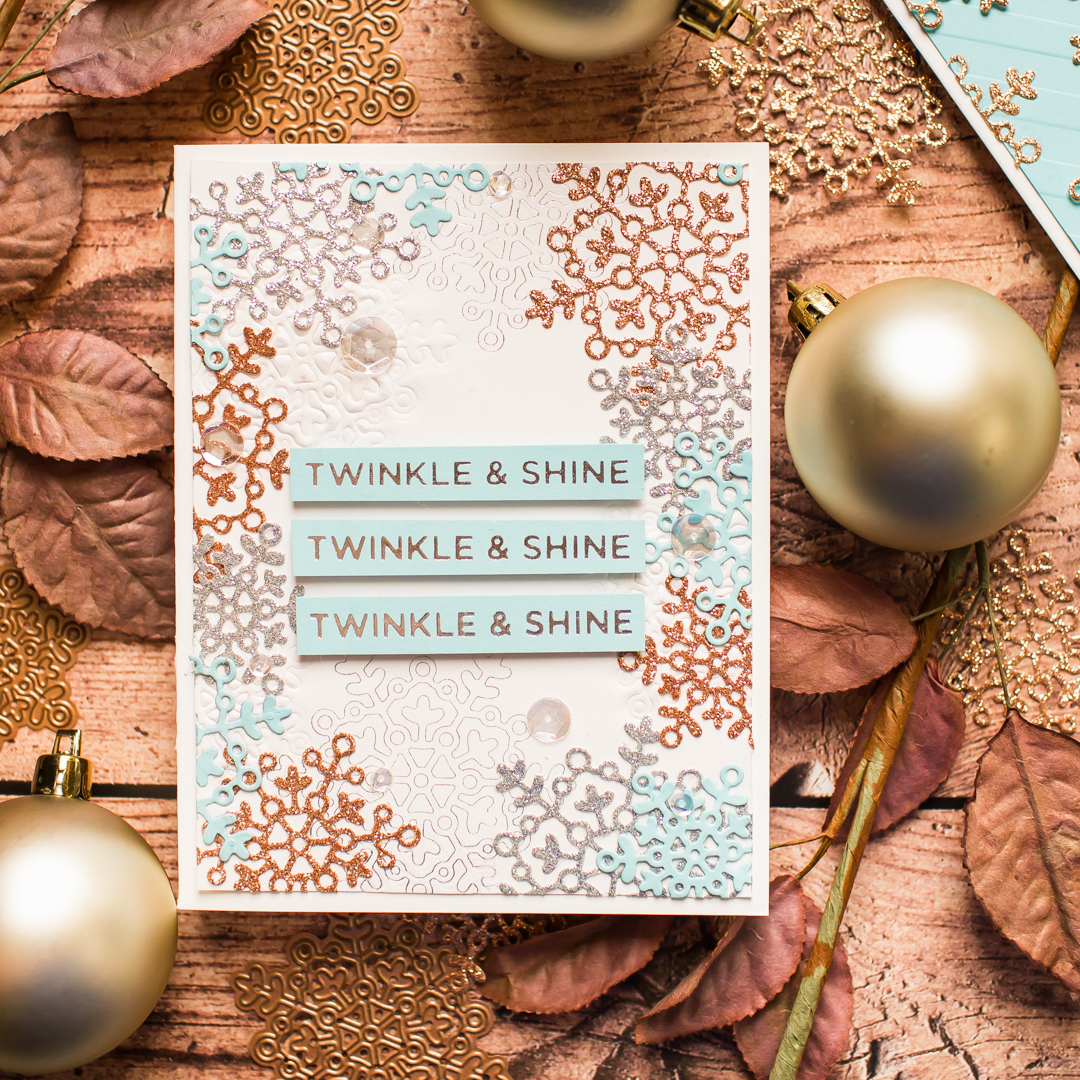
First, I created my 5.5 x 4.25" cardbase and dry embossed the snowflakes with my die-cut machine using the dry embossing mat, then I foiled them with silver foil.


When it was done I diecut the snowflakes in various sizes and different colors. I also used copper and silver glitter cardstock and a pretty blue colored, named Pool Play.


Once the die-cutting was done I removed the tiny pieces from the die and hot foiled the Twinkle & Shine glimmer hot plates with silver foil. I love that in the November Glimmer Of the Month kit are looots of holiday sentiments and I can play with them to make holiday cards.


In the end I put my card together, embellished with a few clear sequins and it was done. YAY! I hope You have enjoyed this post, see you next time, big hugs, Mona

SUPPLIES 


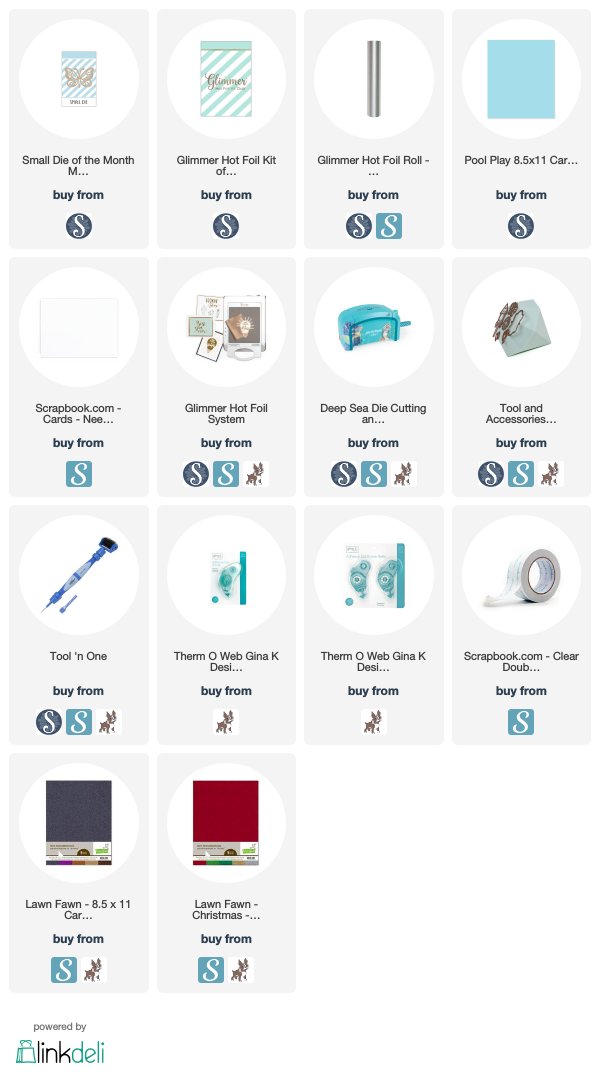
I prepared for you the list of products which I used for making this project. If you buy these through my links you help me running this blog. (You can find the affiliate disclosure here). Thank you for your support!

November Small die of the month | Spellbinders

Hi crafty friends, today I am going to show you my newest project with the absolutely amazing November Small Die of the Month kit from Spellbinders. I think this is the most amazing snowflake kit, so if you like it don't hesitate, hurry, before it's out of stock! Its absolutely worth the price. You can find the used supplies below the post.


I started the cardmaking with Die-cutting. I made lots Die-cuts with those snowflakes from copper glitter cardstock, and removed the access with Tool'n One, it's my go to die-cutting thing and I just love it! 


Next I created a light blue, dry embossed background with the Love Stripes Embossing folder, and adhered on it the sparkling snowflake die-cuts in various sizes. In the center I adhered iridescent sequins and my card was almost done, I just needed the sentiment so I hot foiled the Merry Christmas sentiment with Blush Foil through the Glimmer Hot foil system.


In the end I put the foiled sentiment with 3D adhesive on the place and it was done. 


Thank you very much for reading through my post, I hope that you have enjoyed it and I have inspired you! If you like my creations let's be friends on Instagram. :) 

SUPPLIES 


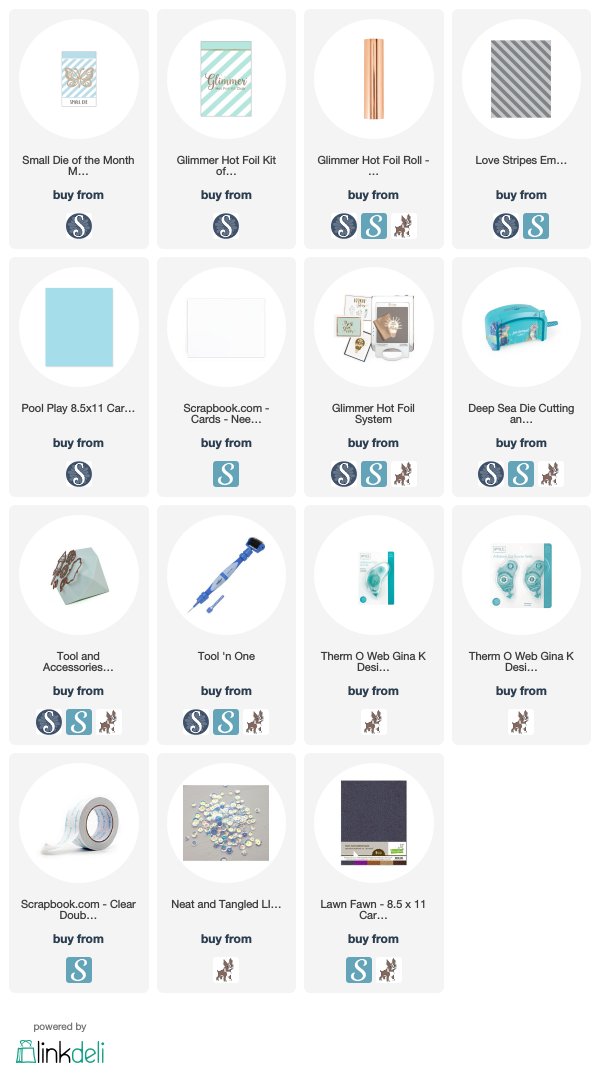
I prepared for you the list of products which I used for making this project. If you buy these through my links you help me running this blog. (You can find the affiliate disclosure here). Thank you for your support!


October Glimmer of the month | Spellbinders

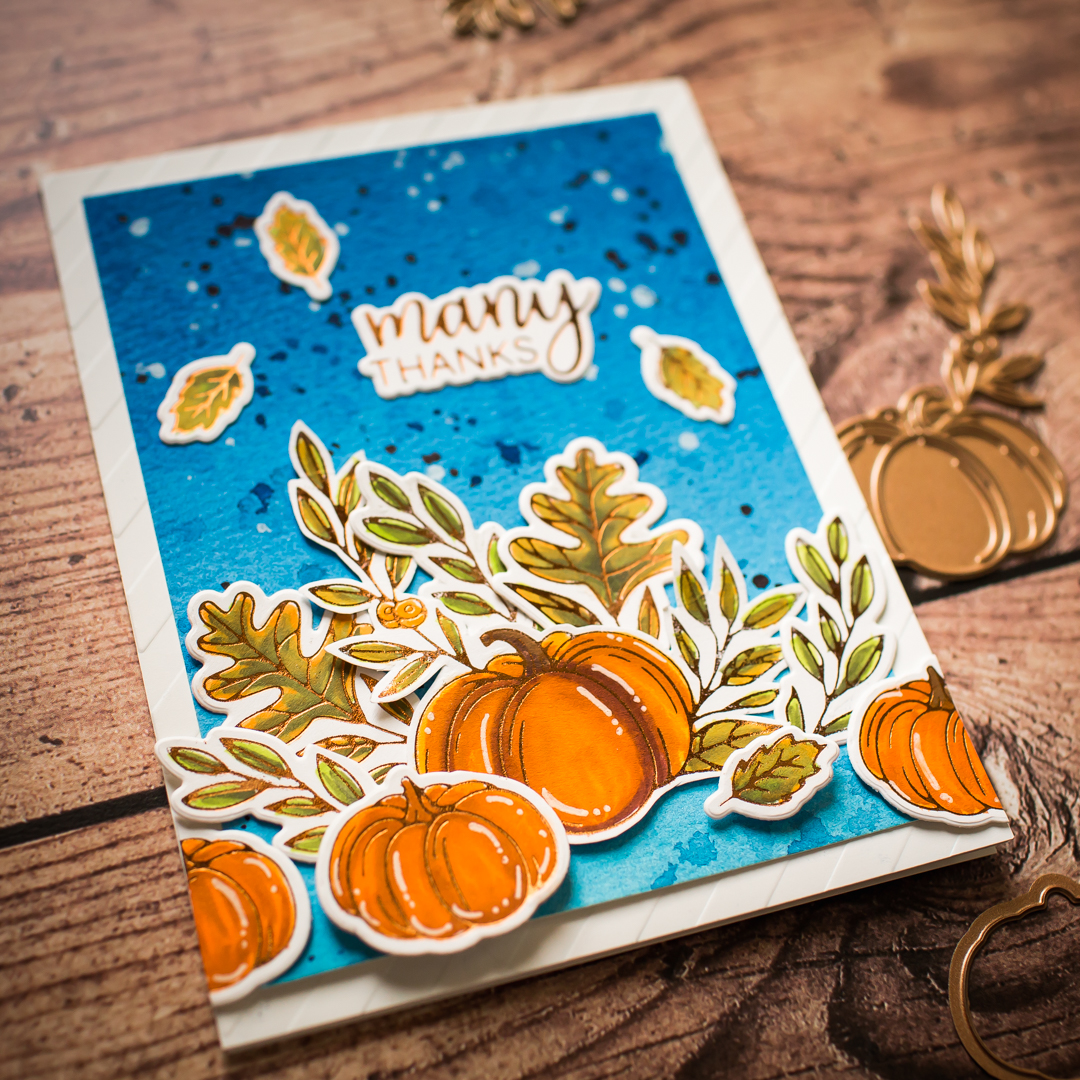
Hello crafty friends, I hope your week is going well! Today I am going to show you my newest project with the October Glimmer of the Month kit from Spellbinders. You can find the used supplies below the post.


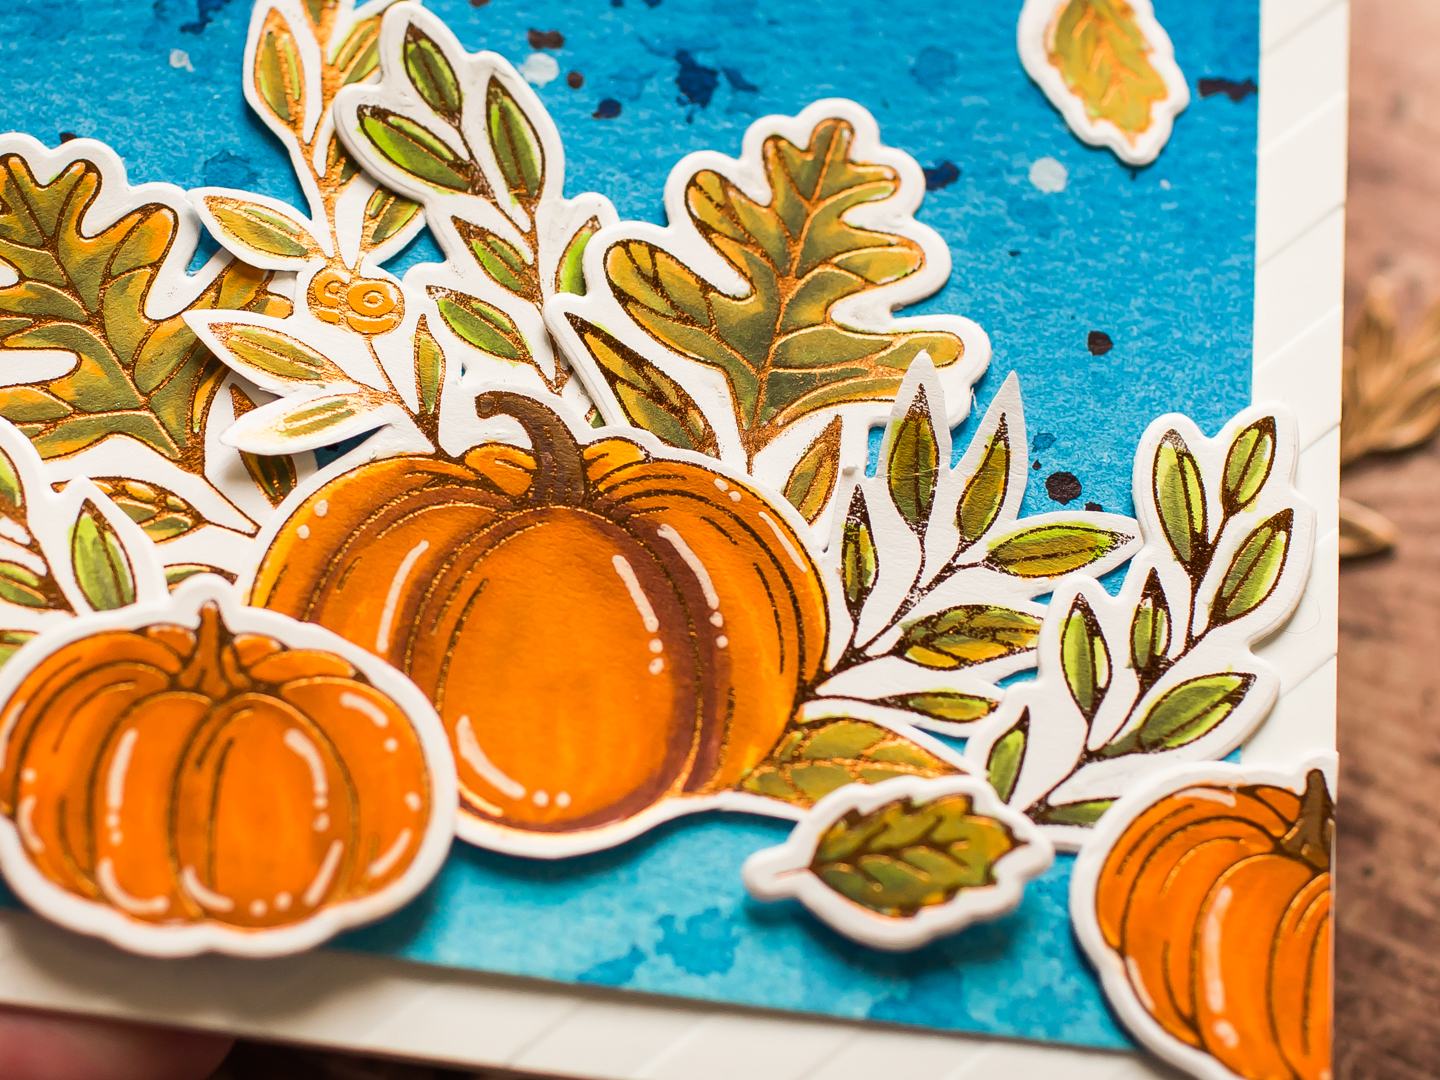
First, I created my 5.5 x 4.25" cardbase and created a stripy background with the Love Stripes Embossing folder. Next I made a blue watercolor wash with Bright and Neutral Jane Davenport watercolor palette on a watercolor paper then I splattered on it with dark blue and white watercolor, after that I let it dry.


Next I made the Hot-foiling with the Glimmer Hot Foil Machine and Copper foil because as always you can find one roll of hot foil in the kit. This time it is the beautiful Copper which is perfect for these pumpkins. I foiled a bunch of these leaves and pumpkins and colored them with my Arteza brush markers.


In the end I styled my card and put it together with adhesive. Love this kit soo much, if you have any questions feel free to ask me in the comment.


Thank you very much for reading through my post, I hope that you have enjoyed it and I have inspired you! If you like my creations let's be friends on Instagram. :)

SUPPLIES 

I prepared for you the list of products which I used for making this project. If you buy these through my links you help me running this blog. (You can find the affiliate disclosure here). Thank you for your support!

October Small die of the month | Spellbinders

Hello lovelies, after a long pause (wedding season shooting) I am going to continue my cardmaking adventures. I hope you keep reading my posts, I have lots of sketched card ideas for you and this is my first which I wanted to share with you. 


Today I am going to show you my newest project with the October Small Die of the Month kit from Spellbinders. 


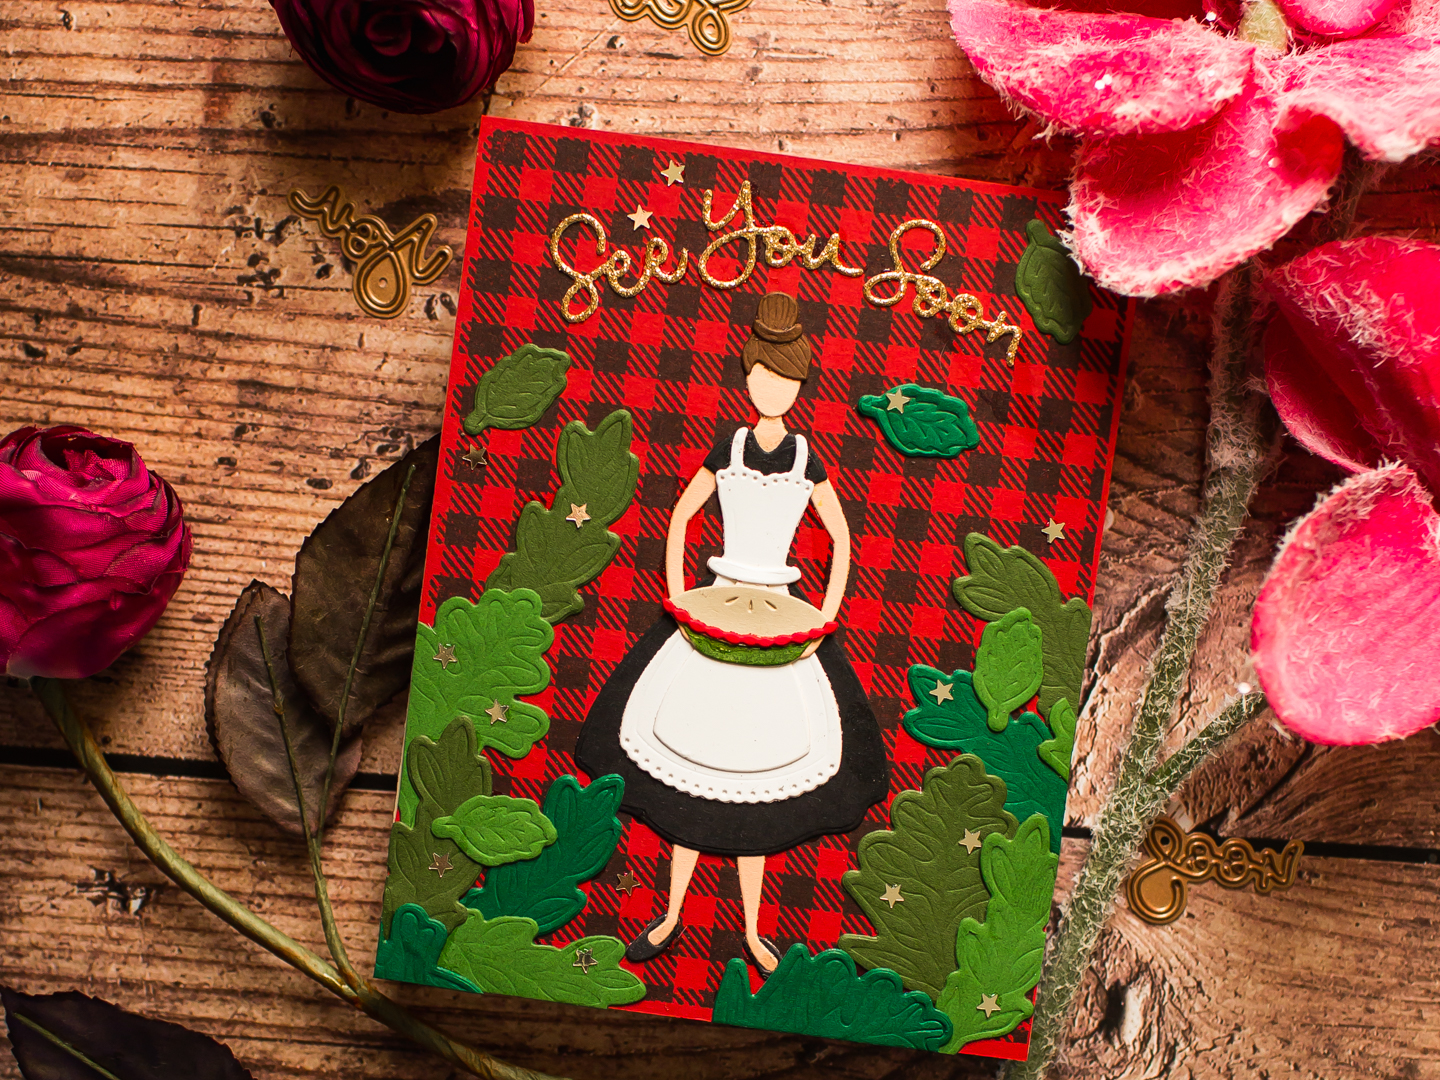
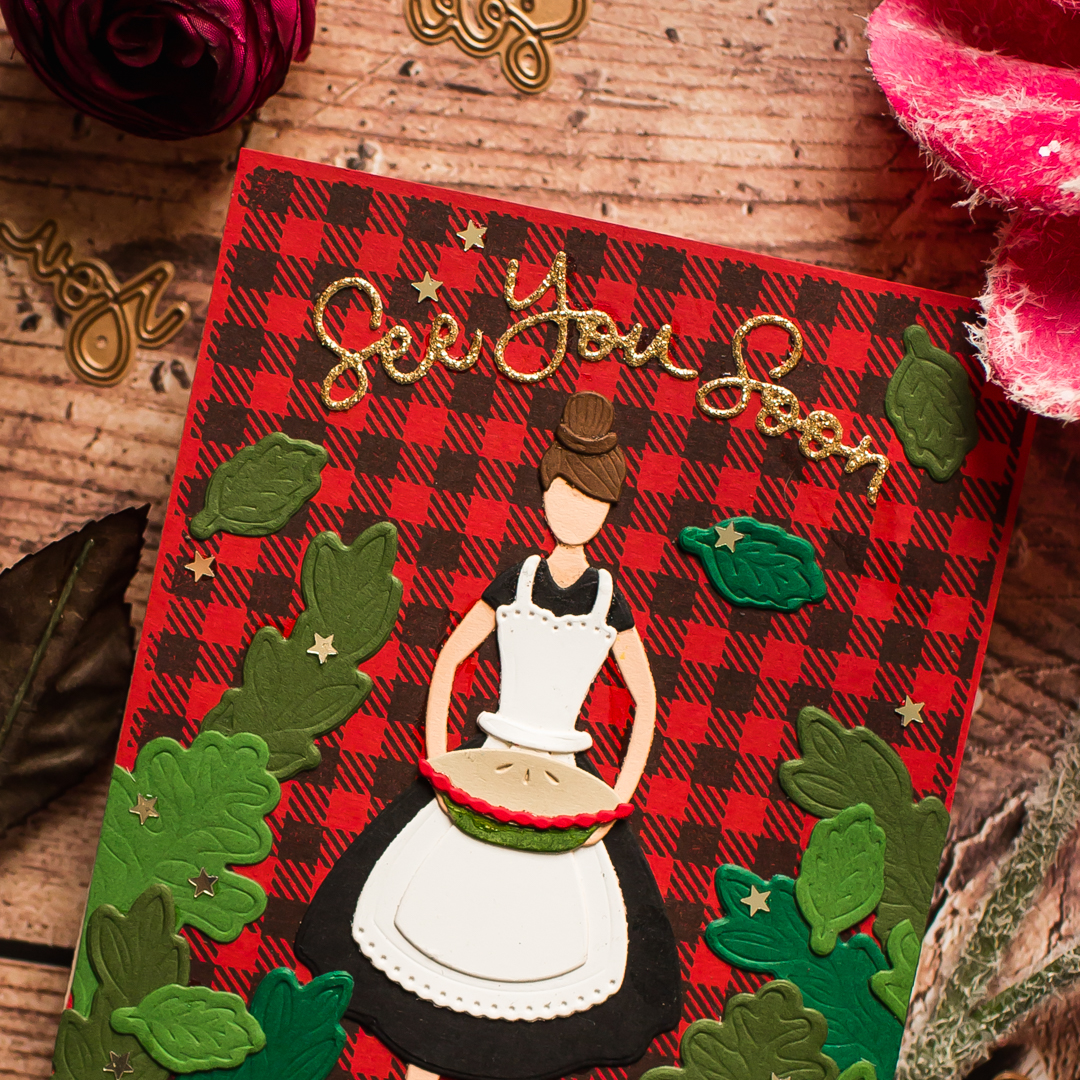
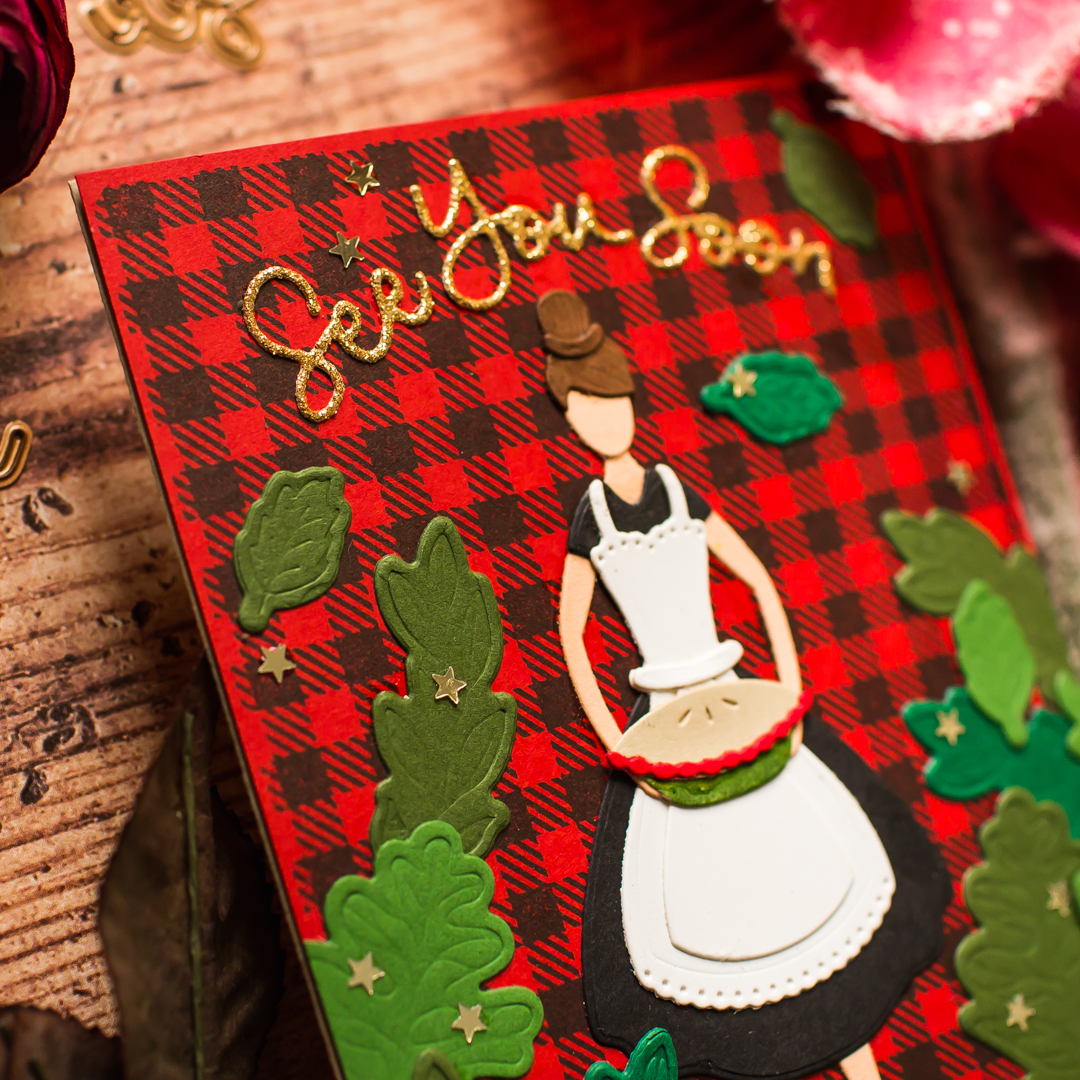
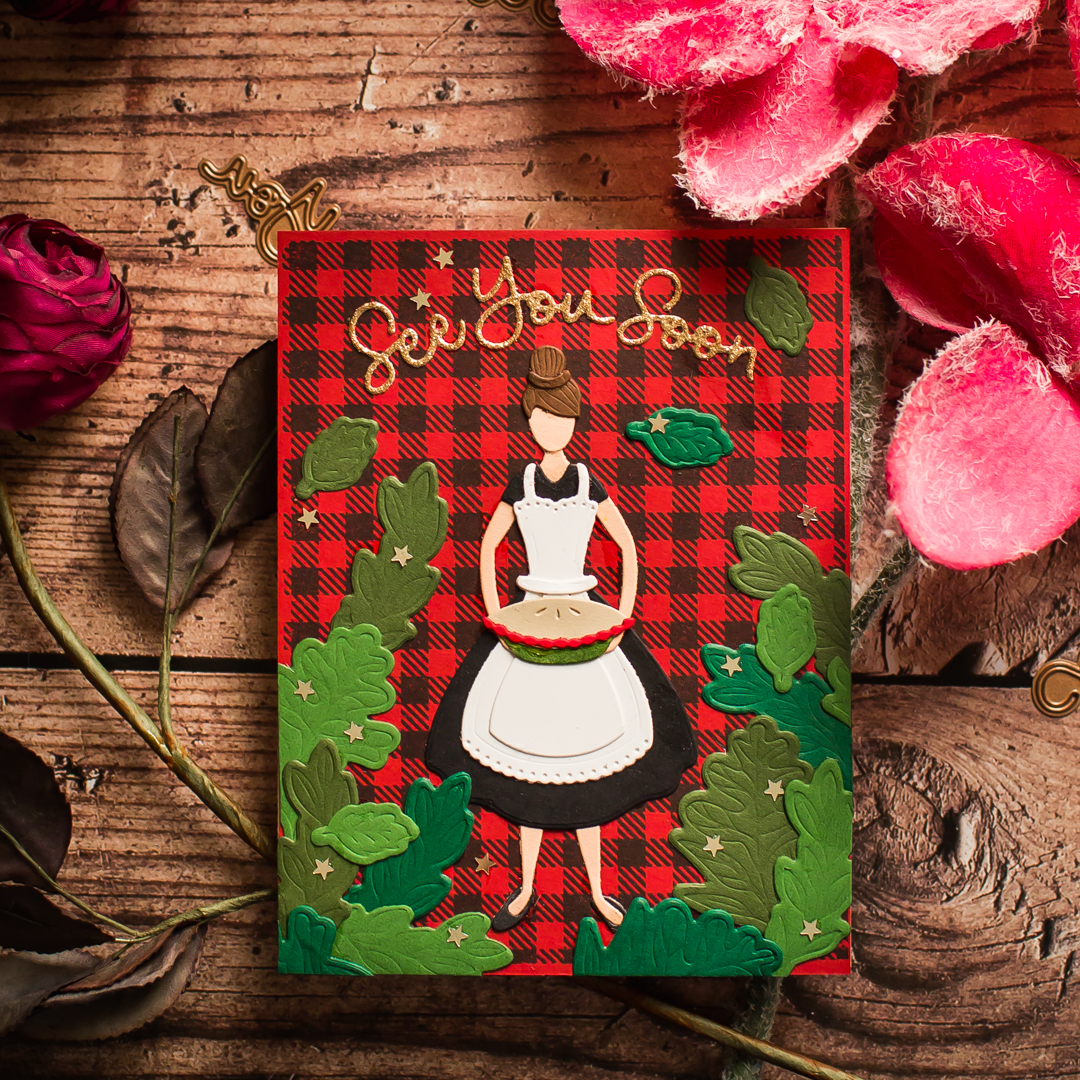
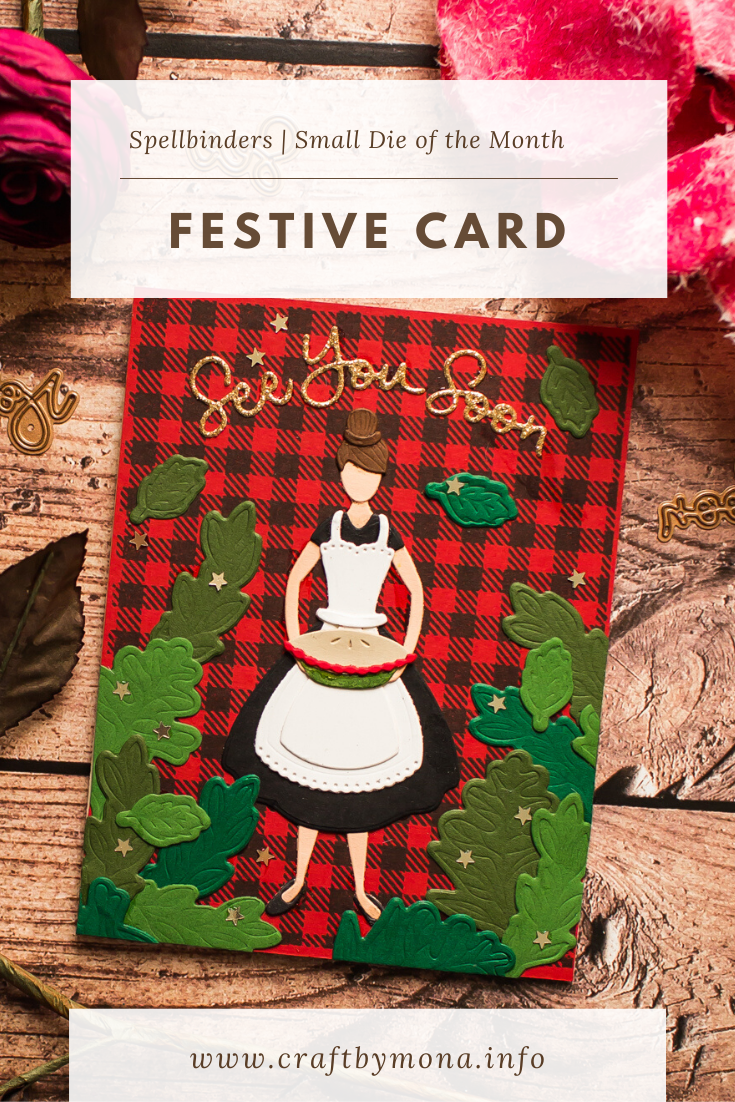
I started the cardmaking with Die-cutting, so I adhered together a cute maid from black, white, brown and soft peach colored cardstock. After that I run trough my die-cutting machine the See You Soon sentiment too. For this I picked a gold glitter cardstock.


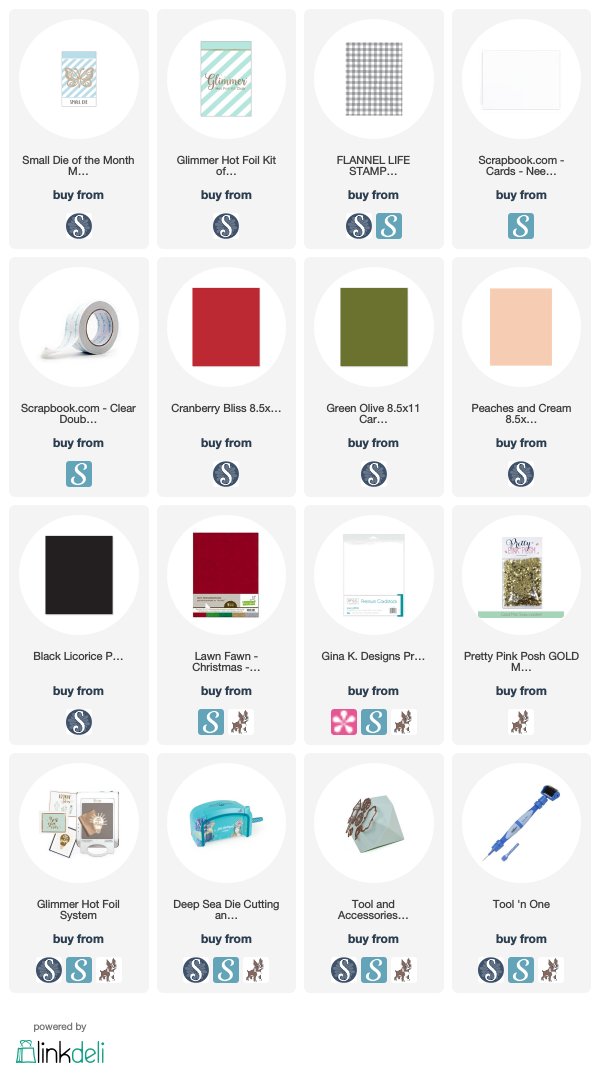
I wanted to add green leaves in different shades to my card. I used the leaves from the October Glimmer of the Month kit from Spellbinders, but I used them for dry embossing and die cutting. Next I made a 5.5 x 4.25" card base from red cardstock and stamped on it with Flannel Life Background Stamp from FSJ. 


When it was done I styled and put my card together. YAAAY! The festive feeling card is done. In the end I added a few little star confetti and my card was ready. 


If you like this inspiration feel free to save it to your Pinterest. Thank you very much for reading through my post, I hope that you have enjoyed it and I have inspired you! If you like my creations let's be friends on Instagram. :) 

SUPPLIES 


I prepared for you the list of products which I used for making this project. If you buy these through my links you help me running this blog. (You can find the affiliate disclosure here). Thank you for your support!

May Small die of the month | Spellbinders


Hello crafters, today I am going to show you my newest project with the May Small Die of the Month kit from Spellbinders. 


I started the cardmaking with Die-cutting. I played with my favorite color combo, I used yellow, pink and blue cardstock and added a little neutrals too. Next I made the card base from Neenah Solar White Cardstock. Its size is 5.5 x 4.25 inches. 


I created a stripy background with the Love Stripes Embossing folder and splattered with dark blue and white watercolor. 


I let it dry until I adhered together all the Die-cut pieces. When it was done I styled and put my card together. YAAY! My enjoy the ride card is done. 


Thank you very much for reading through my post, I hope that you have enjoyed it and I have inspired you! If you like my creations let's be friends on Instagram. :) 

SUPPLIES 


I prepared for you the list of products which I used for making this project. If you buy these through my links you help me running this blog. (You can find the affiliate disclosure here). Thank you for your support! 


SAVE IT 


My projects compressed into a photo :) If you like it, save it to your Pinterest board. Thank you!


Spellbinders | Small die of the month


Yappy happy Monday crafty friends, today I am going to show you my newest project with the April Small Die of the Month kit from Spellbinders. 


I started the cardmaking with Die-cutting. As you can see I picked more shades from the same color to create the layered look. I chose colorful cardstocks from my stash and created the pink-orange-yellow color combo with a touch of green. 


When it was done, I launched my favorite music list, and the Die-cutting has begun. 


Next I made the card base from Neenah Solar White Cardstock. It's size is 5.5 x 4.25 inches. I created a teal watercolor background with splatters in darker and lighter colors. Look how amazingly these cute gerbera Die-cuts pops out from the teal background!


I let it dry until I adhered together all the Die-cut pieces. When it was done I styled and put my card together. Yupp it's little time consuming to use more flowers on one card, but as you can see it looks really happy and I love the result really much!


Thank you very much for reading through my post, I hope that you have enjoyed it and I have inspired you! If you like my creations let's be friends on Instagram. :)

SUPPLIES

I prepared for you the list of products which I used for making this project. If you buy these through my links you help me running this blog. (You can find the affiliate disclosure here). Thank you for your support!


SAVE IT

My projects compressed into a photo :) If you like it, save it to your Pinterest board. Thank you!