Showing posts with label watercolor. Show all posts

Rainbow Watercolor Floral Cards

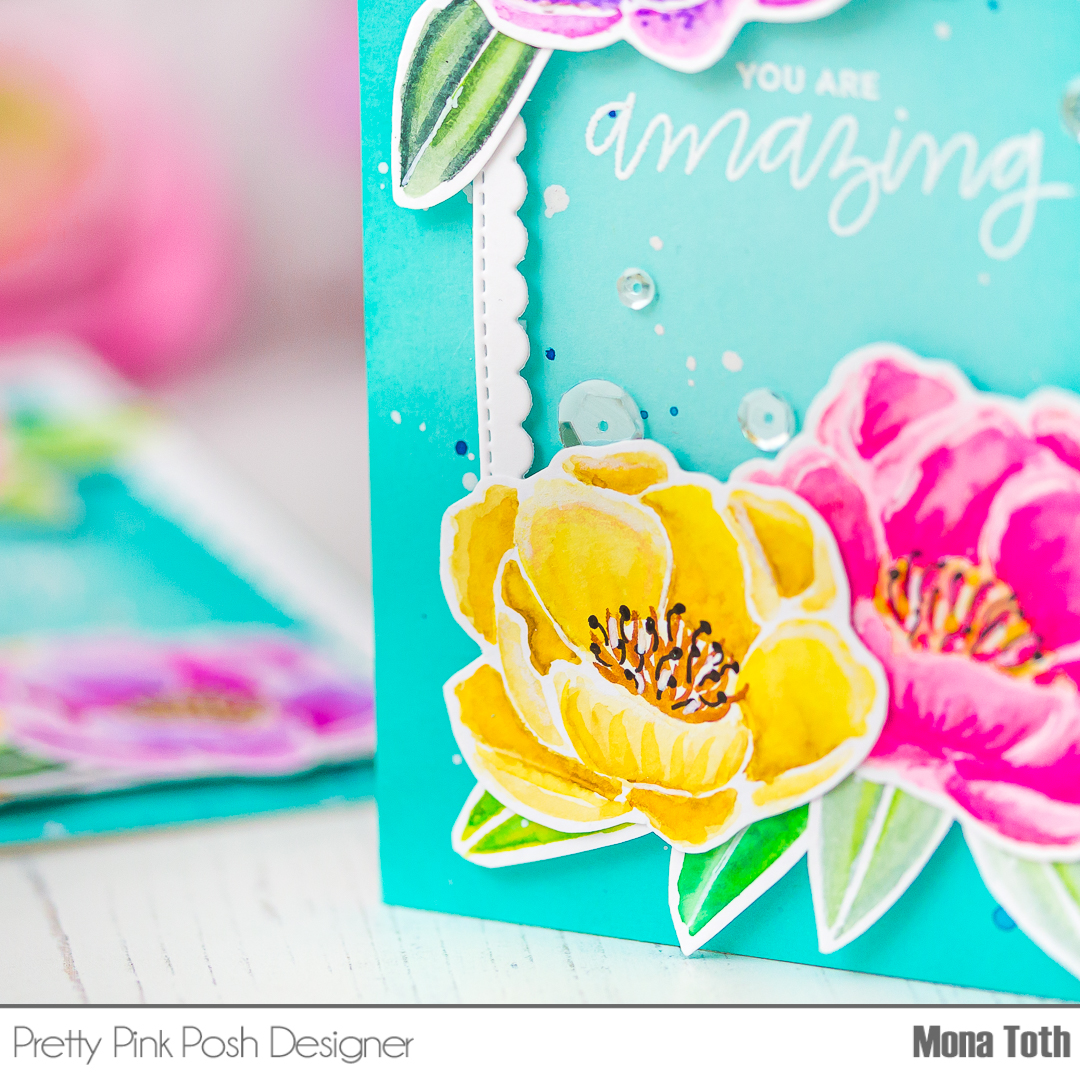
Hi crafty friend, I hope your week goes well. Today I have three happy and colorful card inspirations for you with the NEW and amazing Watercolor Florals collection by Sushma Hegde from Spellbinders.


THIS CARD FEATURES

 
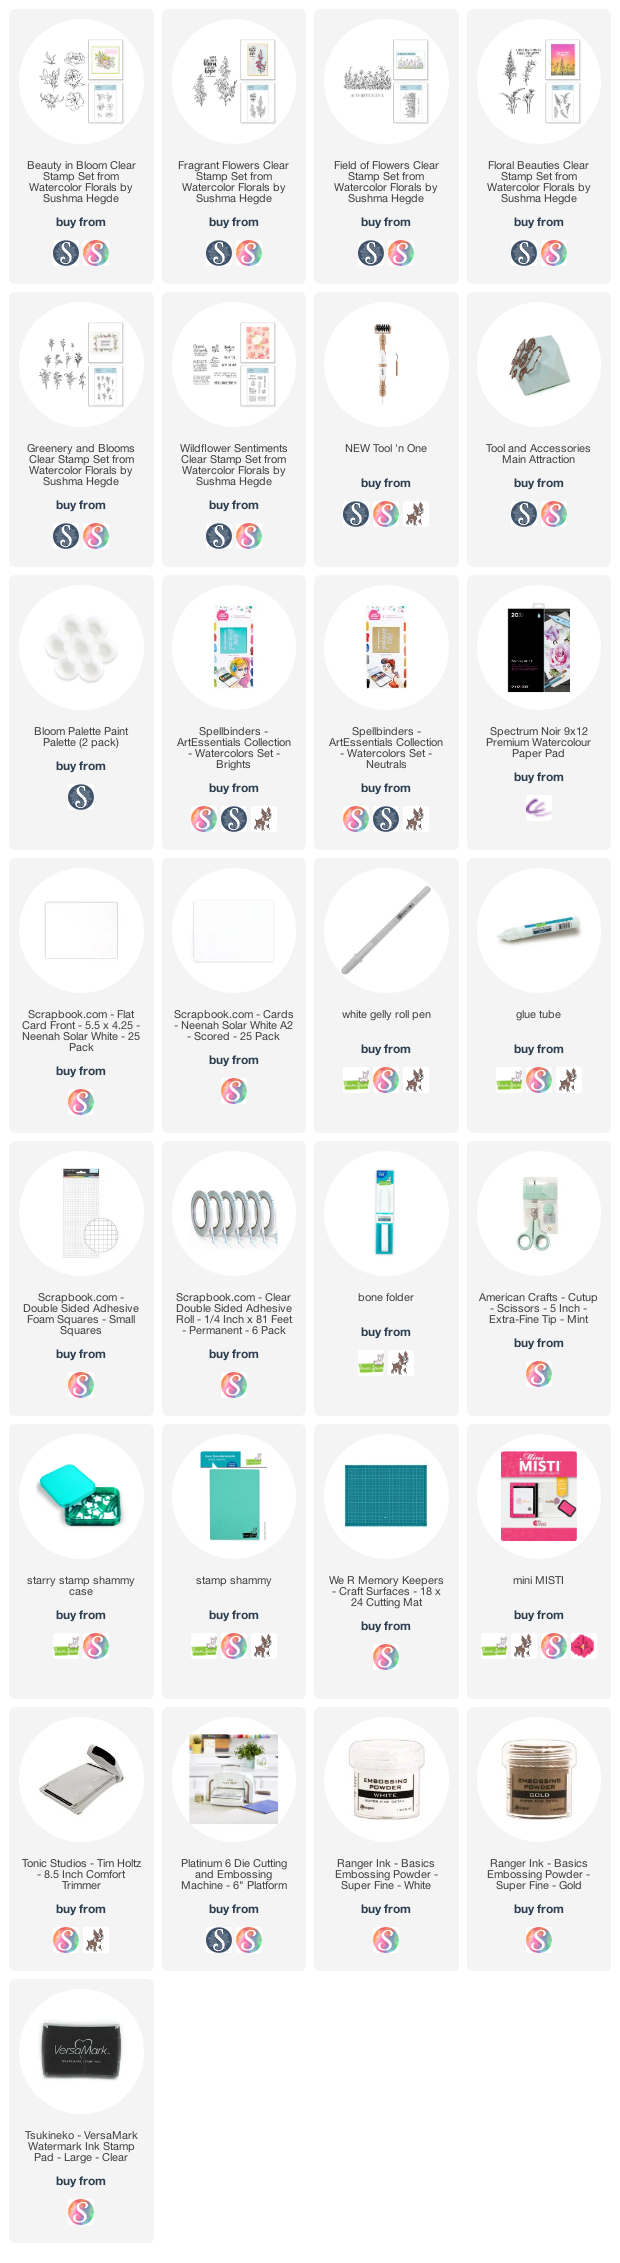
Fragrant Flowers Clear Stamp Set  [ SPE | SBC ]
Beauty in Bloom Clear Stamp Set [ SPE | SBC ]
Field of Flowers Clear Stamp Set [ SPE | SBC ]
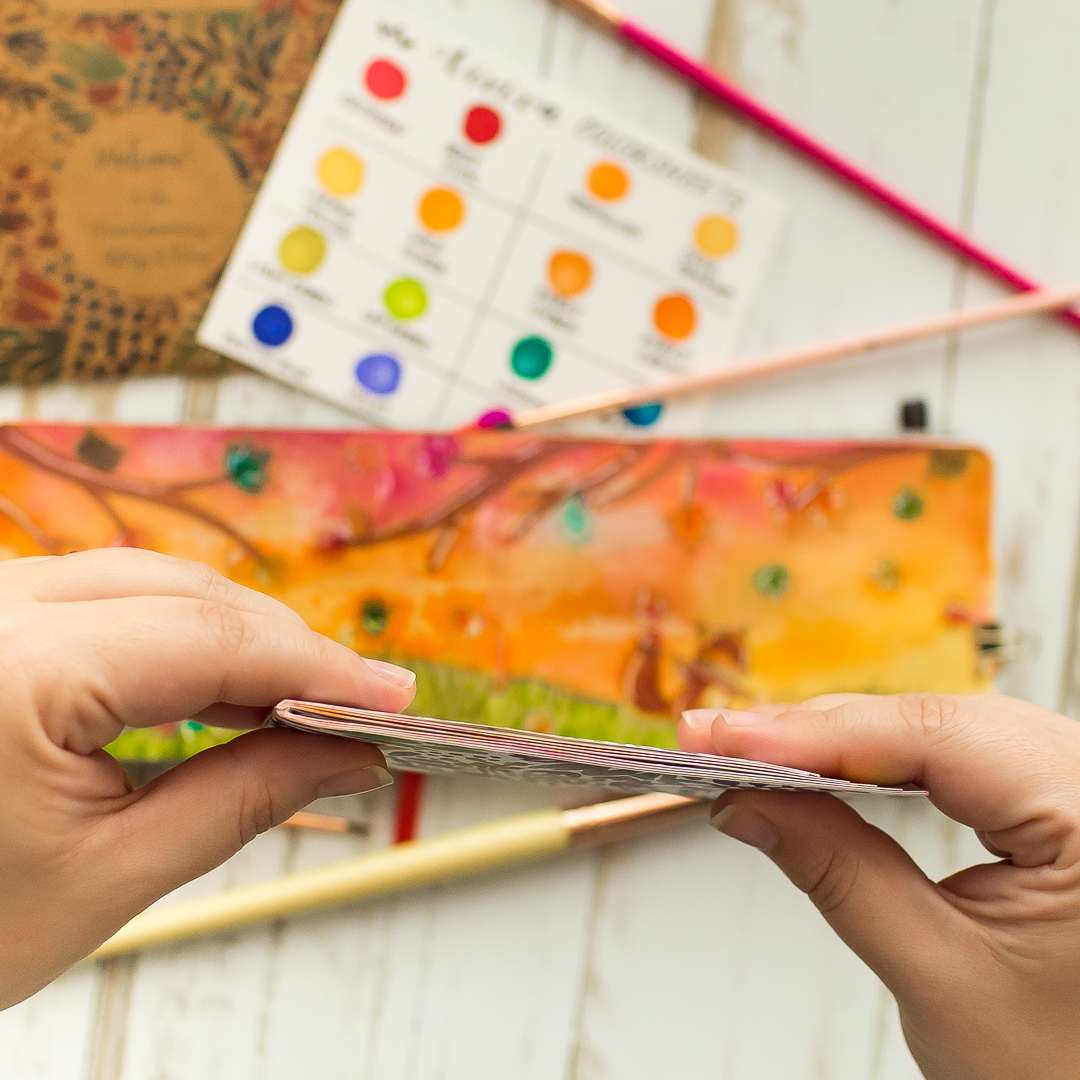
ArtEssentials Watercolors Set - Brights [ SPE | SBC ]
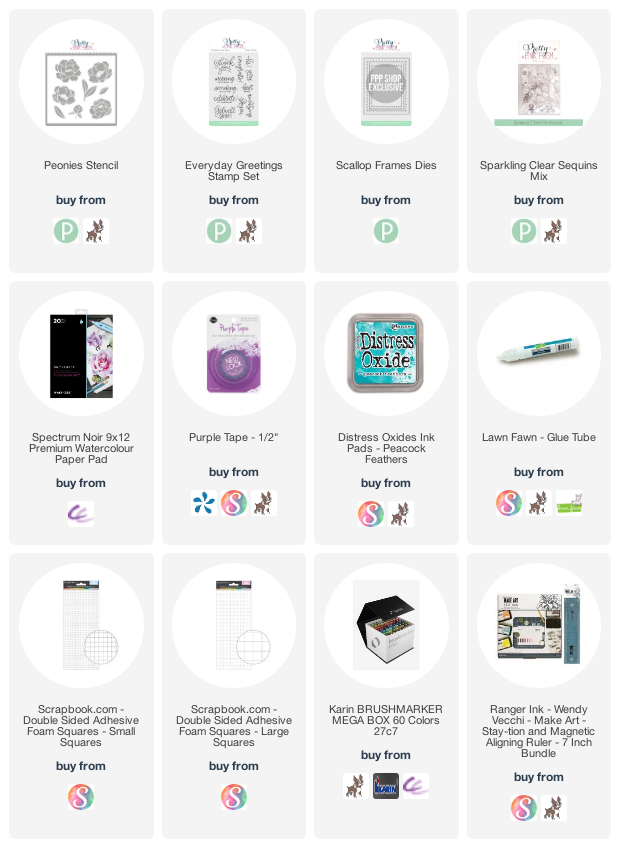
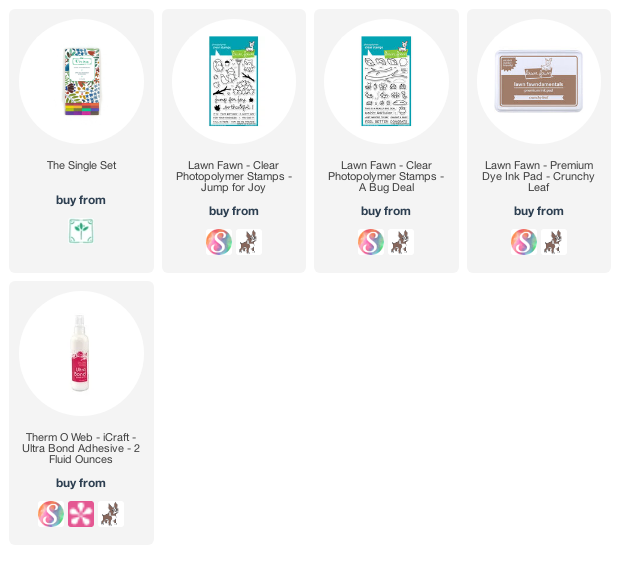
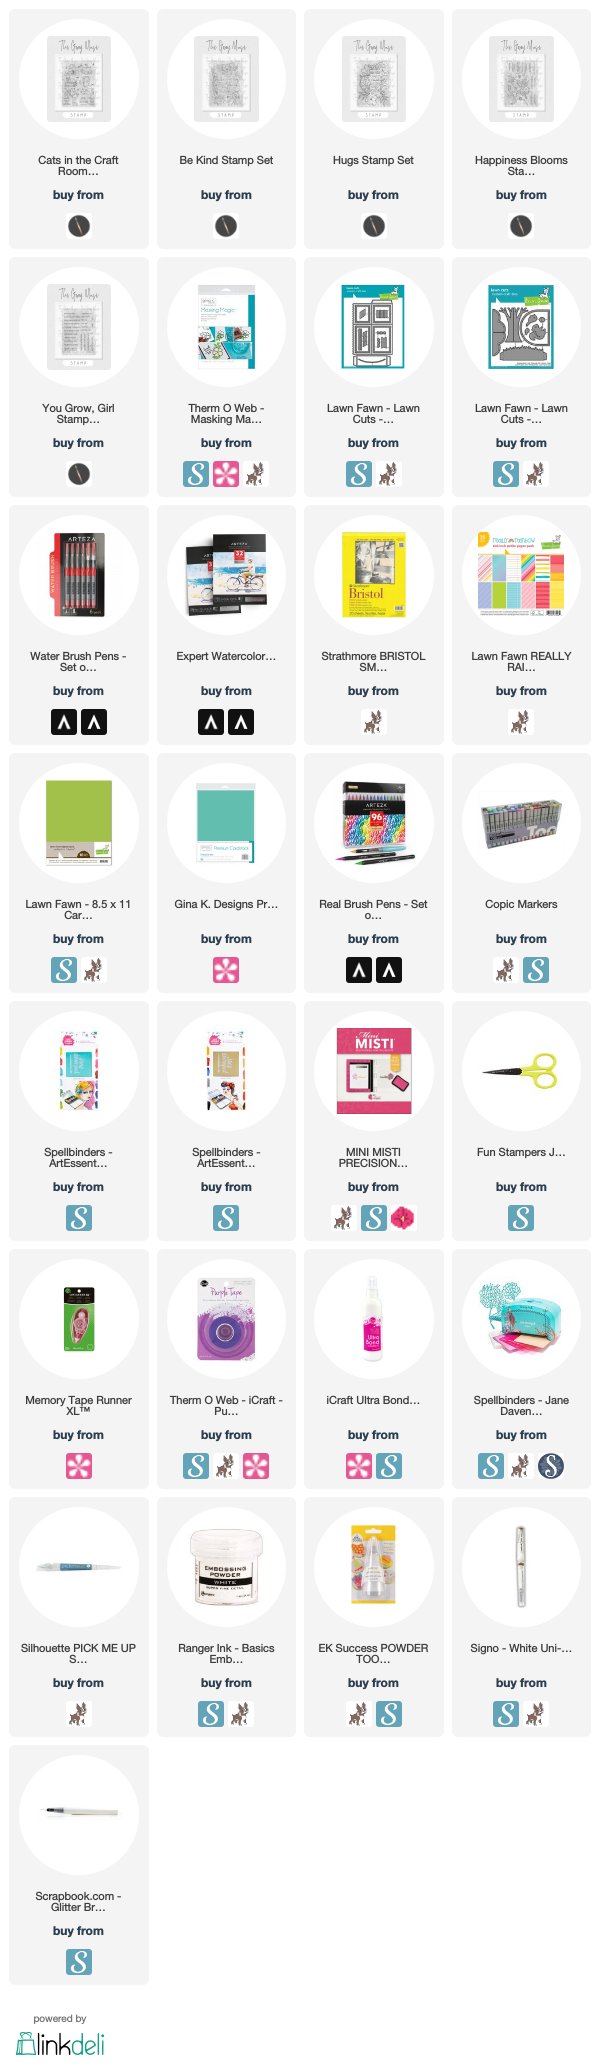
For the additional supplies with shop links visit the thumbnails below this post.


Do you enjoy this inspiration? I really appreciate if you pin this photo to your Pinterest.


CARD INSTRUCTIONS


For all the three cards I have used different watercolor washes. For these watercolor techniques I have used Art Essentials palettes by Jane Davenport to get this bright happy look.


For the first card I painted rainbow stripes with bright watercolor shades and a 14-size flat watercolor brush, then I heat embossed the sentiment with white embossing powder. Next, I stamped the floral images with watermark ink from the Fragrant Flowers Clear Stamp Set  to a piece of vellum, and heat embossed it. In the end I added highlights and sparkle effect with white pen.


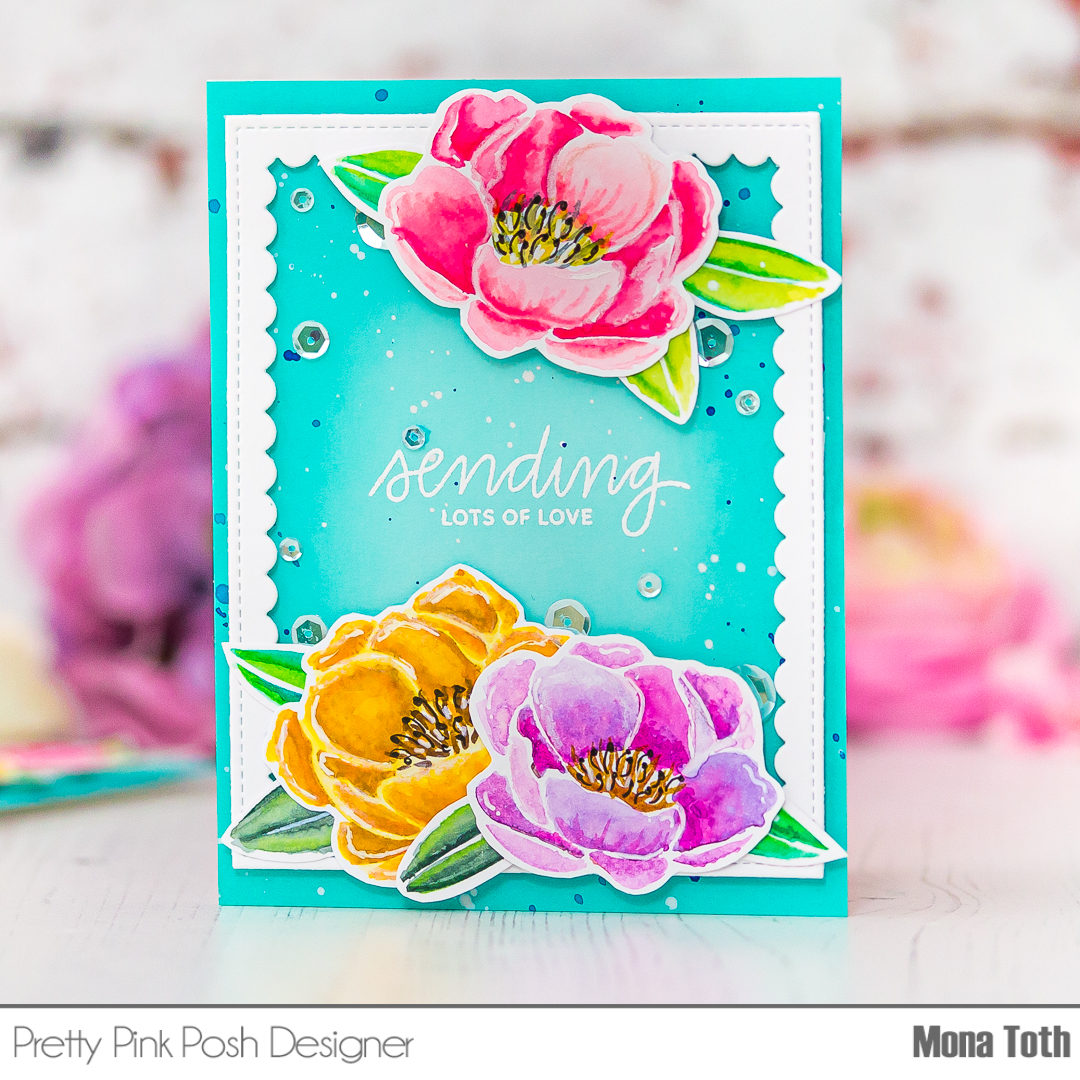
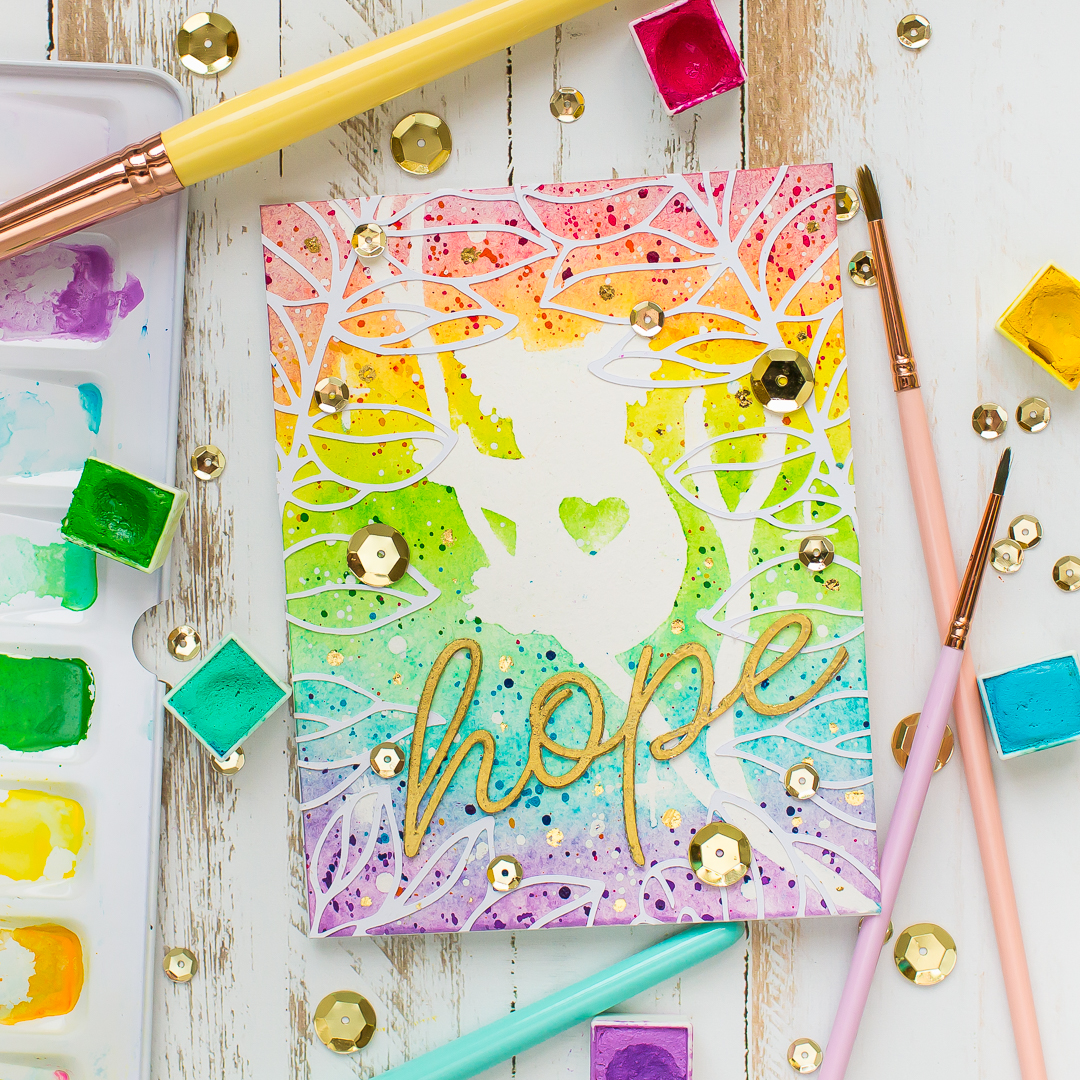
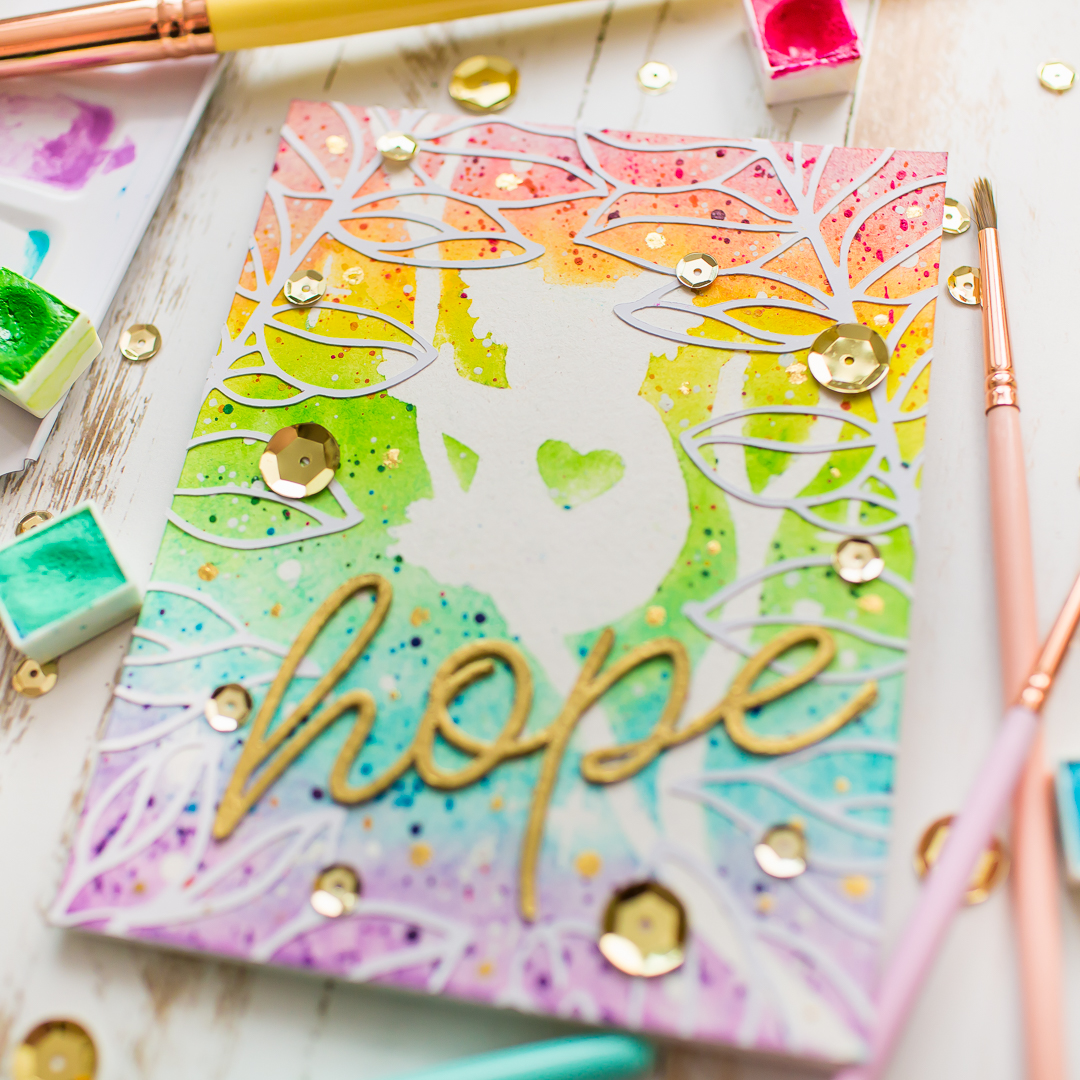
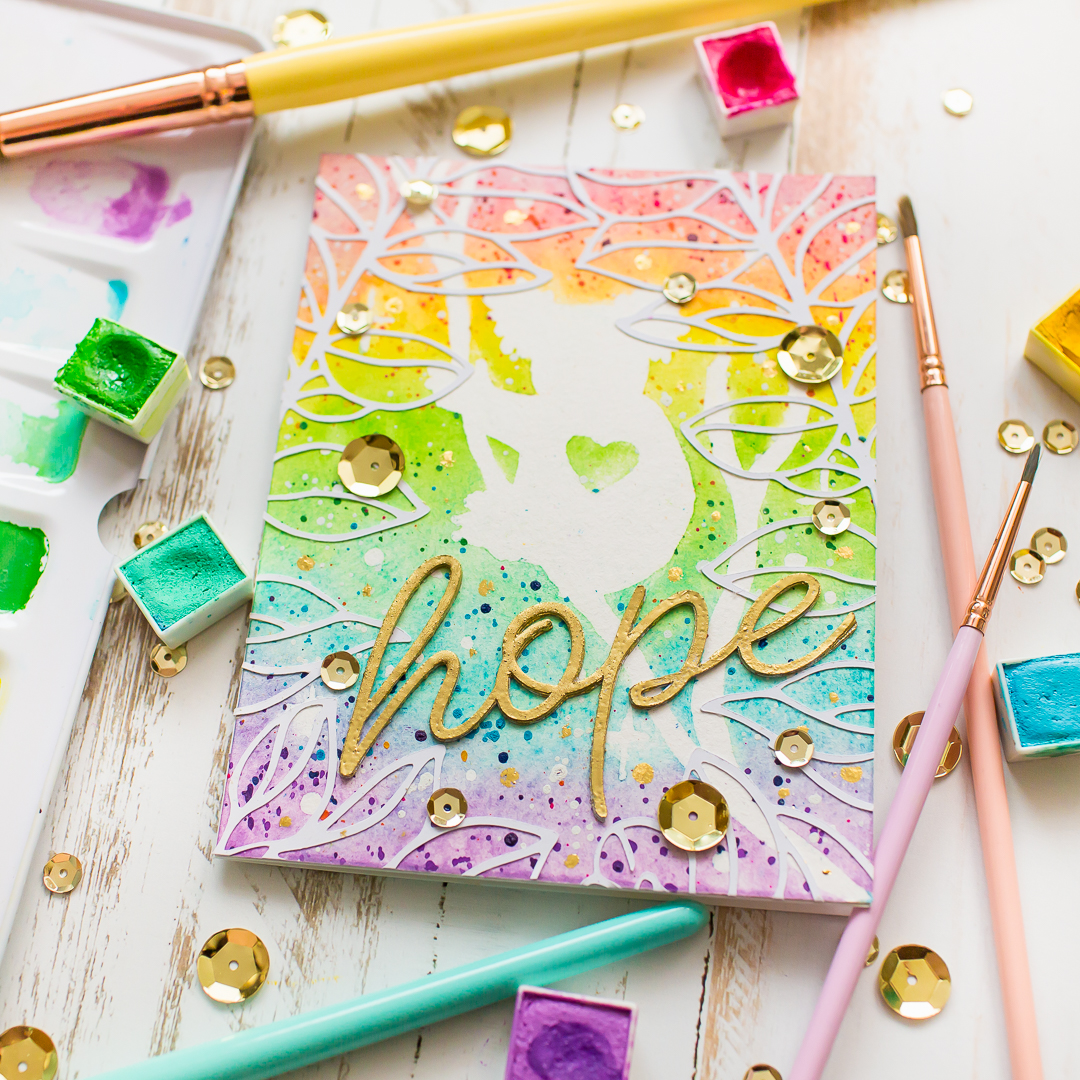
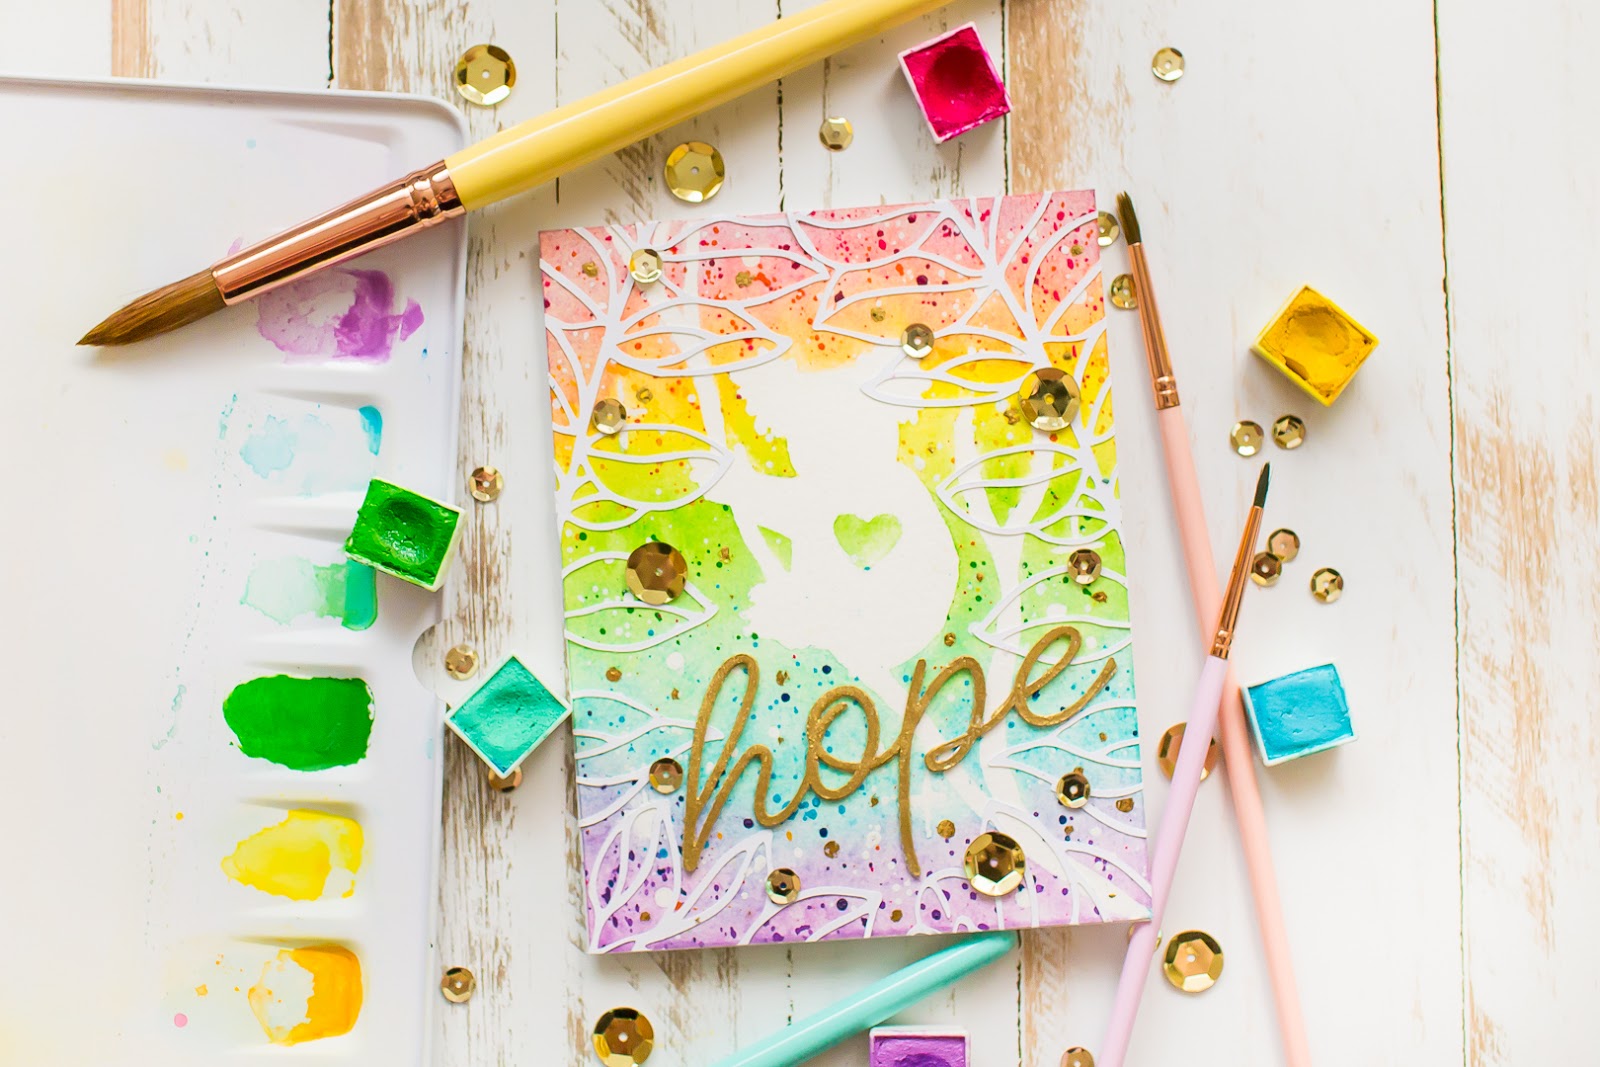
For the next card I created a distressed rainbow look to the background. I wet the watercolor paper and I did stippling on it with a 14-size rounded watercolor brush. I started with purple color and added the other colors to create this effect. Once it was dry, I stamped on it the sentiment with watermark ink, then I heat embossed it with gold embossing powder. In the end I added colorful water-colored florals which I have created with the Beauty in Bloom Clear Stamp Set and white embossing powder. 


For the third card I have created a rainbow gradient wash with purple, pink, orange, yellow, green and blue colors. Once it was dry, I splattered on it with white watercolor. Once this was also dry, I stamped on it with Field of Flowers Clear Stamp Set and watermark ink, then I heat embossed it with white embossing powder.


I have also heat embossed the sentiment too, but with gold embossing powder instead of white. In the end I stamped a few more flowers to the background with watermark ink.


Thank you so much for joining me today, I hope you get a taste to play with these amazing watercolor florals! See you next time. Hugs, Mona. 


USED SUPPLIES

 
Using affiliate links does not mean additional costs for you. I really appreciate your support. I am using only products I LOVE. If you buy supplies through my affiliate links, you support my channel and blog with a small commission and when you shop through my links I will do a happy dance. Affiliate Disclaimer.

[VIDEO] Amazing water-colored flowers using stencils only

Hi crafty friends! Today I am sharing with you a fun technique video where you will learn how to create amazing water-colored flowers using only stencils and watercolor mediums. You can find the video here


THIS CARD FEATURES


Do you enjoy this inspiration? I really appreciate if you pin this photo to your Pinterest.


VIDEO TUTORIAL

Watch my video tutorial below to learn how to create water-colored flowers using only stencils and watercolor markers. If you have any questions feel free to ask in a comment.  


Watch the video above | Watch the video in HD on YouTube


CARD INSTRUCTIONS

The key for this project is to have a floral stencil like the beautiful Peonies Stencil from the latest release. For this project you will also need watercolor paper, a low tack tape, brushes, paper towel, mixing palette, water-based mediums and water. You can use either your brush markers or your watercolor palette. Just use what you like more, but I will show you both options in my video tutorial.


For the entire coloring process with tips and tricks watch my video tutorial above and learn how to create amazing water-colored flowers like a pro, without stamping. For this watercoloring technique I have used Karin Markers and I am really impressed with them! But you can use any watercolor mediums you like!


When the coloring was done, I continued with fussycutting and die-cutting all the colored images. Then I picked a light turquoise cardstock in size 5.5 by 4.25”.


The following process was the ink blending. I have used Peacock Feathers Distress Oxide ink and blended the edges of the card front from outside to inside.


Next, I stamped the You Are Amazing and the Missing You So Much sentiments with watermark ink from the Everyday Greetings Stamp Set. Next, I heat embossed it with white fine embossing powder. When it was done, I splattered on it with white, and blue watercolors and let them air dry.


Because I wanted to break the background, I decided to create a white die-cut with the scalloped Frames Dies. I adhered the flowers to the frames with liquid adhesive, then I adhered the floral frame to the card with 3D foam squares.


In the end I embellished my cards with Clear sequins. If you feel like it, give it a try, it’s so relaxing  and I know the result will be amazing. Thank you so much for stopping by, see you next time. Hugs, Mona.


USED SUPPLIES

Using affiliate links does not mean additional costs for you. I really appreciate your support. I am using only products I LOVE. If you buy supplies through my affiliate links, you support my channel and blog with a small commission and when you shop through my links I will do a happy dance. Affiliate Disclaimer.


Fall Sunset Watercoloring with Viviva Colorsheets and Lawn Fawn

Hi crafty friends, today I am back with a cute watercolor project what I created with the most portable watercolor sheets ever! Rohitha, from the Viviva Team, was super kind and sent me their handmade Single Set Watercolorsheets to try out! 


I was super excited when I received it! I love its design and look, even the envelope was amazing and handcrafted! 


As you can see on the photos, this watercolor set is super thin and portable. My type Includes 16 ultra-vibrant colors. This watercolor palette is the perfect choice to bring with you to the crop events, or when you are on trip, and you want to take with you some coloring! Trust me it’s ultra super thin! 😊 


Between the shades you can find special water resistant sheets, so your colors will be divided even when they are wet! Under the watercolor paint, you can find a frame which is color coded. If you want you can make your swatch in that frame and you are ready to go! You can use them everywhere you like! 😊 


I decided to show you how vibrant it is, so I pulled my watercolor sketchbook and I painted a little fall with Lawn Fawn stamps. But before I started to color I swatched all the colors. Girl!!! You need only a bit of that paint, it’s oh so pigmented! 


For the stamping I have used the Jump for Joy and the A bug Deal stamp sets by Lawn Fawn. For the stamping I have used the Crunchy Leaf inkpad. After a quick heat set, I wet the watercolor paper and started to build up the scene. 


I wanted to create a nice fall sunset, and with these colors it was really easy. When the background was done, I stamped the leaves from the Jump for Joy stamp set to another watercolor paper and colored the leaves with the randomly picked colors. 


My top favorite colors are the “Viridian”, the “Magenta”, the “Light Green” and the “Chrome Yellow”. All the shades are fantastic, but these are the holy grail for me! 😊 


I am absolutely in love with this palette and this extra thin friend is going to my small travel bag! The Viviva colorseets has amazing and rich shades and it fits to your penholder as well. If you have never tried it consider to get one for yourself and it’s a perfect Christmas present for a crafty friend as well. 😊 


Thank you so much for reading my post, I hope you have enjoyed it, if you have any questions feel free to ask in a comment or check the Handmade Viviva Colorsheets site!

SUPPLIES

This post contains affiliate links. It means I get a small commission at no additional cost to you when products are purchased through my links. Thank you for your help in running this blog. (You can find the affiliate disclosure here). I really appreciate your support! 

Guesting at The Gray Muse Blog


Hi crafty friends, I am super excited to be a guest on The Gray Muse blog! YAY! Today I have three inspirations for you with some really amazing stamp sets from The Gray Muse shop. I hope, you will enjoy them. She is selling not only stamps, but amazing stuff for creatives like enamel pins! :) As always you can find the used supplies below the post.


For my first card I have used the super cute Cats in theCraft Room Stamp Set. When I hold this amazing set in my hands I knew, that I am going to make a Pop-up box card with them. 


I stamped and colored the images with my Copic Markers and put together a box card. I have used Lawn Fawn Die-cutting plates and papers to create the box. You can find the full list of supplies below the post. 


Once I put the pop-up card together, I missed something from the card, so I stamped the image from the BeKind Stamp Set, and after a quick coloring I just fussy cut the flowers and leaves then adhered them to the background. After this I was really happy with the result, so it was done. :) 


For my second card I used the Happiness Blooms Stamp Set. I started by stamping the flower image on Bristol Smooth card stock with Versafine Ink and I heat set it! When it was done, I colored the image with Arteza Real Brush Pens and in the end of the coloring I added highlights with White Pen


Next, I stamped the same image to a masking magic paper. After a quick and chilly fussycuting I covered the colored image with my mask and made an ink blending to the background with various Distress Oxide Inks


When it was done, I pulled off the masking magic (if you want to see how it looks like, feel free to check my Instagram Story highlights for today, I will show it!). In the end I stamped and heat embossed the beautiful sentiment with white embossing powder and it was ready. 


For my last card I used the Hugs Stamp Set, along with the You Grow Girl sentiment set. If you are a crafter, this sentiment set is a must have for you! For this card I stamped the image to Arteza Expert Watercolor paper with Versafine ink. 


After a quick heat set, I wet the whole image with clear water and I created a quick painting on it with colorful watercolors and let it dry. For the second coat I have used only black watercolor, but this time I colored only around the “HUGS” sentiment. 


Next I let it dry once more and added more details to the letters with glitter brush marker, white pen and put on them some clear sequins too. I stamped the image in clear embossing ink and used rose gold embossing powder. Before putting the heat embossed sentiment to my card, I splattered the edges with watercolor. 


I hope you enjoyed my inspirations, feel free to comment which card is your favorite! I am in LOVE with these fabulous stamp sets and the amazing pins are just wow. Be sure to check The Gray Muse shop here


Thank you so much Ruby for this amazing opportunity, your blog and shop are magical! For more inspirations feel free to follow me on Instagram. (Shhh I will give away one fabulous The Gray Muse Pin, just check my Insta stories for the details today!) Hugs Mona.

USED SUPPLIES


Help to Australia with a Cut-file

Hi friends, today I am showing a card for a cause. I made it with the Digital Cut File For Australia – SVG bundle what was created by Scrapbook.com to benefit Australian Red Cross Society. I know that our crafty community is full of amazing and kind spirits, if you can, please help with buying this cut-file for yourself or for a friend.


100% of the proceeds from this Digital Cut File bundle will be given directly to the Australian Red Cross Society so that they may aid the people, wildlife, plant life, and structures affected by devastating wildfires across Australia.


I started the cardmaking with electronic die-cutting. With the mentinoned Cutfile I made a koala die-cut, eucalyptus twice and the Hope sentiment four time with my Cameo 3 Electronic Die-cut Machine.


When it was done, I marked the Koala shape on my watercolor paper with pencil and I have used masking fluid on it. After the masking fluid is dried, I made a rainbow watercolor wash on it and let it air dry.


While it was drying, I created the sentiment. I adhered all the four pieces of “Hope” word die-cuts together to add more dimension to the sentiment and heat embossed with gold embossing powder.


In the end I made rainbow gradient splatters with watercolor on the card base. When it was dry, I rubbed off the masking fluid from the base, and put my card together.


I hope you have enjoyed my post for today. Don’t forget, every little bit helps you can find the AustraliaCutfile here. If you can’t buy this cut-file, you can help with sharing  and pining this post too. Thank you so much for reading through this post, and I really appreciate your help.

Hugs, Mona


SUPPLIES


(FYI: from this cut-file I am not getting commission, 100% of the proceeds from this Digital Cut File bundle will be given directly to the Australian Red Cross Society)

I prepared for you the list of products which I used for making this project. If you buy these through my links you help me running this blog. (You can find the affiliate disclosure here). Thank you for your support!