

Let's start the month with a short stitching reel with the newest dies from my favorite Club Kit by Spellbinders!

Better craft photos are easier than you think. Start with 5 simple tips you can try today.
🎁 Get my free photo ebook here!
🎁 Get my free photo ebook here!
THIS CARD FEATURES
- Small Die of the Month Membership
- Clear Stamp of the Month Membership
- There are several Value Club options available for those who would like to join multiple clubs at once. The FAQ about these kits can be found here.
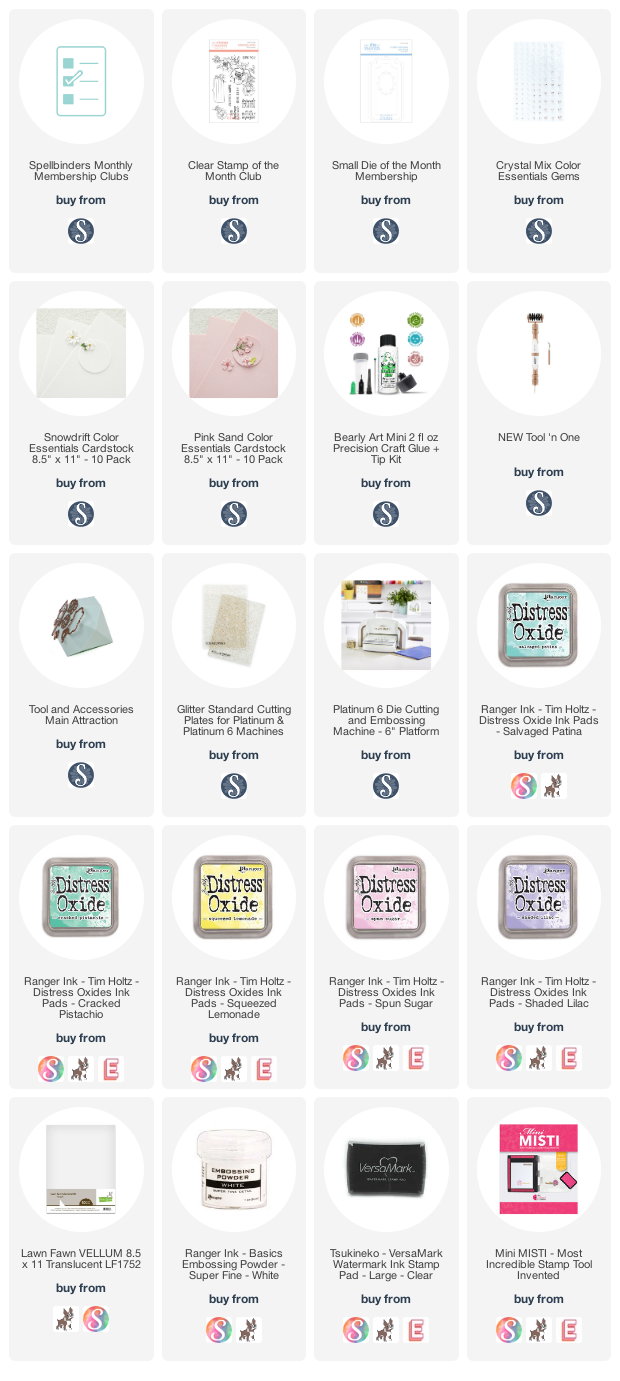
- For the additional supplies with shop links visit the thumbnails below this post.

Pin this post to your Pinterest board and save this card idea for later.
CARD INSTRUCTIONS
I started the cardmaking with Die-cutting. I fixed the dies from the July - Small die of the Month kit with yellow craft tape, and run it through my die-cut machine with a white heavy weight cardstock. I have also made a soft pink die-cut but only with the largest die. This will be the backing.

Next, I rolled over the die-cut with my Tool-n-One tool to remove the small paper dots and other leftovers. This tool saves my creating process and I never skip to use it with intricate dies.

When it was done, I made a quick diagonal ink blending on the card with Salvaged Patina, Cracked Pistachio, Squeezed Lemonade, Spun Sugar and Shaded Lilac Distress Oxide inks, which are linked below the post then I wiped it with distress micro glaze to make it long lasting.

I was already in LOVE with the design, but I wanted to add white stitched details as well. And this die-set was perfect for these techniques so I needed to! I made a quick Instagram REEL video on how to make this twisted stitching, because it’s really easy and oh so relaxing.

This month the Clear Stamp of the Month and the Small Die of the Month coordinates well, so I stamped the sentiment with watermark ink to Pink Sand Color Essentials Cardstock and heat embossed with white embossing powder. I have also heat embossed the beautiful floral image from the same set, this time to a piece of vellum. I really like how this beautiful flower looks like; I will use it for another project soon.
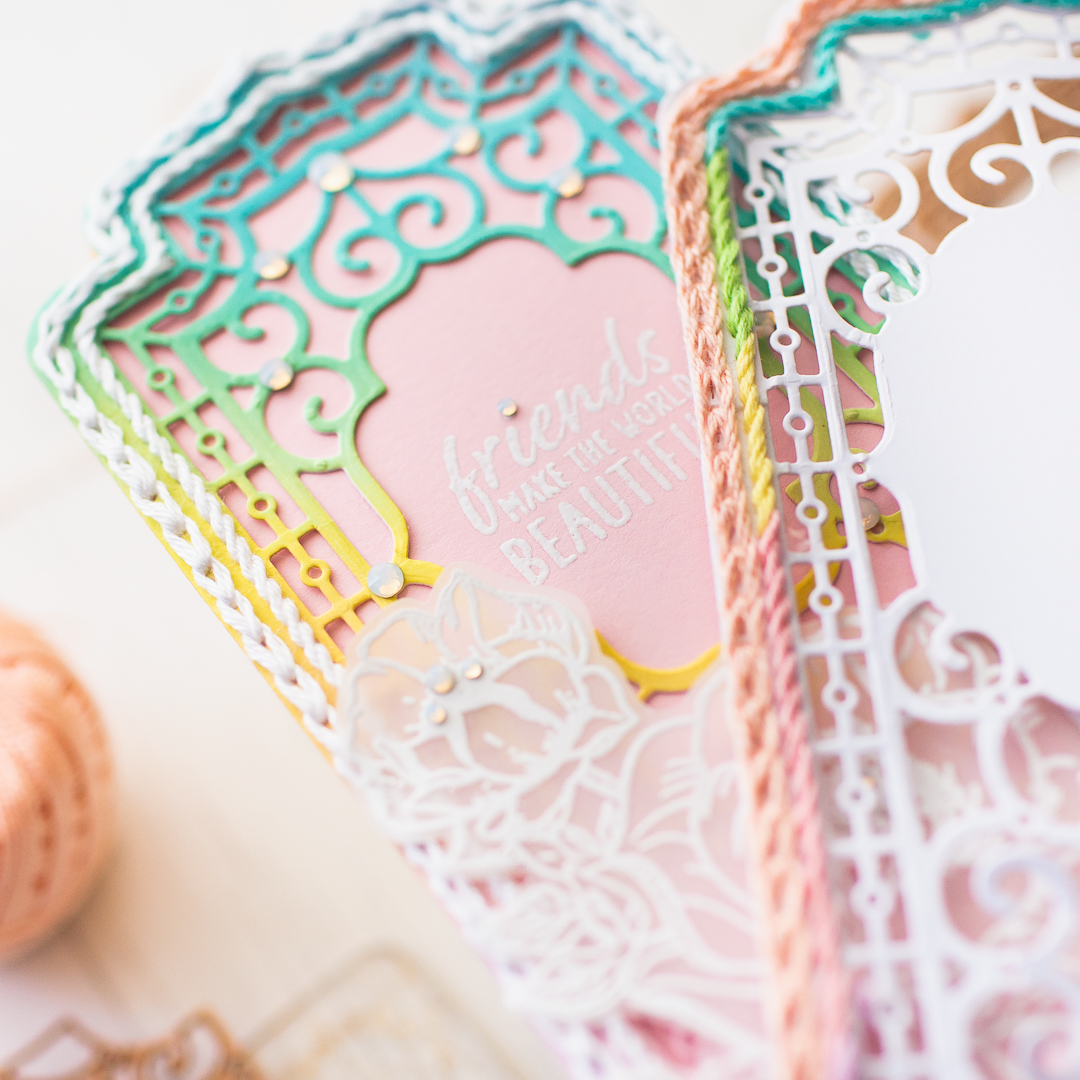
Next, I put my card together with Bearly Art Precision Craft Glue, and backed the card with a yellow cardbase I made with the same largest die. I just folded the cardfront, and run it through my die-cut machine, but I didn’t run it through until the end, so I am able to open it.

As final touches I adhered beautiful Crystal Mix Color Essentials Gems to embellish my card. Thank you so much for joining me today, don't forget to check the stitching video on my Instagram.

BEFORE YOU GO...
Let’s stay crafty friends! You can find more cardmaking inspiration, behind-the-scenes peeks and photography tips for crafters on my Instagram and Facebook pages.
📷✨ I’m on a mission to help cardmakers and crafters feel more confident with photography, so their beautiful creations can shine online too.
USED SUPPLIES












No comments
Type your comment below: