

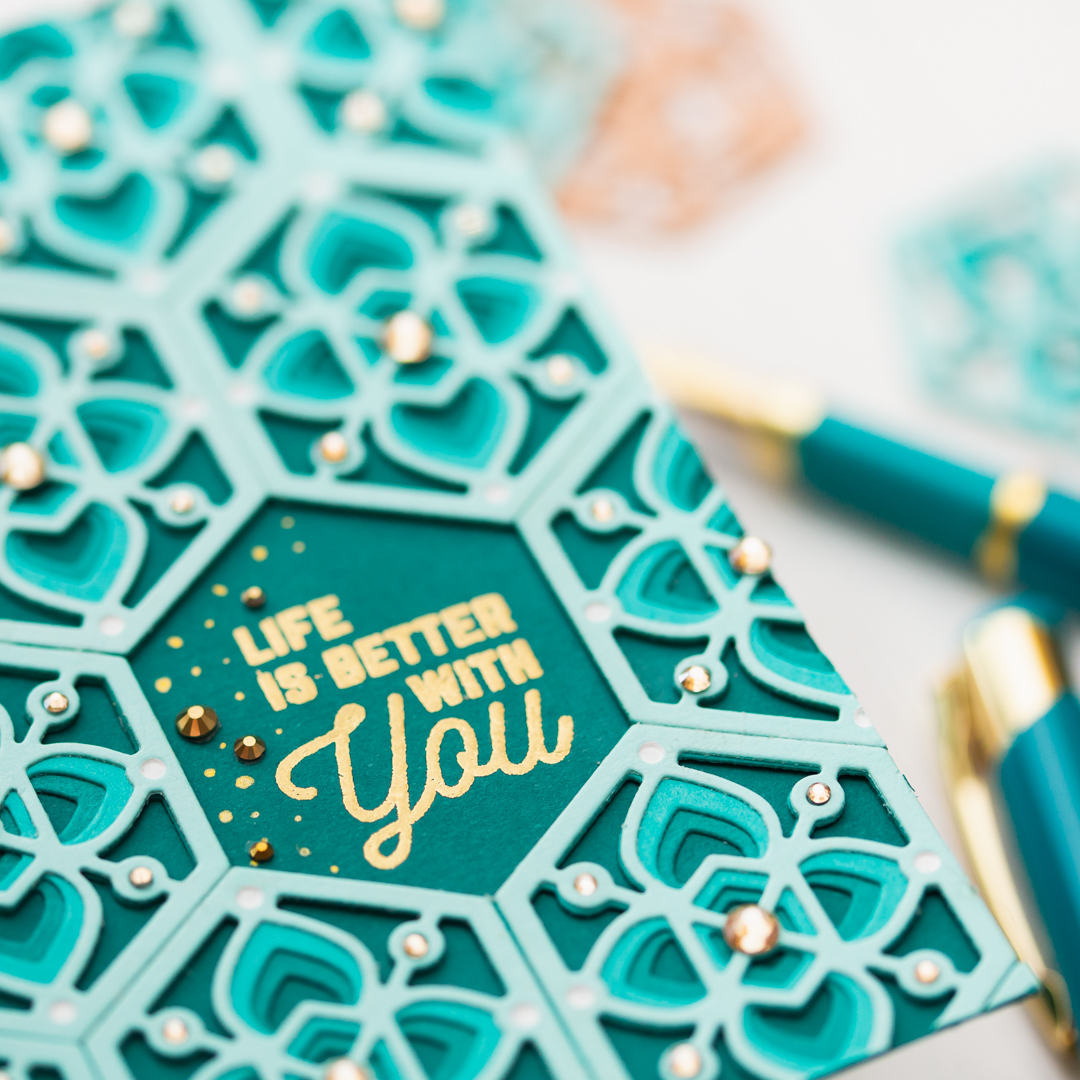
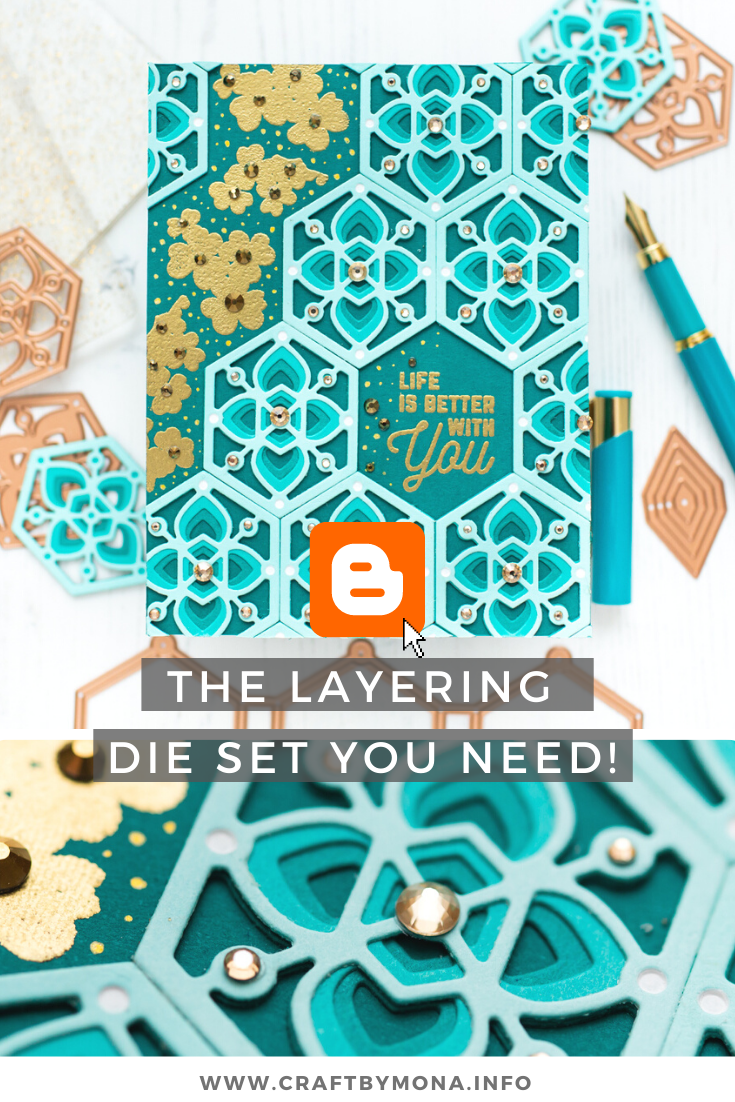
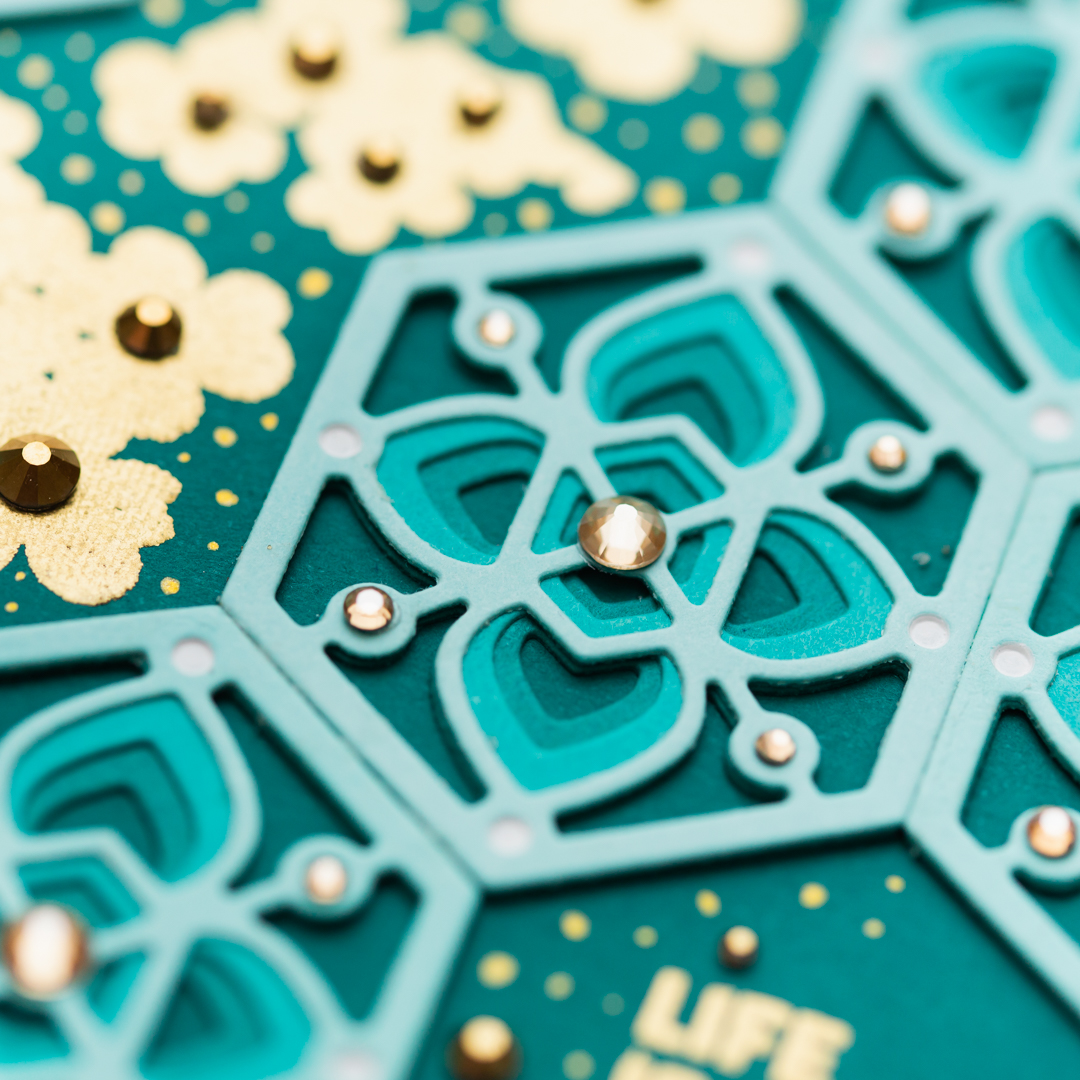
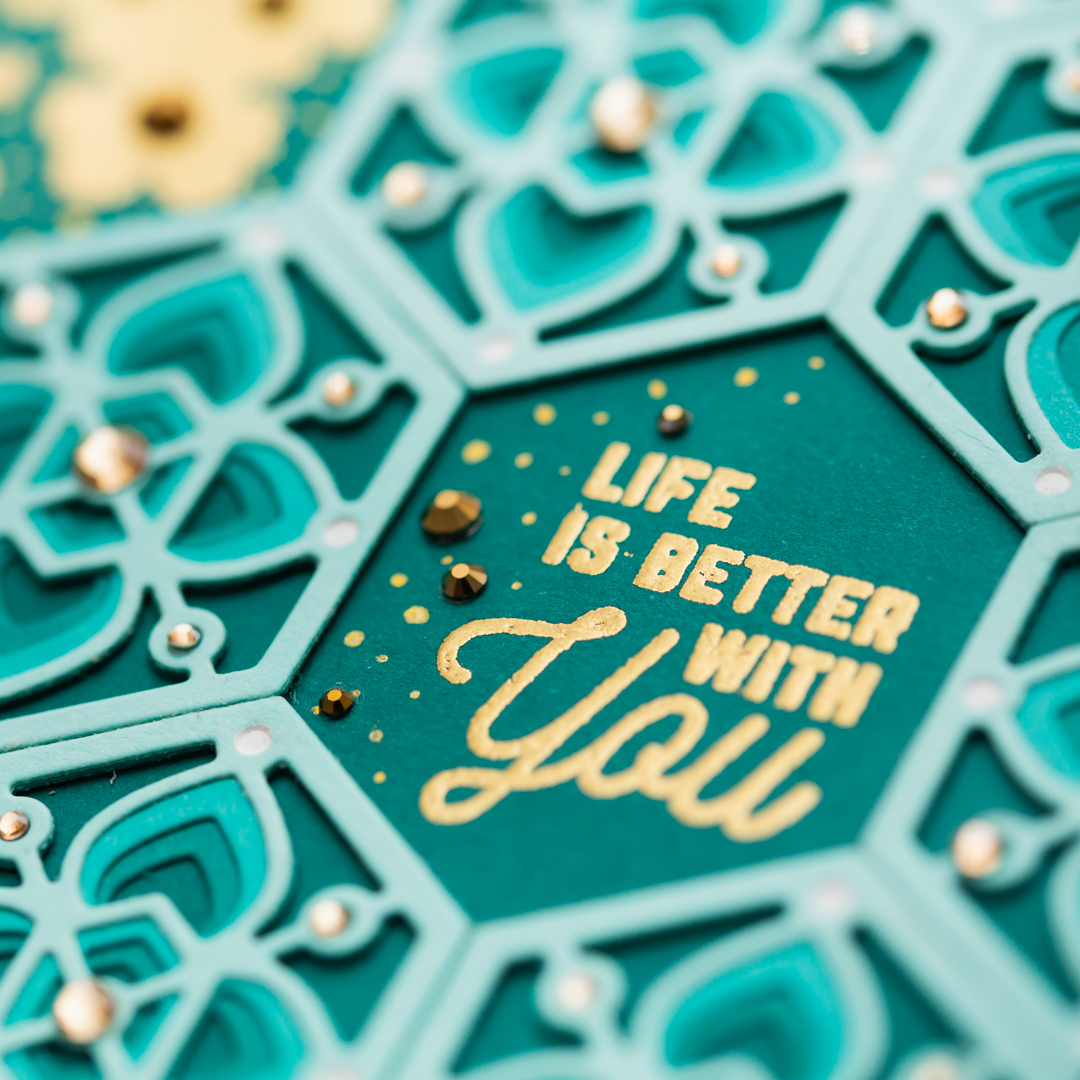
If you like to play with the dimension and the depth of your cards, then you will love the August Small Die of the Month kit. It has several dies to get a perfect layered look and you can mix and much them in different ways.
🎁 Get my free photo ebook here!
THIS CARD FEATURES
- Small Die of the Month Membership
- Clear Stamp of the Month Membership
- There are several Value Club options available for those who would like to join multiple clubs at once. The FAQ about these kits can be found here.
- Color Essentials Gems Gold Mix
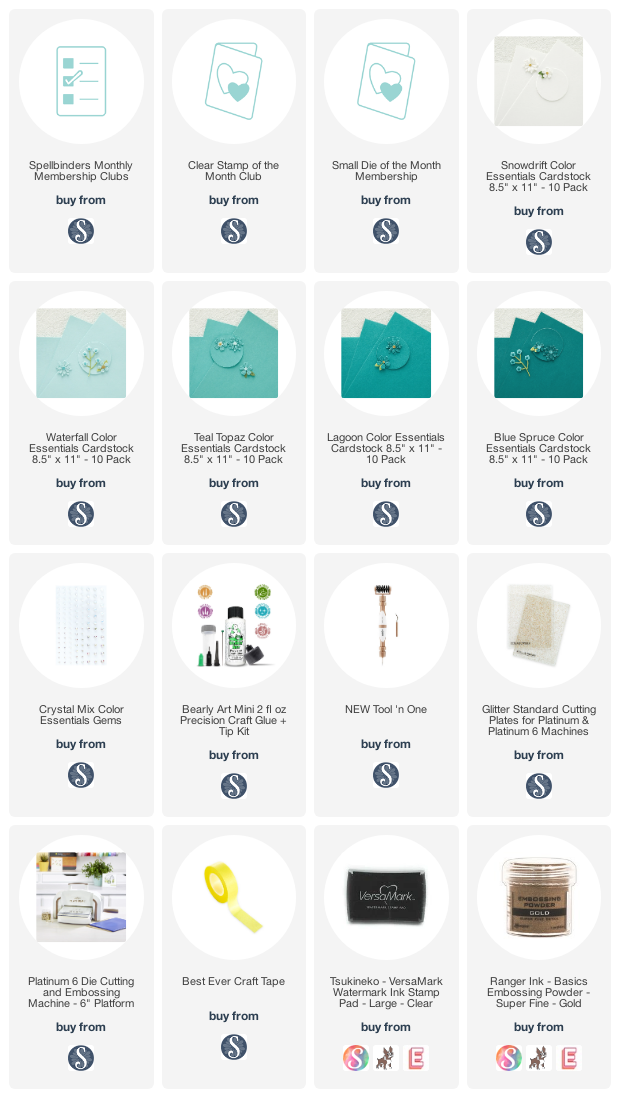
- For the additional supplies with shop links visit the thumbnails below this post.
CARD INSTRUCTIONS
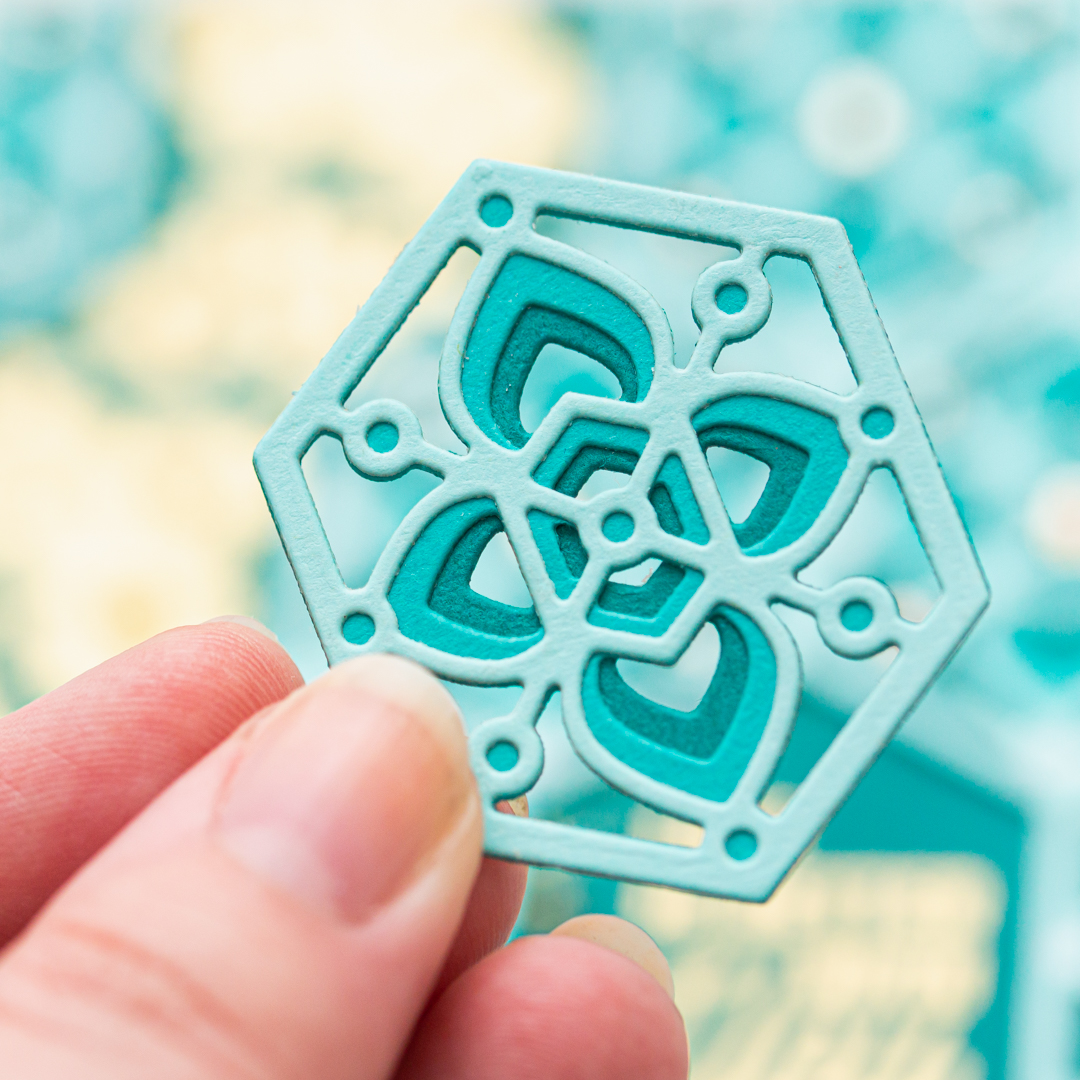
I rolled over the die-cut with my Tool-n-One tool to remove the small paper dots and other leftovers. This tool saves my creating process and I never skip to use it with intricate dies. Next, I put the together all the die-cut pieces with Bearly Art Precision Craft Glue, and I put on the top of them a heavy book and rest them few mins under it.


BEFORE YOU GO...
Let’s stay crafty friends! You can find more cardmaking inspiration, behind-the-scenes peeks and photography tips for crafters on my Instagram and Facebook pages.
📷✨ I’m on a mission to help cardmakers and crafters feel more confident with photography, so their beautiful creations can shine online too.
USED SUPPLIES
I’ve listed all the supplies I used below, so you can easily find them. Some of the links are affiliate links, which means I may earn a small commission if you make a purchase, at no extra cost to you. Thank you so much for supporting my blog and creative work!












Simply stunning! That little die idea is genius. The possibilities are endless for cards, page l/o, decorations etc. I also love your choice of colors
ReplyDeleteKim
Loved the cascading florals mixed with the geometric dies - Fabulous.
ReplyDelete