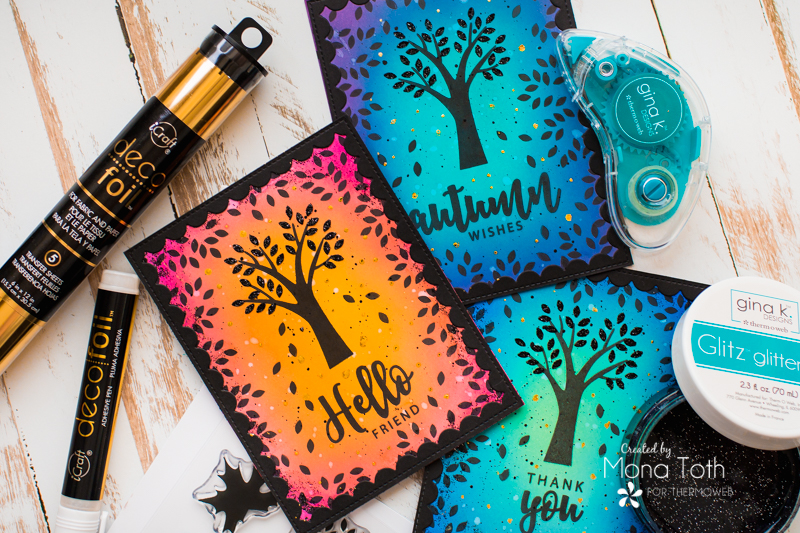
Showing posts with label Hot foiling. Show all posts

Halloween Card with an Interactive Light-Up Detail - Spellbinders

Hi cardmaking friends, today I am guesting over on the Spellbinders Blog with an easy to follow step-by-step tutorial featuring the Boo Parade Etched Dies from the Midnight Mischief Collection.

Better craft photos are easier than you think. Start with 5 simple tips you can try today.
🎁 Get my free photo ebook here!

Want to add a little extra Halloween magic to your handmade cards? In this tutorial, I’ll show you how I turned the playful Boo Parade design into a fun light-up Halloween card. This is just a sneak peek, so please check the original post with the easy to follow step-by-step tutorial on the Spellbinders blog here.

Pin this post to your Pinterest board and save this card idea for later.

BEFORE YOU GO...

Let’s stay crafty friends! You can find more cardmaking inspiration, behind-the-scenes peeks and photography tips for crafters on my Instagram and Facebook pages. 

📸✨ I’m on a mission to help cardmakers and crafters feel more confident with photography, so their beautiful creations can shine online too.

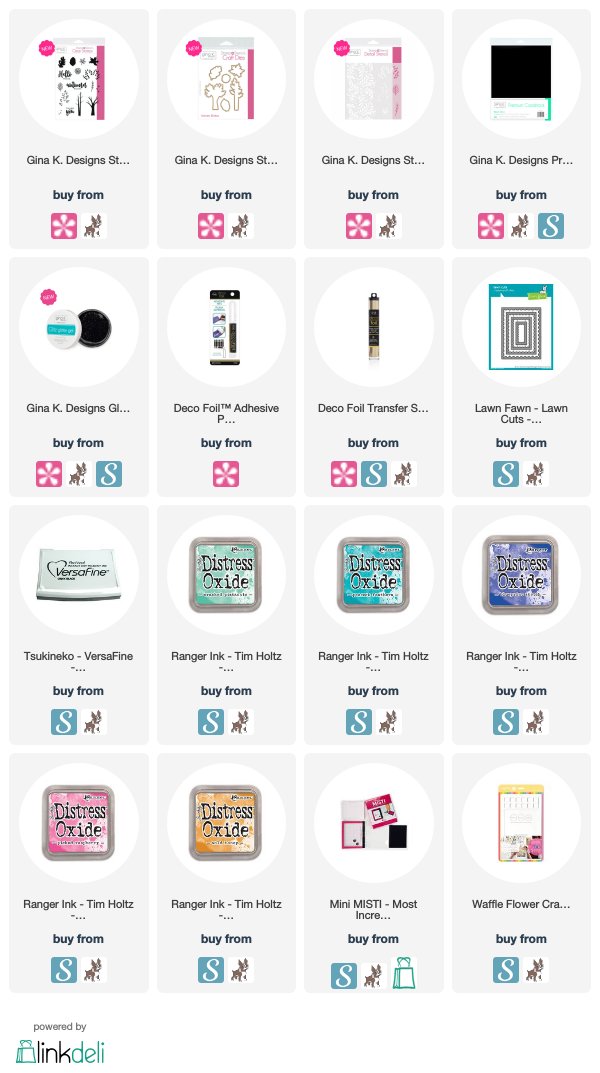
USED SUPPLIES

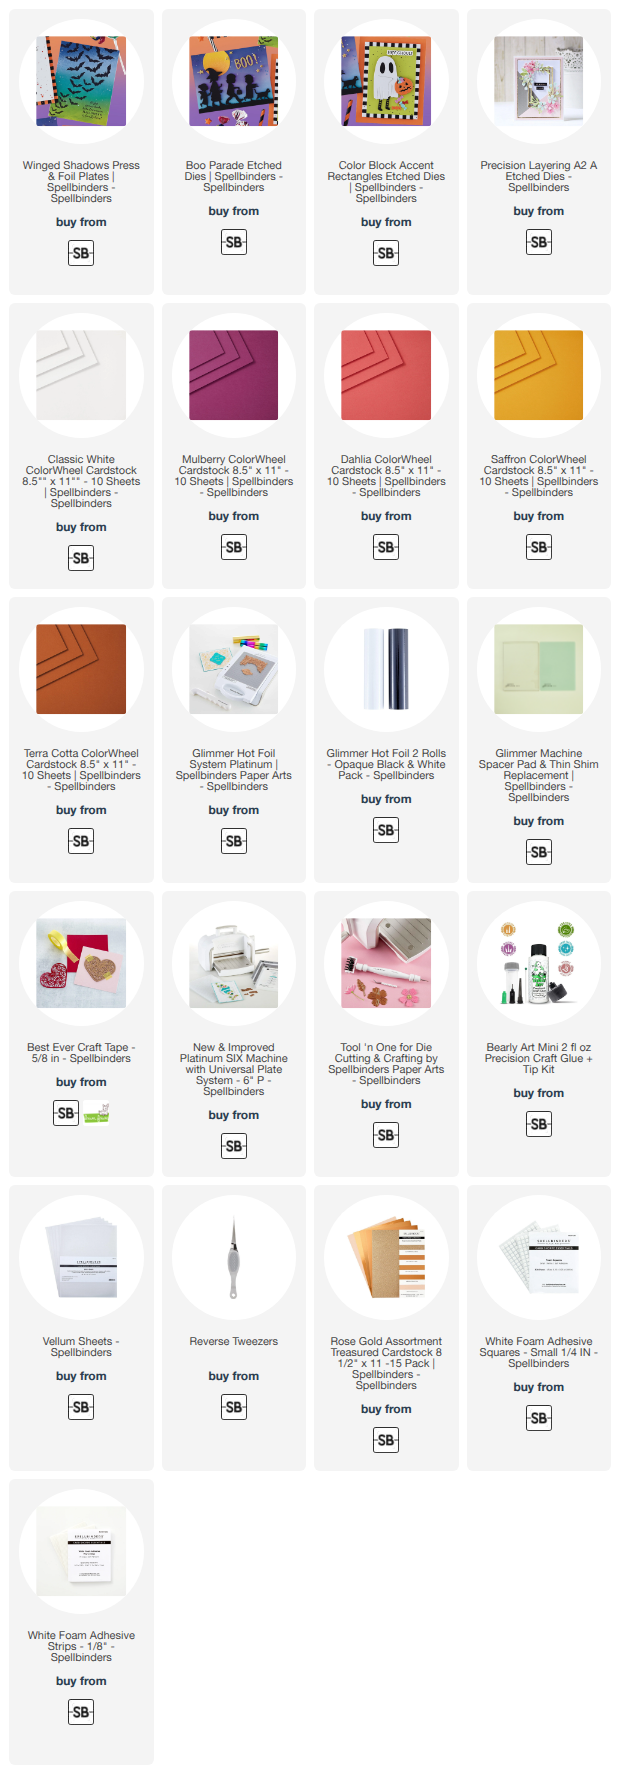
I’ve listed all the supplies I used below, so you can easily find them. Some of the links are affiliate links, which means I may earn a small commission if you make a purchase, at no extra cost to you. Thank you so much for supporting my blog and creative work!
Halloween Die-Cut Card Tutorial with Hot-Foiling - Spellbinders

Hi cardmaking friends, today I am guesting over on the Spellbinders Blog with an easy to follow step-by-step tutorial featuring the Halloween City Holiday Decorations Die Set from the Halloween City Holiday Collection by Yana Smakula. Here is a peek of the card.


Better craft photos are easier than you think. Start with 5 simple tips you can try today.
🎁 Get my free photo ebook here!

In this tutorial, I’ll show you how I used the Halloween City Holiday Decorations Die Set and the Happy Halloween Sentiments Press + Foil Plate + Die Set to create a playful Halloween card with layered ghosts, pumpkins, glittery spiderwebs and pops of pink and peach. This is just a sneak peek, so please check the original post with the easy to follow step-by-step tutorial on the Spellbinders blog here.

Pin this post to your Pinterest board and save this card idea for later.

BEFORE YOU GO...

Let’s stay crafty friends! You can find more cardmaking inspiration, behind-the-scenes peeks and photography tips for crafters on my Instagram and Facebook pages. 

📸✨ I’m on a mission to help cardmakers and crafters feel more confident with photography, so their beautiful creations can shine online too.

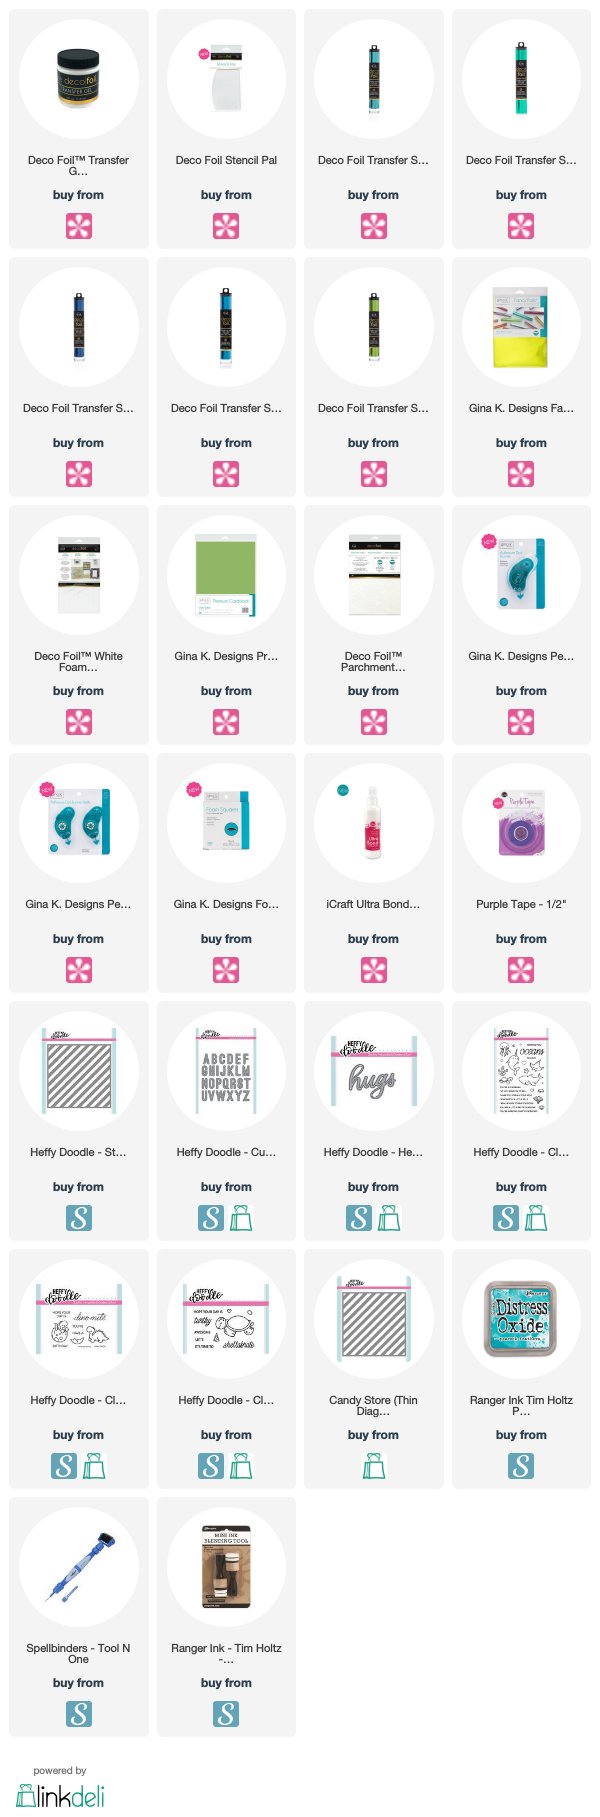
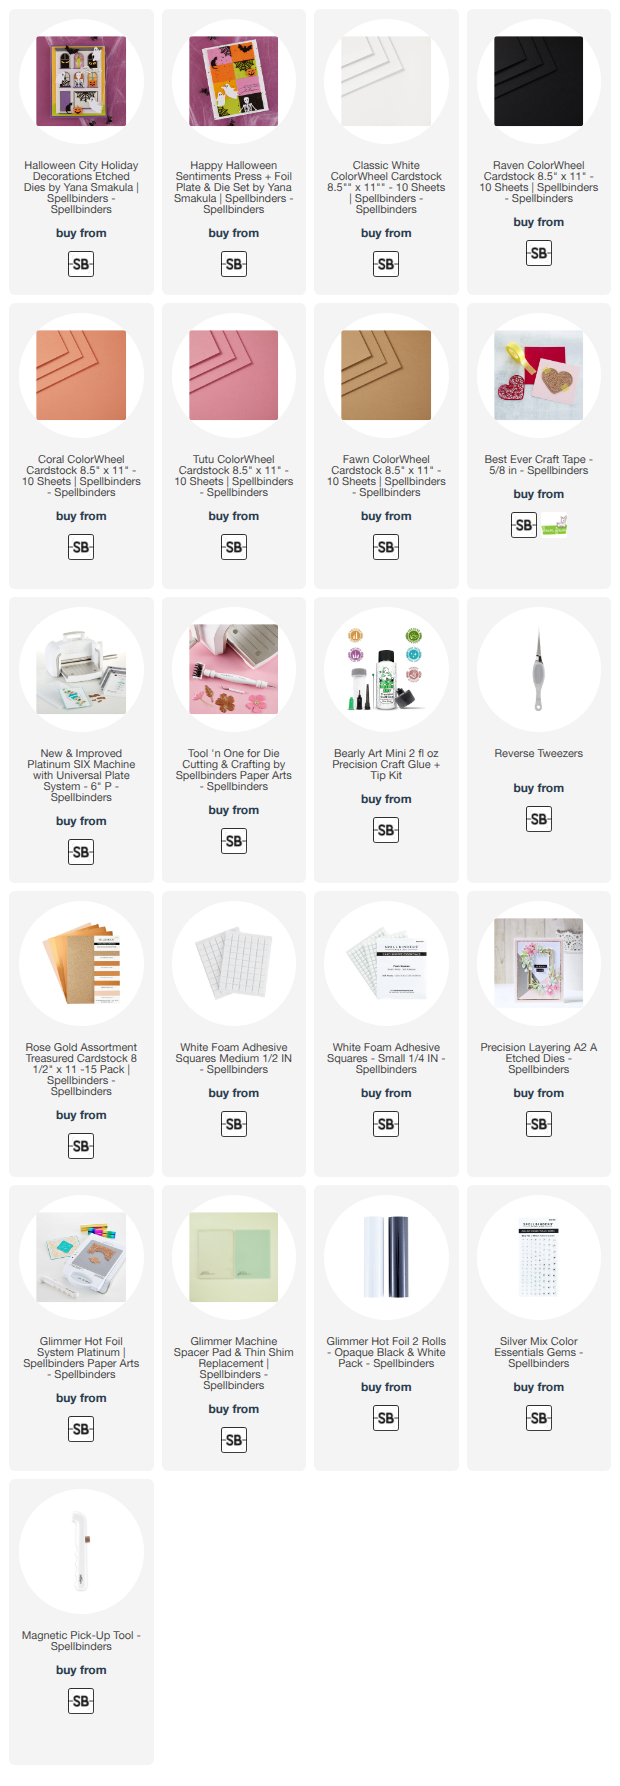
USED SUPPLIES

I’ve listed all the supplies I used below, so you can easily find them. Some of the links are affiliate links, which means I may earn a small commission if you make a purchase, at no extra cost to you. Thank you so much for supporting my blog and creative work!


Alex Syberia Designs August Release - Happy Cuties and Peony Corners - Giveaway

Hello crafty friend! Welcome to the Happy Cuties and Peony Corners August Release Blog Hop by Alex Syberia Designs ! Leave a comment on the blogs posts on the hop for a chance to win! Beside the lovely inspirations we have a pretty nice giveaway too! You can find the details about it in this post!


THIS CARD FEATURES


Better craft photos are easier than you think. Start with 5 simple tips you can try today.
🎁 Get my free photo ebook here!

STAMPING AND STENCILING

I started this card with the beautiful Peony Corners Stamp Set. I picked the corner image and stamped it twice with Lawn Fawn Jet Black Ink using my MISTI stamping platform. Once the images were stamped, I heat set them with my heat gun before moving on to the coloring.


For the coloring I used the coordinating Peony Corners Stencil Set. I started with the flower centers using Squeezed Lemonade and added a little Fossilized Amber Distress Oxide Ink here and there. Then I blended Kitsch Flamingo around the petals, going slightly over the yellow areas too. This little overlap created that pretty peachy color which I really love.


Pin this post to your Pinterest board and save this card idea for later.

For the second layer, I turned the stencil and added Picked Raspberry to the larger flowers and Spun Sugar Distress Oxide Ink to the smaller ones.

Next I moved on to the leaves and flower centers with the other stencil. For these areas I used Black Soot, Hickory Smoke and Old Paper Distress Oxide Inks, then finished the flower centers with Black Soot as well.


STAMPING AND DIE CUTTING

Once all the ink blending was finished, I placed the cardstock back into my MISTI. I had kept the stamp in exactly the same position, so I could stamp the images once again with VersaFine Onyx Black Ink. This brought back the crisp outlines beautifully after all the ink blending.

After heat setting the ink, I used the coordinating Peony Corners Die Set and ran both images through my Platinum SIX Die Cutting Machine.


HOT FOILED SENTIMENT

For the sentiment I used the Essential Sentiments Press Plate & Die Set. I really love this set because with just one foiling and one die-cutting step, you can create a whole bunch of beautiful sentiments at once. Such a time saver!

I used the satin gold foil from the Satin Metallics Variety Pack, then die cut all the sentiments so I could choose the one that worked best with my card.


PUTTING THE CARD TOGETHER

For the card base, I paired a warm yellowish olive cardstock with a brighter pink cardstock. I really love how these colors work with the peachy pink flowers. They already give me a tiny bit of an autumn feeling, and you know how much I love that season!

I adhered the Peony Corners with 3D foam squares to give the card some dimension. Then I added the hot foiled sentiment on top, raising it a little higher so it would stand out nicely between the flowers.


Finally, I added a few clear sequins for a little extra sparkle, and the card was finished. I absolutely love how these colors turned out together! And you will see this beautiful Peony Corners set from me again very soon, because I also have a YouTube video tutorial coming with it. So keep an eye on my Instagram for the sneak peek! 👀✨

If you are new here, you can also find me on Instagram as @mona.toth where I share photo tips for crafters, and more cardmaking inspirations. (Yes, I have a facebook page too) :) 

GIVEAWAY

Alex Syberia Designs is giving away a $15 or £15 gift card to three lucky winners.

The giveaway is open internationally. All three winners will be selected from entrants who take part in the blog hop by 11:59 pm BST on August 16 2026. The winners will be announced on the 'Giveaway Winners' page of the Alex Syberia Designs blog on 17 August 2026.

BLOG HOP ORDER


BEFORE YOU GO...

Let’s stay crafty friends! You can find more cardmaking inspiration, behind-the-scenes peeks and photography tips for crafters on my Instagram and Facebook pages. 

📸✨ I’m on a mission to help cardmakers and crafters feel more confident with photography, so their beautiful creations can shine online too.

USED SUPPLIES

I’ve listed all the supplies I used below, so you can easily find them. Some of the links are affiliate links, which means I may earn a small commission if you make a purchase, at no extra cost to you. Thank you so much for supporting my blog and creative work!

November Glimmer of the month | Spellbinders

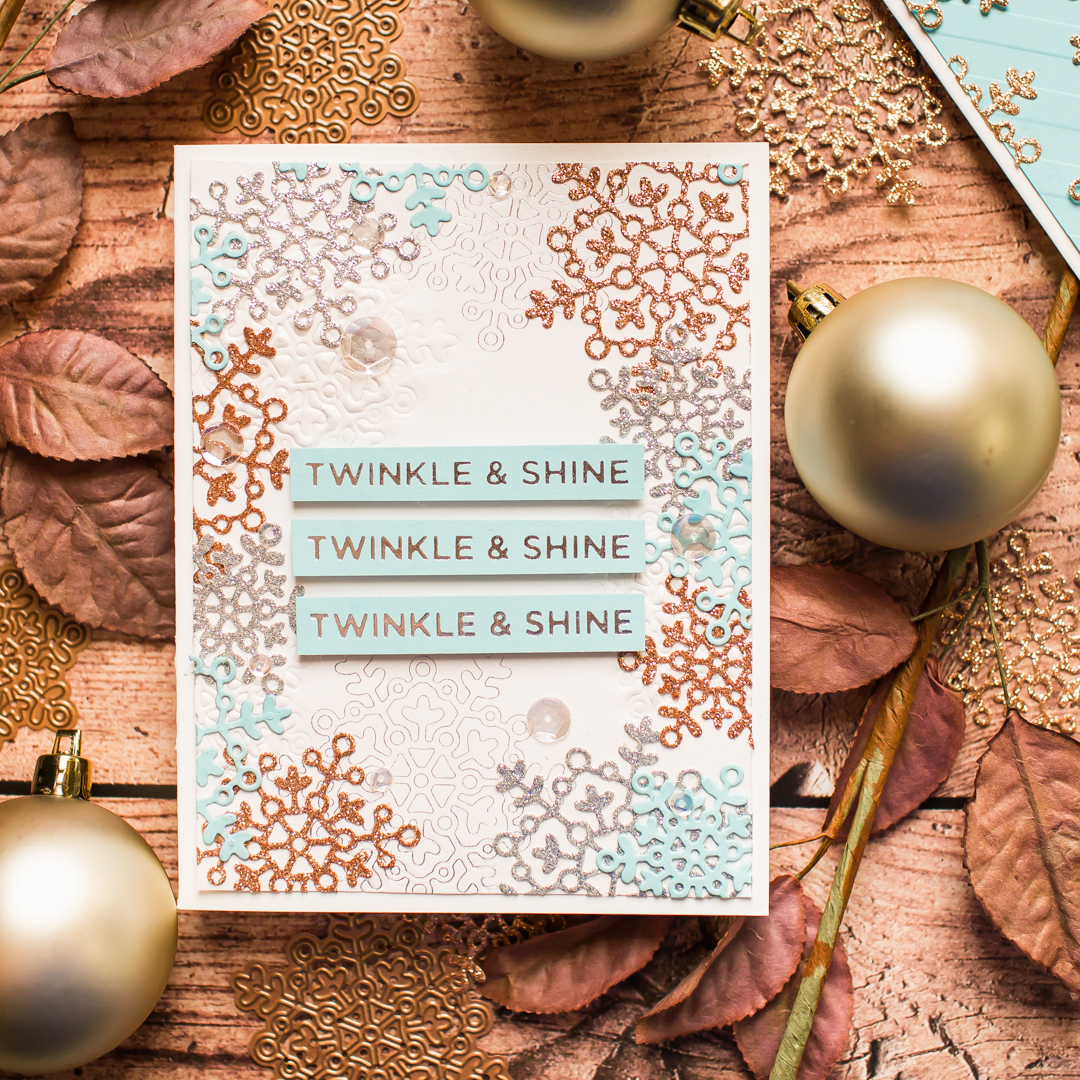
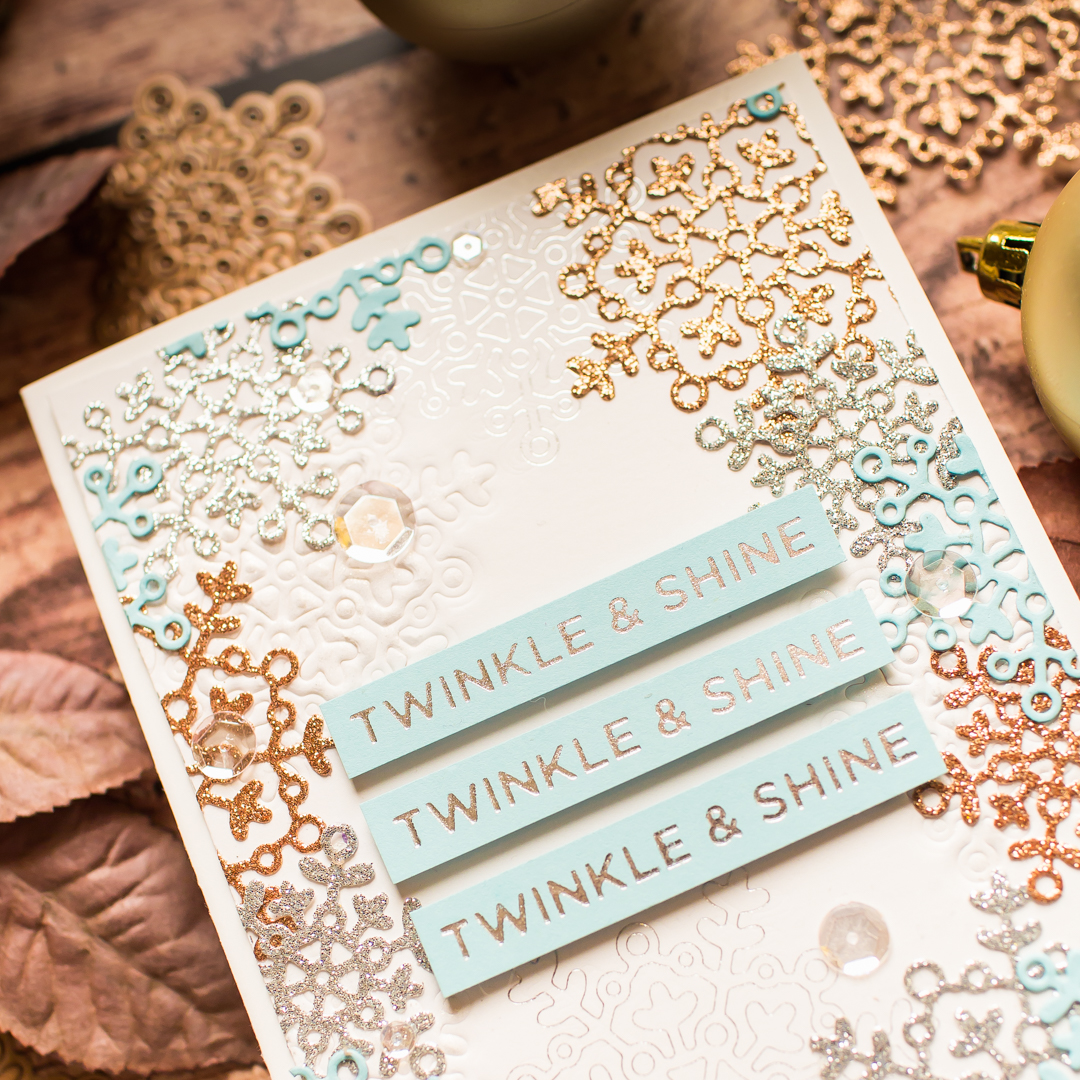
Hi crafty friends, today I am going to show you my another project with the absolutely amazing November Small Die of the Month kit from Spellbinders, but this time I am going to feature the November Glimmer of the Month kit from Spellbinders. You can find the used supplies below the post.


First, I created my 5.5 x 4.25" cardbase and dry embossed the snowflakes with my die-cut machine using the dry embossing mat, then I foiled them with silver foil.


When it was done I diecut the snowflakes in various sizes and different colors. I also used copper and silver glitter cardstock and a pretty blue colored, named Pool Play.


Once the die-cutting was done I removed the tiny pieces from the die and hot foiled the Twinkle & Shine glimmer hot plates with silver foil. I love that in the November Glimmer Of the Month kit are looots of holiday sentiments and I can play with them to make holiday cards.


In the end I put my card together, embellished with a few clear sequins and it was done. YAY! I hope You have enjoyed this post, see you next time, big hugs, Mona

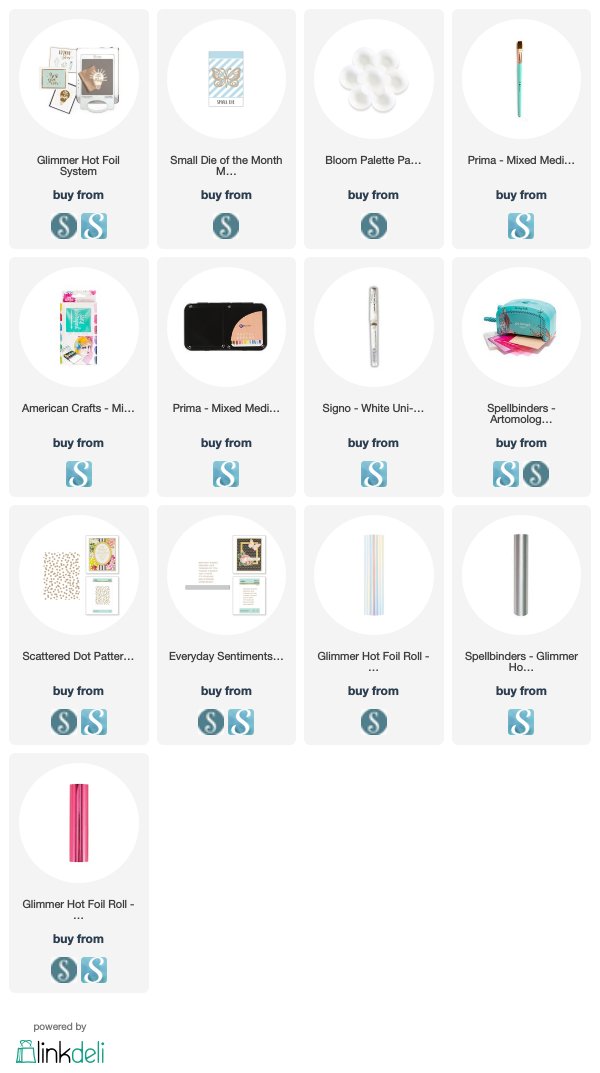
SUPPLIES 


I prepared for you the list of products which I used for making this project. If you buy these through my links you help me running this blog. (You can find the affiliate disclosure here). Thank you for your support!

November Small die of the month | Spellbinders

Hi crafty friends, today I am going to show you my newest project with the absolutely amazing November Small Die of the Month kit from Spellbinders. I think this is the most amazing snowflake kit, so if you like it don't hesitate, hurry, before it's out of stock! Its absolutely worth the price. You can find the used supplies below the post.


I started the cardmaking with Die-cutting. I made lots Die-cuts with those snowflakes from copper glitter cardstock, and removed the access with Tool'n One, it's my go to die-cutting thing and I just love it! 


Next I created a light blue, dry embossed background with the Love Stripes Embossing folder, and adhered on it the sparkling snowflake die-cuts in various sizes. In the center I adhered iridescent sequins and my card was almost done, I just needed the sentiment so I hot foiled the Merry Christmas sentiment with Blush Foil through the Glimmer Hot foil system.


In the end I put the foiled sentiment with 3D adhesive on the place and it was done. 


Thank you very much for reading through my post, I hope that you have enjoyed it and I have inspired you! If you like my creations let's be friends on Instagram. :) 

SUPPLIES 


I prepared for you the list of products which I used for making this project. If you buy these through my links you help me running this blog. (You can find the affiliate disclosure here). Thank you for your support!


October Glimmer of the month | Spellbinders

Hello crafty friends, I hope your week is going well! Today I am going to show you my newest project with the October Glimmer of the Month kit from Spellbinders. You can find the used supplies below the post.


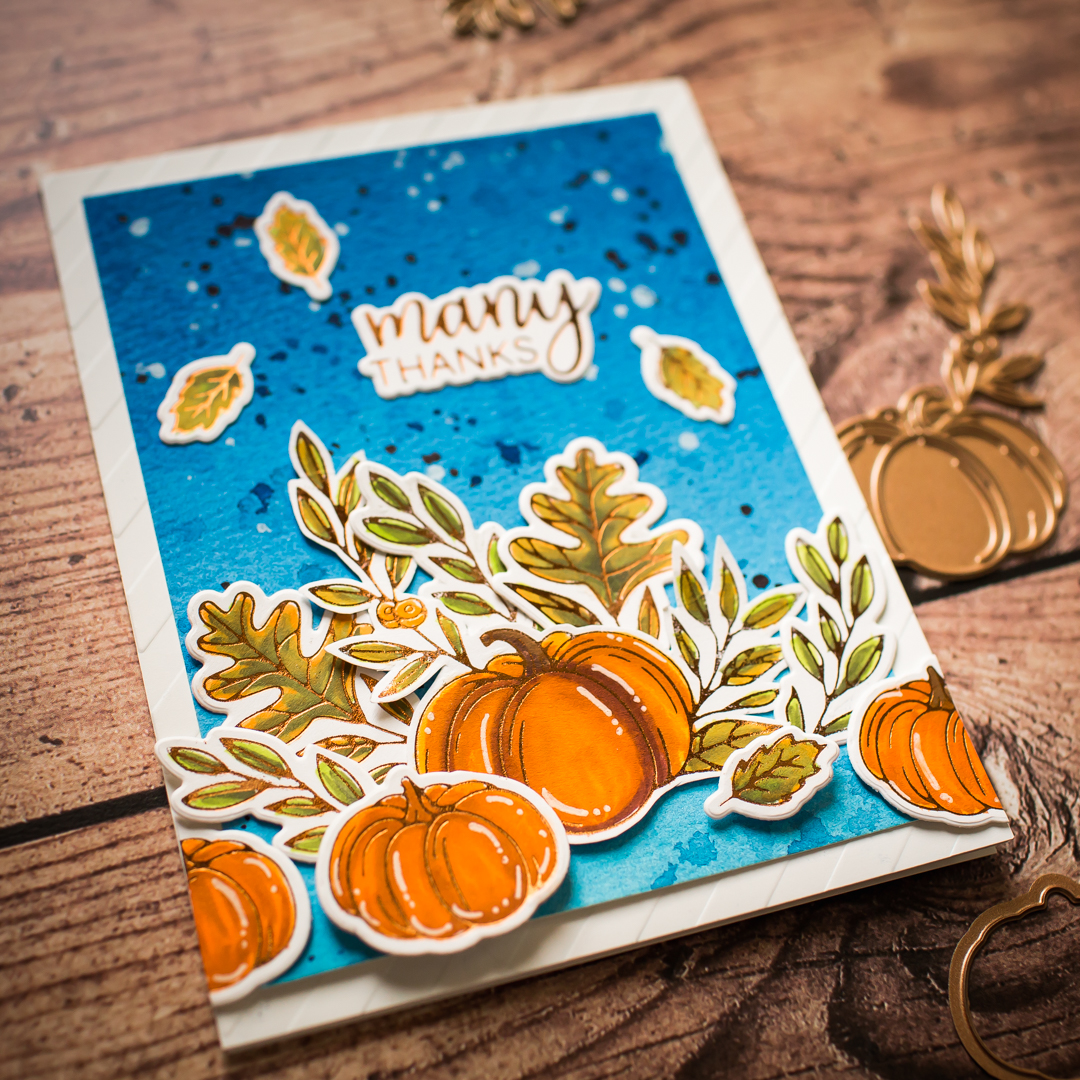
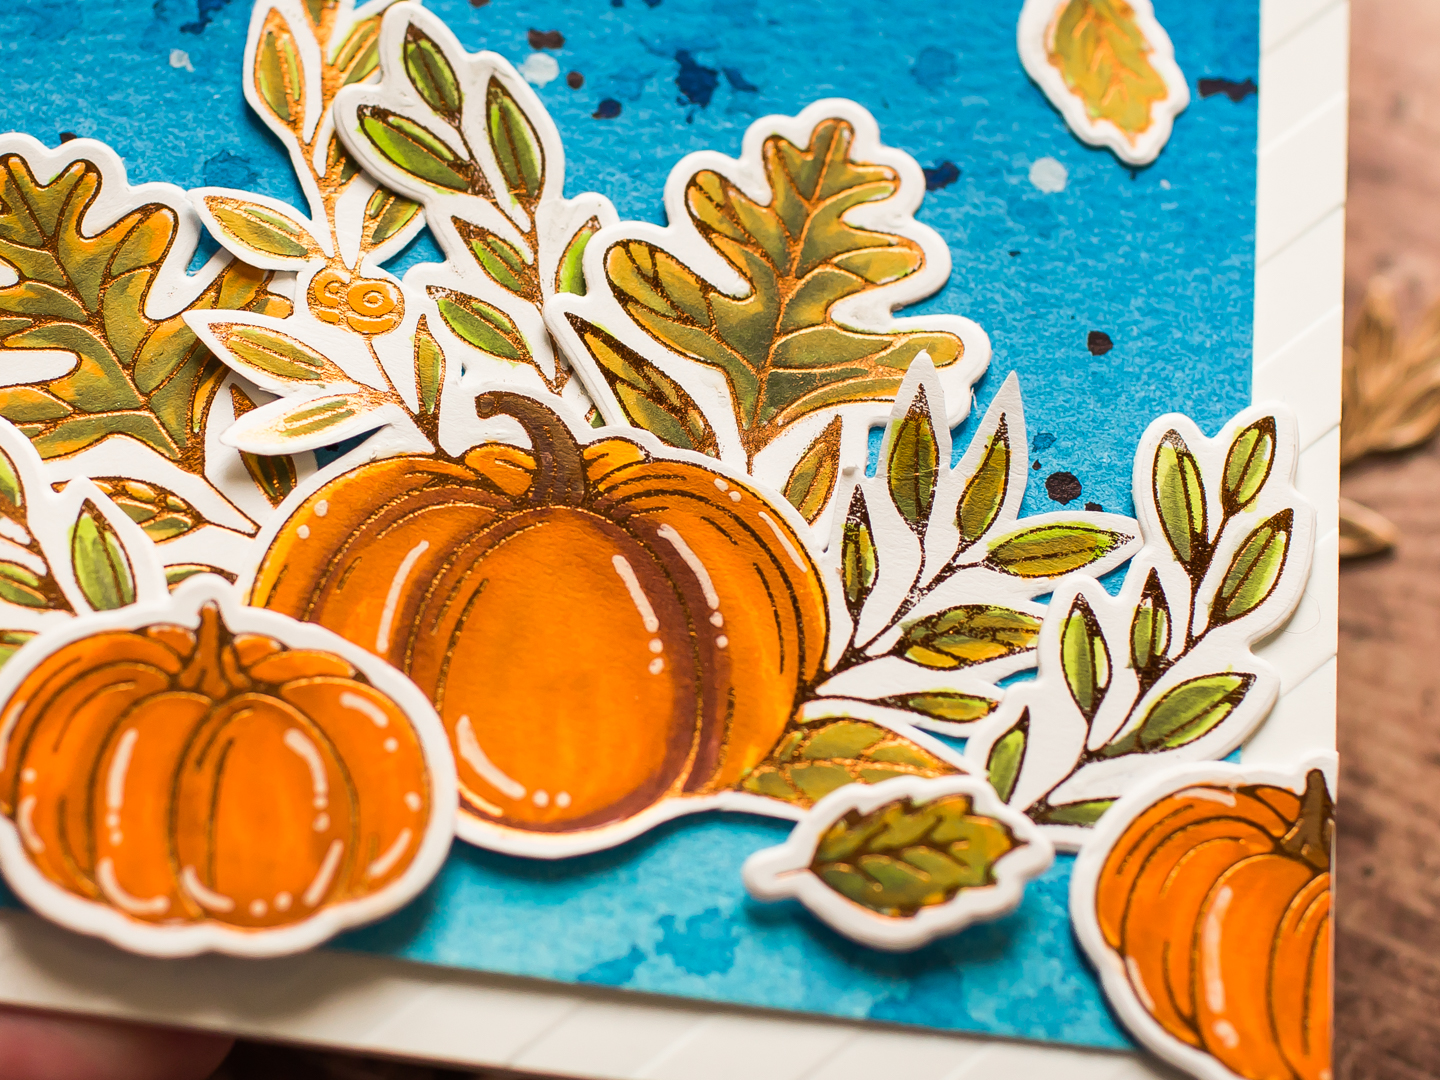
First, I created my 5.5 x 4.25" cardbase and created a stripy background with the Love Stripes Embossing folder. Next I made a blue watercolor wash with Bright and Neutral Jane Davenport watercolor palette on a watercolor paper then I splattered on it with dark blue and white watercolor, after that I let it dry.


Next I made the Hot-foiling with the Glimmer Hot Foil Machine and Copper foil because as always you can find one roll of hot foil in the kit. This time it is the beautiful Copper which is perfect for these pumpkins. I foiled a bunch of these leaves and pumpkins and colored them with my Arteza brush markers.


In the end I styled my card and put it together with adhesive. Love this kit soo much, if you have any questions feel free to ask me in the comment.


Thank you very much for reading through my post, I hope that you have enjoyed it and I have inspired you! If you like my creations let's be friends on Instagram. :)

SUPPLIES 

I prepared for you the list of products which I used for making this project. If you buy these through my links you help me running this blog. (You can find the affiliate disclosure here). Thank you for your support!

Quick Fall cards | Thermoweb


Hello crafty friends, today I am going to show you a fun project which is perfect for bulk cardmaking. I have a video tutorial too. As always you can find the used supplies at the end of this post.


This post is just a sneaky peek, for the full post please visit Thermoweb's blog and the you can find the video tutorial here.


VIDEO


Thank you for stopping by! Mona


SUPPLIES


I prepared for you the list of products which I used for making this project. If you buy these through my links I receive a small commission with no additional cost of you. (You can find the affiliate disclosure here). Thank you for your support!


Deco Foil Transfer Sheet Cards | Therm o web | Heffy Doodle


Hello everyone, It's Mona here and today I am going to show you how fun is mixing and matching with iCraft Deco foil Transfer Sheets in various colors.


This week we teamed up with Heffy Doodle, so for creating the background, I used the iCraft Deco Foil Transfer Gel with the Candy Store Stencil by Heffy Doodle.


For the tutorial check the Thermoweb's blog here and the video tutorial here.


SUPPLIES

I prepared for you the list of products which I used for making this project. If you buy these through my links you help me running this blog. (You can find the affiliate disclosure here). Thank you for your support!

Spellbinders | Hot foiled background


Hello crafty friends, I am back with another hot foiled card! Let's see, what I have created. As always you can find the used supplies at the end of this post. 


First, I made the card base from Neenah Solar White Cardstock. It's size is 5.5 x 4.25 inches. Next I created a pink watercolor background with splatters in darker and lighter colors. I also created a yellow background. 


When it was done I made the Hot-foiling with my Glimmer Hot Foil Machine to the background with the Scattered Dot Pattern hot plate and the Prism hot foil


I also made the sentiment with Hot Foiling, but this time I used the Bright Pink foil and picked the Thinking of You sentiment from the Everyday sentiments II. hot plates. 


When it was done I made a few flowers with the April Small die of the month kit. You can find more project with this Die-set here and here. 


In the end I styled my card, added few embellishments and my card was ready. Thank you very much for reading through my post, I hope that you have enjoyed it and I have inspired you! If you like my creations let's be friends on Instagram. :)

SUPPLIES 


I prepared for you the list of products which I used for making this project. If you buy these through my links you help me running this blog. (You can find the affiliate disclosure here). Thank you for your support! 


SAVE IT 


My projects compressed into a photo :) If you like it, save it to your Pinterest boad. Thank you!


Spellbinders | Sugar Skull


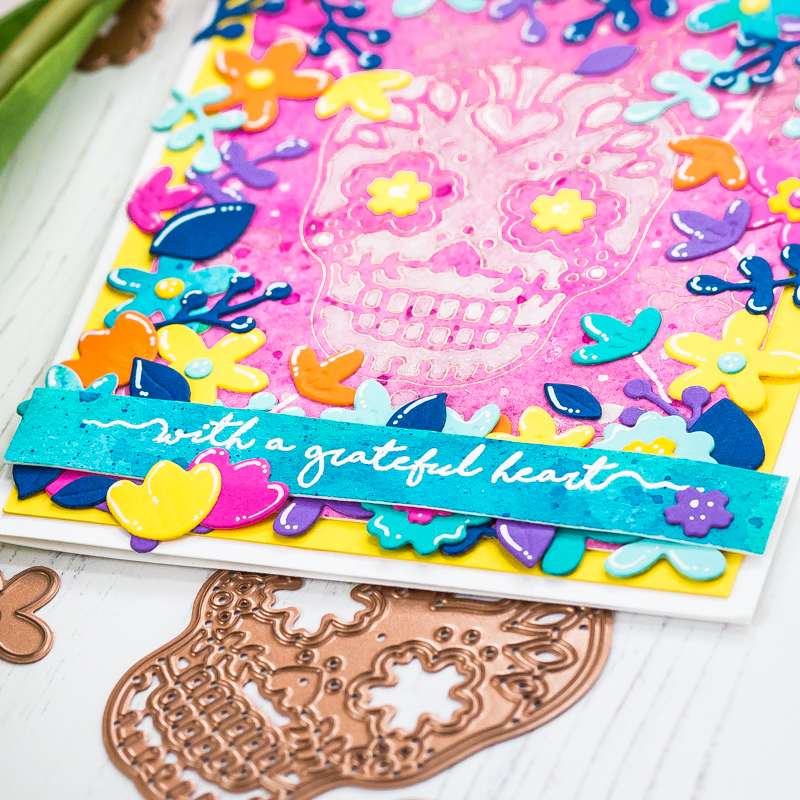
Hello crafty friends, I am back with another hot foiled card! Today I played with a Sugar Skull detailed Die, which is not a hot plate, but I think it was worth a try with hot foiling. As always you can find the used supplies at the end of this post.


First, I made the card base from Neenah Solar White Cardstock. It's size is 5.5 x 4.25 inches. Next I created a pink watercolor background with splatters in darker and lighter colors. 


When it was dry I picked the Sugar Skull Die and made the Hot-foiling process. When the face was done, I added a few branches around and foiled them too. For the foiling I used the Polished Brass roll of foil. Love this color so much!


When it was done I made tiny floral Die-cuts with the same Die-set and in various colors. With my color palette I wanted to create a Muertos feeling and I really love the result, I hope you too.


In the end I styled my card, added a white heat embossed sentiment and my card was ready. 


Thank you very much for reading through my post, I hope that you have enjoyed it and I have inspired you! If you like my creations let's be friends on Instagram. :)

SUPPLIES


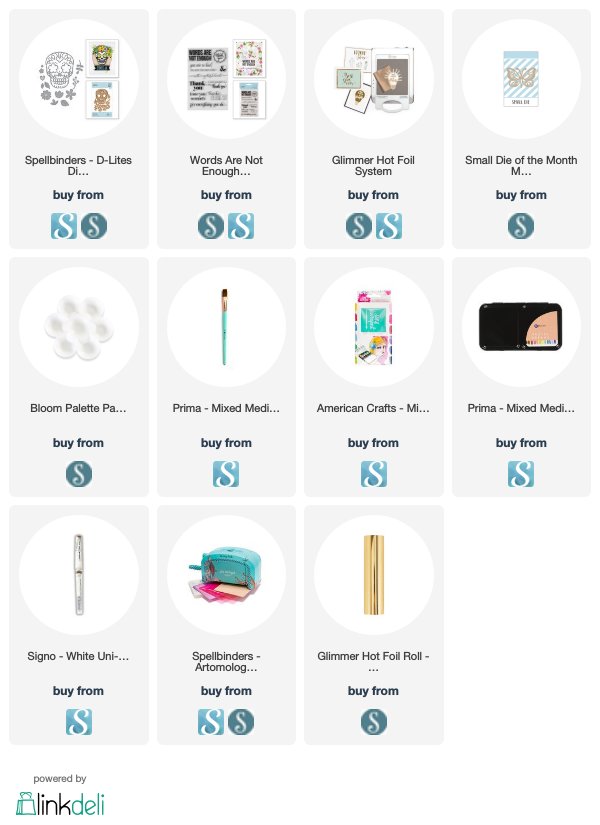
I prepared for you the list of products which I used for making this project. If you buy these through my links you help me running this blog. (You can find the affiliate disclosure here). Thank you for your support!

SAVE IT


My projects compressed into a photo :) If you like it, save it to your Pinterest boad. Thank you!