Better craft photos are easier than you think. Start with 5 simple tips you can try today. 🎁Get my free photo ebook here!
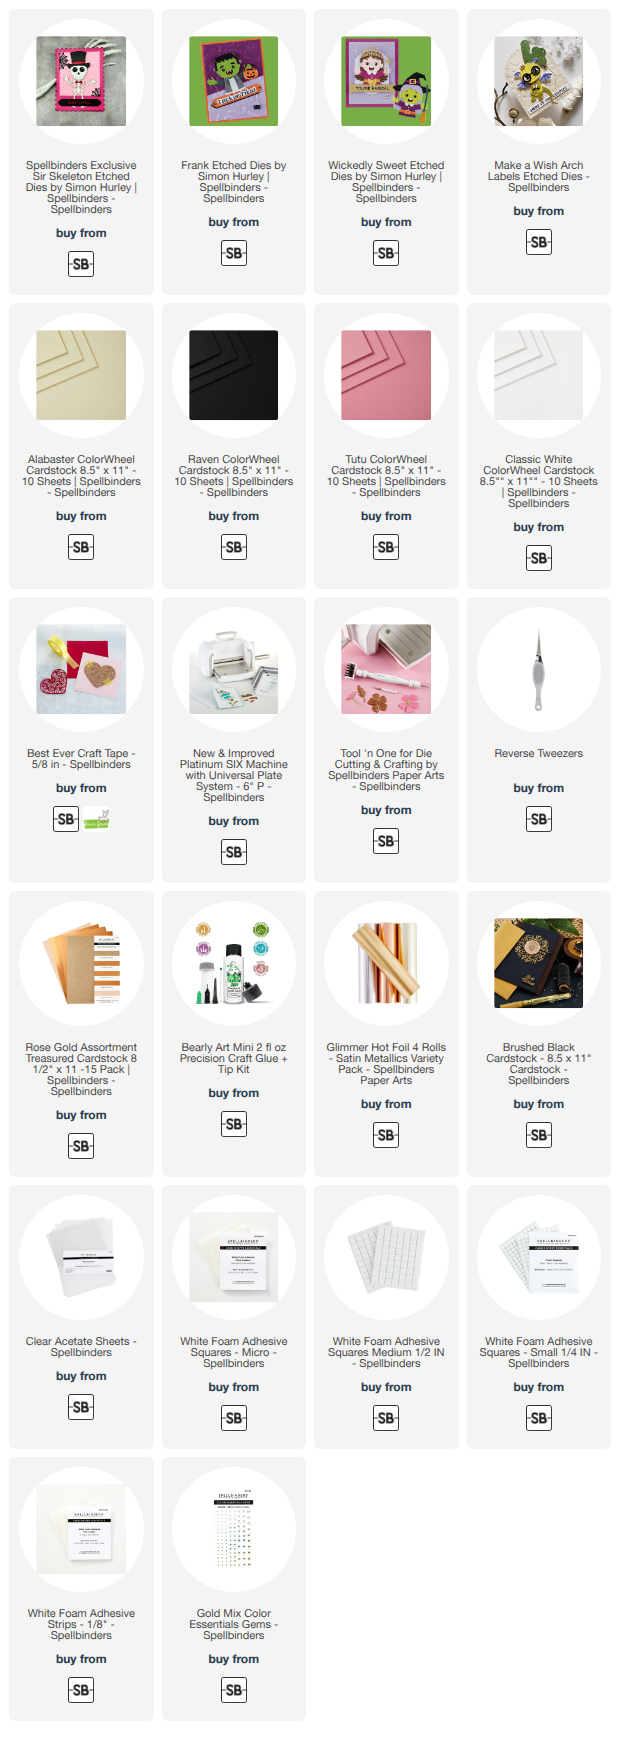
In this tutorial, I’ll show you how to build this playful Halloween shaker card step by step, including the shaker window, hot foiled sentiment and all the tiny details that give Sir Skeleton so much personality. This is just a sneak peek, so please check the original post with the easy to follow step-by-step tutorial on the Spellbinders blog here.
Pin this post to your Pinterest board and save this card idea for later.
BEFORE YOU GO...
Let’s stay crafty friends! You can find more cardmaking inspiration, behind-the-scenes peeks and photography tips for crafters on my Instagram and Facebook pages.
📸✨ I’m on a mission to help cardmakers and crafters feel more confident with photography, so their beautiful creations can shine online too.
I’ve listed all the supplies I used below, so you can easily find them. Some of the links are affiliate links, which means I may earn a small commission if you make a purchase, at no extra cost to you. Thank you so much for supporting my blog and creative work!
Better craft photos are easier than you think. Start with 5 simple tips you can try today. 🎁Get my free photo ebook here!
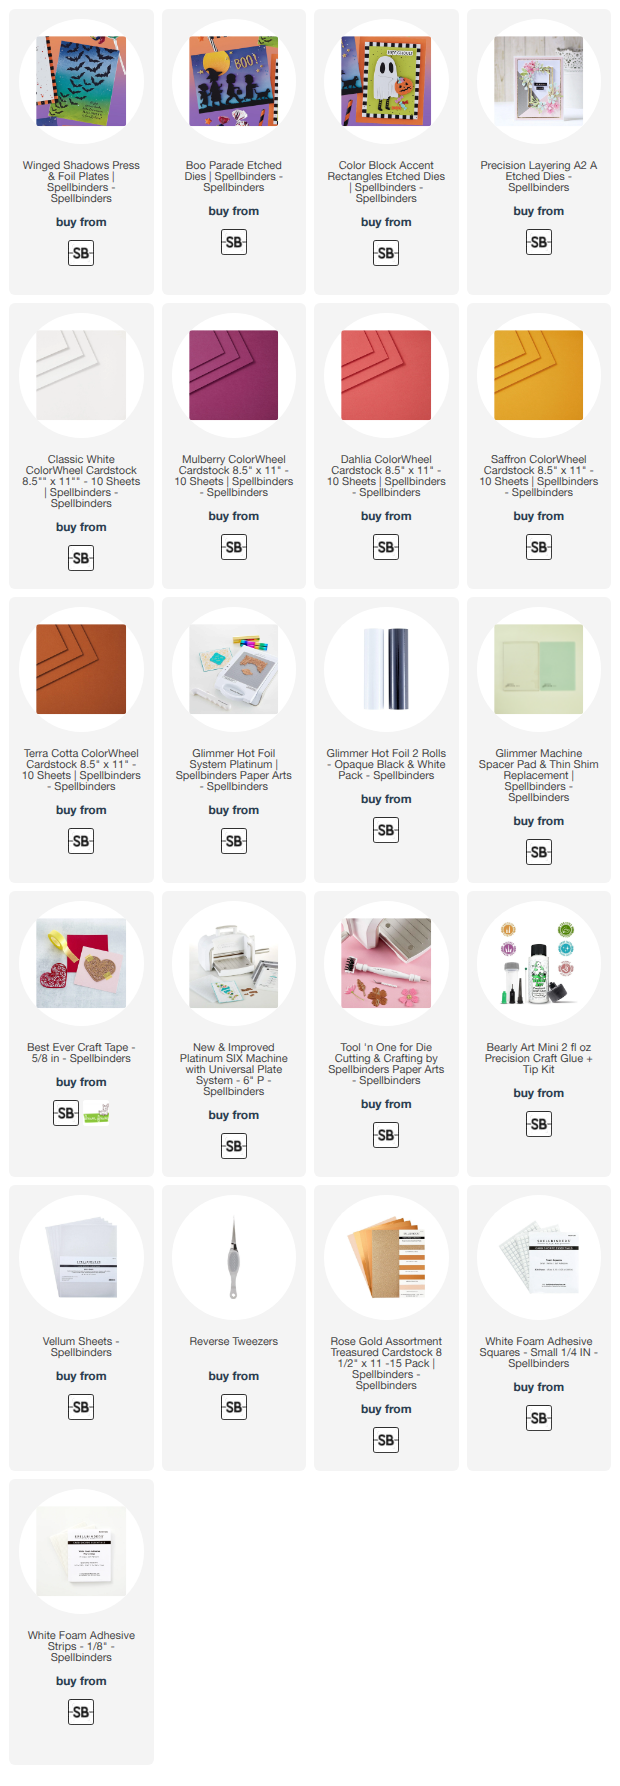
Want to add a little extra Halloween magic to your handmade cards? In this tutorial, I’ll show you how I turned the playful Boo Parade design into a fun light-up Halloween card. This is just a sneak peek, so please check the original post with the easy to follow step-by-step tutorial on the Spellbinders blog here.
Pin this post to your Pinterest board and save this card idea for later.
BEFORE YOU GO...
Let’s stay crafty friends! You can find more cardmaking inspiration, behind-the-scenes peeks and photography tips for crafters on my Instagram and Facebook pages.
📸✨ I’m on a mission to help cardmakers and crafters feel more confident with photography, so their beautiful creations can shine online too.
I’ve listed all the supplies I used below, so you can easily find them. Some of the links are affiliate links, which means I may earn a small commission if you make a purchase, at no extra cost to you. Thank you so much for supporting my blog and creative work!
Hi cardmaking friends, today I am guesting over on the Spellbinders Blog with an easy to follow step-by-step tutorial featuring the Halloween City Holiday Decorations Die Set from the Halloween City Holiday Collection by Yana Smakula. Here is a peek of the card.
Better craft photos are easier than you think. Start with 5 simple tips you can try today. 🎁Get my free photo ebook here!
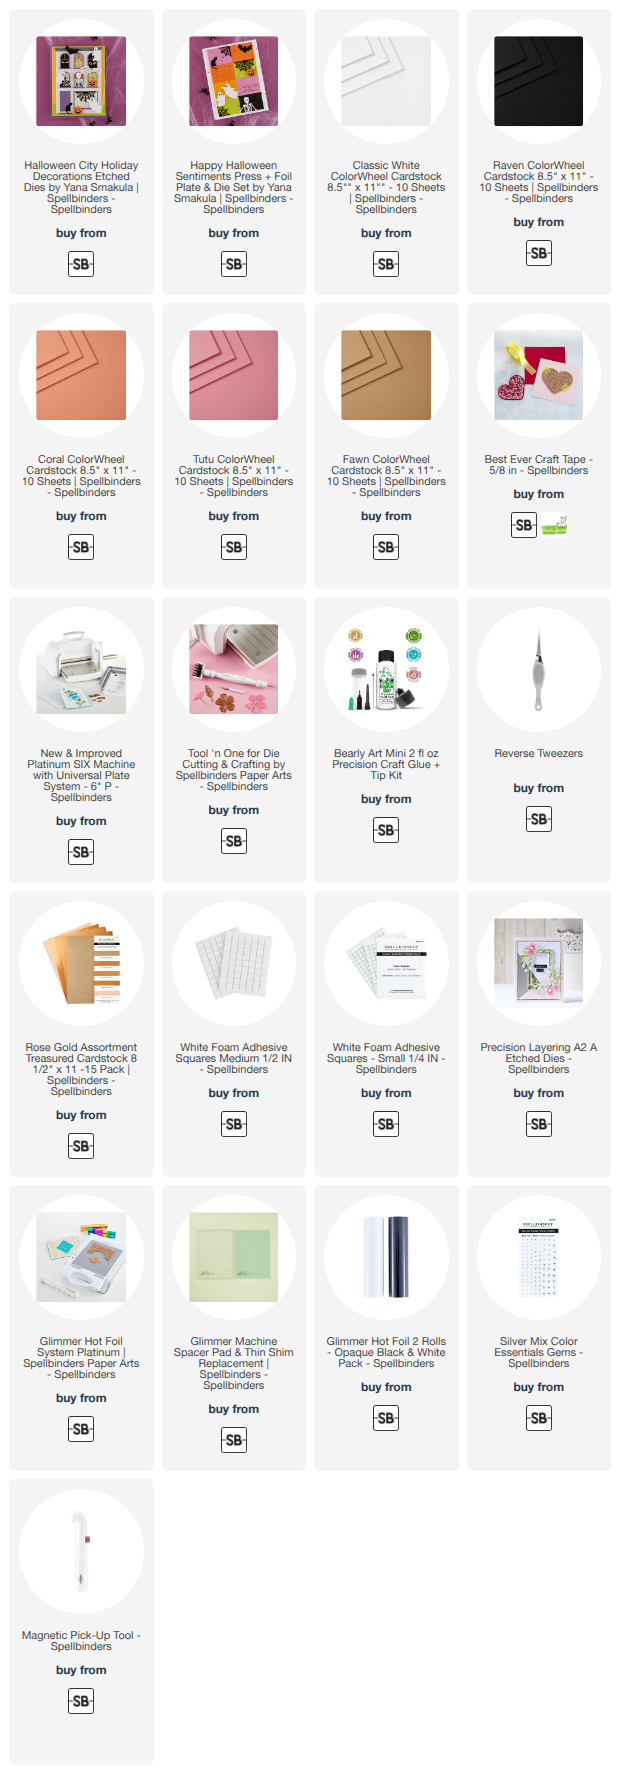
In this tutorial, I’ll show you how I used the Halloween City Holiday Decorations Die Set and the Happy Halloween Sentiments Press + Foil Plate + Die Set to create a playful Halloween card with layered ghosts, pumpkins, glittery spiderwebs and pops of pink and peach. This is just a sneak peek, so please check the original post with the easy to follow step-by-step tutorial on the Spellbinders blog here.
Pin this post to your Pinterest board and save this card idea for later.
BEFORE YOU GO...
Let’s stay crafty friends! You can find more cardmaking inspiration, behind-the-scenes peeks and photography tips for crafters on my Instagram and Facebook pages.
📸✨ I’m on a mission to help cardmakers and crafters feel more confident with photography, so their beautiful creations can shine online too.
I’ve listed all the supplies I used below, so you can easily find them. Some of the links are affiliate links, which means I may earn a small commission if you make a purchase, at no extra cost to you. Thank you so much for supporting my blog and creative work!
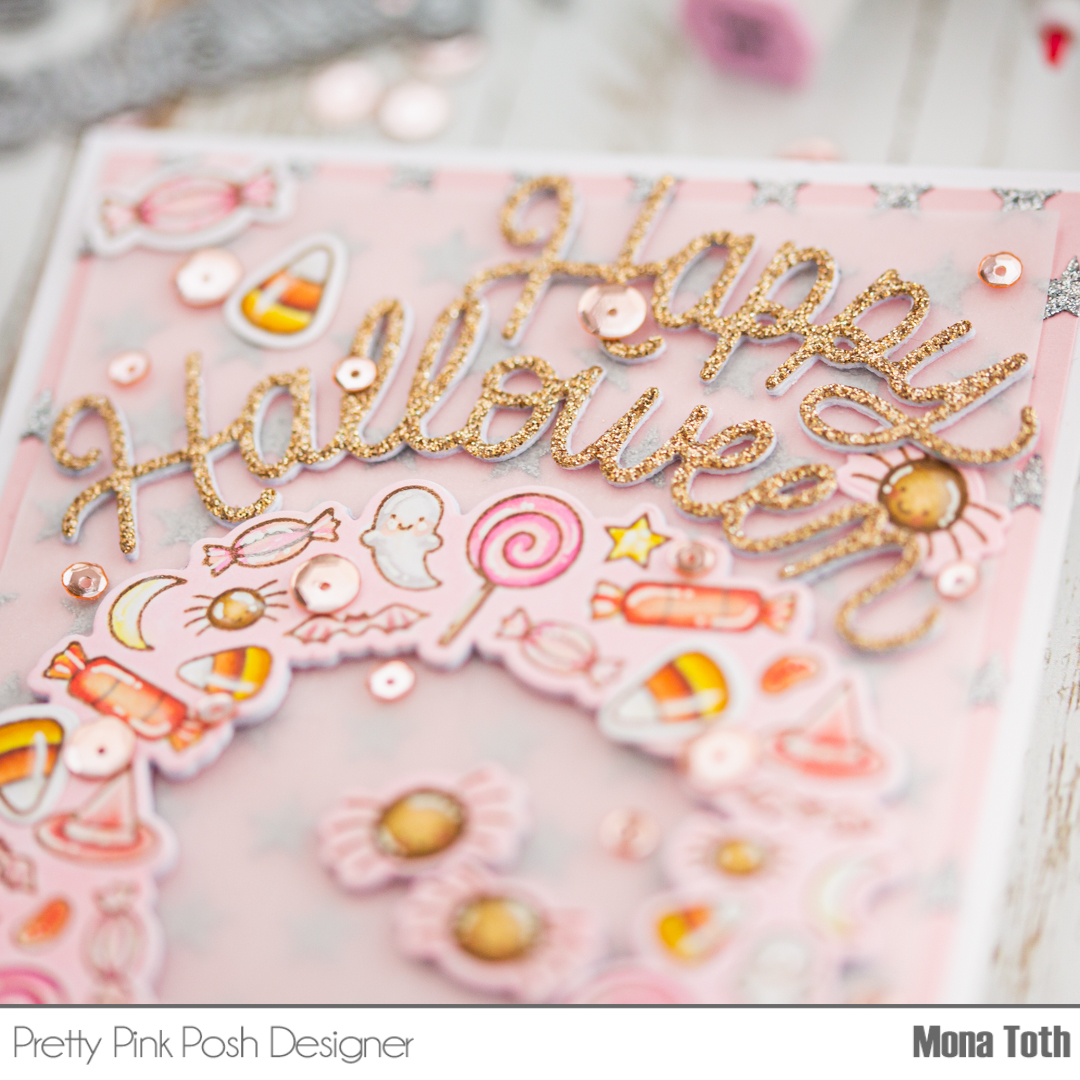
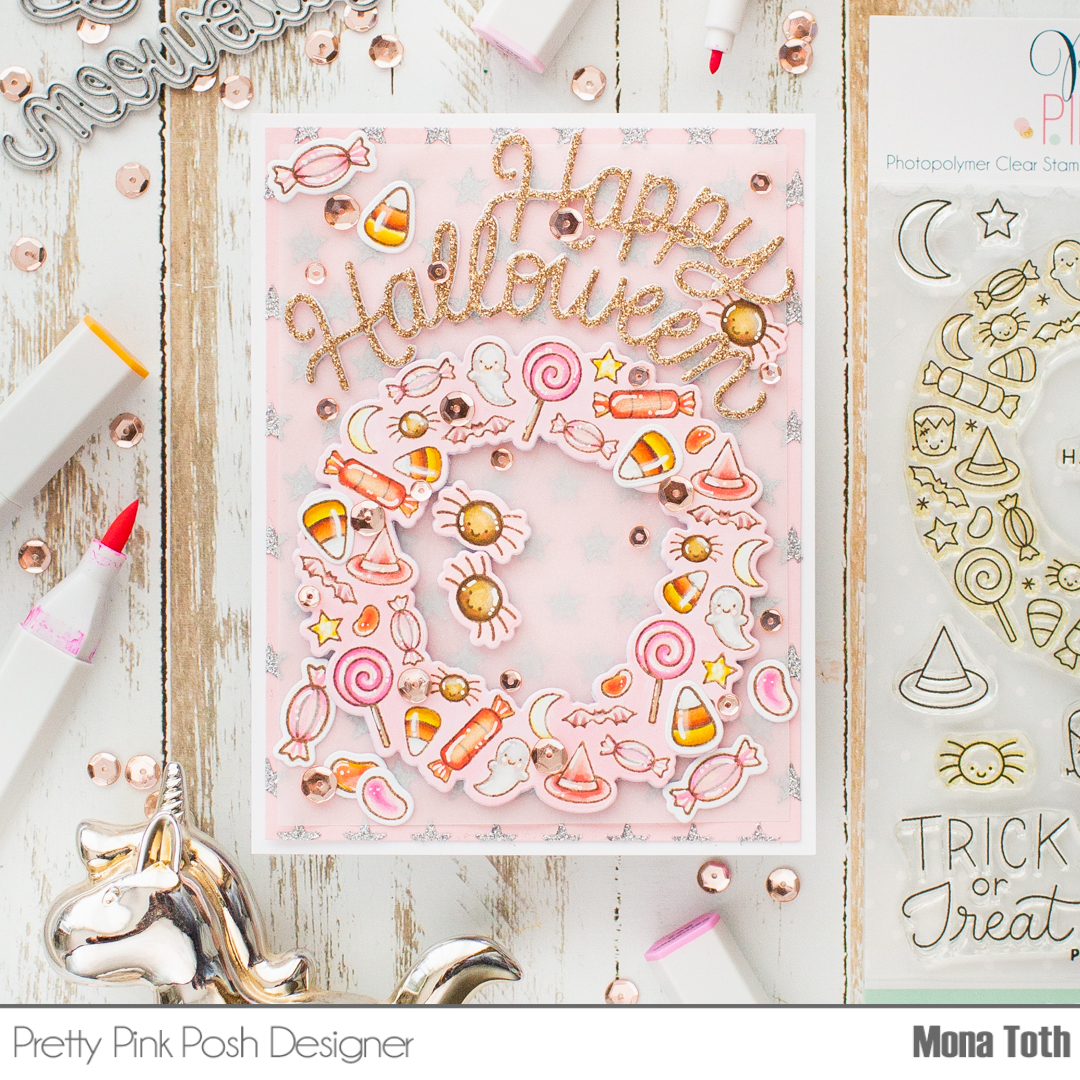
Hi crafty friend! I can’t wait to show you how I made this pinky-sparkly-girly Halloween card tutorial with an interactive twist so let's jump into it!
Better craft photos are easier than you think. Start with 5 simple tips you can try today. 🎁Get my free photo ebook here!
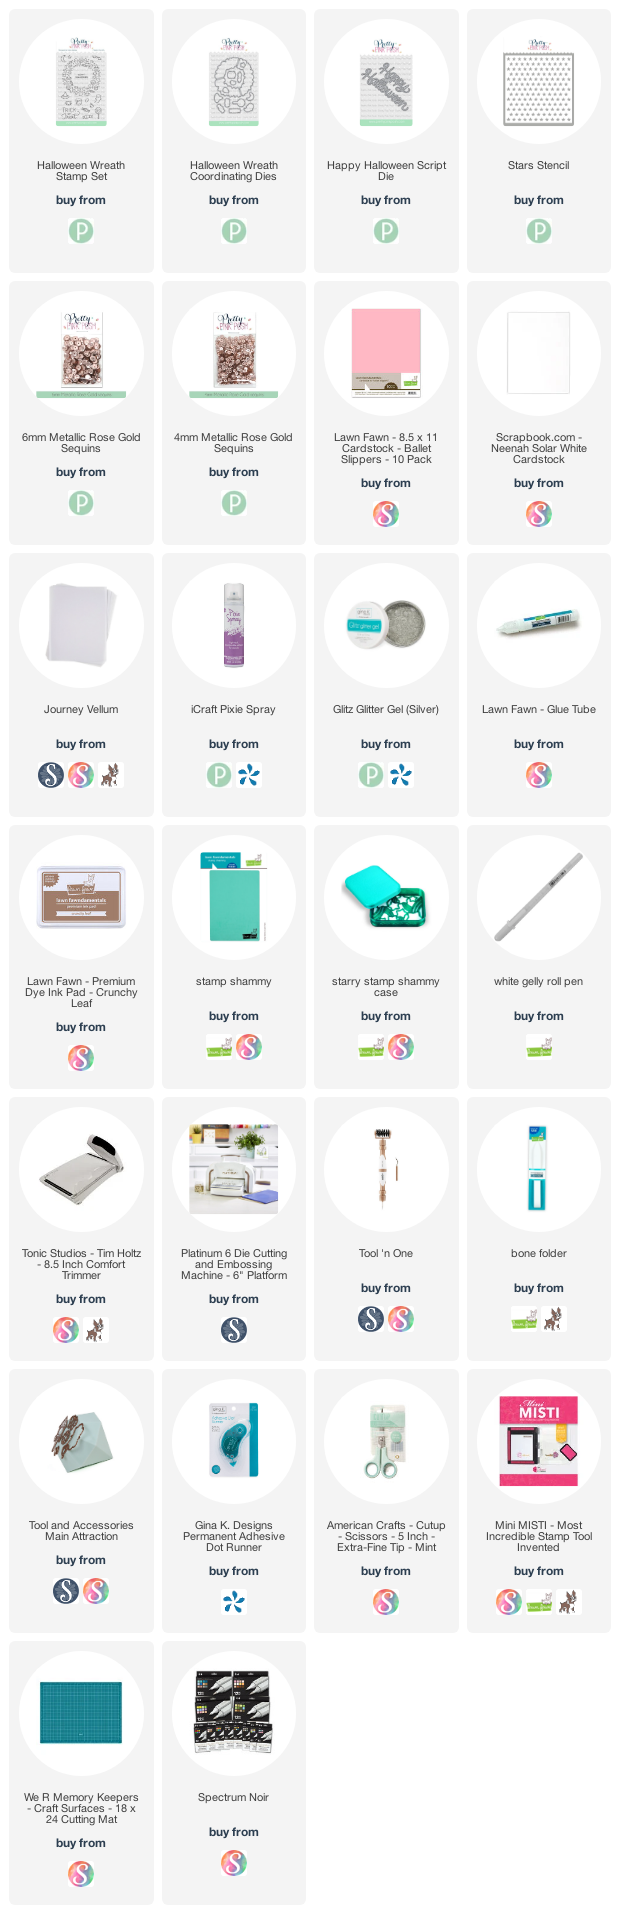
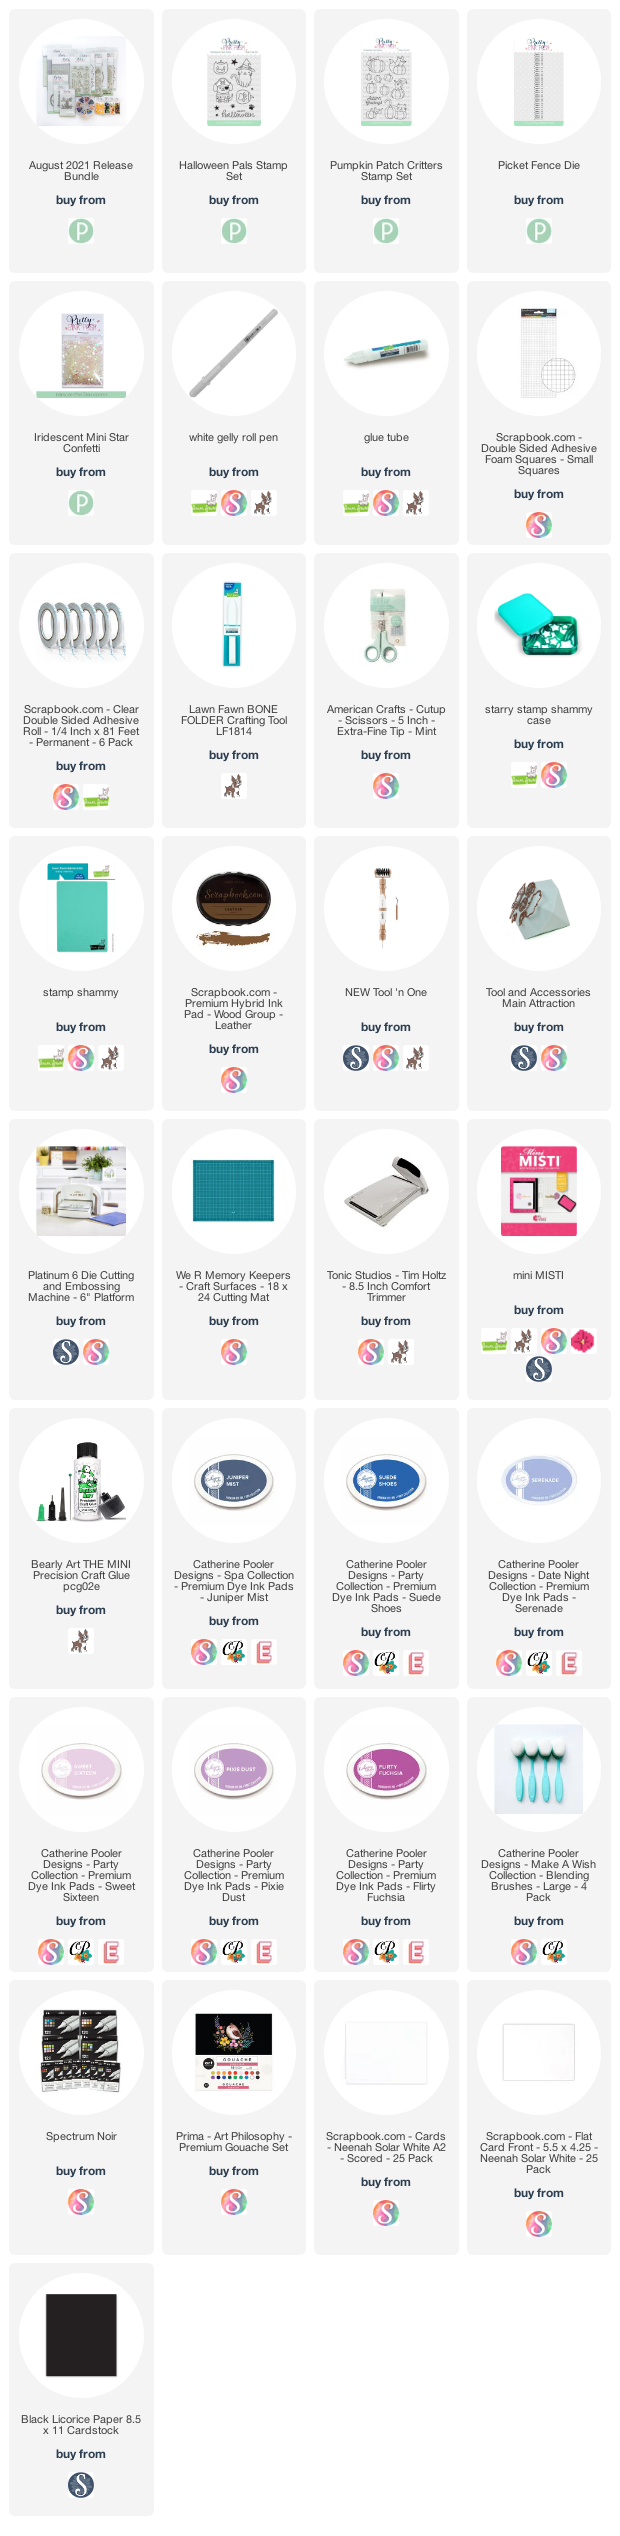
For the additional supplies visit the thumbnails below this post.
VIDEO TUTORIAL
From my newest video you can learn how to transform your word die-cuts easily to the wished shape as well as how to move your spiders like real inside your card! The video is super short! And I am sure, that you will LOVE it! :)
Pin this post to your Pinterest board and save this card idea for later.
CARD INSTRUCTIONS
I made the glittery background with the Stars stencils on a
pale pink cardstock with the Silver Glitz Glitter Gel. In the video I am showing you
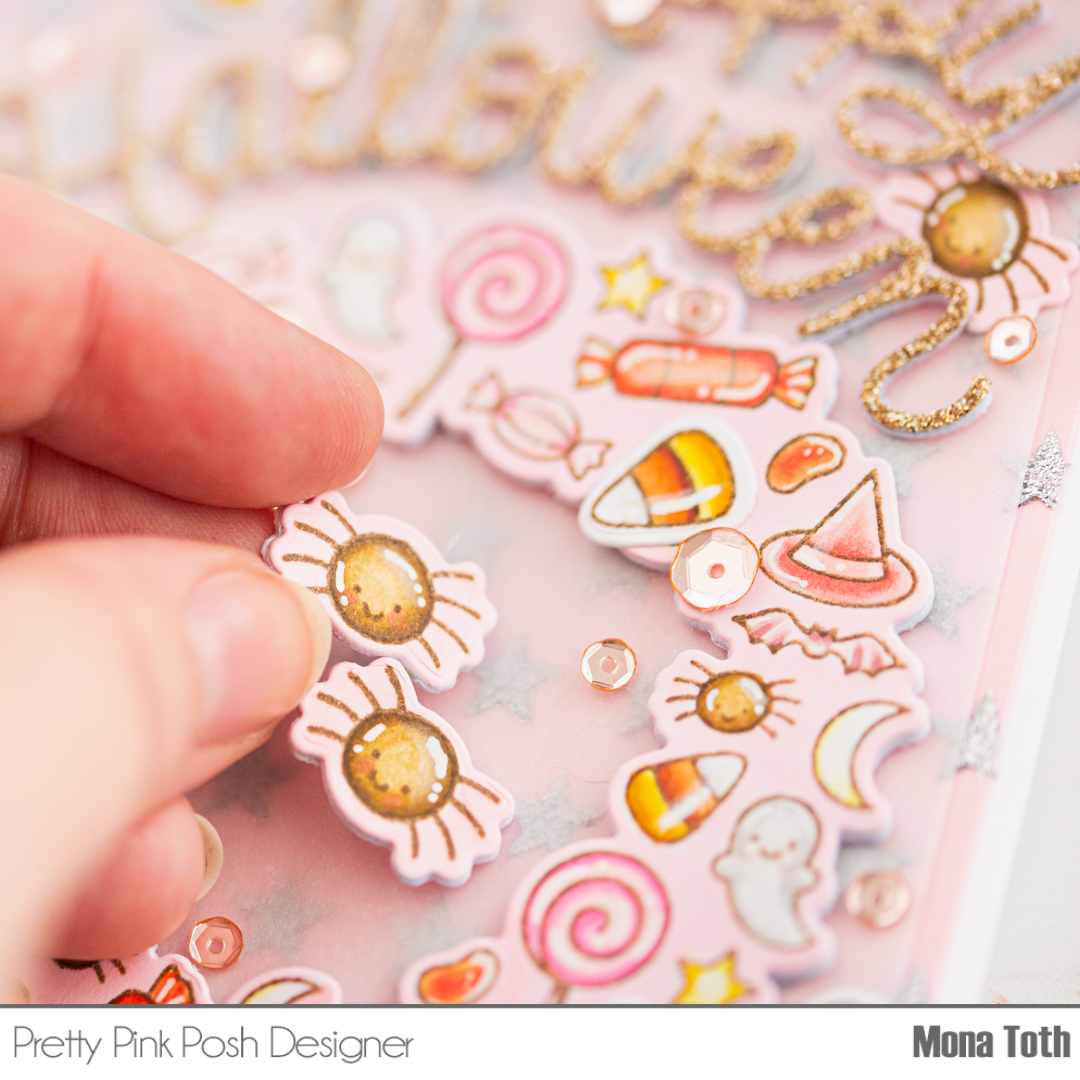
what is my favorite method for this process. While the background dries, I stamped the Halloween Wreath
Stamp and the other coordinating images from the same stamp set with brown
alcohol marker friendly inkpad to a piece of Neenah Solar White cardstock and
colored them with Spectrum Noir Illustrators.
I have used the following colors: CT1, CT2, CT4, GY3, BO1, BO2, BO3, BO4, OR2,
OR3, CR1, CR3, CR5, CR7, GB1 GB4, GB6, GB10, RB3, RB1, AP4, AP3, AP2, PP1, FS1,
MG1, MG2, BG1, BG2, Blender. After the coloring I die-cut all the images and I colored
the wheel with a pale pink alcohol marker.
Next, I continued with the die-cutting. I made more die-cuts
from heavy weight cardstock, because I wanted to add thickness to the wreath
and the spiders, in this case the interactive part will be more durable. Then I
transformed the Happy Halloween Die-cuts made with the Happy Halloween Script
Dies. This is a fun way to alter the scripted sentiments, in the video I am
describing how.
When it was done, I created the interactive element and
added the spider to the circle with fishing line, and created the card front. I
covered the glittery background with a piece of vellum, and styled the circle,
the sentiment and the other elements. In the end I styled my card and added some Metallic Rose
Gold Sequins to it as a decoration. Thank you so much for stopping by, see you
next time. Hugs, Mona.
BEFORE YOU GO...
Let’s stay crafty friends! You can find more cardmaking inspiration, behind-the-scenes peeks and photography tips for crafters on my Instagram and Facebook pages.
📷✨ I’m on a mission to help cardmakers and crafters feel more confident with photography, so their beautiful creations can shine online too.
I’ve listed all the supplies I used below, so you can easily find them. Some of the links are affiliate links, which means I may earn a small commission if you make a purchase, at no extra cost to you. Thank you so much for supporting my blog and creative work!
I just want to let you know that we are celebrating the Pretty Pink Posh August 2021 release with a fun two day Instagram Hop! The Instagram hopping starts here on my Instagram account, just search for this Halloween project, don't forget to comment and you are done! ;) Winners will be announced on the Pretty Pink Posh Instagram account.
Better craft photos are easier than you think. Start with 5 simple tips you can try today. 🎁Get my free photo ebook here!
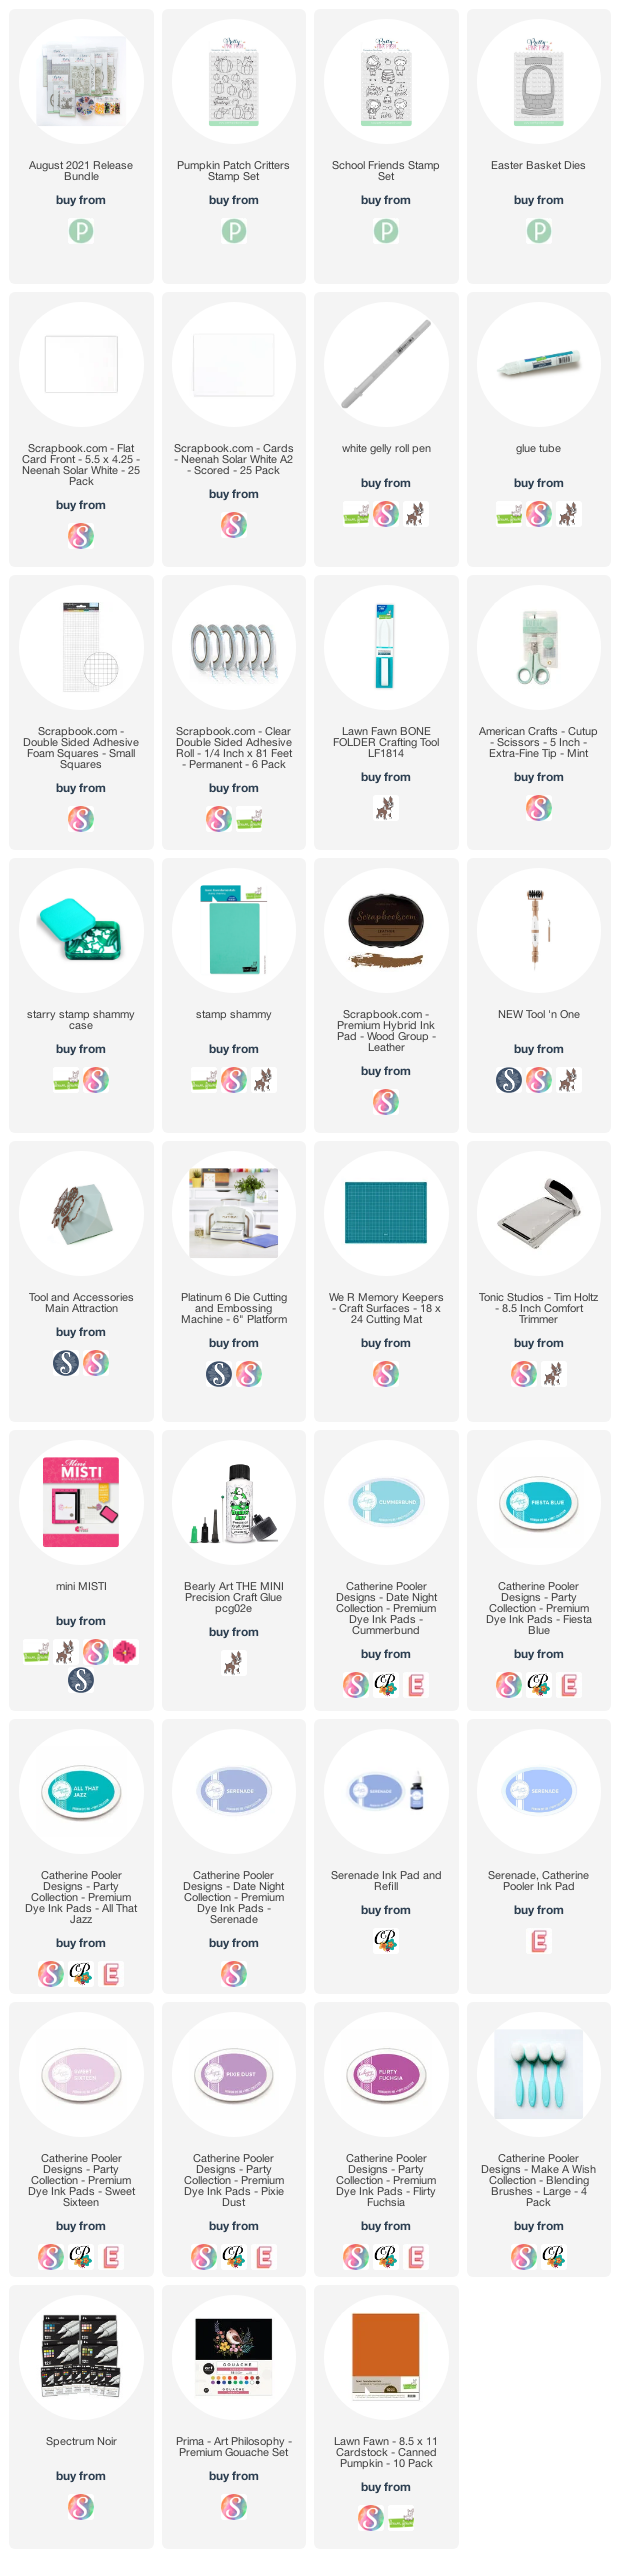
For the additional supplies visit the thumbnails below this post.
Pin this post to your Pinterest board and save this card idea for later.
CARD INSTRUCTIONS
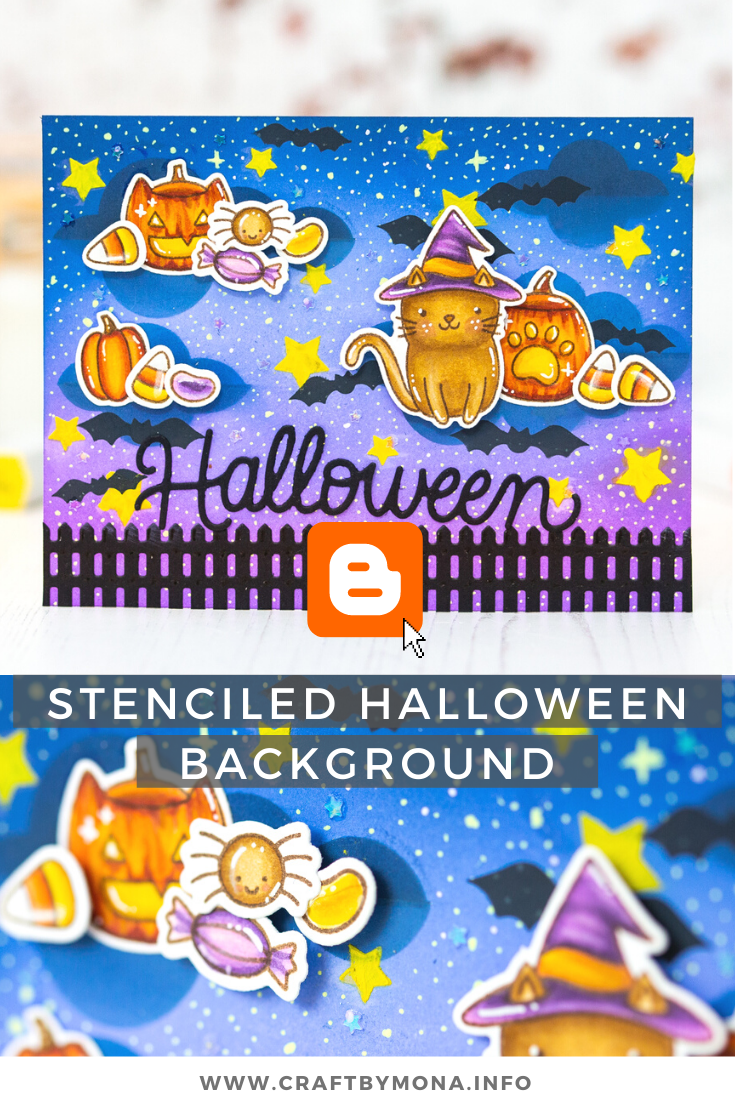
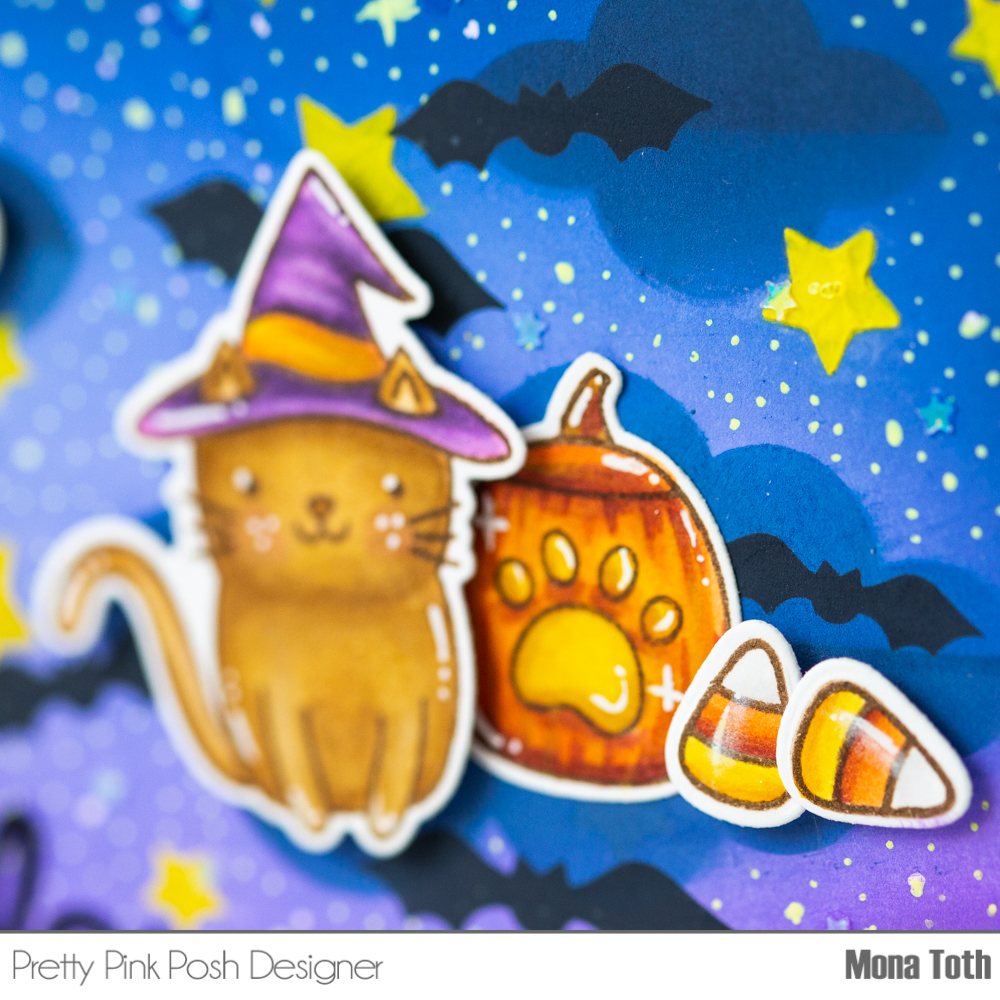
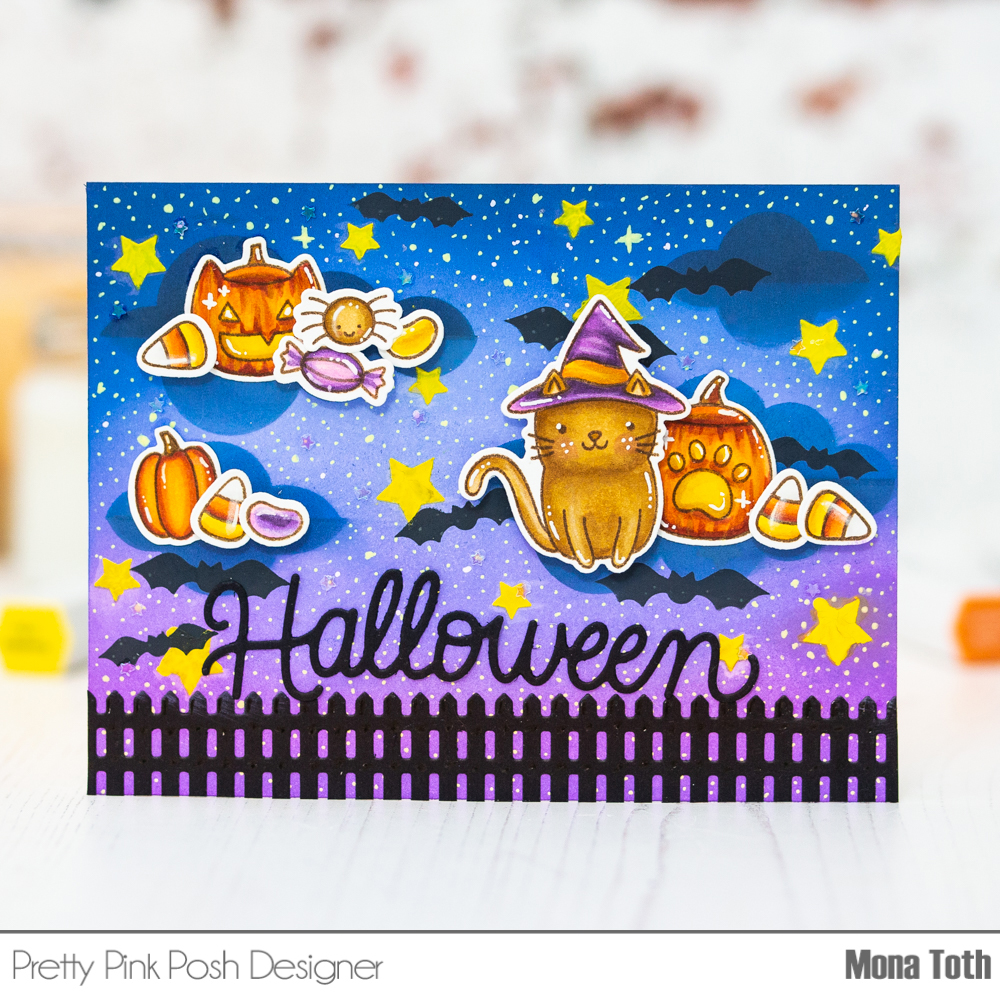
I created my background with the best Halloween stencil ever, called Spooky Sky stencils! For the base I have used colorful inkpads from Catherine Pooler (see the colors at the end of the post) then I blended dark blue through the 1st "cloud" part. For the yellow stars layer I have used yellow gouache with my fingers through the stencil and let it dry. After that I continued with the 3rd "bat" part with a black ink.
I wanted to create a spooky night coloring but with adorable images, so I stamped the images from the above mentioned stamps with brown inkpad and colored them with Spectrum Noir Illustrator markers with the following colors: FS1, PL1, PL2, PL3, PL4, PL5,
BO4, BO3, BO1, GY4, GY3, CT4, CT3, CT1, GB10, GB6, GB4, GB2, FS5, Blender.
When the coloring was done, I die-cut the beautiful Happy Halloween script sentiment from white and gold glitter with the new Happy Halloween Script die set as well as a deep orange die-cut with the Easter Basket Dies, and put them together with liquid and 3D adhesives.
For my Instagram click here or tap on the graphic above.
PROMOTION
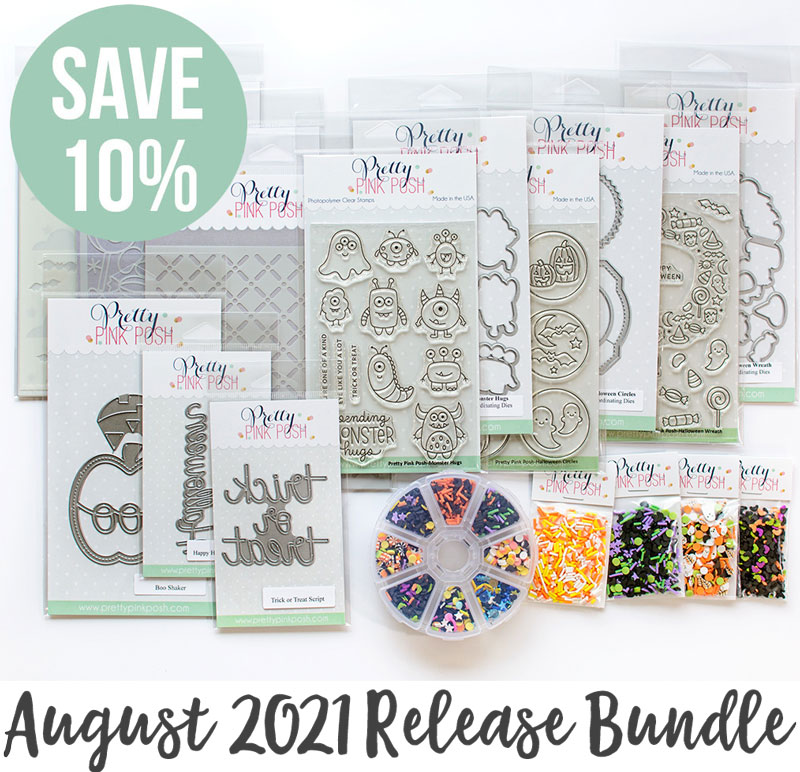
Pretty Pink Posh has a limited amount of bundles available where you can buy the whole collection in one easy click. Plus, you’ll get 10% off when you buy it altogether. Shop HERE or tap the image below!
BEFORE YOU GO...
Let’s stay crafty friends! You can find more cardmaking inspiration, behind-the-scenes peeks and photography tips for crafters on my Instagram and Facebook pages.
📷✨ I’m on a mission to help cardmakers and crafters feel more confident with photography, so their beautiful creations can shine online too.
I’ve listed all the supplies I used below, so you can easily find them. Some of the links are affiliate links, which means I may earn a small commission if you make a purchase, at no extra cost to you. Thank you so much for supporting my blog and creative work!
Hi crafty friends! Welcome to day 1 of the Pretty Pink Posh August Blog Hop! We are celebrating this spooky release full of Halloween beauties which are available just in time to get them for the spooky crafty times which comes really soon!
Better craft photos are easier than you think. Start with 5 simple tips you can try today. 🎁Get my free photo ebook here!
For the additional supplies visit the thumbnails below this post.
Pin this post to your Pinterest board and save this card idea for later.
CARD INSTRUCTIONS
I wanted to create a cute and lovely Halloween card, so I reached for happy colors. I stamped the images from the above mentioned stamps and colored them with Spectrum Noir Illustrator markers with the following colors: GT1, GT2, GT3, BT1, BT6, HB1, HB2, HB3, MG1, MG2, PP1, FS1, BO4, BO3, BO2, GY3, GT4, CT2, CT1, RB3, RB1, BG1, Blender. Classiques: GT05, BO05, HB05.
Next, I die-cut the beautiful Happy script sentiment from white and gold glitter with the new Happy Halloween Script die set as well as a deep orange die-cut with the Easter Basket Dies, and put them together with liquid and 3D adhesives.
In the end I created a quick inkblended background with Catherine Pooler Inkpads (See the used colors below the post), then I splattered on it with Black and White Gouache. Thank you so much for stopping by, take a look at this beautiful release. I wish you happy hopping! Hugs, Mona.
BLOG HOP
We are celebrating with Pretty Pink Posh their new release, below is a list of all of the designers participating in today’s blog hop! Check out all of the wonderful inspirations!
Pretty Pink Posh will be giving away 3 $25 gift certificates during the three-day blog hop (one winner each day)! Comments must be left by 11:59 PM PST on 8/16/2021. The winners will be announced on the Pretty Pink Posh Blog.
Pretty Pink Posh has a limited amount of bundles available where you can buy the whole collection in one easy click. Plus, you’ll get 10% off when you buy it altogether. Shop HERE or tap the image above!
BEFORE YOU GO...
Let’s stay crafty friends! You can find more cardmaking inspiration, behind-the-scenes peeks and photography tips for crafters on my Instagram and Facebook pages.
📷✨ I’m on a mission to help cardmakers and crafters feel more confident with photography, so their beautiful creations can shine online too.
I’ve listed all the supplies I used below, so you can easily find them. Some of the links are affiliate links, which means I may earn a small commission if you make a purchase, at no extra cost to you. Thank you so much for supporting my blog and creative work!
Hello BOOtiful crafty friends! Today I am joining the Till Death Do Us craft collab, where we are going to create month long Halloween cards. Be sure to search for the #tilldeathdouscraft hashtag on social sites to find more halloween inspiration. Hopefully you will like my extra bling Halloween post. :) I decided to show you a supersweet girly glittery spooky card.
I hope you will enjoy this post as I enjoyed creating it. As always you can find the used supplies below the post.
Next I stamped these BOOtiful ghosts from the Halloween Fun Stamp by Hello bluebird and colored them with my Spectrum Noir Illustrator Markers. I wanted to color them as "transparent" so when I made the shading, I colored on them the letters with lighter markers. This gives them a transparent look. I have used the following colors: CR3, FS3, TN1, BG6, BG4, BG2, Blender. And I really like how it turned out.
Next I run a piece of vellum through my die cut machine with the Small Dotted Rectangle Stackables by Lawn Fawn (it's on sale now). I have used the largest die and put my card together.
In the end I just added rose gold sequins in different sizes and to the bottom I put the "hello Beautiful" sentiment from Rose Gold Sticker Book by Scrapbook.com which is really beautiful and on sale now. Thank you so much for stopping by, if you have any questions let me know in your comment. I have a BOOtiful day! :)
SUPPLIES
This post contains affiliate links. It means I get a small commission at no additional cost to you when products are purchased through my links. Thank you for your help in running this blog. (You can find the affiliate disclosure here). I really appreciate your support!
Check out my step by step instructions with photos below for this project. You can also find the used supplies below the post. I created a quick Halloween card with the Fall Sampler sentiment stamp , follow the step by step instructions here:
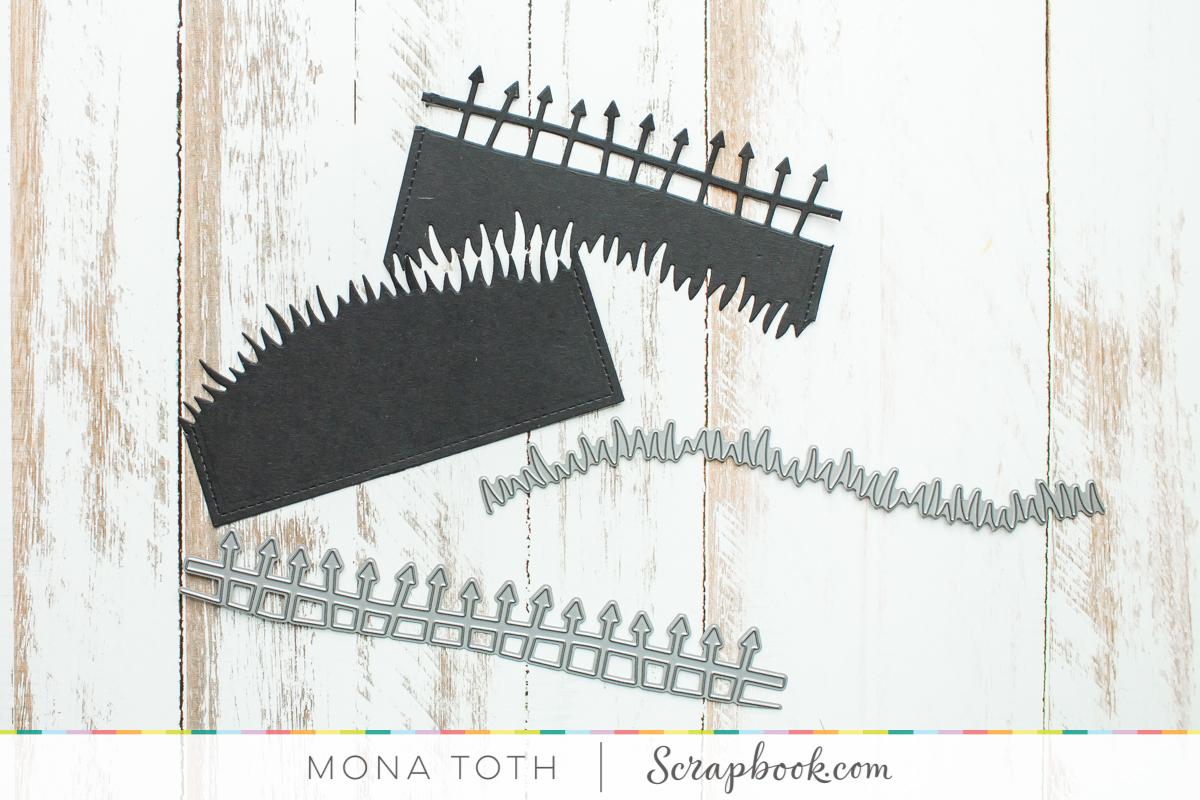
First I created Frame Die-cuts, grassy and fence borders with Lawn Fawn Die-cuts and heavy weight black cardstock.
When it was done I created the night background with Distress Mini Ink ink pads then I applied on it the new Dashed Stencil and blended through with the White Pigment Ink again.
Next I stamped and heat embossed the sentiment from the Fall Sampler sentiment stamp and adhered it to the card base.
In the end I added to my finished card base cute 3 dimensional Doodle Pops, which are perfect when you want to create a quick card.
Thank you very much for reading through my post, I hope that you have enjoyed it and I have inspired you! If you like my creations let's be friends on Instagram. :)
SUPPLIES
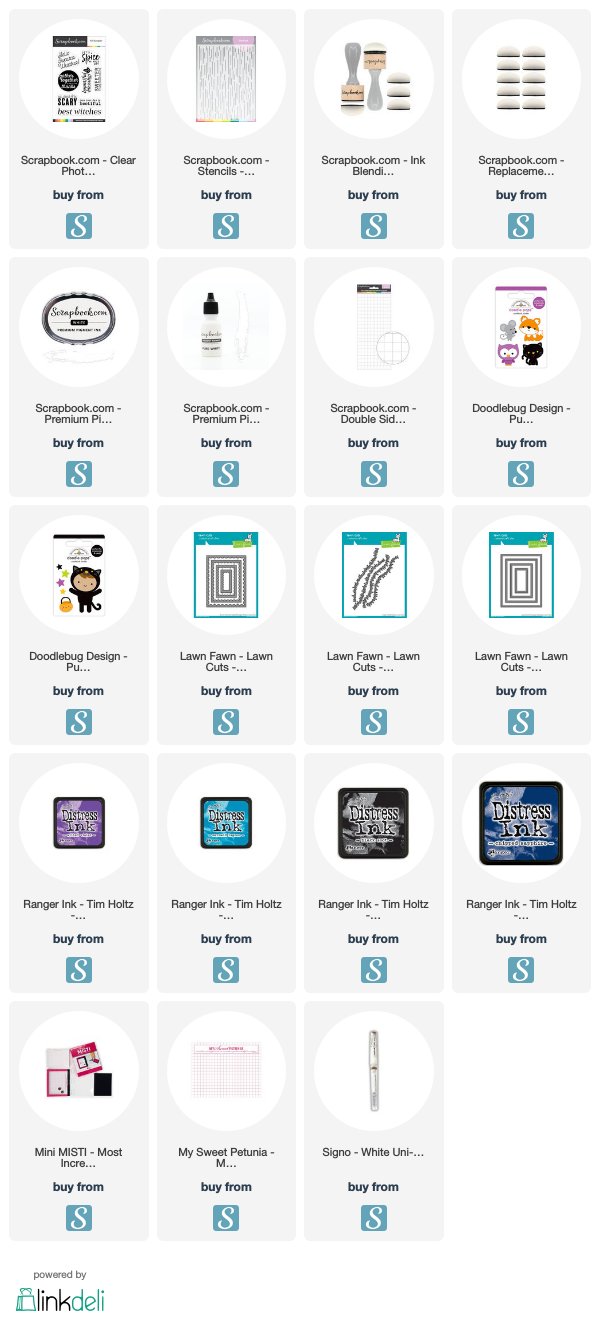
I prepared for you the list of products which I used for making this project. If you buy these through my links you help me running this blog. (You can find the affiliate disclosure here). Thank you for your support!


 Better craft photos are easier than you think. Start with 5 simple tips you can try today.