
If you enjoy die-cutting and find it relaxing like me, then you will love this simple, but effective idea what I created with the newest Sweet Stories release by Studio Light. These little tricks add to your die-cuts more life and depth as well.
Disclaimer: This post contains affiliate links and I may earn a commission if you click them and make a purchase (at no additional cost to you).
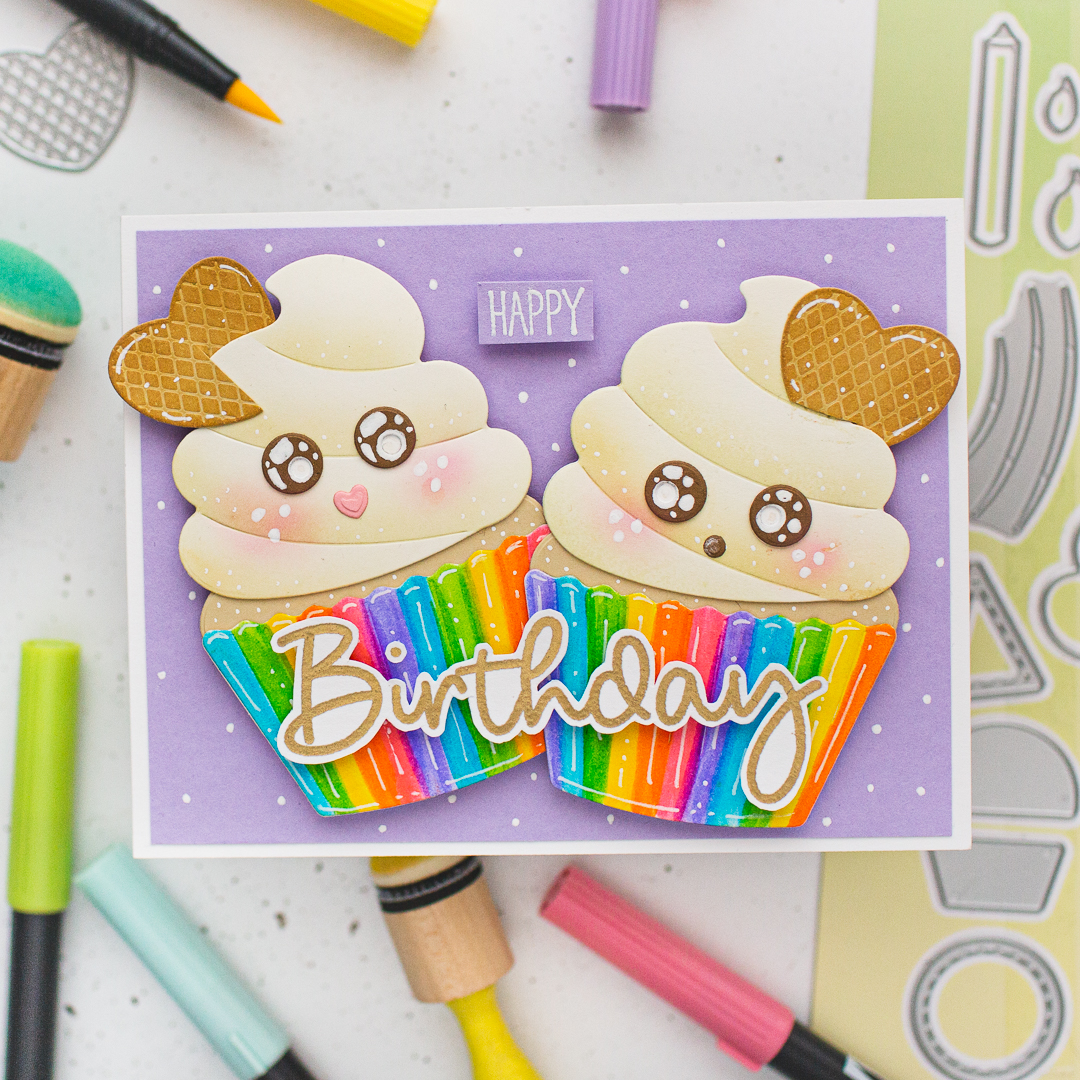
THIS CARD FEATURES
- Cupcake Sweet Stories Dies
- Quotes Large Make A Wish Sweet Stories Clear Stamps
- Quotes Small Some Bunny Sweet Stories Clear Stamps
- Studio Light Inkpads Brown Shades
- Studio Light Inkpads Red Shades
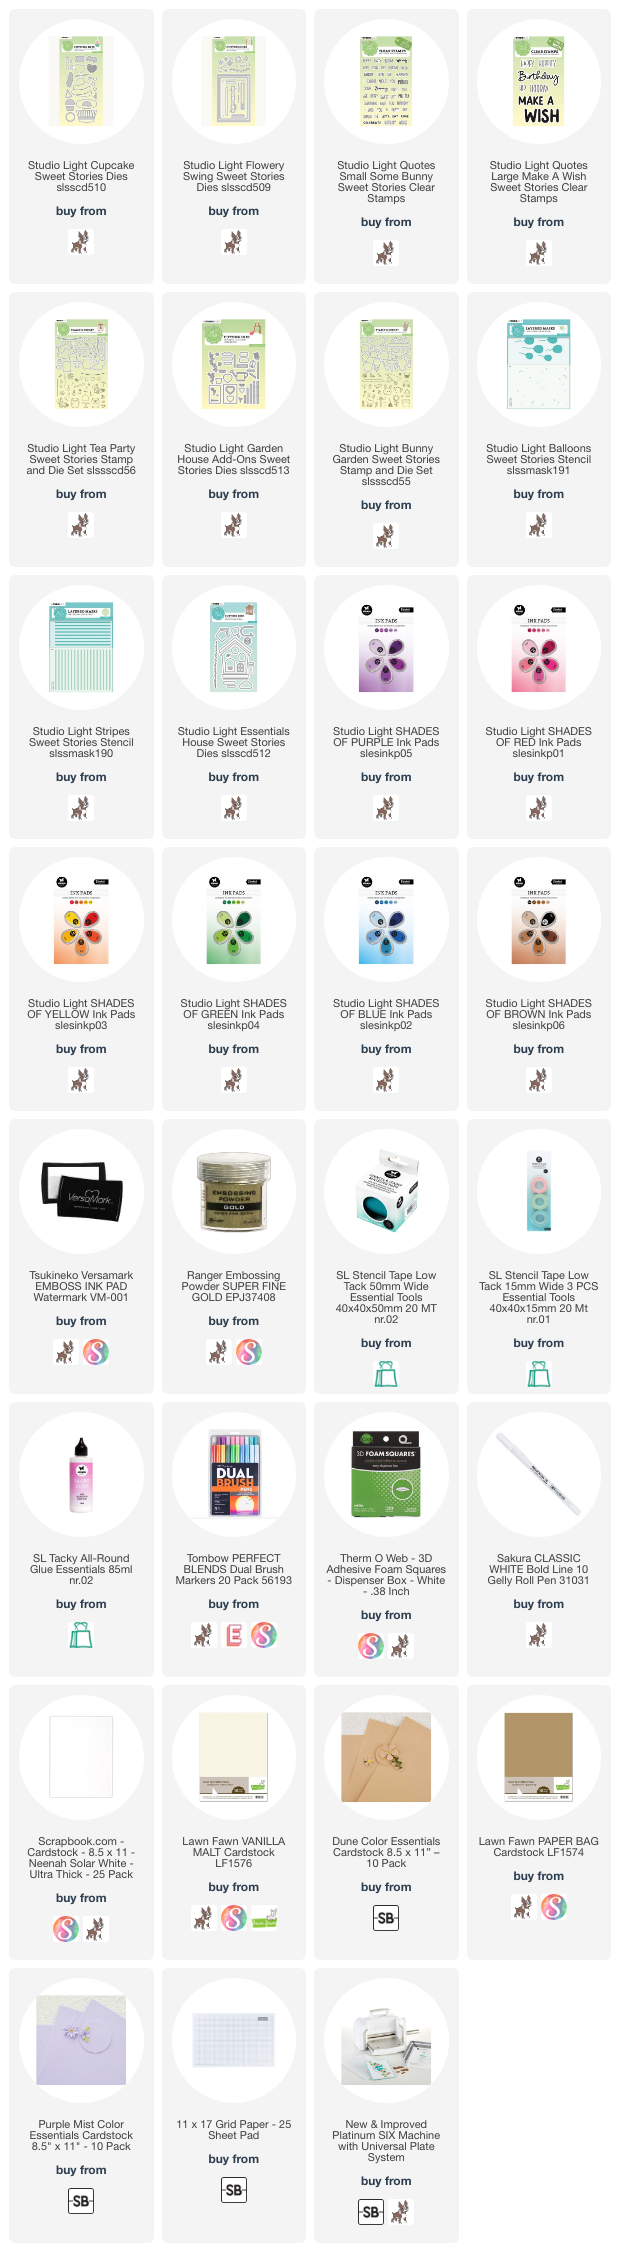
For the additional supplies with shop links, visit the thumbnails below this post.
If you got inspired please help me to spread the word by pinning this photo to your Pinterest. 💖
INK BLENDING TRICK
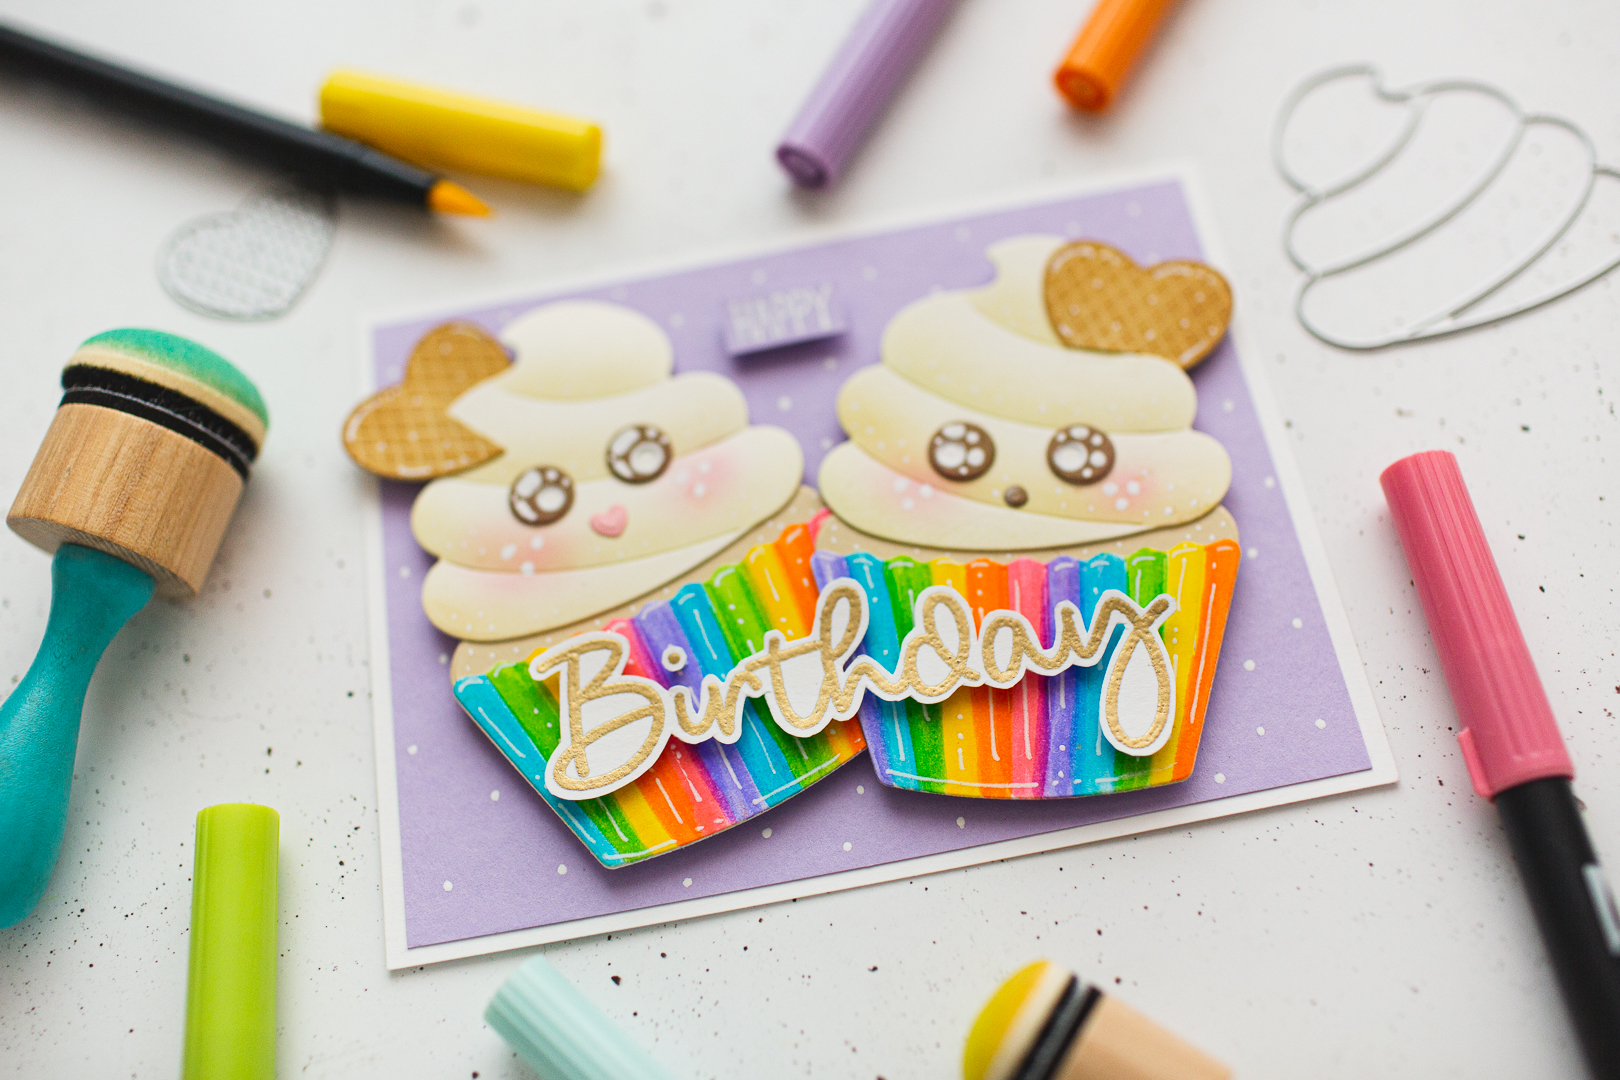
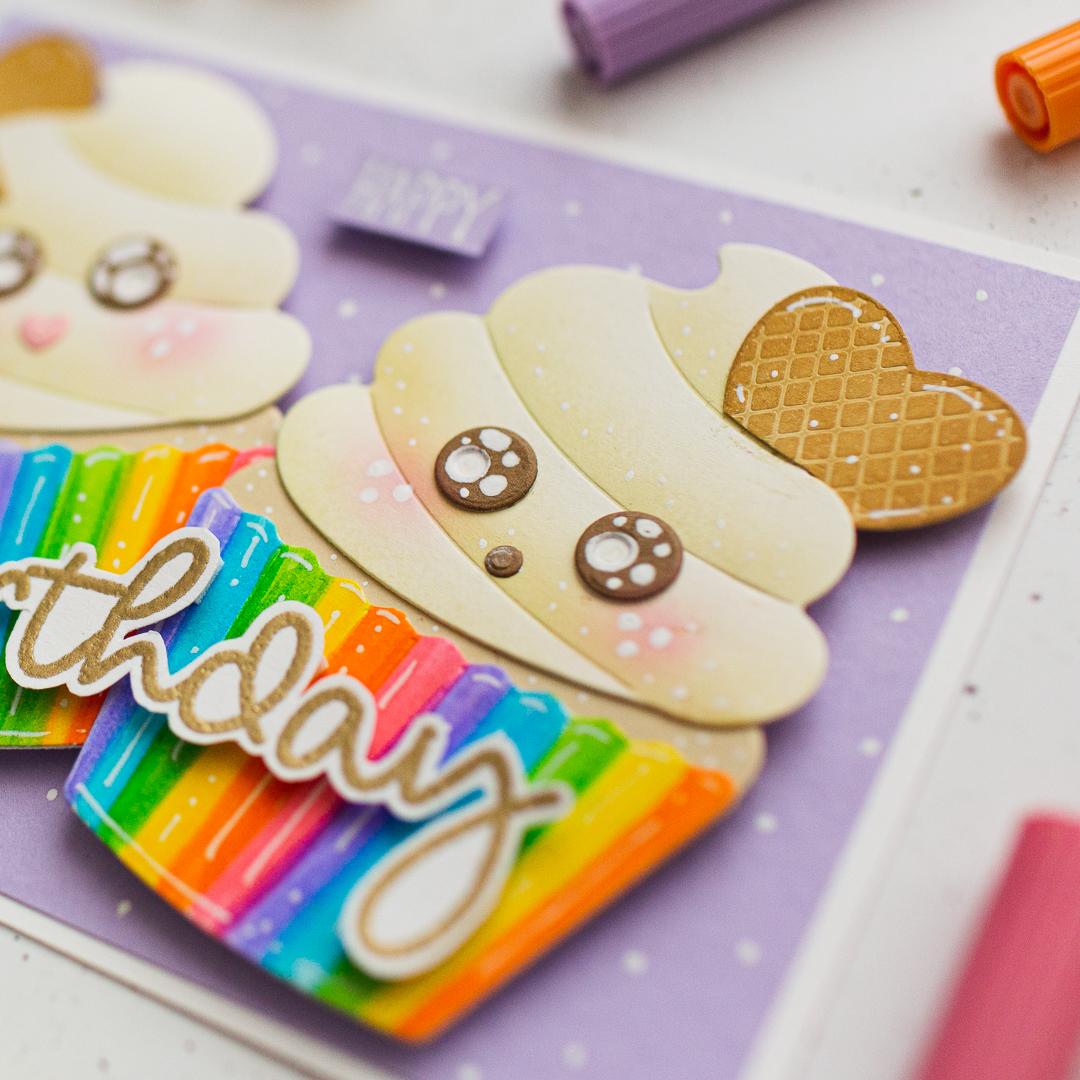
I created a whip die-cut with the Cupcake Dies from Vanilla Malt cardstock and I die-cut another one but this time before die-cutting I adhered a masking tape on the top of the die-cut and run it through my die-cut machine. I peeled back the tape and used it as a mask on each level of the whip to create this 3D effect with ink blending. I have used brown ink for the edges of the whip as a shadow and the pink ink set for the blush. I repeat the same process once more for the other one as well.

I also blended the adorable waffle heart die-cut with blending tool and brown ink, to bring it to life a bit. If you want to see the ridges from the die-cutting in the original cardstock color, use a regular blending tool instead of a blending brush. It makes a huge difference! :)
COLORING
When I saw the cup of the cupcake die from the Cupcake Sweet Stories Die Set I knew that I want to create a rainbow cup! So I grabbed my Tombow Markers and colored the lines in rainbow order. Very simple but so cute!
ADDING HIGHLIGHTS
The final touches always take your art to the next level. This is why I love to add those shiny details to my creations. They pop out the image more, and look at those eyes, the card is very sweet because of that! :) So a great white pen can make magic with your creations as well.
SENTIMENT
I stamped the "Birthday" word from the Make A Wish Sweet Stories Clear Stamps to a piece of Neenah Solar White cardstock with my Misti and watermark ink, then I heat embossed it with Gold Embossing Powder. Then I repeated the same process with the "happy" word from the Some Bunny Sweet Stories Clear Stamps. Stamped on to a piece of purple cardstock called Purple Mist, then I heat embossed with white embossing powder.

WRAP UP
Finally I have adhered the die-cuts to their right place with Foam Squares, to give them 3D dimension, and I repeat the same with the sentiments as well.
VIDEO TUTORIAL
If you enjoy video tutorials more then watch this short reels about this project.
USED SUPPLIES
Using affiliate links does not mean additional costs for you. I really appreciate your support. I am using only products I LOVE. If you buy supplies through my affiliate links, you support my channel and blog with a small commission and when you shop through my links I will do a happy dance. Affiliate Disclaimer.


No comments
Type your comment below: