[Video] Creating Slimline Christmas Cards | World Cardmaking Day

Hello hello! I am wishing you a happy pre World Cardmaking Day! Yes the WCMD this year is on 3rd of October, but we are already started to celebrate with sales at Scrapbook.com! There is one more thing I wanted to talk about to you: I am super excited to announce that I joined their Creative Team! YAAAY! Today I am up on their YouTube channel with my guest video with a Slimline Christmas Card tutorial.


When I talked about the pre World Cardmaking Day I am sure you already knew that the WCMD sales are heeere! YAAAY! Lots of brands are on sale and the exclusive products are on a big sale as well (Oh and I heard that there will be freebies, too!) 


I hope you will enjoy my video over there, you know, starting to make Christmas cards is never too early! Don't be like me, I am always running out of time to create them! 😅 Check out the video for the cardmaking process here. You can find all the used supplies, used to create these cards, below the post or in the video description box. 


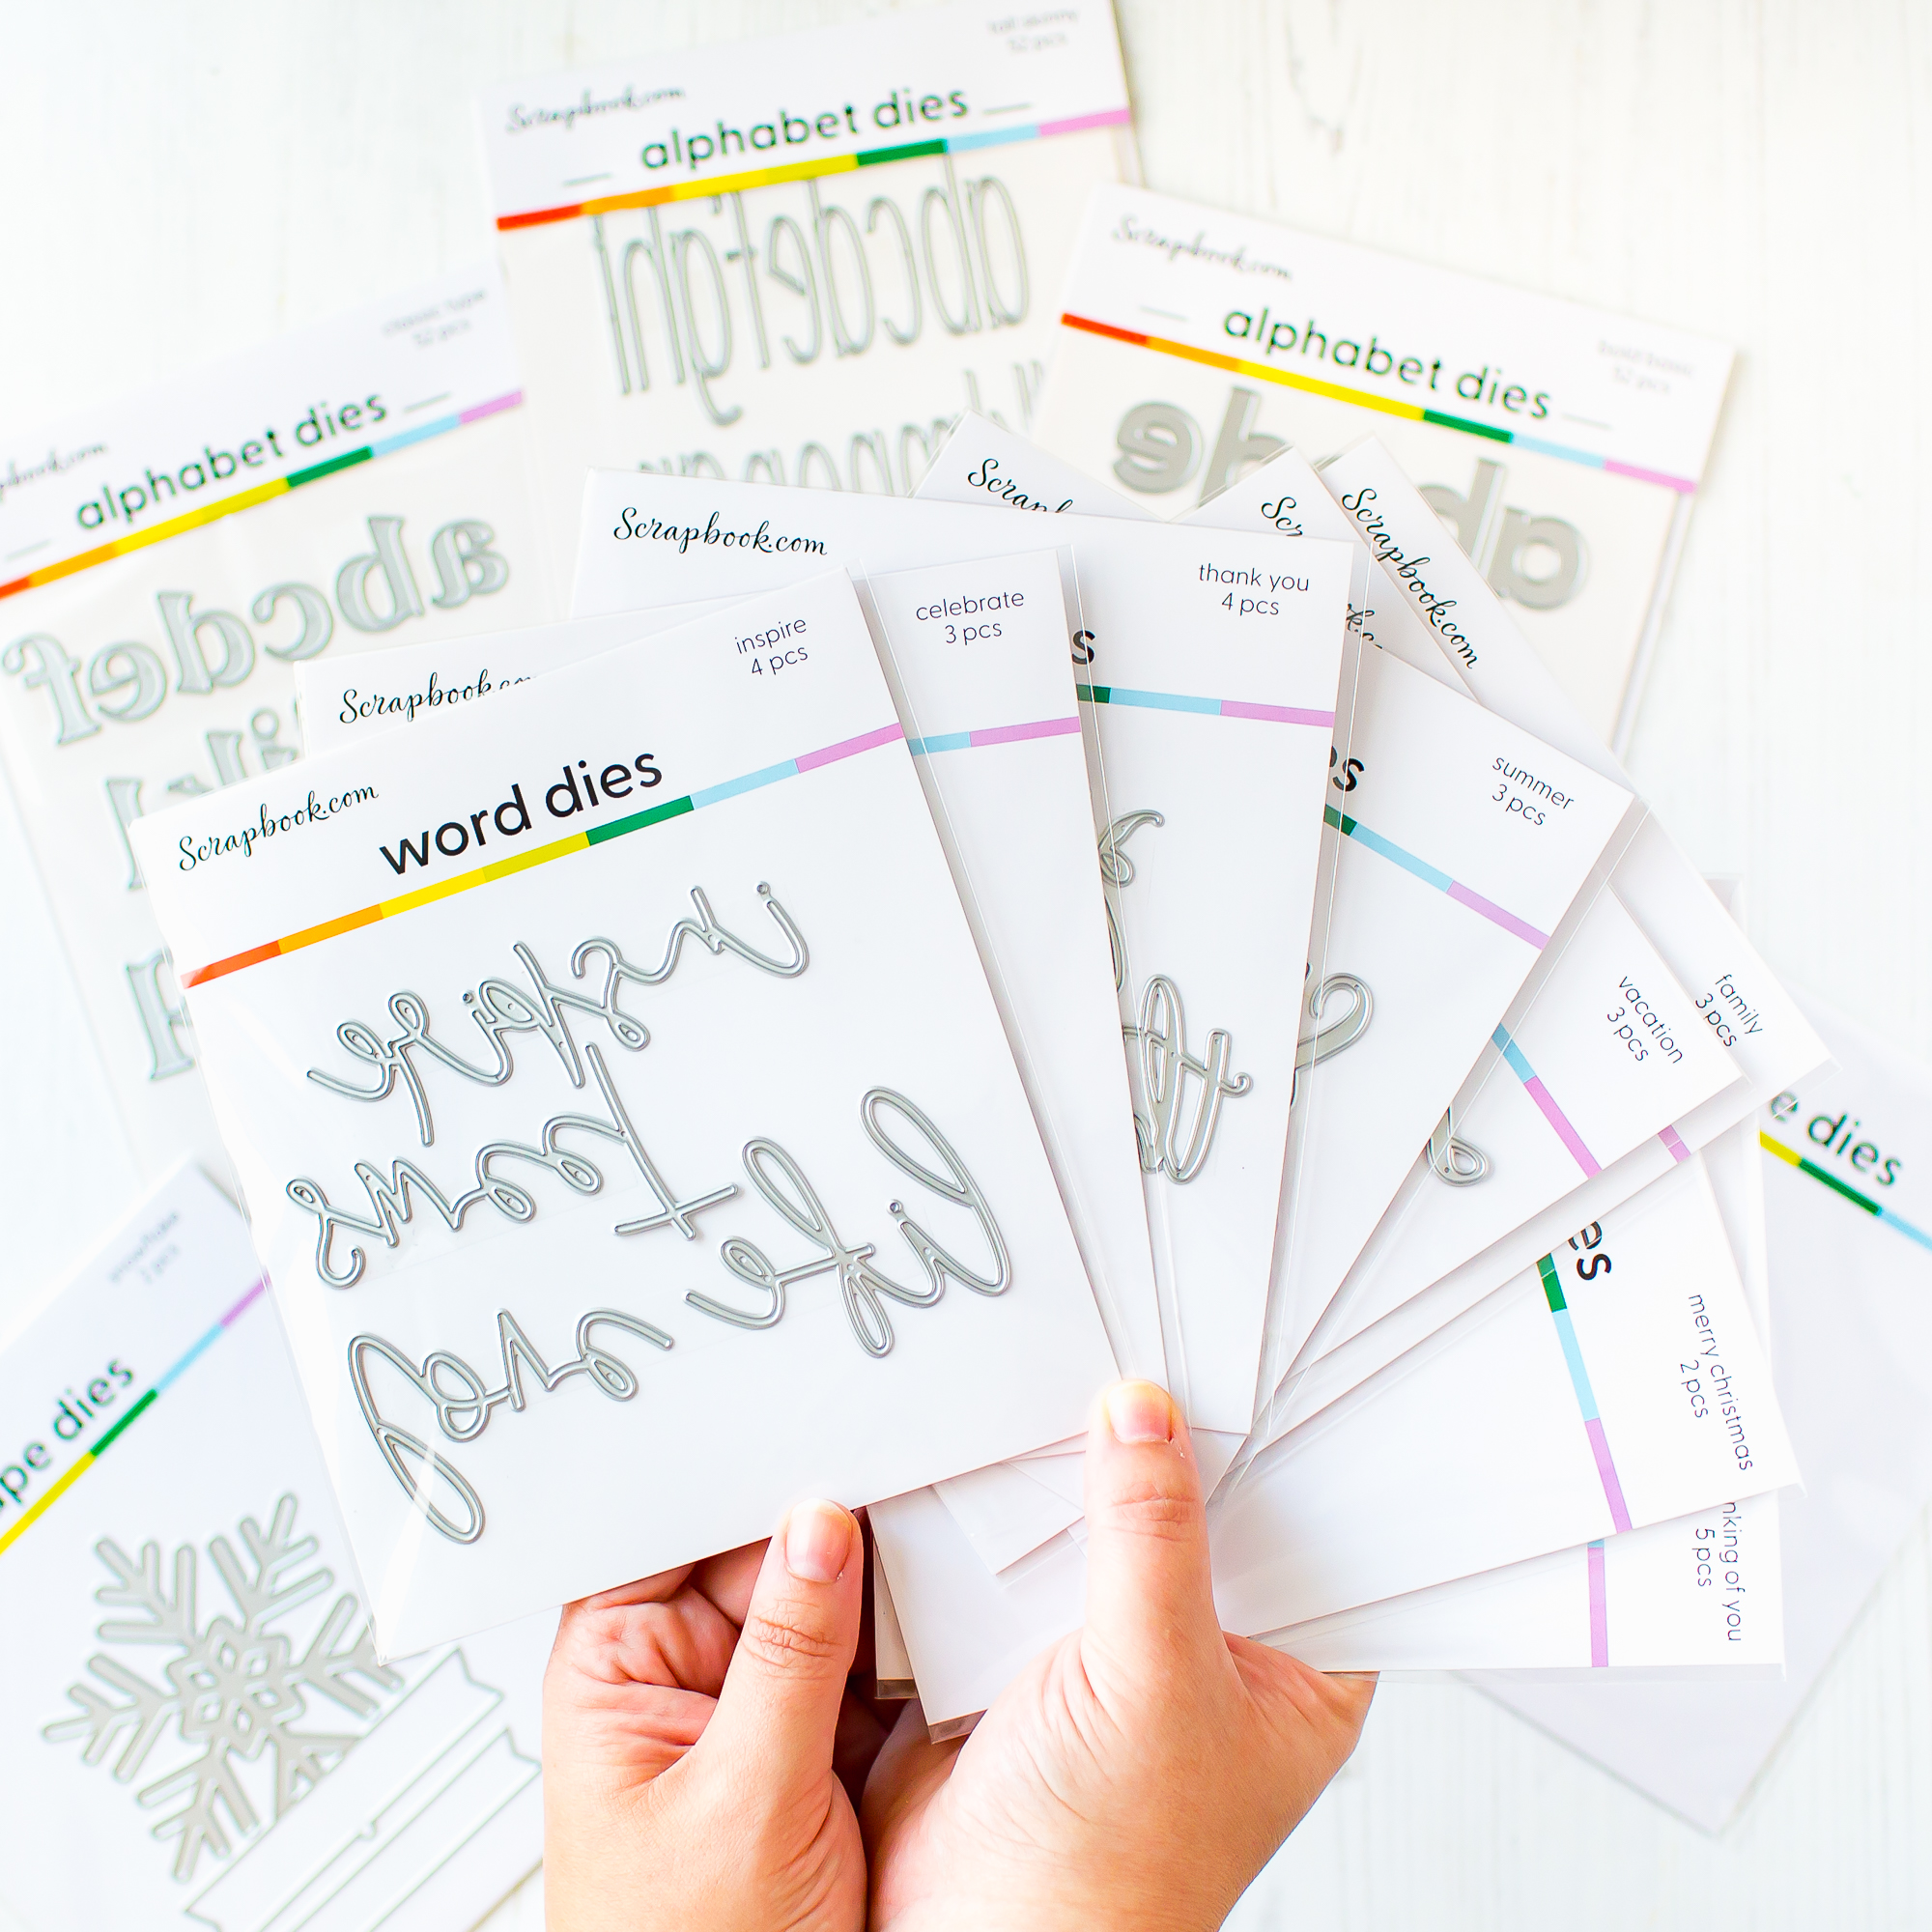
Back to the sales! One of my favorites from the sale are these magical Bold Alphabet Dies, which are now on sale! from $75.00 to $29.99 ($45.01 Off). And for that price you will find in the package the Upper and Lower case as well! Nice find right? 
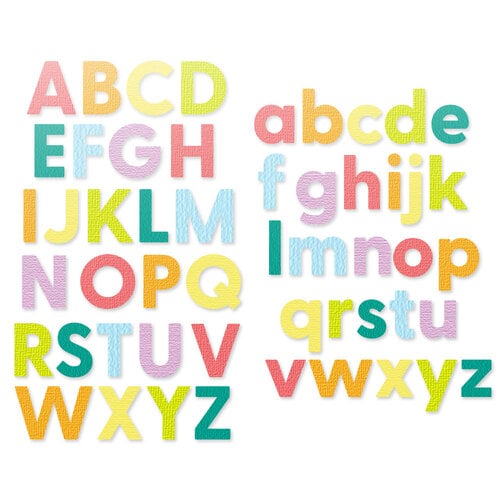

I have used the mentioned Bold Alpha Dies on my my card which I am using in my Video for today. 


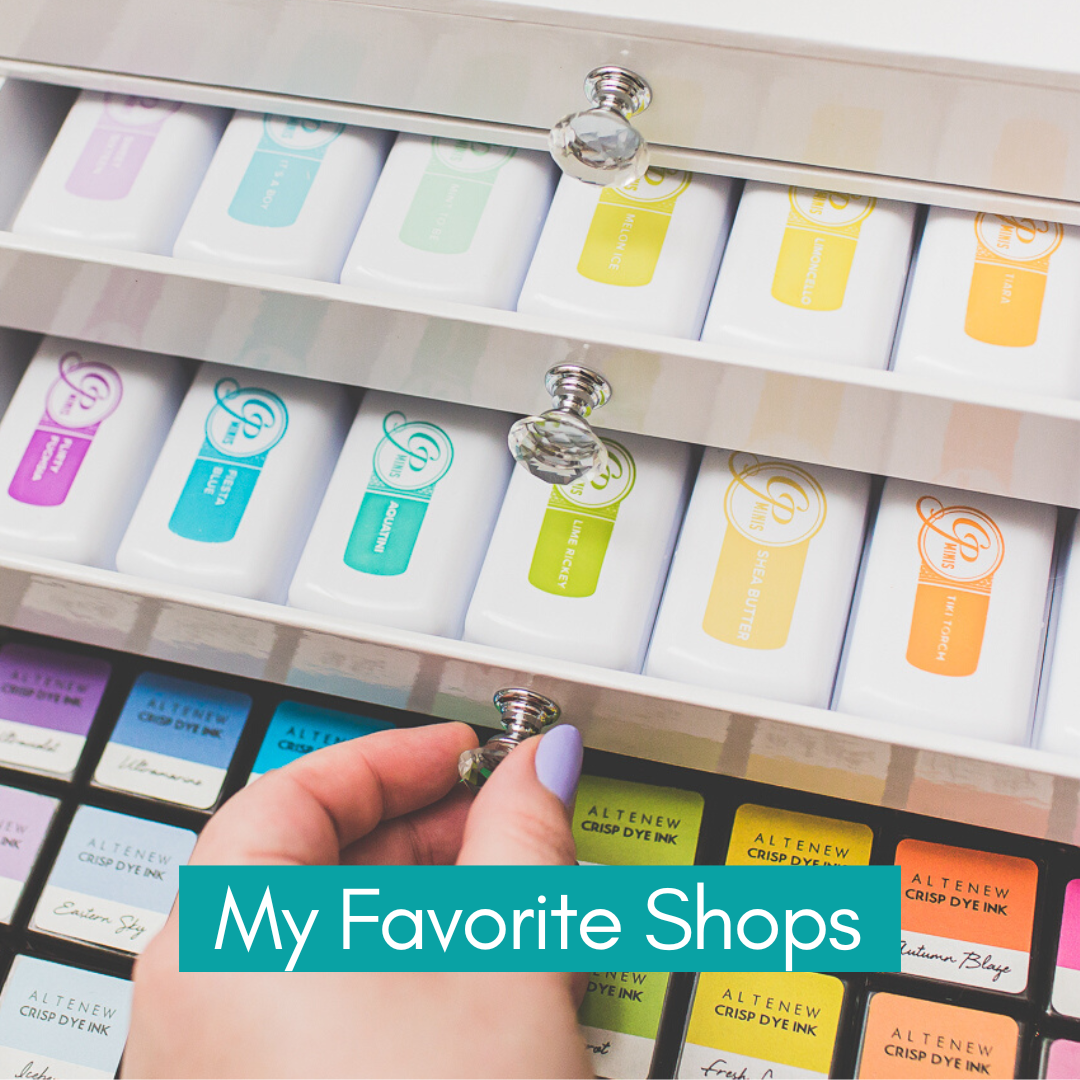
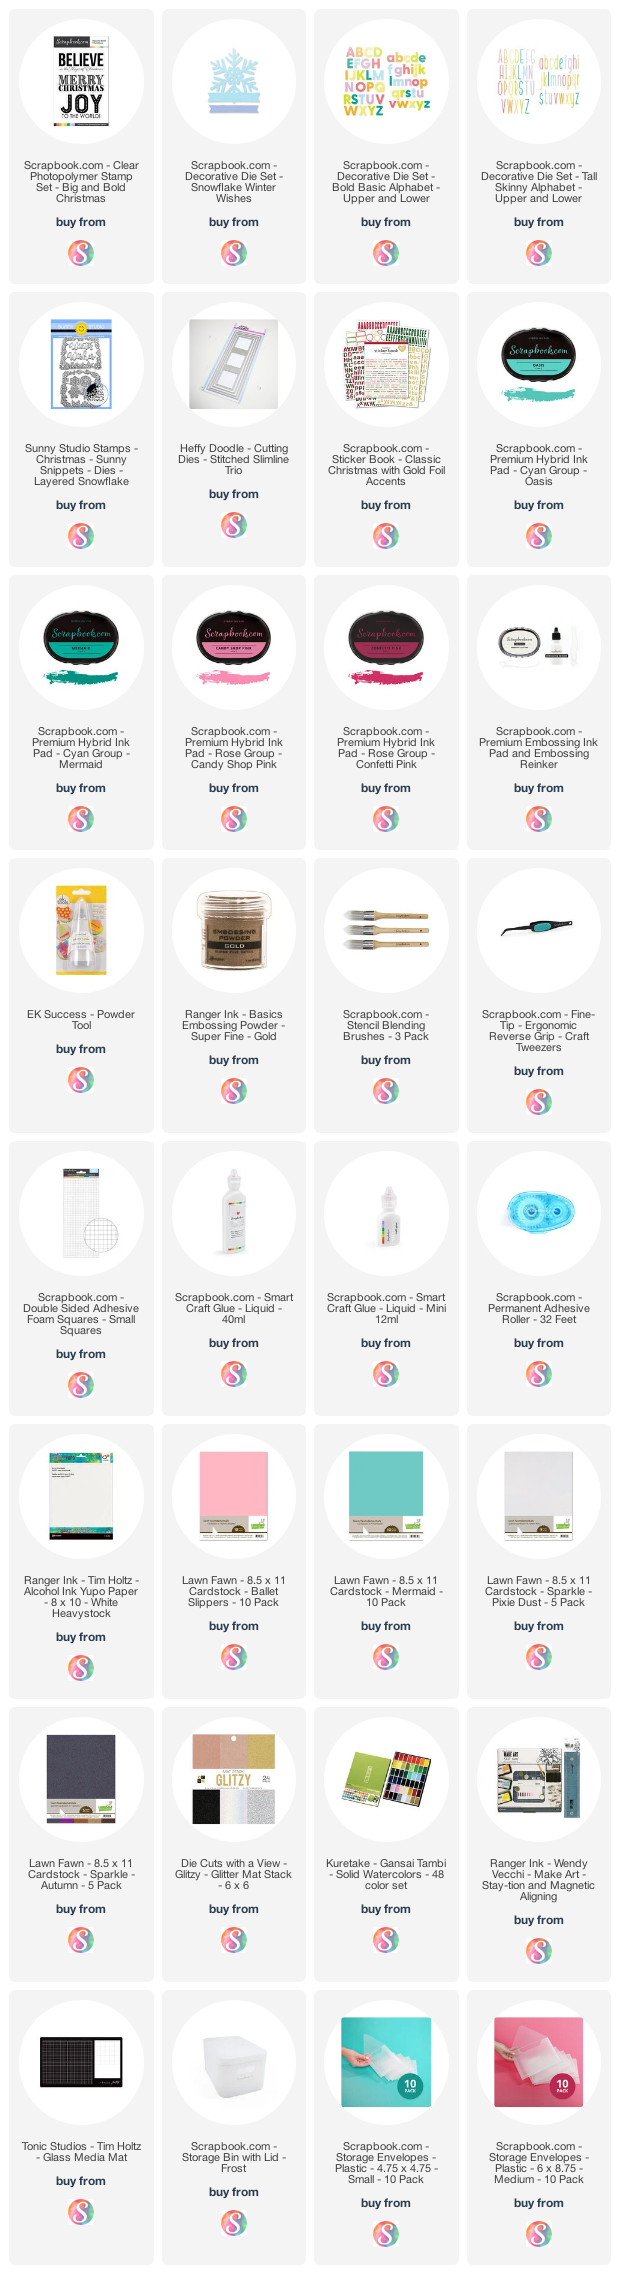
But there are lot of amazingnesses on sale in the exclusive section as well, like which I am showing you here on my photos, some products which I really really LOVE! You can tap on the photos and see the products! You will not regret to watch them! Or will you? Sorry not sorry! 😄 


I really hope that you have enjoyed to see my video tutorial, thank you so so much for reading through my post. I wish you a really amazing day and if you are not my follower on Instagram already, then I have a little note to say. With my crafty friend Laura Volpes we are going live together, tomorrow on 3rd of October at 7PM CET/10AM PDT/1PM EDT to celebrate the World Cardmaking day with some chitchat and coloring! If you have time, feel free to join us! We can't wait to see you there! :) Big hugs, Mona


SUPPLIES TO THE VIDEO TUTORIAL

This post contains affiliate links. It means I get a small commission at no additional cost to you when products are purchased through my links. Thank you for your help in running this blog. (You can find the affiliate disclosure here). I really appreciate your support!

Till death do us craft | Halloween Card

Hello BOOtiful crafty friends! Today I am joining the Till Death Do Us craft collab, where we are going to create month long Halloween cards. Be sure to search for the #tilldeathdouscraft hashtag on social sites to find more halloween inspiration. Hopefully you will like my extra bling Halloween post. :) I decided to show you a supersweet girly glittery spooky card.


I hope you will enjoy this post as I enjoyed creating it. As always you can find the used supplies below the post.


I started the cardmaking with the background. I cut a piece of (5.25" x 4") pink cardstock. Then I applied Silver Glitz Glitter Gel by Gina K. Designs through the Wildside Stencil by Heffy Doodle. When it was done I let it dry one hour. While the background was drying I die cut the B O O letters from Bold Basic Alphabet Die Set and the Beautiful Word Die from Double Sided Adhesive Foam Sheets and Rose Gold Glitter Cardstock.


Next I stamped these BOOtiful ghosts from the Halloween Fun Stamp by Hello bluebird and colored them with my Spectrum Noir Illustrator Markers. I wanted to color them as "transparent" so when I made the shading, I colored on them the letters with lighter markers. This gives them a transparent look. I have used the following colors: CR3, FS3, TN1, BG6, BG4, BG2, Blender. And I really like how it turned out. 


Next I run a piece of vellum through my die cut machine with the Small Dotted Rectangle Stackables by Lawn Fawn (it's on sale now). I have used the largest die and put my card together. 


In the end I just added rose gold sequins in different sizes and to the bottom I put the "hello Beautiful" sentiment from Rose Gold Sticker Book by Scrapbook.com which is really beautiful and on sale now. Thank you so much for stopping by, if you have any questions let me know in your comment. I have a BOOtiful day! :)

SUPPLIES

This post contains affiliate links. It means I get a small commission at no additional cost to you when products are purchased through my links. Thank you for your help in running this blog. (You can find the affiliate disclosure here). I really appreciate your support!
Fall Sunset Watercoloring with Viviva Colorsheets and Lawn Fawn

Hi crafty friends, today I am back with a cute watercolor project what I created with the most portable watercolor sheets ever! Rohitha, from the Viviva Team, was super kind and sent me their handmade Single Set Watercolorsheets to try out! 


I was super excited when I received it! I love its design and look, even the envelope was amazing and handcrafted! 


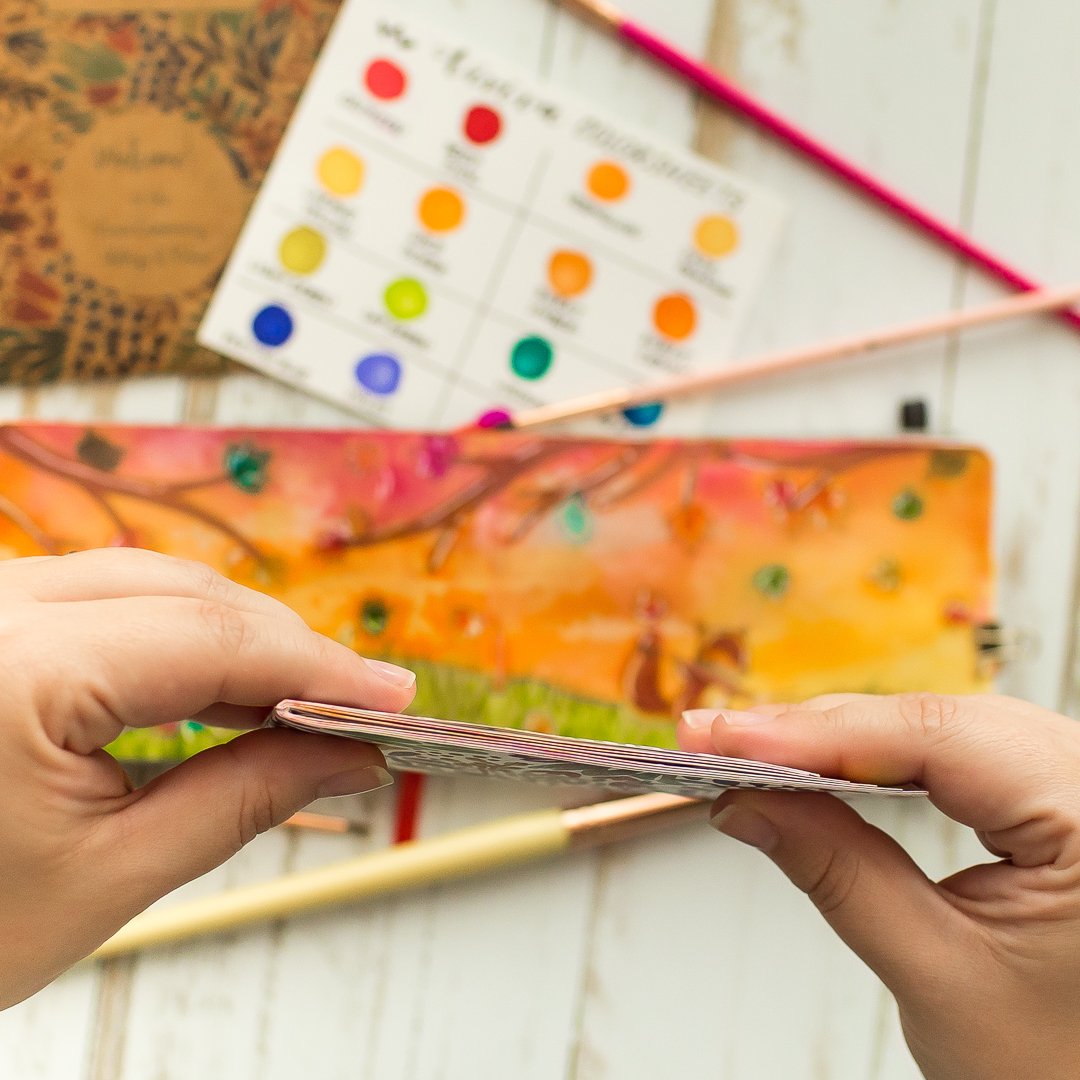
As you can see on the photos, this watercolor set is super thin and portable. My type Includes 16 ultra-vibrant colors. This watercolor palette is the perfect choice to bring with you to the crop events, or when you are on trip, and you want to take with you some coloring! Trust me it’s ultra super thin! 😊 


Between the shades you can find special water resistant sheets, so your colors will be divided even when they are wet! Under the watercolor paint, you can find a frame which is color coded. If you want you can make your swatch in that frame and you are ready to go! You can use them everywhere you like! 😊 


I decided to show you how vibrant it is, so I pulled my watercolor sketchbook and I painted a little fall with Lawn Fawn stamps. But before I started to color I swatched all the colors. Girl!!! You need only a bit of that paint, it’s oh so pigmented! 


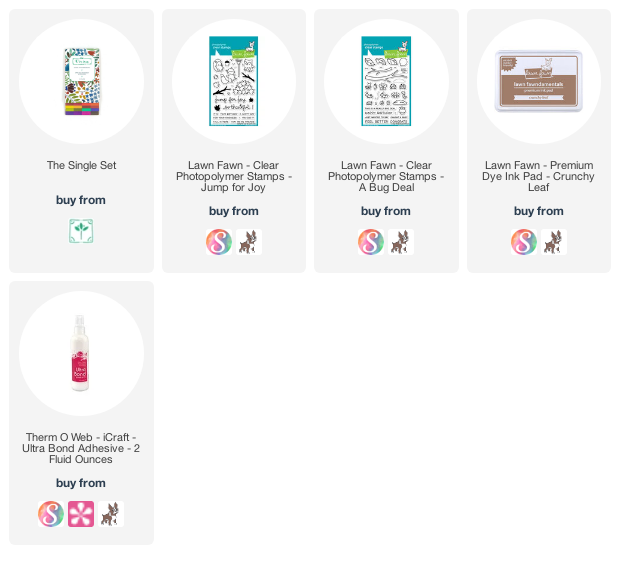
For the stamping I have used the Jump for Joy and the A bug Deal stamp sets by Lawn Fawn. For the stamping I have used the Crunchy Leaf inkpad. After a quick heat set, I wet the watercolor paper and started to build up the scene. 


I wanted to create a nice fall sunset, and with these colors it was really easy. When the background was done, I stamped the leaves from the Jump for Joy stamp set to another watercolor paper and colored the leaves with the randomly picked colors. 


My top favorite colors are the “Viridian”, the “Magenta”, the “Light Green” and the “Chrome Yellow”. All the shades are fantastic, but these are the holy grail for me! 😊 


I am absolutely in love with this palette and this extra thin friend is going to my small travel bag! The Viviva colorseets has amazing and rich shades and it fits to your penholder as well. If you have never tried it consider to get one for yourself and it’s a perfect Christmas present for a crafty friend as well. 😊 


Thank you so much for reading my post, I hope you have enjoyed it, if you have any questions feel free to ask in a comment or check the Handmade Viviva Colorsheets site!

SUPPLIES

This post contains affiliate links. It means I get a small commission at no additional cost to you when products are purchased through my links. Thank you for your help in running this blog. (You can find the affiliate disclosure here). I really appreciate your support!