Showing posts with label Arteza. Show all posts

Patterned Paper Inspired Card Tutorial | Save the Crafty YouTuber video hop | Giveaway

Hi everyone! I am thrilled to announce that I am part of the Save the Crafty YouTuber video hop! This hop was initiated by Justine Hovey, and it's about cardmaking video tutorials created by a group of talented crafters of all different styles and levels.


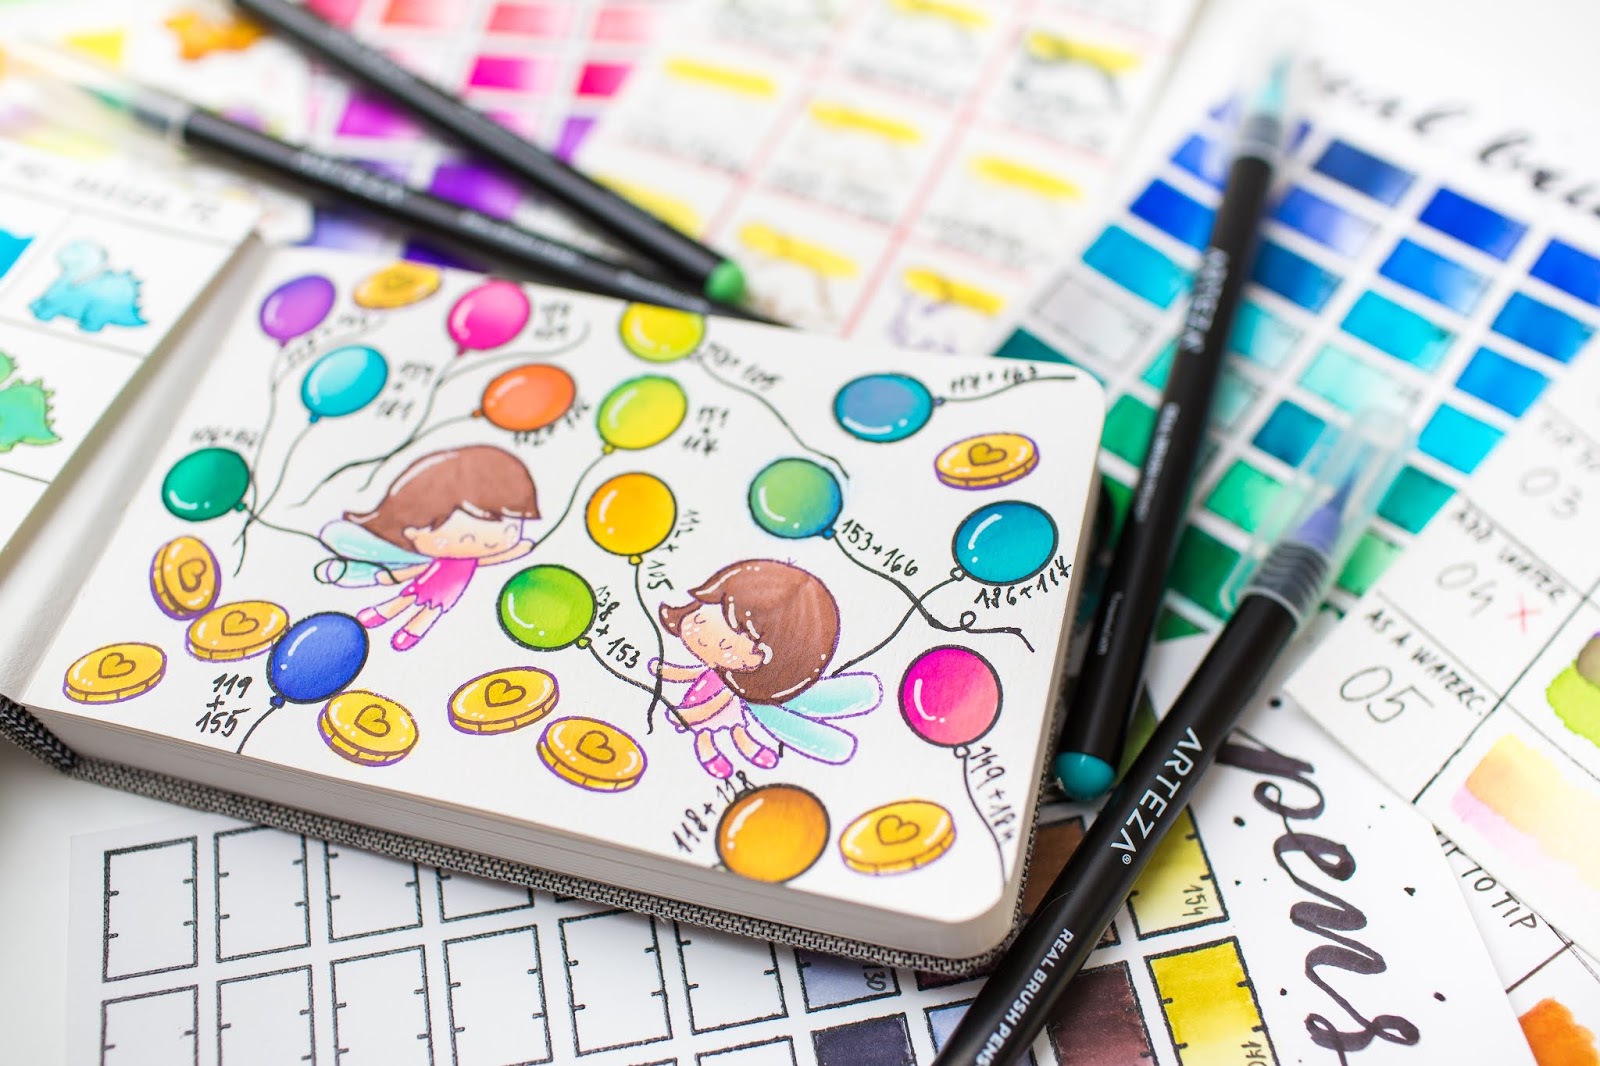
We are coming together to give our viewers a chance to discover other amazing cardmakers. Today I am showing you how can you create this patterned paper inspired card with any cute critter stamp set.


There will be prizes to be won at each stop in the hop, plus you will get the opportunity to discover new crafty channels too.


I am giving away a 25 dollar gift certificate to one lucky winner to scrapbook.com online store. All you need to do, watch my video tutorial, and tell in your comment what types of video tutorials you like more and why.


I am really excited for your answers. Thank you so much for helping me with your answer. Comments must be left under my video by April 5th and Prizes will be announced on April 10th on Justine’s channel and blog.


VIDEO 

And now let's see how I made this cute and easy patterned paper inspired card design, with Lawn Fawn products. I hope you will like the video tutorial, if you want to win feel free to comment on my video. And if you hit the subscribe button I will be over the moon. :) 


Thank you very much for reading through my post, I hope that you have enjoyed my video and Lawn Fawn inspiration. I hope I have inspired you. I wish you happy video hopping and good luck.
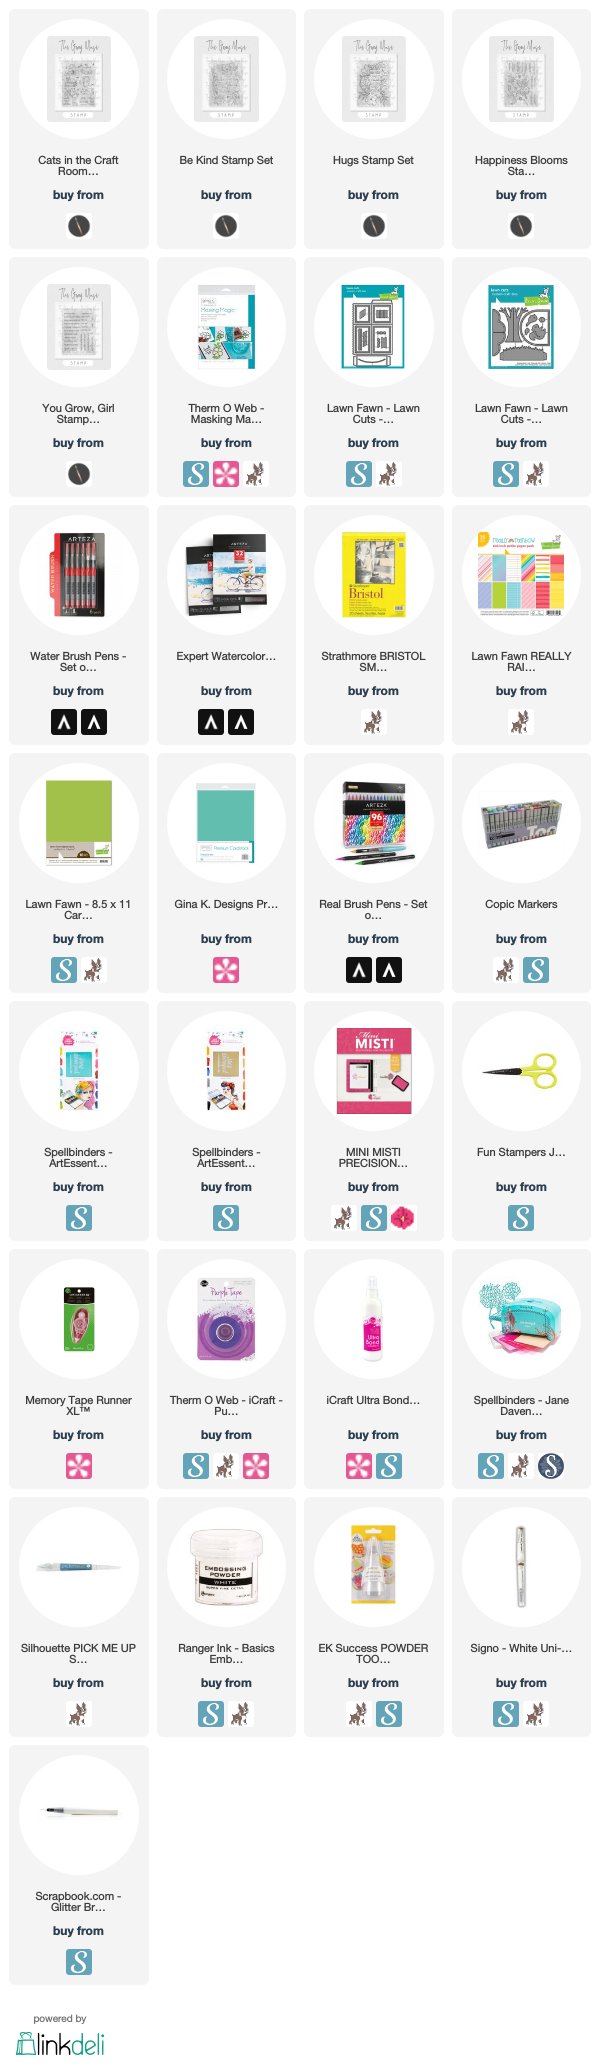
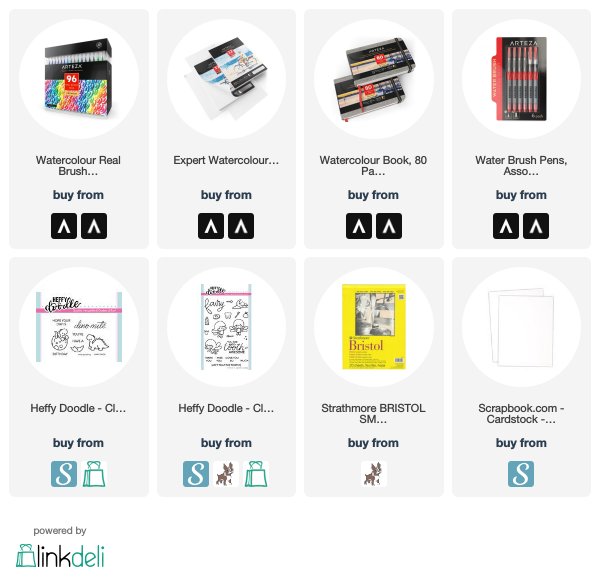

SUPPLIES 

This post contains affiliate links. It means I get a small commission at no additional cost to you when products are purchased through my links. Thank you for your help in running this blog. (You can find the affiliate disclosure here). I really appreciate your support!
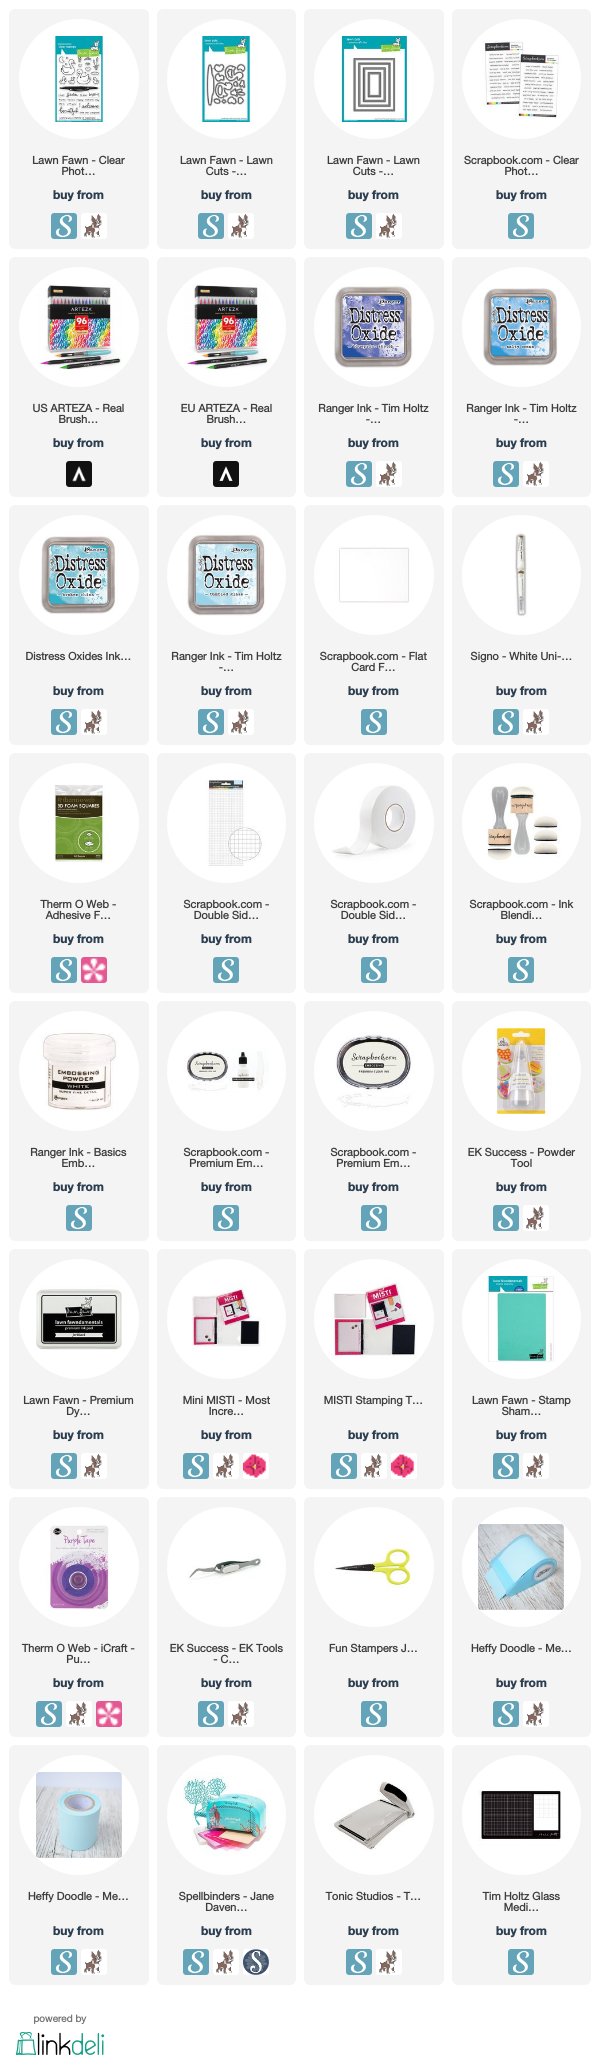
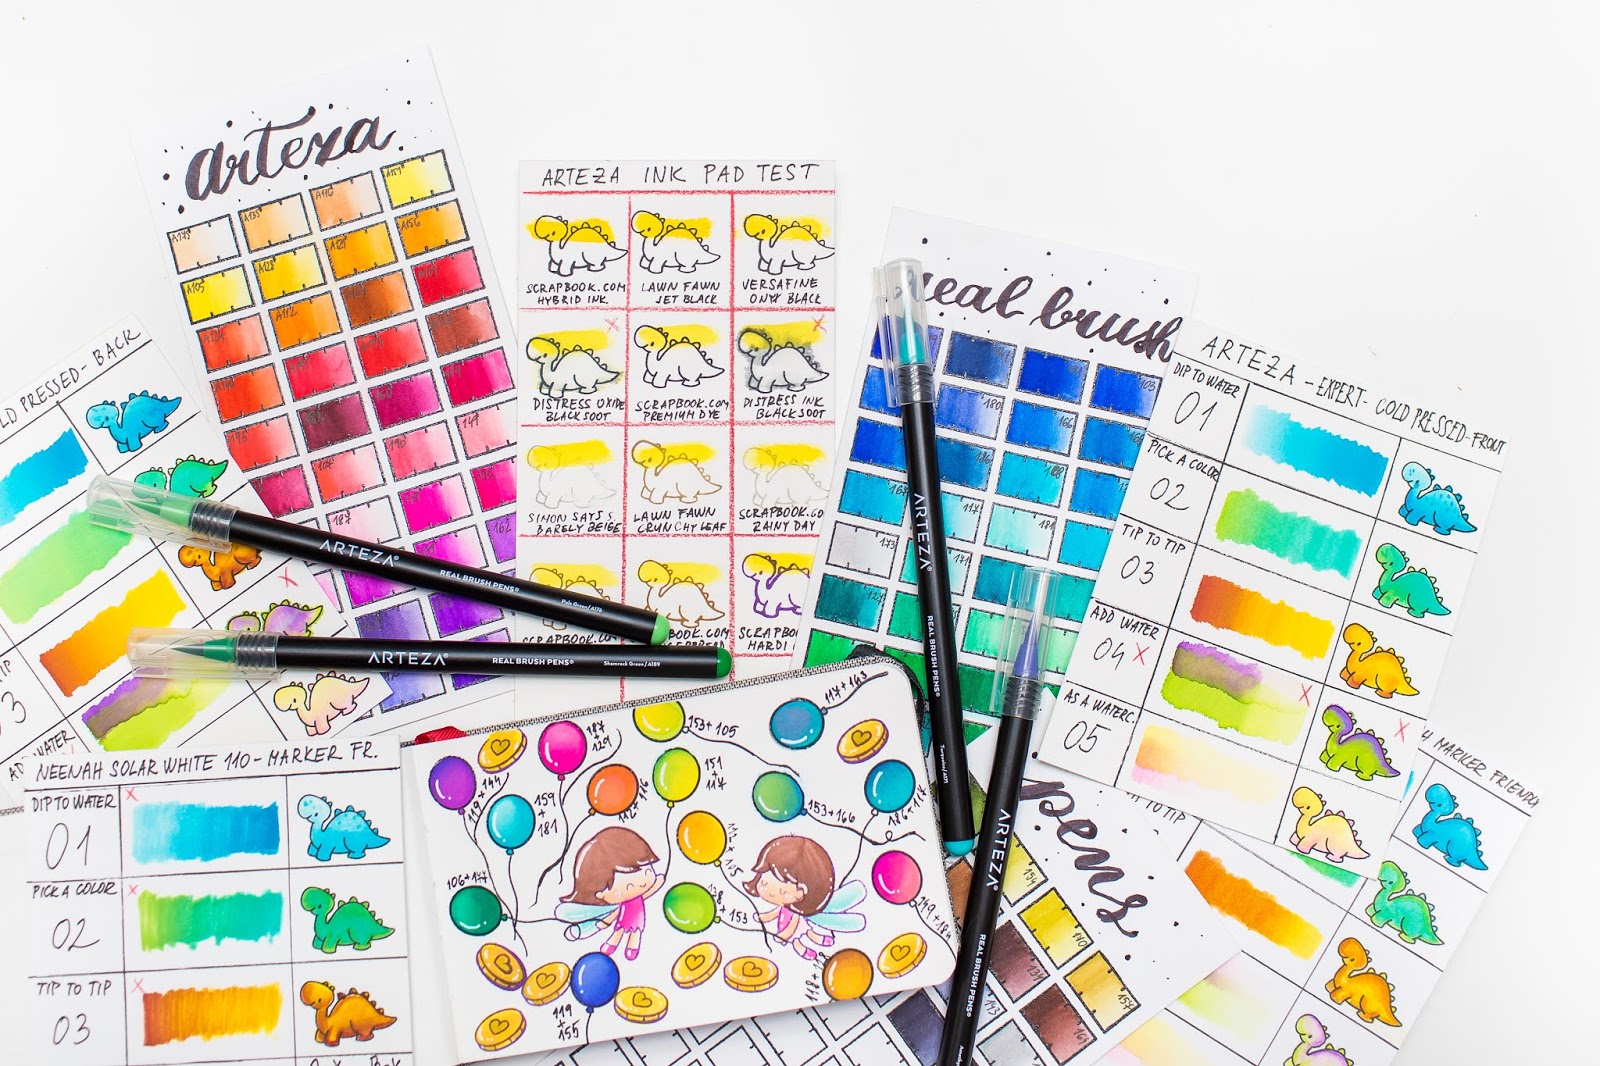
SAVE IT 

My projects compressed into a photo :) If you like it, save it to your Pinterest board. I really appreciate your support. Thank you!


Guesting at The Gray Muse Blog


Hi crafty friends, I am super excited to be a guest on The Gray Muse blog! YAY! Today I have three inspirations for you with some really amazing stamp sets from The Gray Muse shop. I hope, you will enjoy them. She is selling not only stamps, but amazing stuff for creatives like enamel pins! :) As always you can find the used supplies below the post.


For my first card I have used the super cute Cats in theCraft Room Stamp Set. When I hold this amazing set in my hands I knew, that I am going to make a Pop-up box card with them. 


I stamped and colored the images with my Copic Markers and put together a box card. I have used Lawn Fawn Die-cutting plates and papers to create the box. You can find the full list of supplies below the post. 


Once I put the pop-up card together, I missed something from the card, so I stamped the image from the BeKind Stamp Set, and after a quick coloring I just fussy cut the flowers and leaves then adhered them to the background. After this I was really happy with the result, so it was done. :) 


For my second card I used the Happiness Blooms Stamp Set. I started by stamping the flower image on Bristol Smooth card stock with Versafine Ink and I heat set it! When it was done, I colored the image with Arteza Real Brush Pens and in the end of the coloring I added highlights with White Pen


Next, I stamped the same image to a masking magic paper. After a quick and chilly fussycuting I covered the colored image with my mask and made an ink blending to the background with various Distress Oxide Inks


When it was done, I pulled off the masking magic (if you want to see how it looks like, feel free to check my Instagram Story highlights for today, I will show it!). In the end I stamped and heat embossed the beautiful sentiment with white embossing powder and it was ready. 


For my last card I used the Hugs Stamp Set, along with the You Grow Girl sentiment set. If you are a crafter, this sentiment set is a must have for you! For this card I stamped the image to Arteza Expert Watercolor paper with Versafine ink. 


After a quick heat set, I wet the whole image with clear water and I created a quick painting on it with colorful watercolors and let it dry. For the second coat I have used only black watercolor, but this time I colored only around the “HUGS” sentiment. 


Next I let it dry once more and added more details to the letters with glitter brush marker, white pen and put on them some clear sequins too. I stamped the image in clear embossing ink and used rose gold embossing powder. Before putting the heat embossed sentiment to my card, I splattered the edges with watercolor. 


I hope you enjoyed my inspirations, feel free to comment which card is your favorite! I am in LOVE with these fabulous stamp sets and the amazing pins are just wow. Be sure to check The Gray Muse shop here


Thank you so much Ruby for this amazing opportunity, your blog and shop are magical! For more inspirations feel free to follow me on Instagram. (Shhh I will give away one fabulous The Gray Muse Pin, just check my Insta stories for the details today!) Hugs Mona.

USED SUPPLIES


5+1 tips to rock your Arteza Brush Pens | Video

Hi everyone and welcome back on my blog! Today I am going to show you a new type of post and video, I hope you will enjoy it. 


I got a generous package of art supplies in August from Arteza. I found lots of amazing products inside and I thought I am going to make an easy technique video with tips, tricks and nice color combos not only a video review.

VIDEO TUTORIAL 


I am super excited and I really hope you will enjoy that:


As I promised you can find my color swatches in the video. You need to know I am extremely in love with the water based Premium Real Brush Pens! These are very comfortable pens which are non toxic. I swatched all the 96 vibrant colors in August and put them to my shelf to avoid direct sunlight. I have used the Color Swatches Stamp Set from Waffle Flower Crafts and Bristol Smooth paper. Check these bright colors or feel free to download them in high resolution from here


Now let's see some easy tips on how you can play with these products. I prepared 3 cardstocks for these techniques. The Bristol smooth paper, which is perfect for brush markers; both sides of the Arteza Expert Watercolor paper, which is a premium quality watercolor paper; and the Neenah Solar white paper, which is absolutely not for water based markers. 


QUICK AND EASY TIPS 


01) The first tip is dip the brush pen into the water. The easiest way to color an image is when you dip your Brush Pen to water and color. You will get a perfect blend without blending and harsh lines. This technique is perfect when you need a quick but pretty coloring on your smaller images.

02) The second tip is pick a color. This is almost the same technique then the previous one, but instead the water you dip your brush pen to watercolor, or any water based color.


03) The third is the tip to tip technique. You can use this technique not only with your copic markers, but with your Arteza markers too. 

04) The Fourth tip is Paint on your paper and add water. This technique with brush pens is not for every cardstock type. However many of you have asked about this technique and I wanted to show you how it works on different papers and cardstocks. It works perfectly on the Bristol Smooth Paper because this cardstock is for brush markers. It doesn't work on the classic watercolor paper, because classic watercolor papers are not brush pen friendly.


05) Fifth tip: use it as watercolor. Paint on a plate with your brush pen and pick it with waterbrush and paint. When the first layer dried completely then you can add a second color like before and let it dry. 

+1) I am a cardmaker, so I am going to use the Real Brush Pens for coloring my stamped images, but this product is also good for hand lettering. It has a soft brush so you can write beautiful large letters. 


I think, there are much more techniques you can play with, but I thought, these five techniques were the easiest. Now let's see how my favorite inkpads work with Real Brush Pens. There were problems only with the distress inks, but these inkpads are used for ink blending. 


In the end I thought I am going to show you a few of my favorite color combos which I LOVE. I stamped these cute balloons from Heffy doodle with black ink. If you want you can create a completely new color by mixing two or three colors together. Just don't forget to paint your favorite mixed combos to your sketchbook, so you can re-create them in the future. 

To sum up, I am absolutely in love with my Arteza Real Brush Pens. The range of colors is totally enough for me. They are super bright and I extremely love that I can use them for various techniques. I think they are definitely worth the price. I am extremely happy that I have my new favorite water brushes too. The smallest rounded one is an absolute must have. 

Feel free to check the mentioned supplies on ARTEZA EU or on ARTEZA US Use this 10% OFF coupon code at the checkout: MonaToth2 This coupon code is valid until: December 5th. 


Phew, I hope you have enjoyed this post and tutorial. If you have time please tell in a comment which coloring technique you like the most. I am really curious! If you like this post or video please share it with your crafty friends or pin it, it's free and you will make me super happy. Thank you so much for stopping by!

SUPPLIES 

I prepared for you the list of products which I used for making this project. If you buy these through my links you help me running this blog. (You can find the affiliate disclosure here). Thank you for your support!