[VIDEO + GIVEAWAY] 10 Easter Egg Decorating tips you should check right now!

Hi crafty friend, Easter is almost here so today I have a new video with 10 quick egg decorating tips with crafty products I really love! Pick your fav techniques and let’s get into it! Easter is almost here and you will have so much fun with it! 

Better craft photos are easier than you think. Start with 5 simple tips you can try today.
🎁 Get my free photo ebook here!

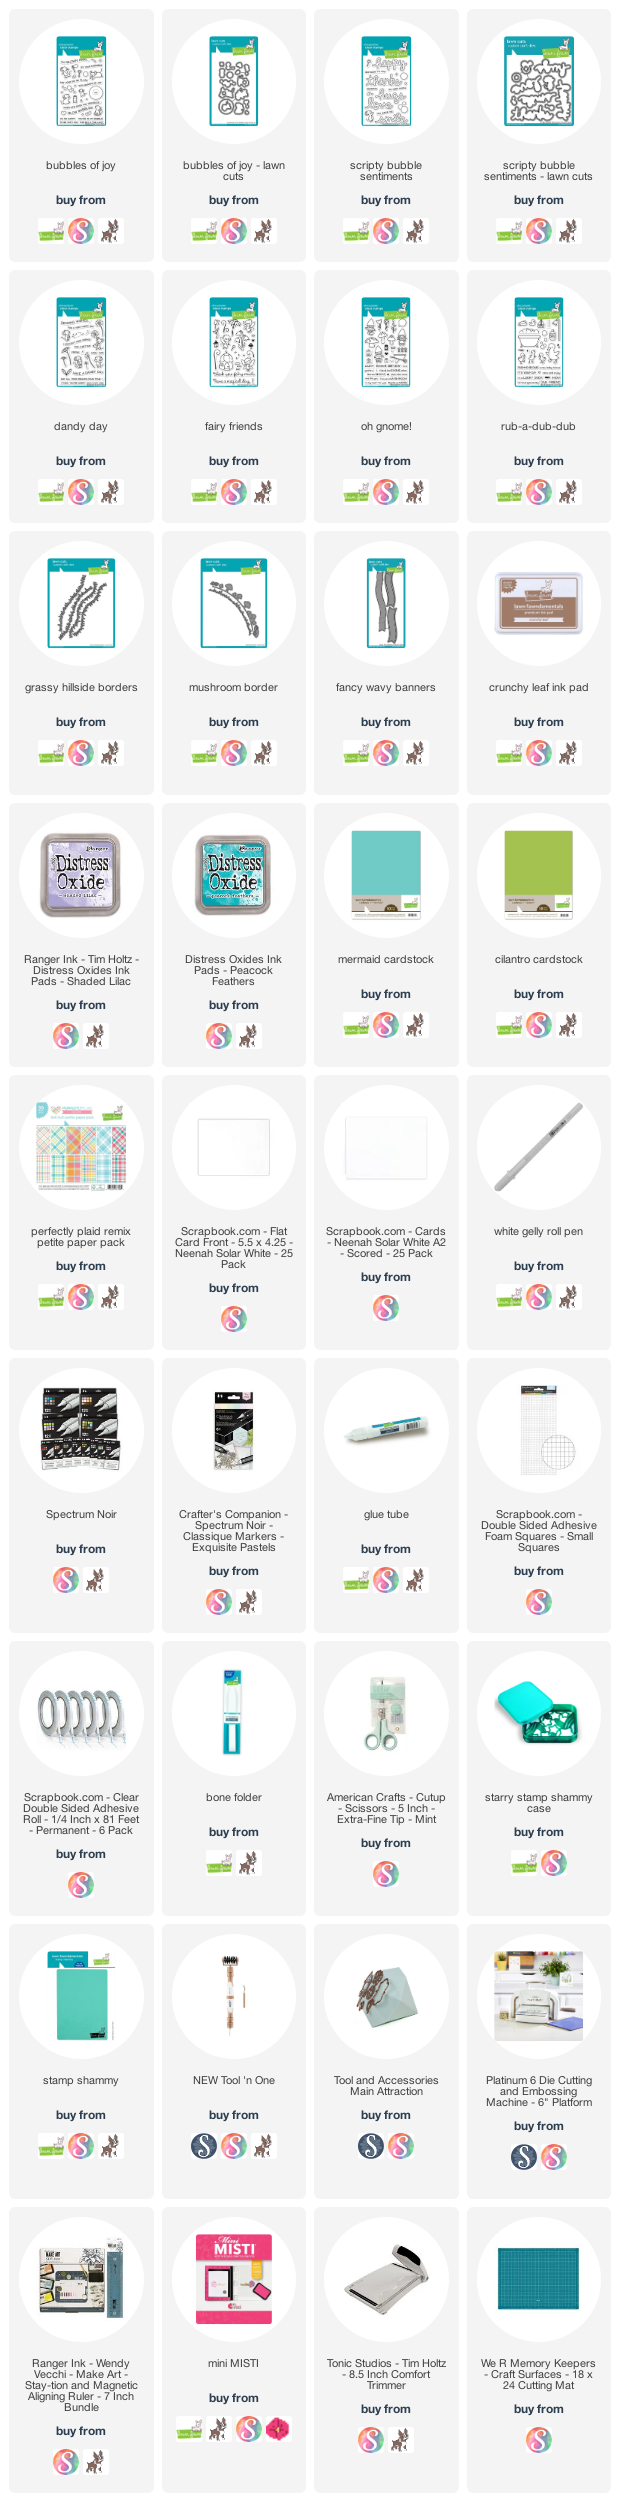
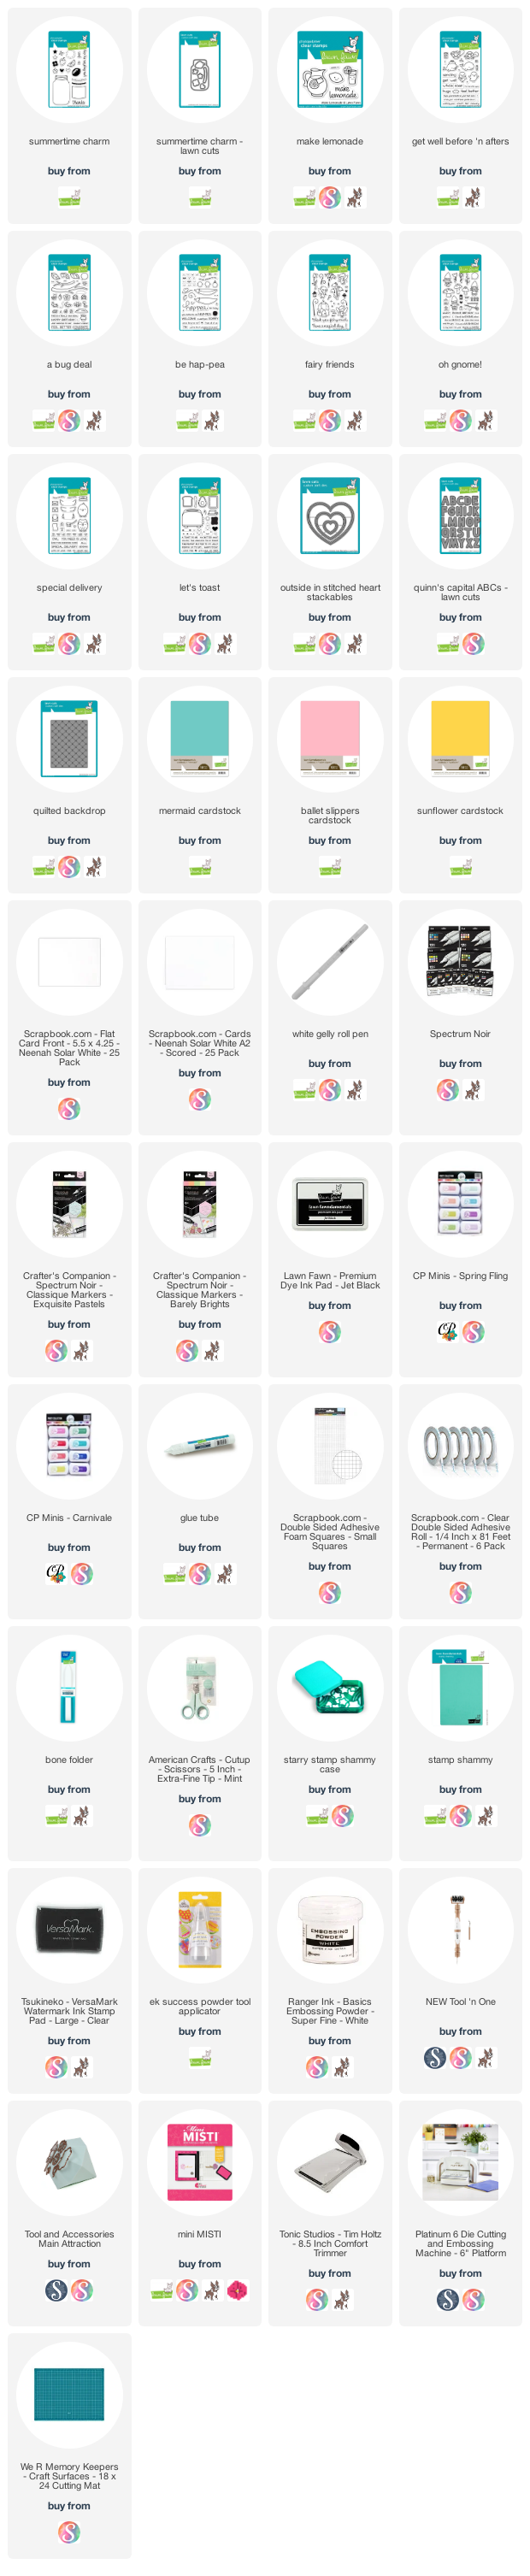
FOR THIS PROJECT I HAVE USED

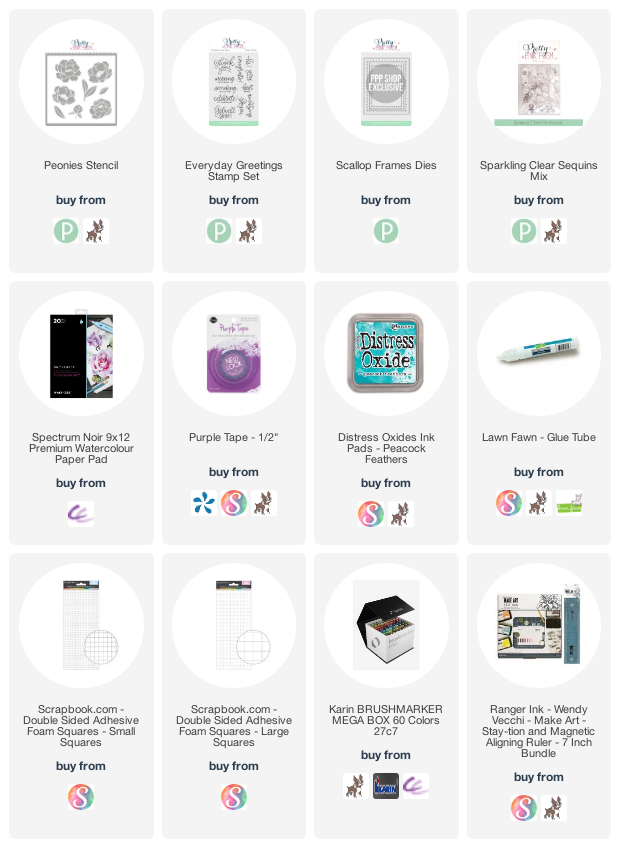
And more. For the additional supplies with shop links visit the thumbnails below this post.
Pin this post to your Pinterest board and save this card idea for later.

VIDEO TUTORIAL

This time no card instructions on my blog, instead of it I have a video tutorial with full of tips and tricks where I am sharing 10 quick egg decorating tips with crafty products I love! You still have time to do it! If you already have your decoration done, you can still watch it for fun, and save the ideas for next year.


Watch the video above | Watch the video in HD on YouTube

GIVEAWAY

This project is part of a video hop, where we are celebrating Jessica Frost Ballas for her 10K milestone on YouTube with a huge giveaway! There are over $800 in prizes! For more information watch my video.


BEFORE YOU GO...

Let’s stay crafty friends! You can find more cardmaking inspiration, behind-the-scenes peeks and photography tips for crafters on my Instagram and Facebook pages.

📷✨ I’m on a mission to help cardmakers and crafters feel more confident with photography, so their beautiful creations can shine online too.

FOLLOW ON INSTAGRAM  |  EXPLORE MY SHOP

USED SUPPLIES

I’ve listed all the supplies I used below, so you can easily find them. Some of the links are affiliate links, which means I may earn a small commission if you make a purchase, at no extra cost to you. Thank you so much for supporting my blog and creative work!
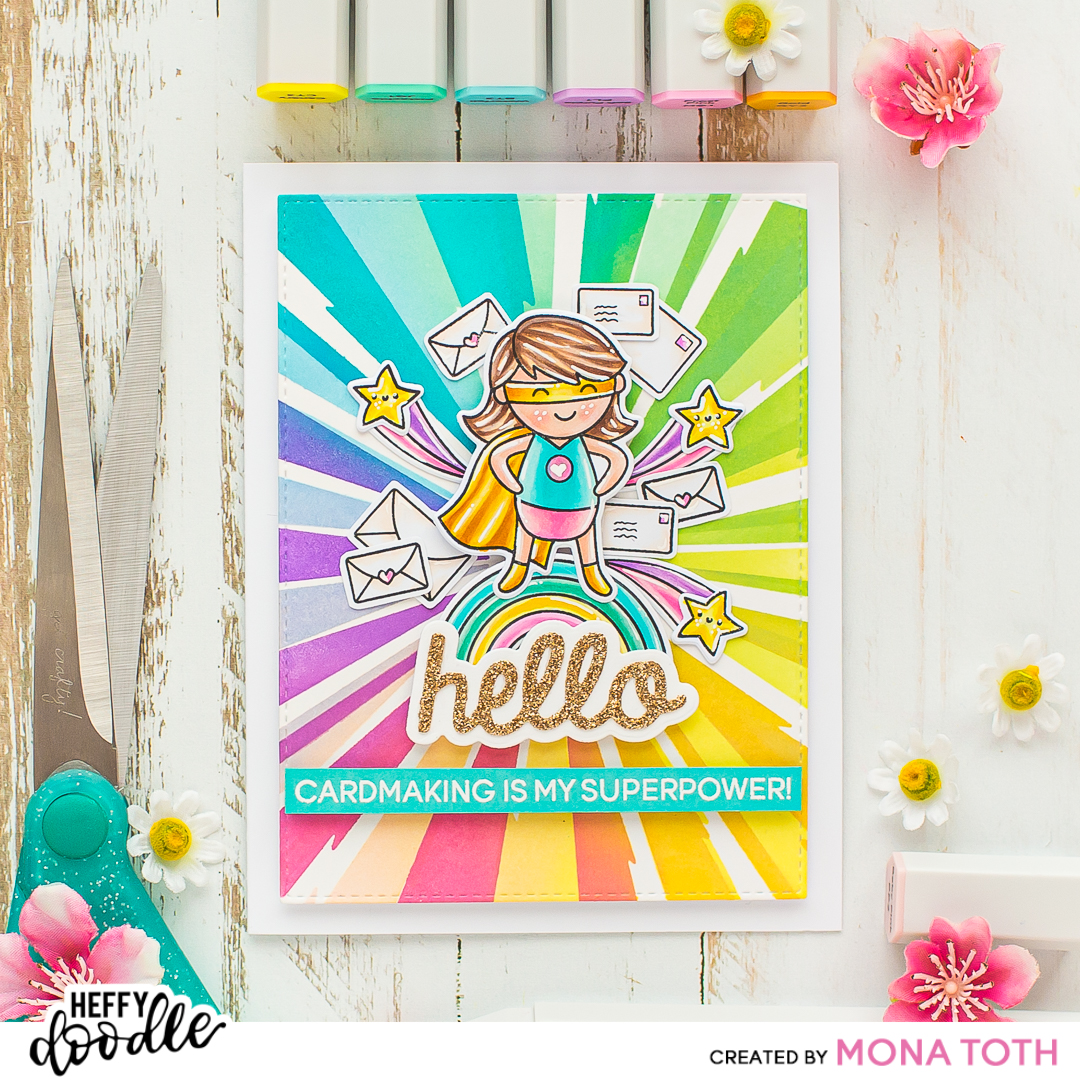
[VIDEO] Cute comics inspired superhero card

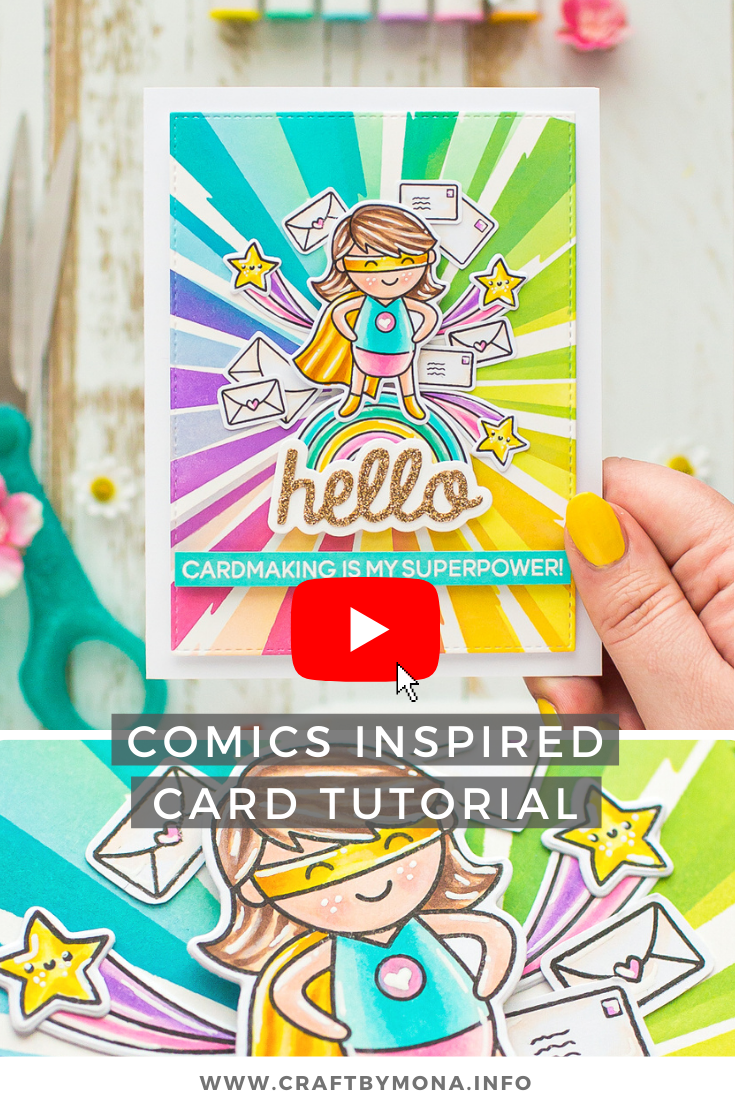
Hi crafty friend, today I am sharing with you a new video tutorial, where I show how to create this comics rainbow effect background with ink blending as well as, how to color your stamped images like this.


Better craft photos are easier than you think. Start with 5 simple tips you can try today.
🎁 Get my free photo ebook here!

THIS CARD FEATURES

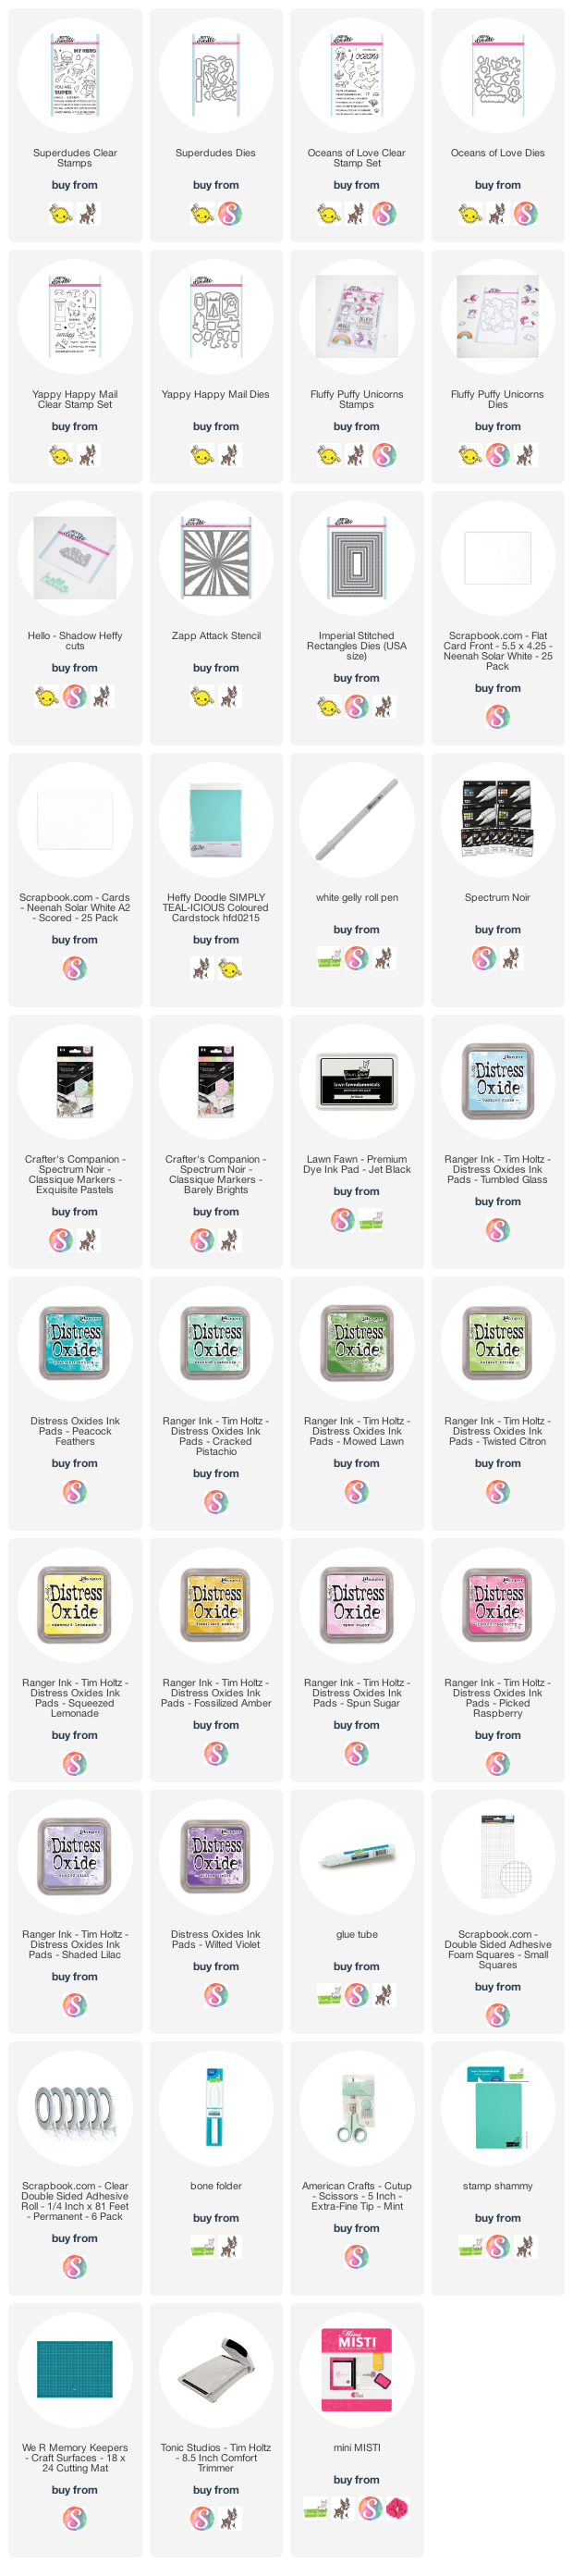
Superdudes Stamp and Die Set [ SSS | HDD ]
Yappy Happy Mail Stamp and Die Set [ SSS | HDD ]
Fluffy Puffy Unicorns [ SBC | SSS | HDD ]
Zapp stencil [ SSS | HDD ]
For the additional supplies with shop links visit the thumbnails below this post.


Pin this post to your Pinterest board and save this card idea for later.

CARD INSTRUCTIONS

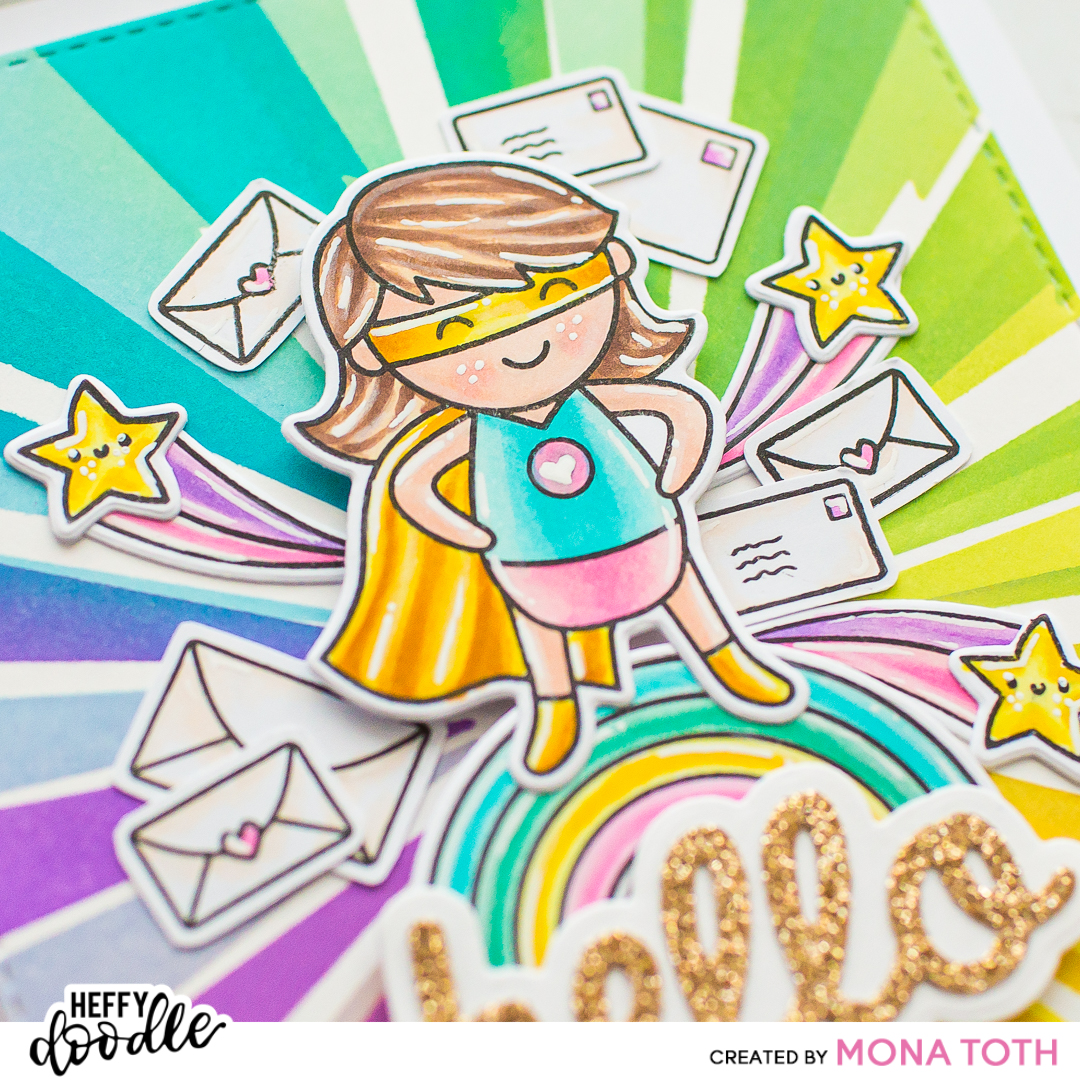
I stamped the superhero image from the Superdudes stamp set, as well as some envelopes from the Yappy Happy Mail, the rainbow from the Fluffy Puffy Unicorns and my favorite star from the Oceans of Love stamp sets with Jet Black inkpad.


For the coloring I have used Spectrum Noir Illustrator and Spectrum Noir Classique Alcohol markers on Neenah Solar White Cardstock, but feel free to try it with any type of markers you have with the right cardstock. For the coloring and the full process be sure to check out the video here.


When the coloring part was done, my next step was the highlighting. First, I have used white pencil then I continued with white pigment pen to make them more eye catchy and to pop the images out. When the highlighting process was done, I run them through my mini die-cutting machine which is always next to me if I need to cut something small.


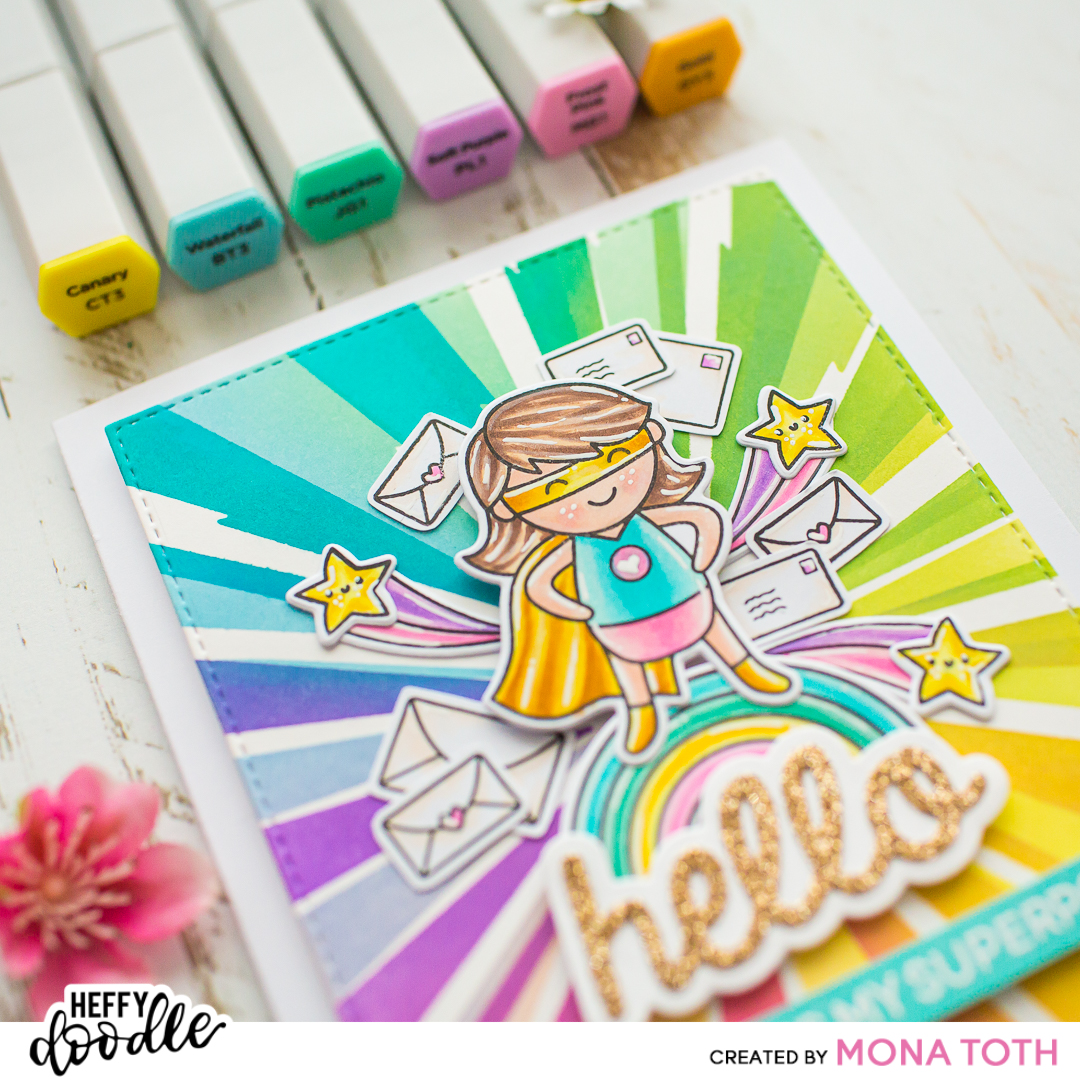
The next step was the die-cutting I created one die cut from Bristol smooth cardstock with the Imperial Stitched Rectangles Dies, then I continued with ink blending the Zapp Attack stencil. First I have used lighter Distress Oxide Inkpads in rainbow order in the following shades: Tumbled Glass, Cracked Pistachio, Twisted Citron, Squeezed Lemonade, Spun Sugar and Shaded Lilac.


When the light background was done, I turned the Zapp stencil a bit, and I continued with the second layer through it. I have used the Peacock Feathers, Mowed Lawn, Fossilized Amber, Picked Raspberry, and Wilted Violet Distress Oxide inkpads. The result is a pretty high contrasted rainbow comic background.


Next, I have created die-cuts with the Hello Shadow Heffy cuts Dies. The thinner one from gold, and the shadow from white, then I stamped the sentiment to the teal-icious cardstock with the Super Dudes stamp set and watermark ink. Then I heat embossed it with fine white embossing powder then I cut it for the right size. In the end I styled all the colored images and die-cut pieces together and adhered them with 3D foam squares and liquid adhesive to their right place.

VIDEO TUTORIAL

Learn how to create this rainbow effect background and how to color the images from this video tutorial with extra tips and tricks. As always, you can find the used supplies below the post, and if you have any questions feel free to ask in a comment. Thank you so much for checking my post, Happy watching, sending you big crafty hugs, Mona.


Watch the video above | Watch the video in HD on YouTube

BEFORE YOU GO...

Let’s stay crafty friends! You can find more cardmaking inspiration, behind-the-scenes peeks and photography tips for crafters on my Instagram and Facebook pages.

📷✨ I’m on a mission to help cardmakers and crafters feel more confident with photography, so their beautiful creations can shine online too.

FOLLOW ON INSTAGRAM  |  EXPLORE MY SHOP

USED SUPPLIES

I’ve listed all the supplies I used below, so you can easily find them. Some of the links are affiliate links, which means I may earn a small commission if you make a purchase, at no extra cost to you. Thank you so much for supporting my blog and creative work!
Rainbow Watercolor Floral Cards

Hi crafty friend, I hope your week goes well. Today I have three happy and colorful card inspirations for you with the NEW and amazing Watercolor Florals collection by Sushma Hegde from Spellbinders.


Better craft photos are easier than you think. Start with 5 simple tips you can try today.
🎁 Get my free photo ebook here!

THIS CARD FEATURES

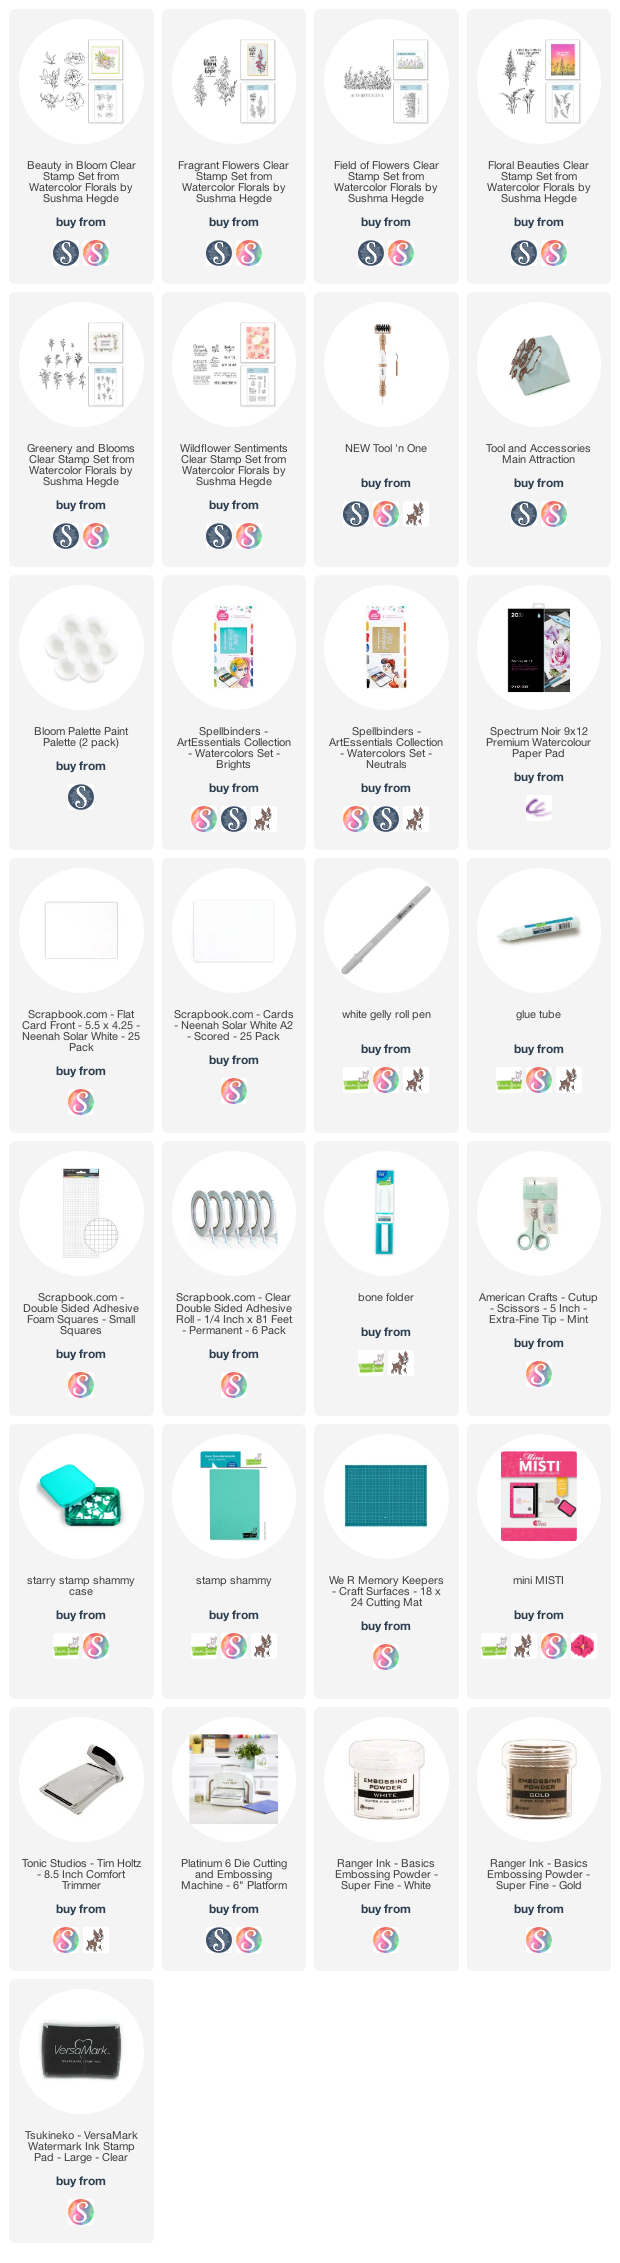
Fragrant Flowers Clear Stamp Set  [ SPE | SBC ]
Beauty in Bloom Clear Stamp Set [ SPE | SBC ]
Field of Flowers Clear Stamp Set [ SPE | SBC ]
ArtEssentials Watercolors Set - Brights [ SPE | SBC ]
For the additional supplies with shop links visit the thumbnails below this post.

Pin this post to your Pinterest board and save this card idea for later.

CARD INSTRUCTIONS

For all the three cards I have used different watercolor washes. For these watercolor techniques I have used Art Essentials palettes by Jane Davenport to get this bright happy look.


For the first card I painted rainbow stripes with bright watercolor shades and a 14-size flat watercolor brush, then I heat embossed the sentiment with white embossing powder. Next, I stamped the floral images with watermark ink from the Fragrant Flowers Clear Stamp Set  to a piece of vellum, and heat embossed it. In the end I added highlights and sparkle effect with white pen.


For the next card I created a distressed rainbow look to the background. I wet the watercolor paper and I did stippling on it with a 14-size rounded watercolor brush. I started with purple color and added the other colors to create this effect. Once it was dry, I stamped on it the sentiment with watermark ink, then I heat embossed it with gold embossing powder. In the end I added colorful water-colored florals which I have created with the Beauty in Bloom Clear Stamp Set and white embossing powder. 


For the third card I have created a rainbow gradient wash with purple, pink, orange, yellow, green and blue colors. Once it was dry, I splattered on it with white watercolor. Once this was also dry, I stamped on it with Field of Flowers Clear Stamp Set and watermark ink, then I heat embossed it with white embossing powder.


I have also heat embossed the sentiment too, but with gold embossing powder instead of white. In the end I stamped a few more flowers to the background with watermark ink.


Thank you so much for joining me today, I hope you get a taste to play with these amazing watercolor florals! See you next time. Hugs, Mona. 

BEFORE YOU GO...

Let’s stay crafty friends! You can find more cardmaking inspiration, behind-the-scenes peeks and photography tips for crafters on my Instagram and Facebook pages.

📷✨ I’m on a mission to help cardmakers and crafters feel more confident with photography, so their beautiful creations can shine online too.

FOLLOW ON INSTAGRAM  |  EXPLORE MY SHOP

USED SUPPLIES

I’ve listed all the supplies I used below, so you can easily find them. Some of the links are affiliate links, which means I may earn a small commission if you make a purchase, at no extra cost to you. Thank you so much for supporting my blog and creative work!
[VIDEO] How to color realistic bubbles? Lawn Fawn Tutorial

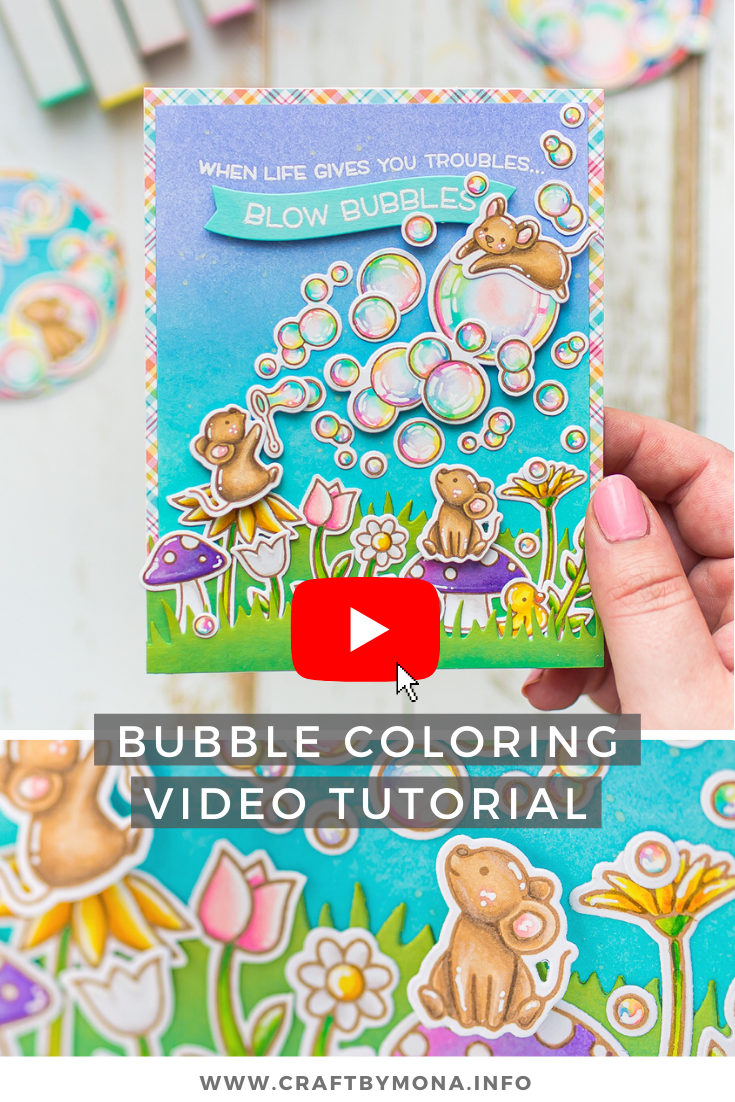
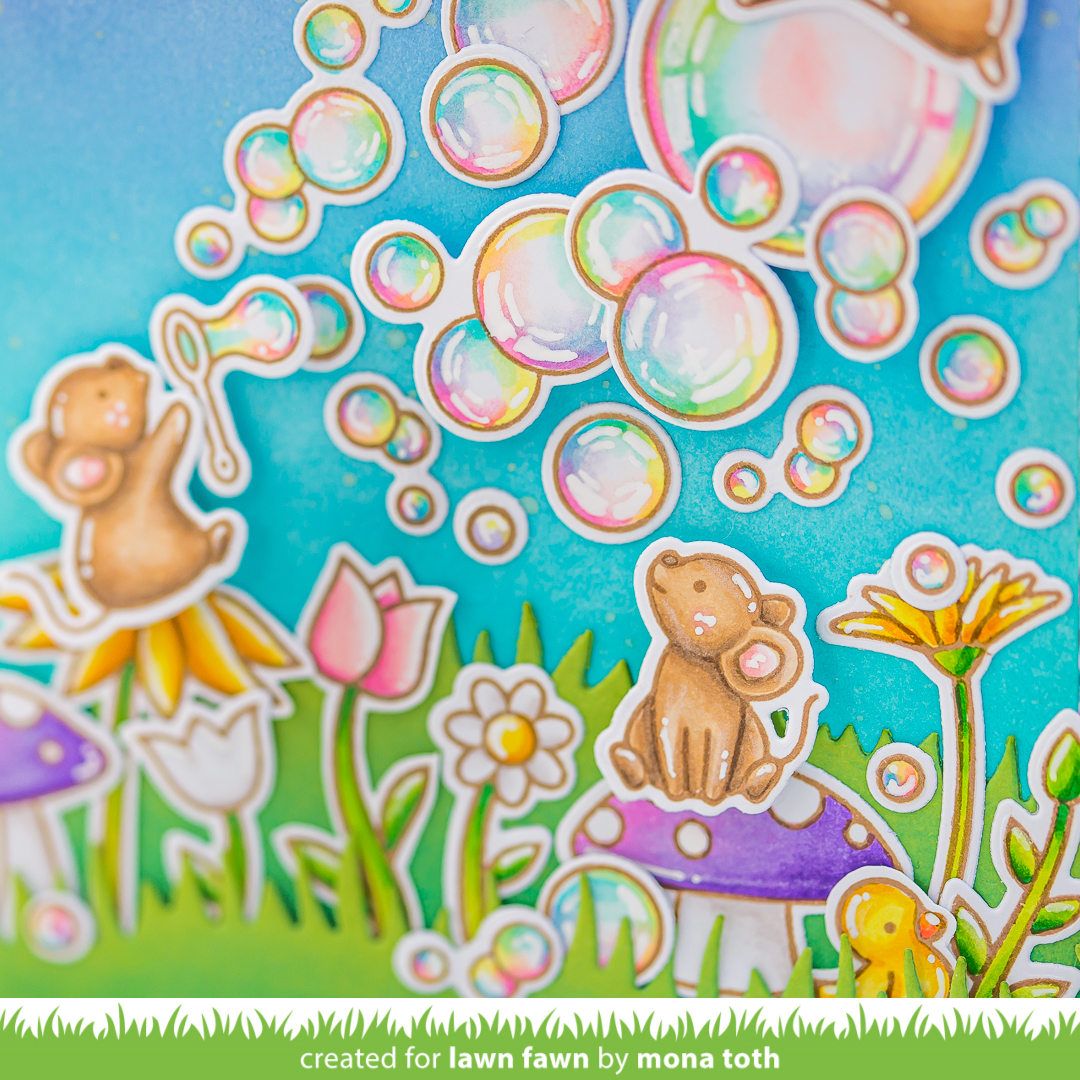
Hi crafty friend, today I am up on the Lawn Fawn blog with a new video tutorial, where I am sharing with you how to color realistic bubbles with alcohol markers as well as how I created this card.


Better craft photos are easier than you think. Start with 5 simple tips you can try today.
🎁 Get my free photo ebook here!

THIS CARD FEATURES

 
Bubbles of joy Stamp and Die Set [ LF | SBC ]
Scripty bubble sentiments Stamp and Die Set [ LF | SBC ]
Perfectly plaid remix Petite Paper Pack [ LF | SBC ]
Mushroom Border Die [ LF | SBC ]
For the additional supplies with shop links visit the thumbnails below this post.

Pin this post to your Pinterest board and save this card idea for later.


USED COLORS

This time no card instructions on my blog, instead of it I have a video tutorial with instructions for you. For the coloring I have used Spectrum Noir Illustrators in the following colors:


VIDEO TUTORIAL

In this video you can see the full process how I created this cute card using Lawn Fawn products. I have included the coloring part in the video too. Thank you so much for checking my post, happy watching, sending you big crafty hugs, Mona.


Watch the video above | Watch the video in HD on YouTube

BEFORE YOU GO...

Let’s stay crafty friends! You can find more cardmaking inspiration, behind-the-scenes peeks and photography tips for crafters on my Instagram and Facebook pages.

📷✨ I’m on a mission to help cardmakers and crafters feel more confident with photography, so their beautiful creations can shine online too.

FOLLOW ON INSTAGRAM  |  EXPLORE MY SHOP

USED SUPPLIES

I’ve listed all the supplies I used below, so you can easily find them. Some of the links are affiliate links, which means I may earn a small commission if you make a purchase, at no extra cost to you. Thank you so much for supporting my blog and creative work!
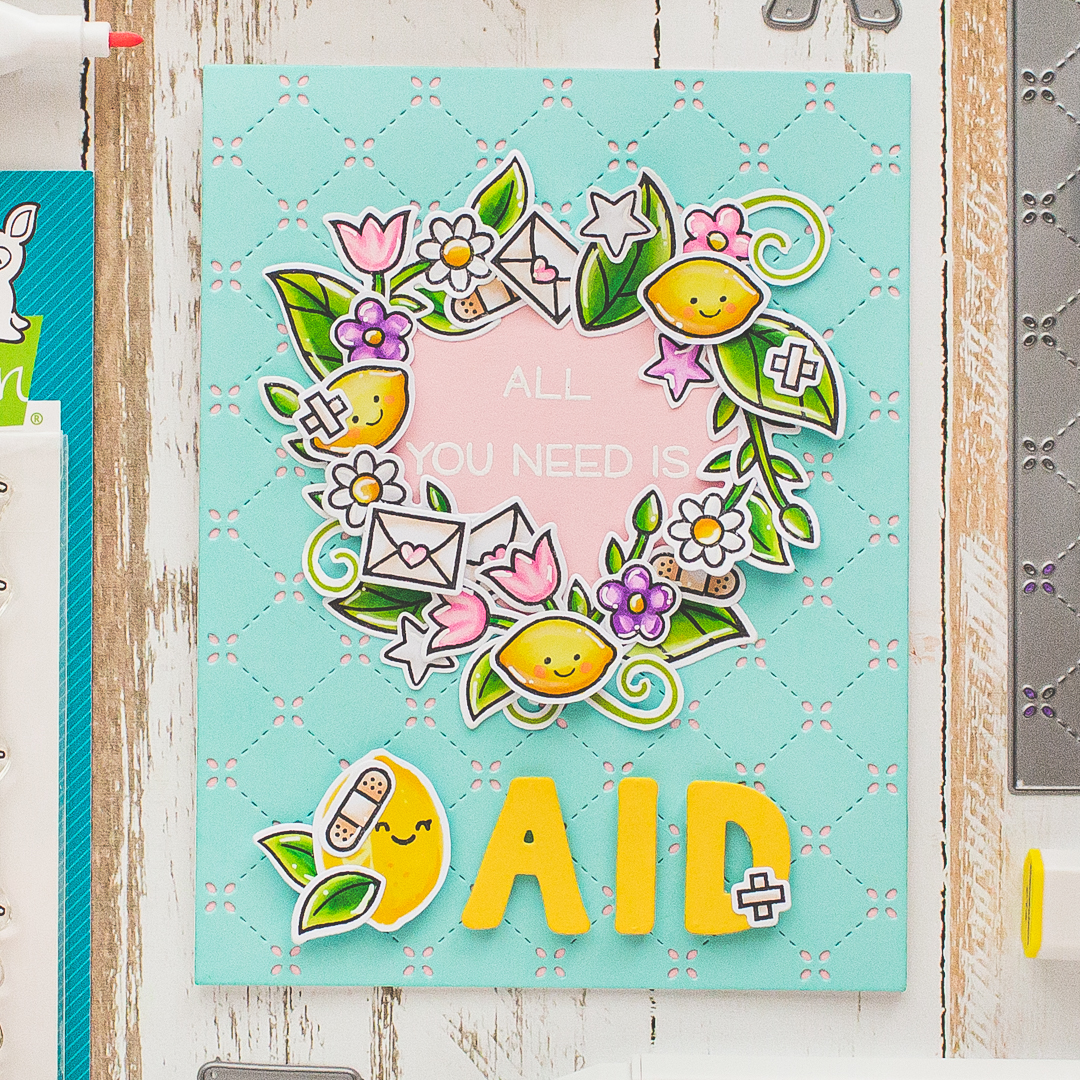
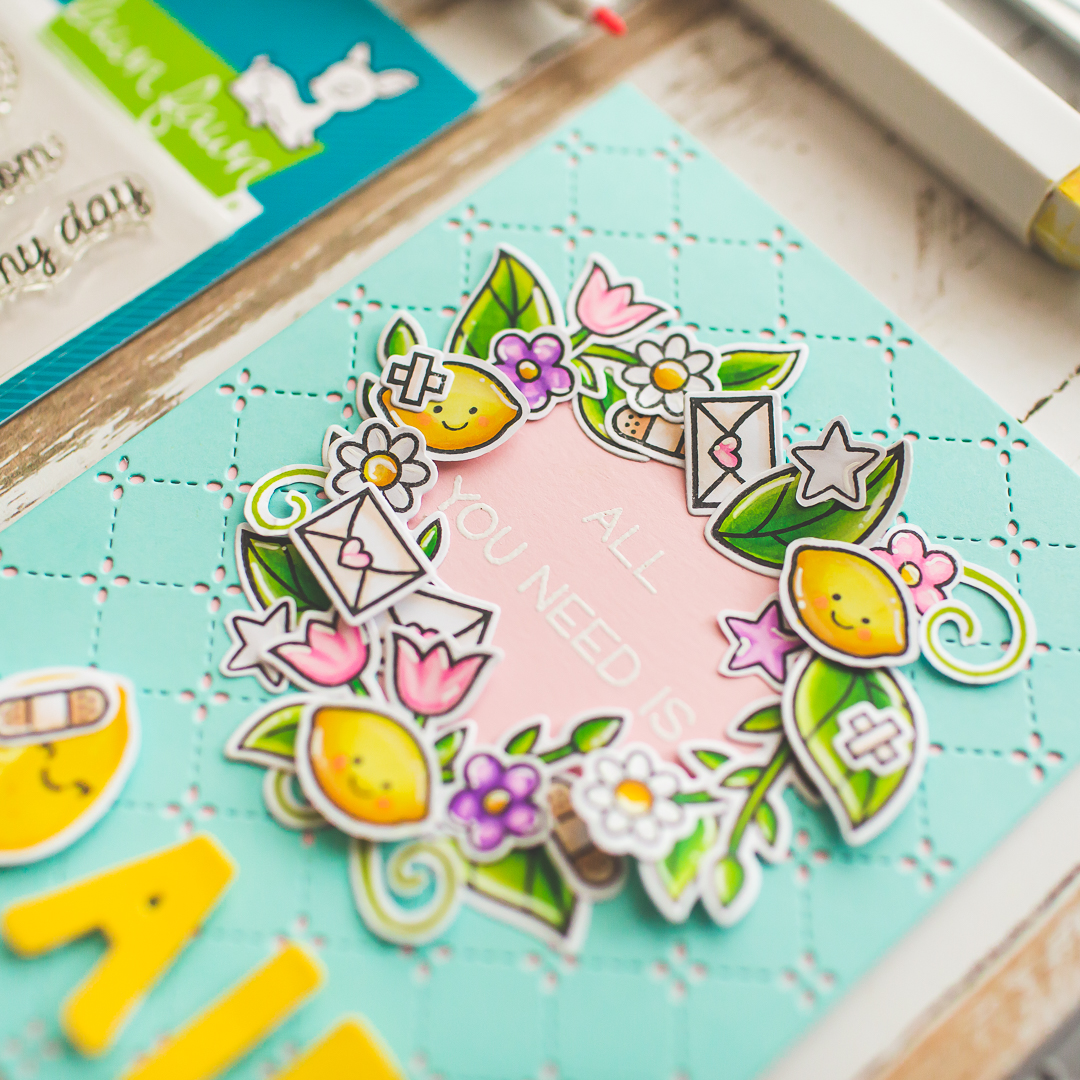
[Video] Lemon-AID card inspiration | Lawn Fawn Fans Spring YouTube Hop

Happy Friday crafty friend! Today I have a new punny video tutorial for you with this cute lemon-AID card. Take it with love. 💓 

Better craft photos are easier than you think. Start with 5 simple tips you can try today.
🎁 Get my free photo ebook here!

This tutorial is a part of the Lawn Fawn Fans Spring YouTube Video Hop. This hop is always so much fun and there is a generous gift certificate too, so it's worth to check it out.


THIS CARD FEATURES


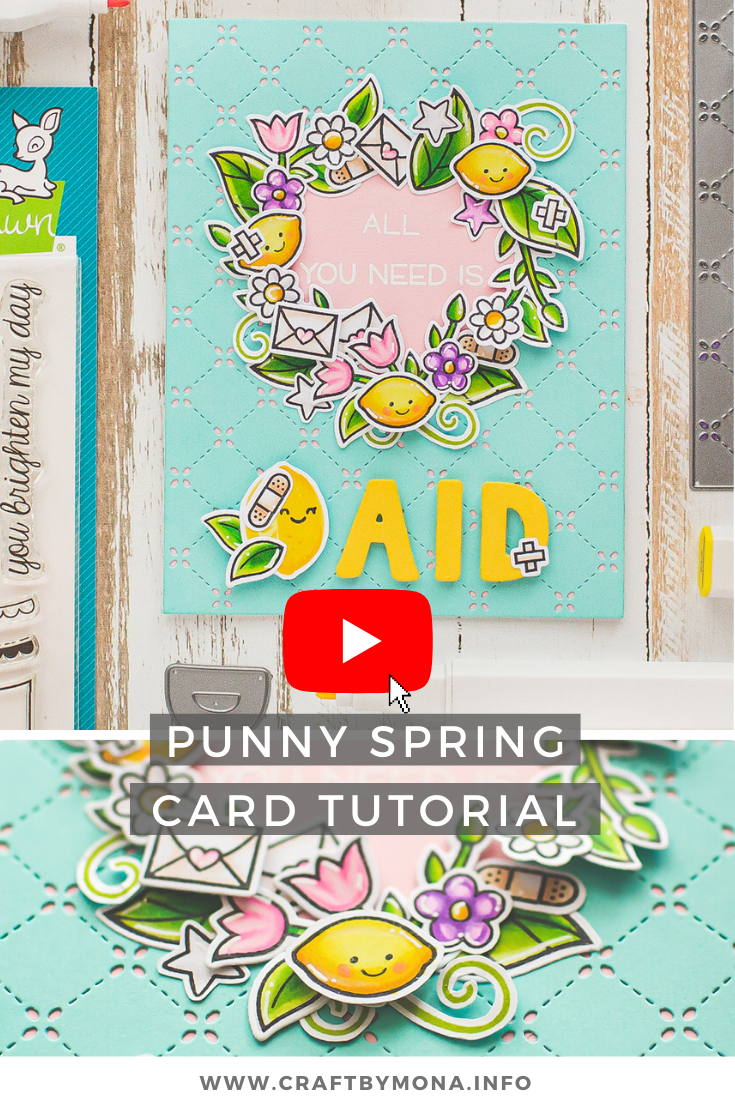
Pin this post to your Pinterest board and save this card idea for later.

USED COLORS

This time no card instructions, instead of it I have a quick 5 min video tutorial with instructions below. For the coloring I have used Spectrum Noir Illustrators as well as Spectrum Noir Classique's in the following colors:

Spectrum Noir Illustrators:
CT1, CT2, CT4, GY3, CG2, AG2, AG3, PL1, PL2, PL3, MG1, PP1, TN1, TN2, BG1, Blender.

Classiques (tints): BG05, TN05, PL05, MG05, CG05.


VIDEO TUTORIAL

In this video you can see the full process how I created this cute card using Lawn Fawn products. I have included the coloring part in the video too


Thank you so much for checking my post, Happy watching, sending you big crafty hugs, Mona.

GIVEAWAY

As I mentioned, there is a giveaway on this hop! It’s a 50 dollar gift certificate to the Only One Life Creations Online Store. For more details, check my video, start here.

BEFORE YOU GO...

Let’s stay crafty friends! You can find more cardmaking inspiration, behind-the-scenes peeks and photography tips for crafters on my Instagram and Facebook pages.

📷✨ I’m on a mission to help cardmakers and crafters feel more confident with photography, so their beautiful creations can shine online too.

FOLLOW ON INSTAGRAM  |  EXPLORE MY SHOP

USED SUPPLIES

I’ve listed all the supplies I used below, so you can easily find them. Some of the links are affiliate links, which means I may earn a small commission if you make a purchase, at no extra cost to you. Thank you so much for supporting my blog and creative work!

Pretty Pink Posh March 2021 release Blog Hop + Giveaway

Hi crafty friends! Welcome to day 2 of the Pretty Pink Posh Birthday Celebrations Blog Hop! I created this floral card for Mother's Day using the fabulous March Release.

Better craft photos are easier than you think. Start with 5 simple tips you can try today.
🎁 Get my free photo ebook here!

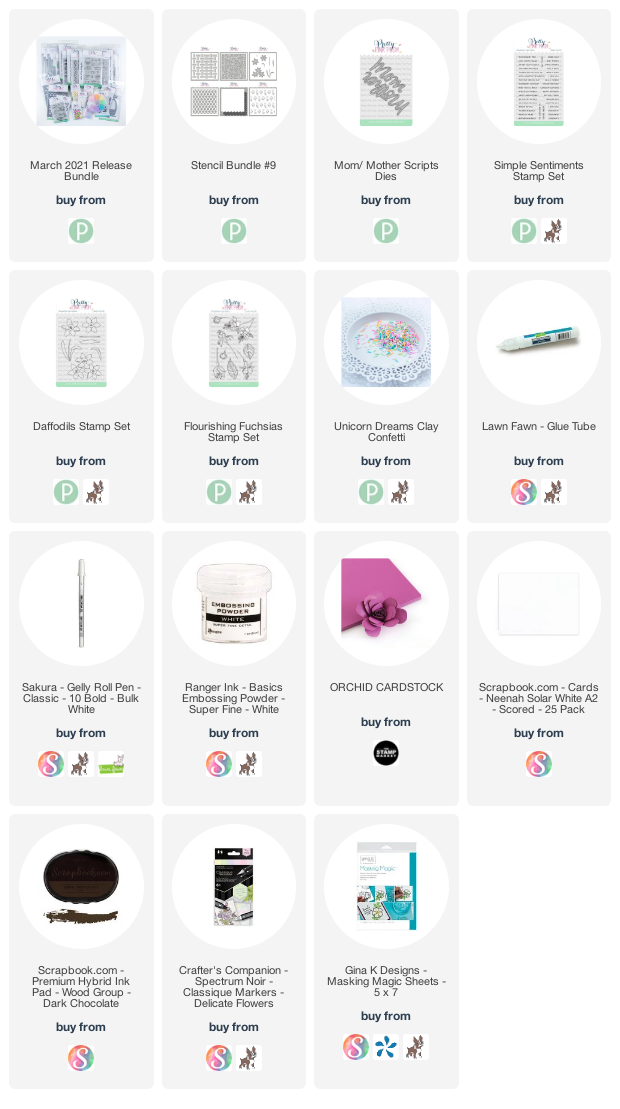
THIS CARD FEATURES


Pin this post to your Pinterest board and save this card idea for later.

CARD INSTRUCTIONS

I started the cardmaking with stamping the images with alcohol marker friendly brown inkpad. I made masking here and there too. When it was done, I made a quick heat set for my images and started the coloring process. 


For the coloring I have used the following colors from Spectrum Noir Illustrators: CT1, CT2, CT4, GY3, TN3, TN4, BO1, OR2, PP4, BP1, PL1, PL2, PL3, PL4, PL5, HB1, HB2, IB1, IB2, IB3, BT6, GT3, GT2, GT1, LG1, Blender. I have learned the coloring of the flowers from Kit and Clowder classes. 


When the coloring was done I created the sentiment with the Mom/ Mother Scripts Dies as well as the Simple Sentiments Stamp SetIn the end I embellished my card with tiny clay hearts from the Unicorn Dreams Clay Confetti.


The result is this floral mothers day card. I am in love with this beautiful Mom scripty die-cut. Thank you so much for stopping by, don’t forget to check this beautiful release, it's truly amazing! And when you support a small business, you support a dream! Enjoy the hop! Hugs, Mona.

BLOG HOP

Below is a list of all of the designers participating in today’s blog hop! Check out all of the wonderful inspiration!

Pretty Pink Posh blog
Mona Toth  <<< You are here

GIVEAWAY 

Pretty Pink Posh will be giving away 3 $25 gift certificates during the three-day blog hop (one winner each day)! Comments must be left by 11:59 PM PST on 3/16/2021. The winners will be announced on the Pretty Pink Posh Blog

BEFORE YOU GO...

Let’s stay crafty friends! You can find more cardmaking inspiration, behind-the-scenes peeks and photography tips for crafters on my Instagram and Facebook pages.

📷✨ I’m on a mission to help cardmakers and crafters feel more confident with photography, so their beautiful creations can shine online too.

FOLLOW ON INSTAGRAM  |  EXPLORE MY SHOP

USED SUPPLIES

I’ve listed all the supplies I used below, so you can easily find them. Some of the links are affiliate links, which means I may earn a small commission if you make a purchase, at no extra cost to you. Thank you so much for supporting my blog and creative work!

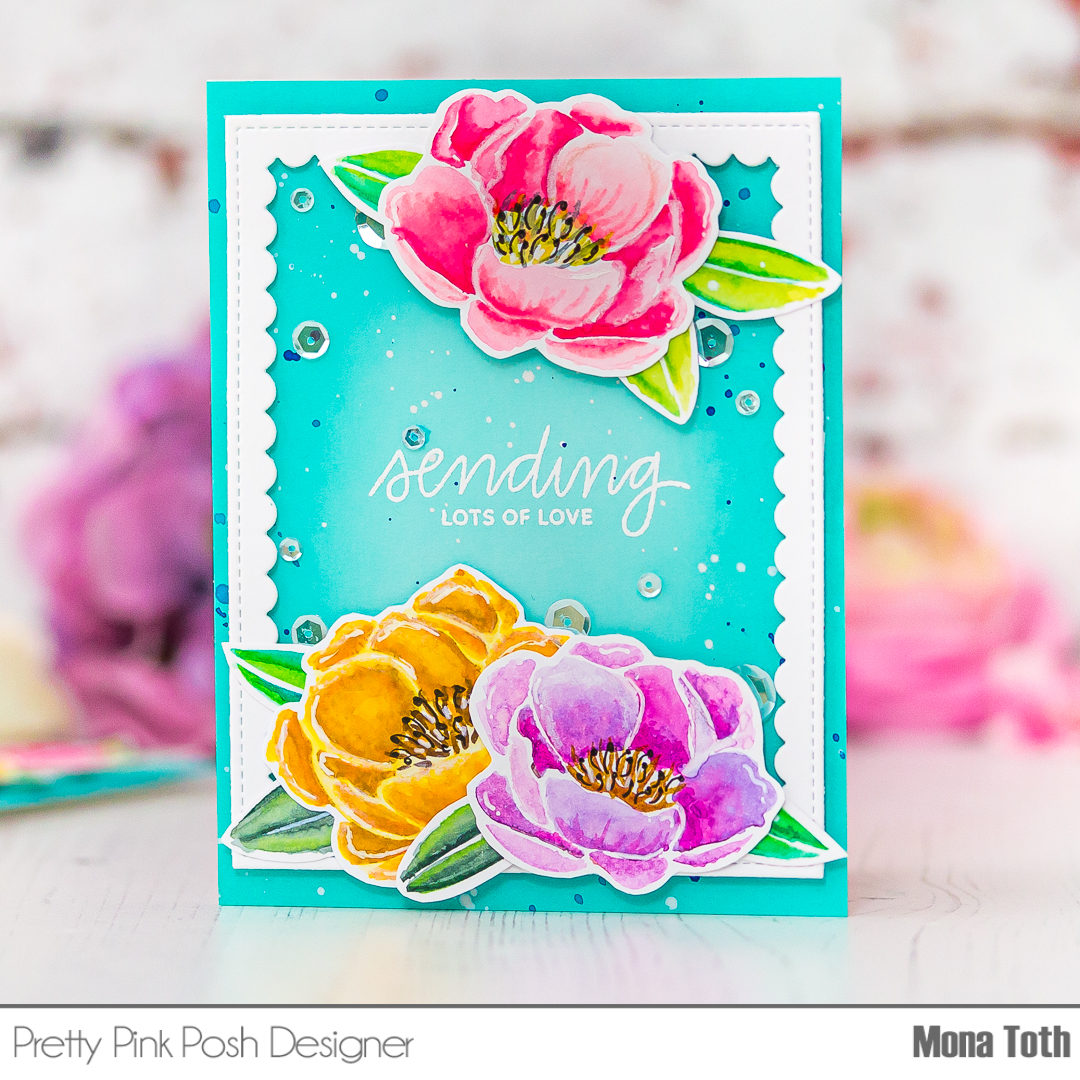
[VIDEO] Amazing water-colored flowers using stencils only

Hi crafty friends! Today I am sharing with you a fun technique video where you will learn how to create amazing water-colored flowers using only stencils and watercolor mediums. You can find the video here


Better craft photos are easier than you think. Start with 5 simple tips you can try today.
🎁 Get my free photo ebook here!

THIS CARD FEATURES


Pin this post to your Pinterest board and save this card idea for later.

VIDEO TUTORIAL

Watch my video tutorial below to learn how to create water-colored flowers using only stencils and watercolor markers. If you have any questions feel free to ask in a comment.  


Watch the video above | Watch the video in HD on YouTube


CARD INSTRUCTIONS

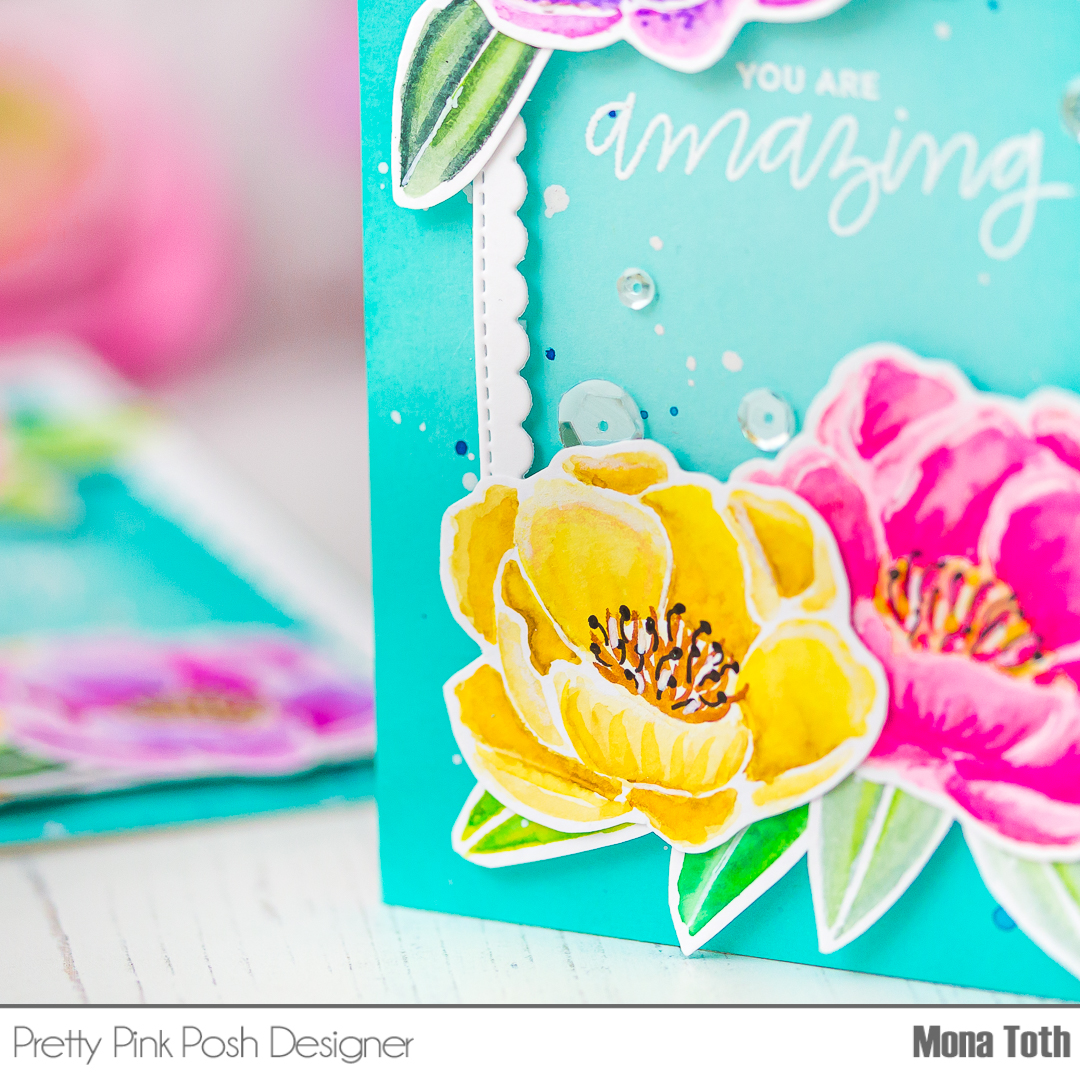
The key for this project is to have a floral stencil like the beautiful Peonies Stencil from the latest release. For this project you will also need watercolor paper, a low tack tape, brushes, paper towel, mixing palette, water-based mediums and water. You can use either your brush markers or your watercolor palette. Just use what you like more, but I will show you both options in my video tutorial.


For the entire coloring process with tips and tricks watch my video tutorial above and learn how to create amazing water-colored flowers like a pro, without stamping. For this watercoloring technique I have used Karin Markers and I am really impressed with them! But you can use any watercolor mediums you like!


When the coloring was done, I continued with fussycutting and die-cutting all the colored images. Then I picked a light turquoise cardstock in size 5.5 by 4.25”.


The following process was the ink blending. I have used Peacock Feathers Distress Oxide ink and blended the edges of the card front from outside to inside.


Next, I stamped the You Are Amazing and the Missing You So Much sentiments with watermark ink from the Everyday Greetings Stamp Set. Next, I heat embossed it with white fine embossing powder. When it was done, I splattered on it with white, and blue watercolors and let them air dry.


Because I wanted to break the background, I decided to create a white die-cut with the scalloped Frames Dies. I adhered the flowers to the frames with liquid adhesive, then I adhered the floral frame to the card with 3D foam squares.


In the end I embellished my cards with Clear sequins. If you feel like it, give it a try, it’s so relaxing  and I know the result will be amazing. Thank you so much for stopping by, see you next time. Hugs, Mona.

BEFORE YOU GO...

Let’s stay crafty friends! You can find more cardmaking inspiration, behind-the-scenes peeks and photography tips for crafters on my Instagram and Facebook pages.

📷✨ I’m on a mission to help cardmakers and crafters feel more confident with photography, so their beautiful creations can shine online too.

FOLLOW ON INSTAGRAM  |  EXPLORE MY SHOP

USED SUPPLIES

I’ve listed all the supplies I used below, so you can easily find them. Some of the links are affiliate links, which means I may earn a small commission if you make a purchase, at no extra cost to you. Thank you so much for supporting my blog and creative work!