

Hi crafty friends, I have a new video tutorial for Heffy Doodle blog, where I am going to show you how I built this cute card scene and how I colored these cute pastas from the newly released, Pasta La Vista Stamp Set with Copic Markers. I have some extra tips and tricks for you, find the video here.
I started the cardmaking with the scene building. For the sky I picked the Cloudy Skies Stencil, covered the parts with purple tape, which I didn't want to use, and started the blending on a Bristol Smooth Cardstock. It's size is 5.5" by 4.25". I am using the Blueprint Sketch, Salty Ocean and Tumbled Glass Distress Oxide inks to create a nice and fluffy sky. Next I run a green cardstock through the Die-cut machine with the Grassy Lass Border Dies, and made an ink blending on it too. This time I have used the Peacock Feathers Distress Oxide Inks.

Once it was ready I continued with stamping and coloring. I stamped the cute pasta images from the new Pasta La Vista Stamp Set with Brown Copic friendly inkpad called Gingerbread. Before the coloring, I gave a quick heat set to my images. This will prevent the ink leaking.

When it was done, I started the coloring process, be sure to check the video tutorial.

When the coloring was done, I added white highlights with Signo Uniball White Pen and let the images dry. I also colored a few branches from the Hootiful Stamp set.

Next I stamped smiling faces on the pastas from the Pasta la vista set. I love this pasta set so much! Don't forget, all pre-orders placed between 20th December and 3rd January will include a free, not-yet-released Exclusive Sweet Stuff Stamp Set, for more information check the Heffy doodle shop.

Next I mixed my own sentiment with the new Classic Sentiments and the More Classic Sentiments Stamp Sets. These sentiment sets have the same height, so you can mix and match them together perfectly! I stamped the sentiments with watermark ink to a pink cardstock, then I heat embossed with white embossing powder.

In the end I put my card together, don't forget to check the video for the extra tips and tricks. I hope you have enjoyed my project for today.

As always, you can find the used supplies below and if you have any questions feel free to ask in a comment. See you next time, have an amazing day, Mona
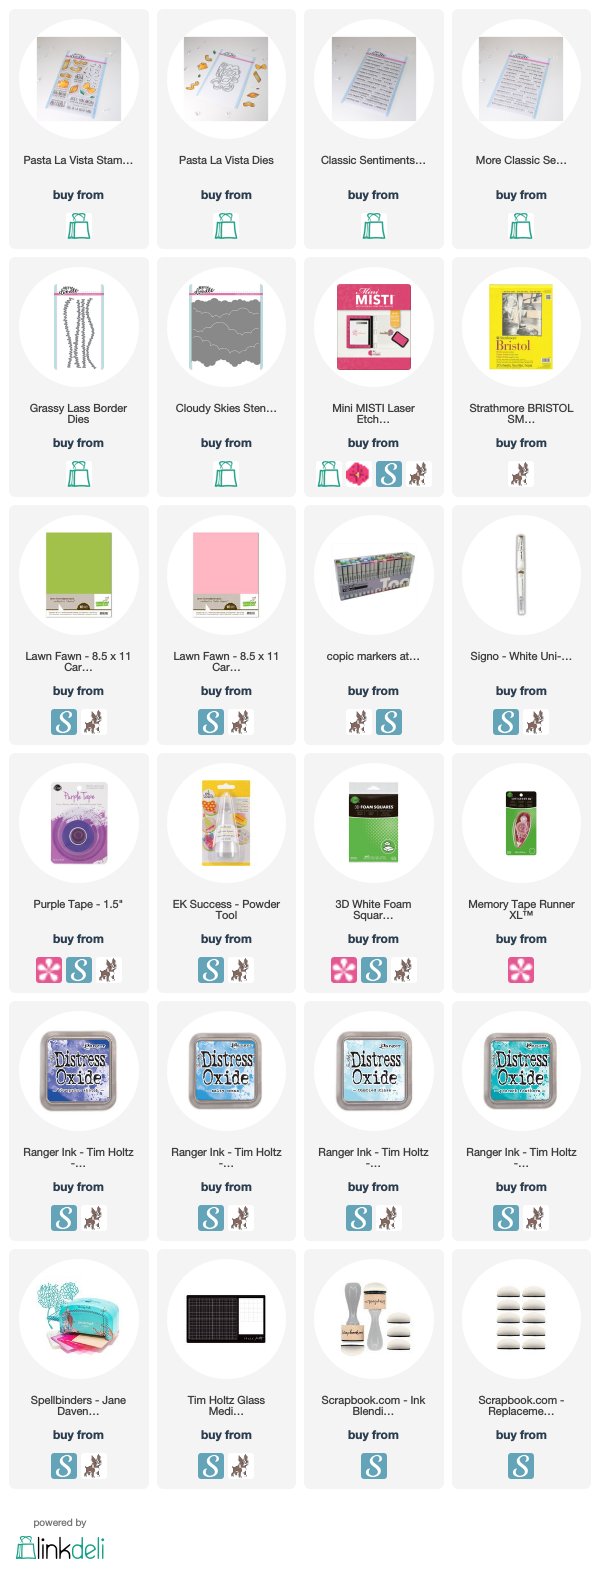
USED SUPPLIES


No comments
Type your comment below: