Stamptember Pretty Pink Posh Exclusive set

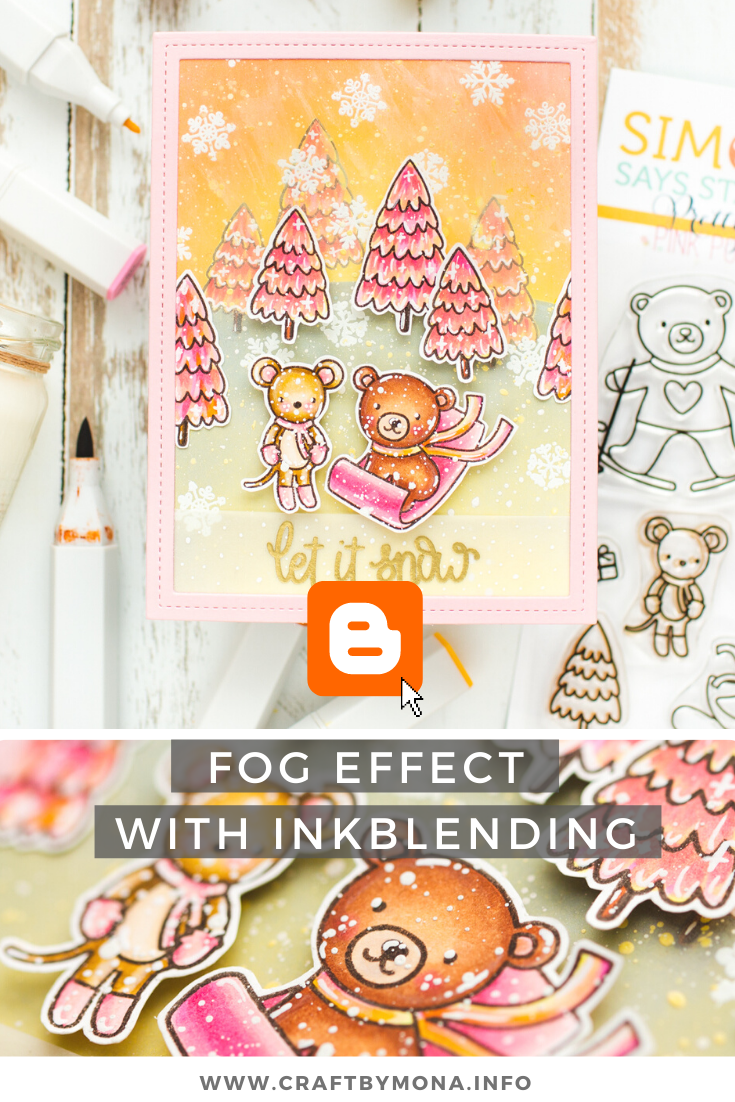
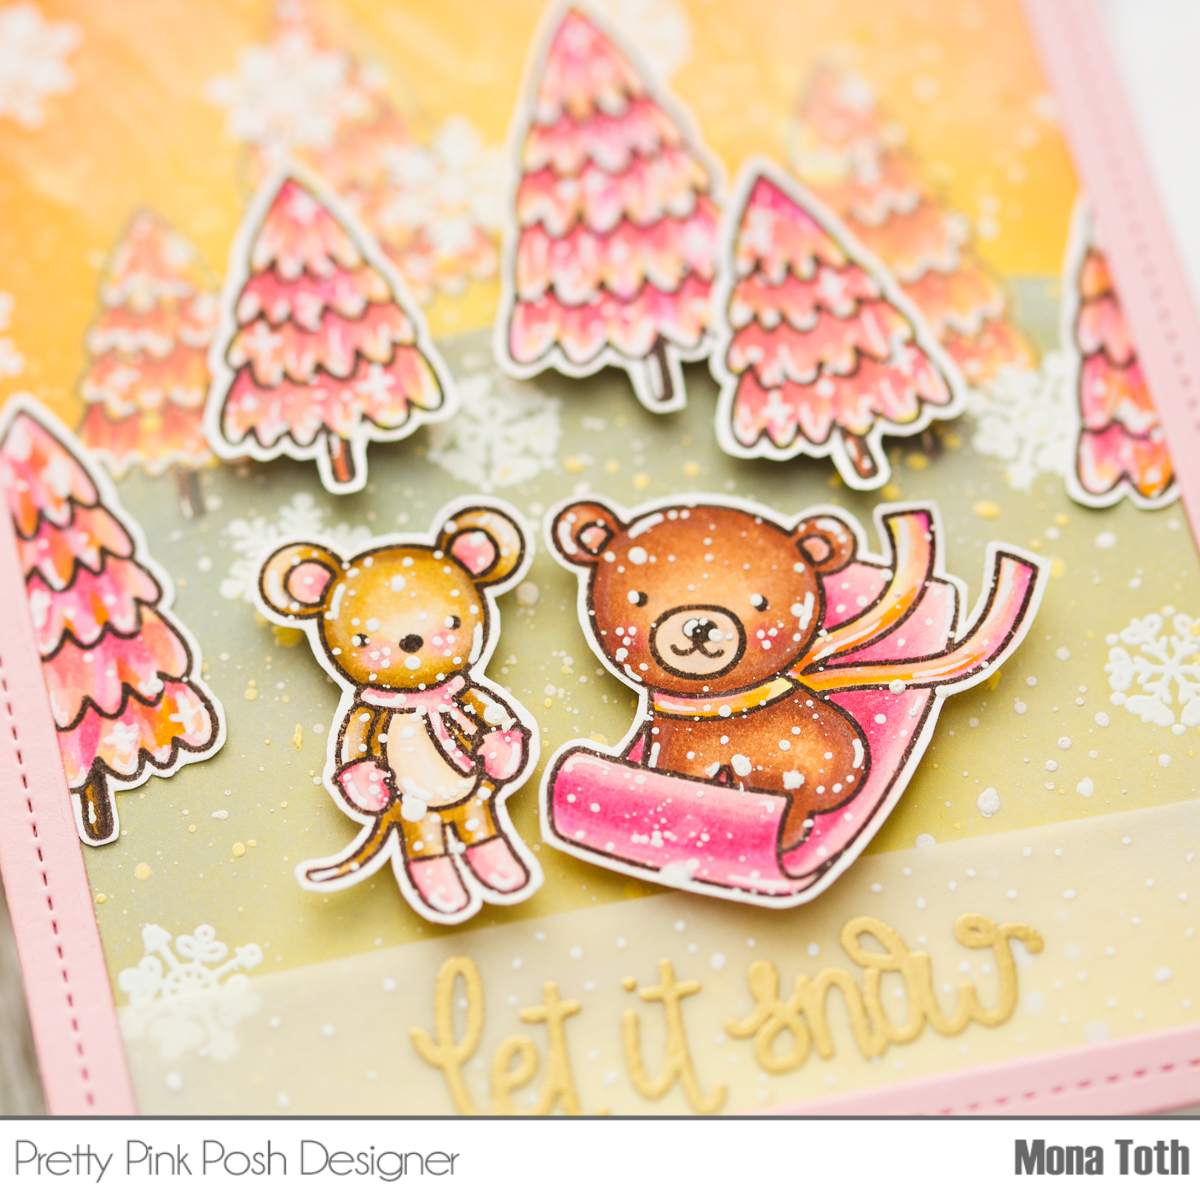
Happy Friday crafty friend! Today we are celebrating the Pretty Pink Posh Exclusive set for Simon Says Stamp STAMPtember 2021! The exclusive, limited edition set for STAMPtember 2021 is called Skiing Bear with lots of cute critters and small elements what is perfect to create a lovely winter card.

Better craft photos are easier than you think. Start with 5 simple tips you can try today.
🎁 Get my free photo ebook here!

THIS PROJECT FEATURES


Pin this post to your Pinterest board and save this card idea for later.

CARD INSTRUCTIONS

I stamped the images from the Skiing Bear Exclusive Stamp Set and colored them with Spectrum Noir Illustrator markers with the following colors: CT1, CT3, CT4, GY3, TN1, TN3, TN4, TN5, TN7, GB6, GB4, GB2, MB1, FS9, FS3, PP1, PP2, PP3, PP5, MG1, MG2, EB4, EB1, MB1, BO1, Blender
Classiques: GB05, BO05. Then I fussycut them with detailed scissors.


Next, I stamped some trees from the same set to the background, colored them the same way and made an inkblending on it with Fossilized Amber, Wild Honey, Squeezed lemonade, and Shaded Lilac Distress Oxide inks as well. Because of the blending I got a nice smooth fog effect in the background. 


After the inkblending I splattered on the background and the images with white watercolor to give the card a nice winter "its snowing" kind of effect. Once the background was dry, I stamped on it some snowflakes from the Skiing Bear Exclusive STAMPtember Stamp Set using a watermark ink. 


Then I heat embossed it with white embossing powder. I repeated the same process on a piece of vellum, but this time with the let it snow sentiment, and heat embossed it with gold fine embossing powder.  Thank you so much for stopping by, take a look at this amazing setI wish you happy day! Hugs, Mona.

BEFORE YOU GO...

Let’s stay crafty friends! You can find more cardmaking inspiration, behind-the-scenes peeks and photography tips for crafters on my Instagram and Facebook pages.

📷✨ I’m on a mission to help cardmakers and crafters feel more confident with photography, so their beautiful creations can shine online too.

FOLLOW ON INSTAGRAM  |  EXPLORE MY SHOP

USED SUPPLIES

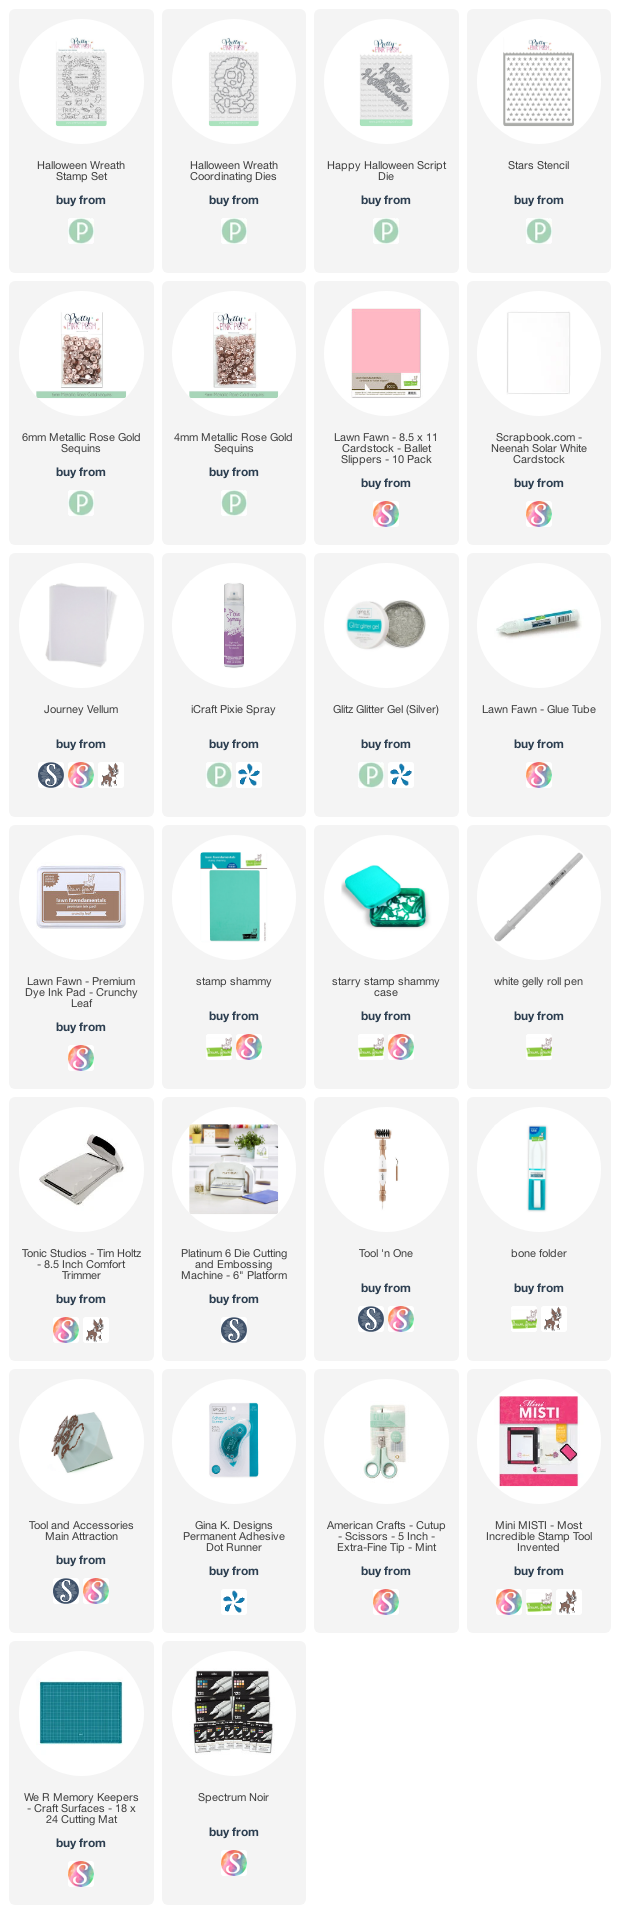
I’ve listed all the supplies I used below, so you can easily find them. Some of the links are affiliate links, which means I may earn a small commission if you make a purchase, at no extra cost to you. Thank you so much for supporting my blog and creative work!
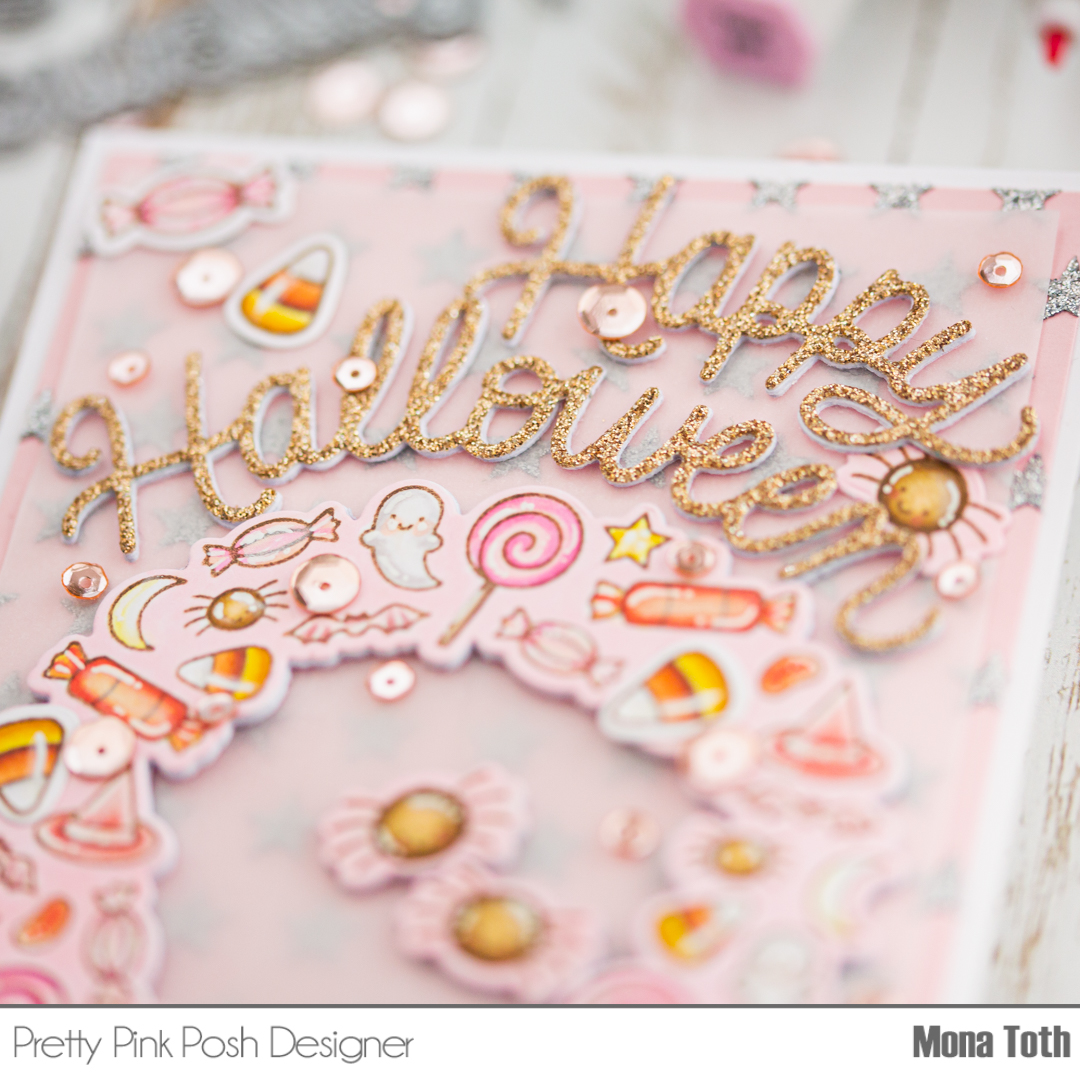
[VIDEO] Cute Halloween card with an interactive twist

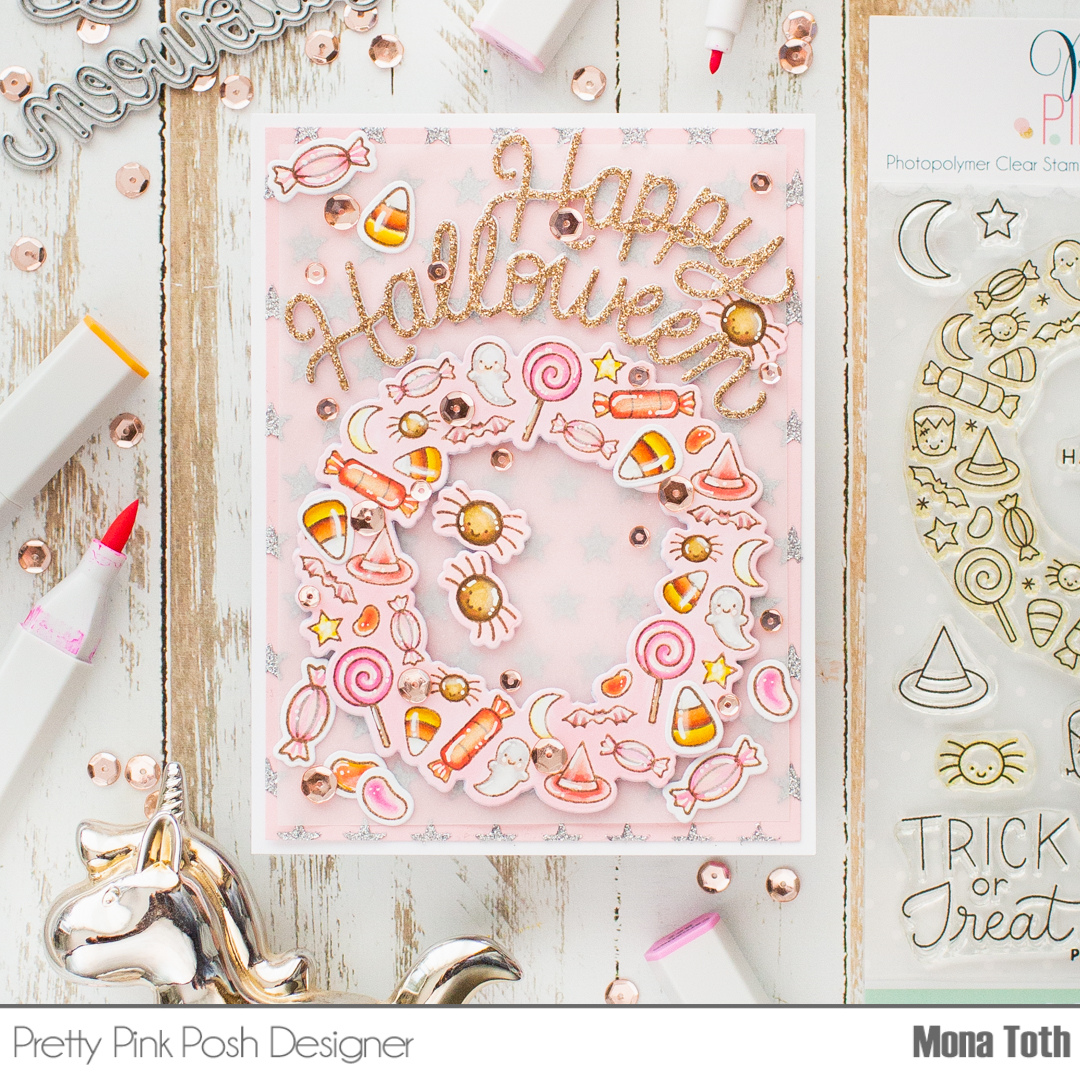
Hi crafty friend! I can’t wait to show you how I made this pinky-sparkly-girly Halloween card tutorial with an interactive twist so let's jump into it! 


Better craft photos are easier than you think. Start with 5 simple tips you can try today.
🎁 Get my free photo ebook here!

THIS PROJECT FEATURES


VIDEO TUTORIAL

From my newest video you can learn how to transform your word die-cuts easily to the wished shape as well as how to move your spiders like real inside your card! The video is super short! And I am sure, that you will LOVE it! :)  


Or click here to watch the video in HD on YouTube You can find the card instructions below this photo.


Pin this post to your Pinterest board and save this card idea for later.

CARD INSTRUCTIONS

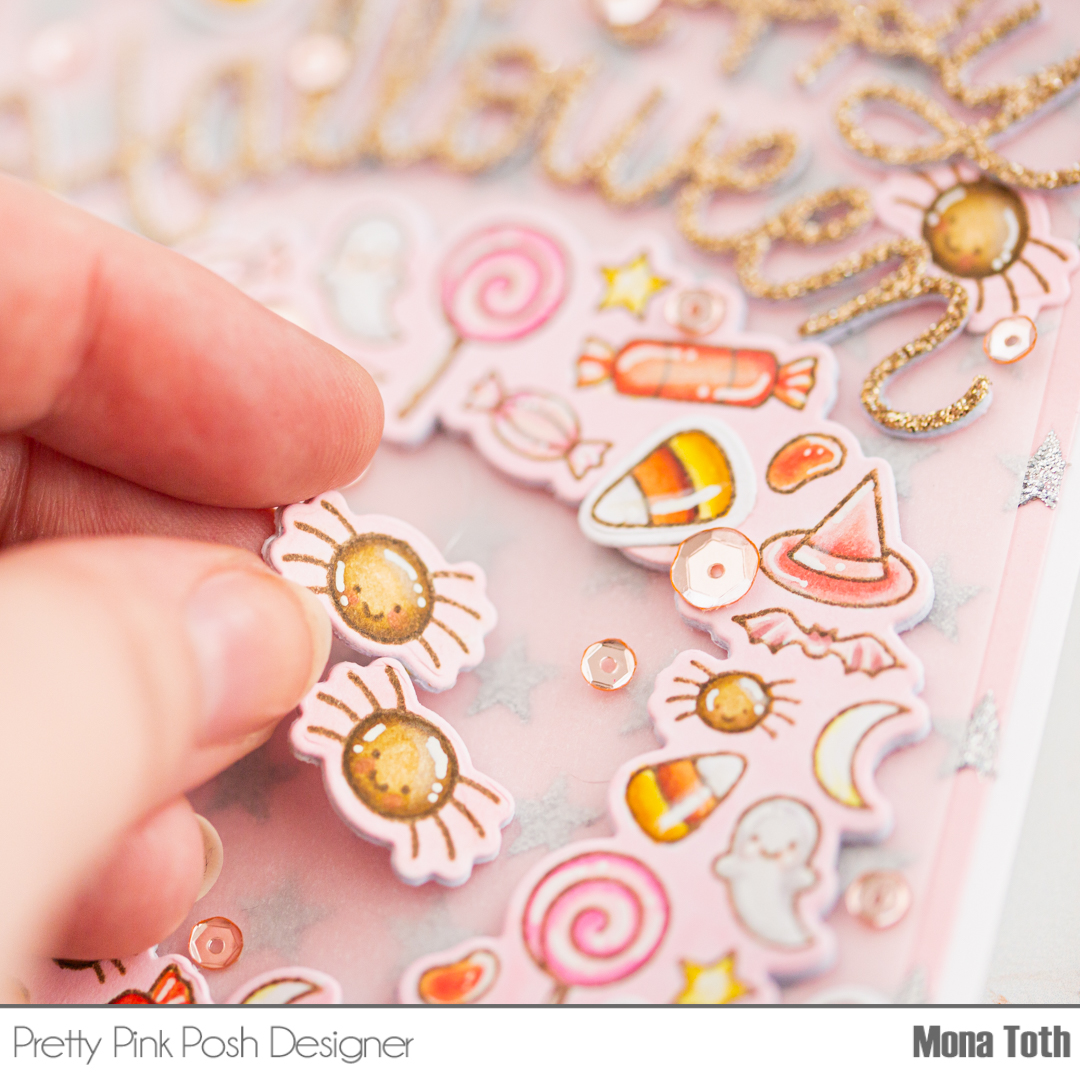
I made the glittery background with the Stars stencils on a pale pink cardstock with the Silver Glitz Glitter Gel. In the video I am showing you what is my favorite method for this process. While the background dries, I stamped the Halloween Wreath Stamp and the other coordinating images from the same stamp set with brown alcohol marker friendly inkpad to a piece of Neenah Solar White cardstock and colored them with Spectrum Noir Illustrators.

I have used the following colors: CT1, CT2, CT4, GY3, BO1, BO2, BO3, BO4, OR2, OR3, CR1, CR3, CR5, CR7, GB1 GB4, GB6, GB10, RB3, RB1, AP4, AP3, AP2, PP1, FS1, MG1, MG2, BG1, BG2, Blender. After the coloring I die-cut all the images and I colored the wheel with a pale pink alcohol marker.


Next, I continued with the die-cutting. I made more die-cuts from heavy weight cardstock, because I wanted to add thickness to the wreath and the spiders, in this case the interactive part will be more durable. Then I transformed the Happy Halloween Die-cuts made with the Happy Halloween Script Dies. This is a fun way to alter the scripted sentiments, in the video I am describing how.

When it was done, I created the interactive element and added the spider to the circle with fishing line, and created the card front. I covered the glittery background with a piece of vellum, and styled the circle, the sentiment and the other elements. In the end I styled my card and added some Metallic Rose Gold Sequins to it as a decoration. Thank you so much for stopping by, see you next time. Hugs, Mona.

BEFORE YOU GO...

Let’s stay crafty friends! You can find more cardmaking inspiration, behind-the-scenes peeks and photography tips for crafters on my Instagram and Facebook pages.

📷✨ I’m on a mission to help cardmakers and crafters feel more confident with photography, so their beautiful creations can shine online too.

FOLLOW ON INSTAGRAM  |  EXPLORE MY SHOP


USED SUPPLIES

I’ve listed all the supplies I used below, so you can easily find them. Some of the links are affiliate links, which means I may earn a small commission if you make a purchase, at no extra cost to you. Thank you so much for supporting my blog and creative work!

Giant Hugs Card with Lawn Fawn

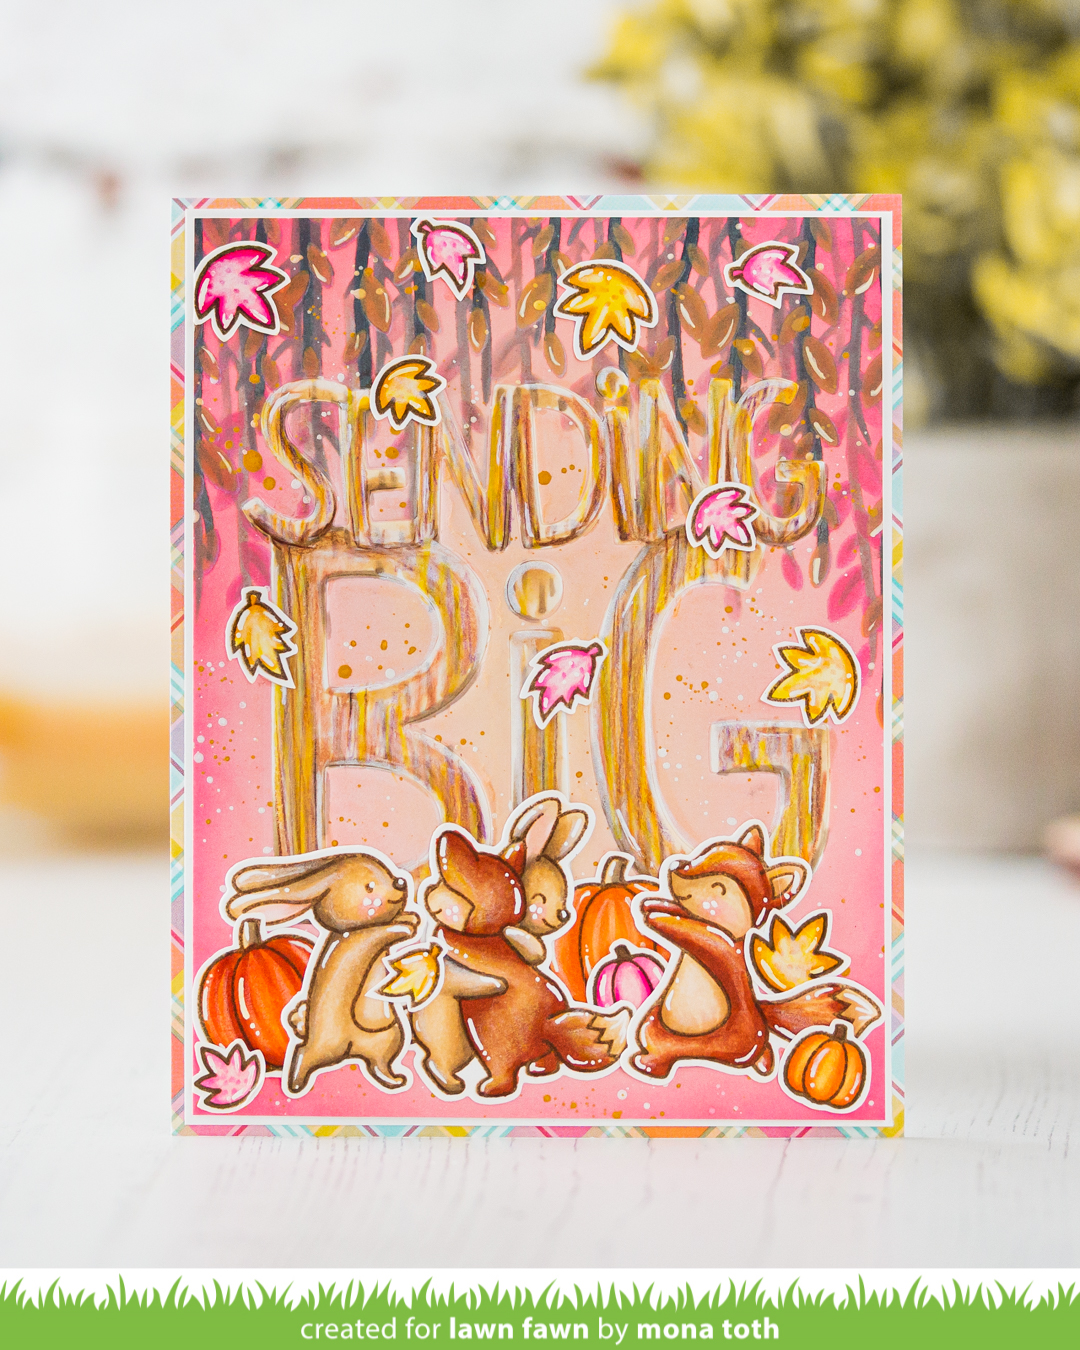
Sending a biiiig warm hug and I wish an amazing weekend to you all with this Giant Big Hugs fall card that I made for Lawn Fawn

Better craft photos are easier than you think. Start with 5 simple tips you can try today.
🎁 Get my free photo ebook here!

THIS CARD FEATURES


Pin this post to your Pinterest board and save this card idea for later.

Thank you so much for checking my post, for detailed instructions please visit the original post. Sending you big crafty hugs, Mona.

BEFORE YOU GO...

Let’s stay crafty friends! You can find more cardmaking inspiration, behind-the-scenes peeks and photography tips for crafters on my Instagram and Facebook pages.

📷✨ I’m on a mission to help cardmakers and crafters feel more confident with photography, so their beautiful creations can shine online too.

FOLLOW ON INSTAGRAM  |  EXPLORE MY SHOP


USED SUPPLIES

I’ve listed all the supplies I used below, so you can easily find them. Some of the links are affiliate links, which means I may earn a small commission if you make a purchase, at no extra cost to you. Thank you so much for supporting my blog and creative work!