Hi crafty friends I am back again with another video tutorial and I am really happy because I am a guest designer for Waffle Flower Crafts. I am going to play with their November Whimsical Bundle.

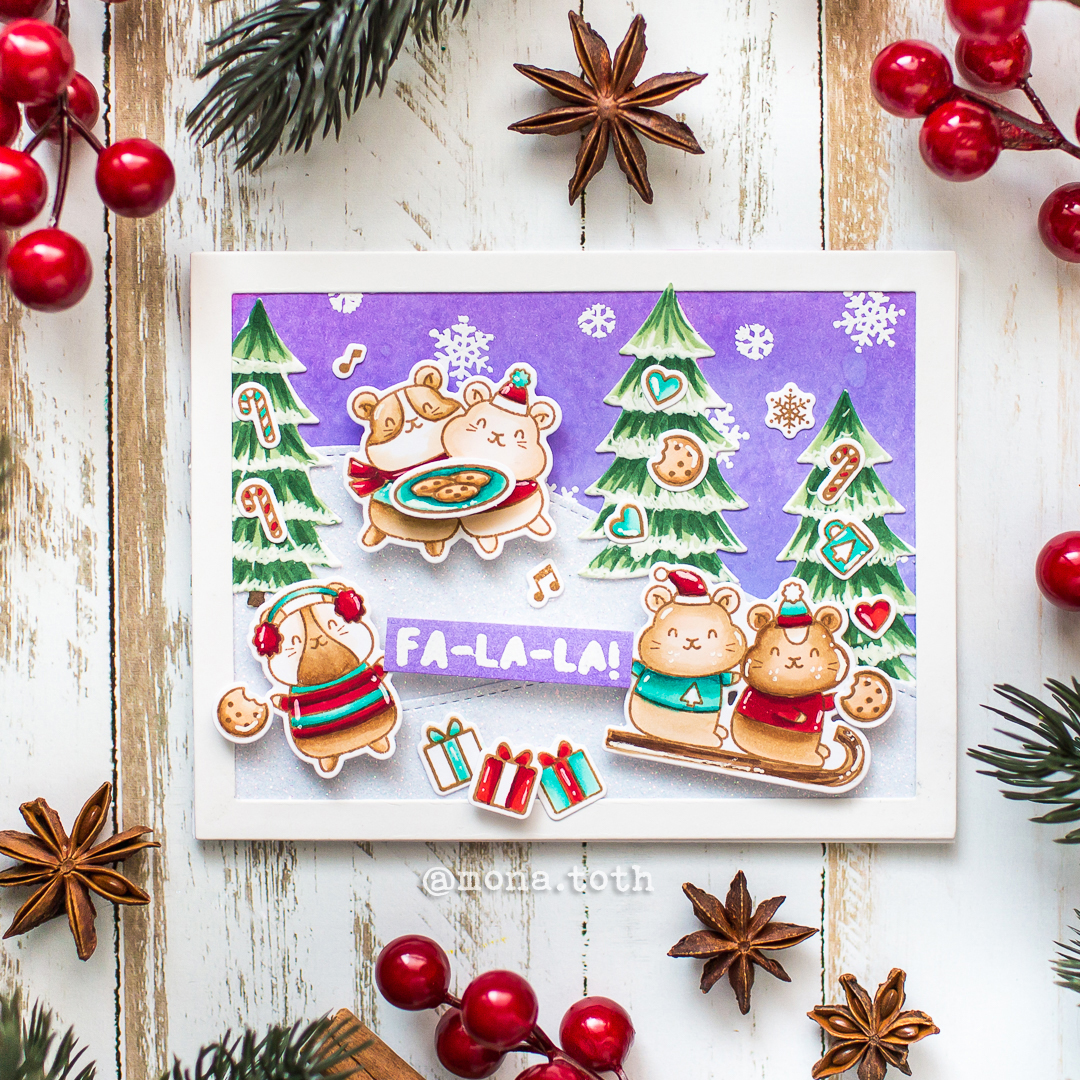
I LOVE this bundle so much. My favorites are these super cute Winter Hamsters. If you take a closer look at these stamps, you can see that the hamsters are grouped together as one stamp. Even the tiny parts are grouped and this can save you soo much time! You can stamp them at once and cut them at the same time, because the dies are connected. Soo much fun right? :)
VIDEO TUTORIAL
I am super excited and I really hope you will enjoy it. You can find the regular post and used supplies below the video.
Let's start with stamping and coloring. I stamped the cute images with my MISTI. I have used a beautiful brown hybrid ink pad called Gingerbread. This brown shade gives the images a more soft look when they will be colored.
After the stamping I made a quick heat set and started the die-cutting! I LOVE these dies so much! I think it was a brilliant idea to connect them! I fixed the dies with Purple tape by thermoweb and I ran them through my die-cut machine as well as the Cozy Cabin Die. I colored the images with my Copic markers. I added the highlights with Signo Uniball White Pen.
The next step was the ink blending with Shaded Lilac and Wilted Violet Distress Oxide inks. For this process I am always using my Water Media Mat! I love this tool so much, its super useful and easy to clean. After the ink blending I splattered it with water and let it dry. Finally I heat embossed the pretty snowflakes and the sentiment from Winter Hamsters stamp set.
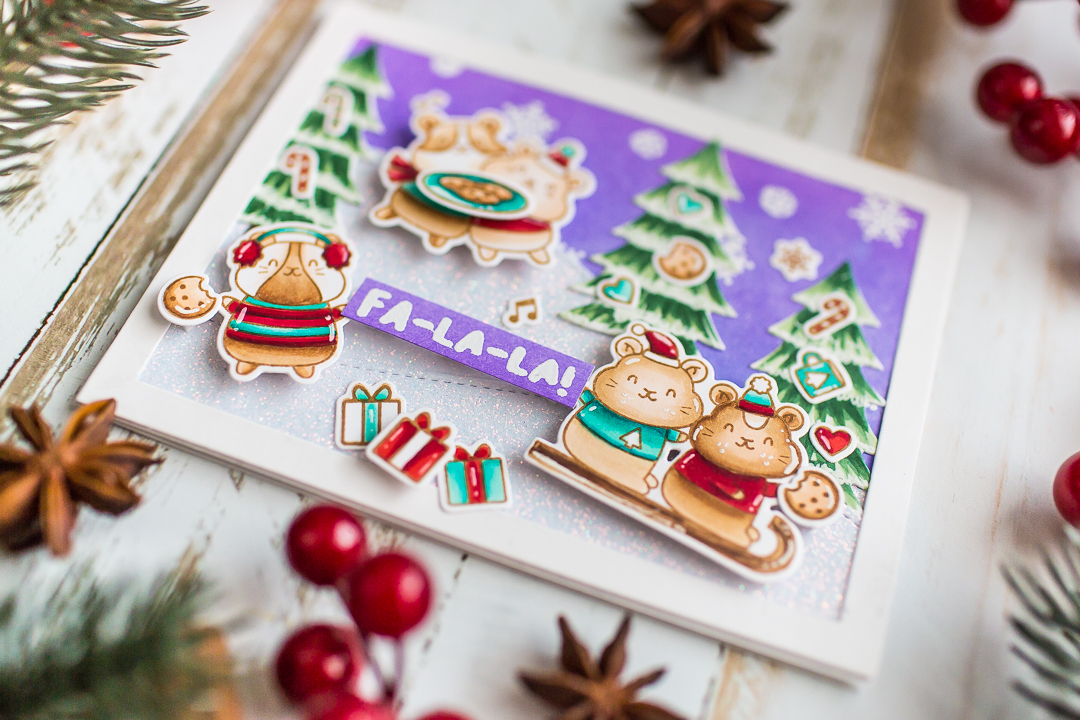
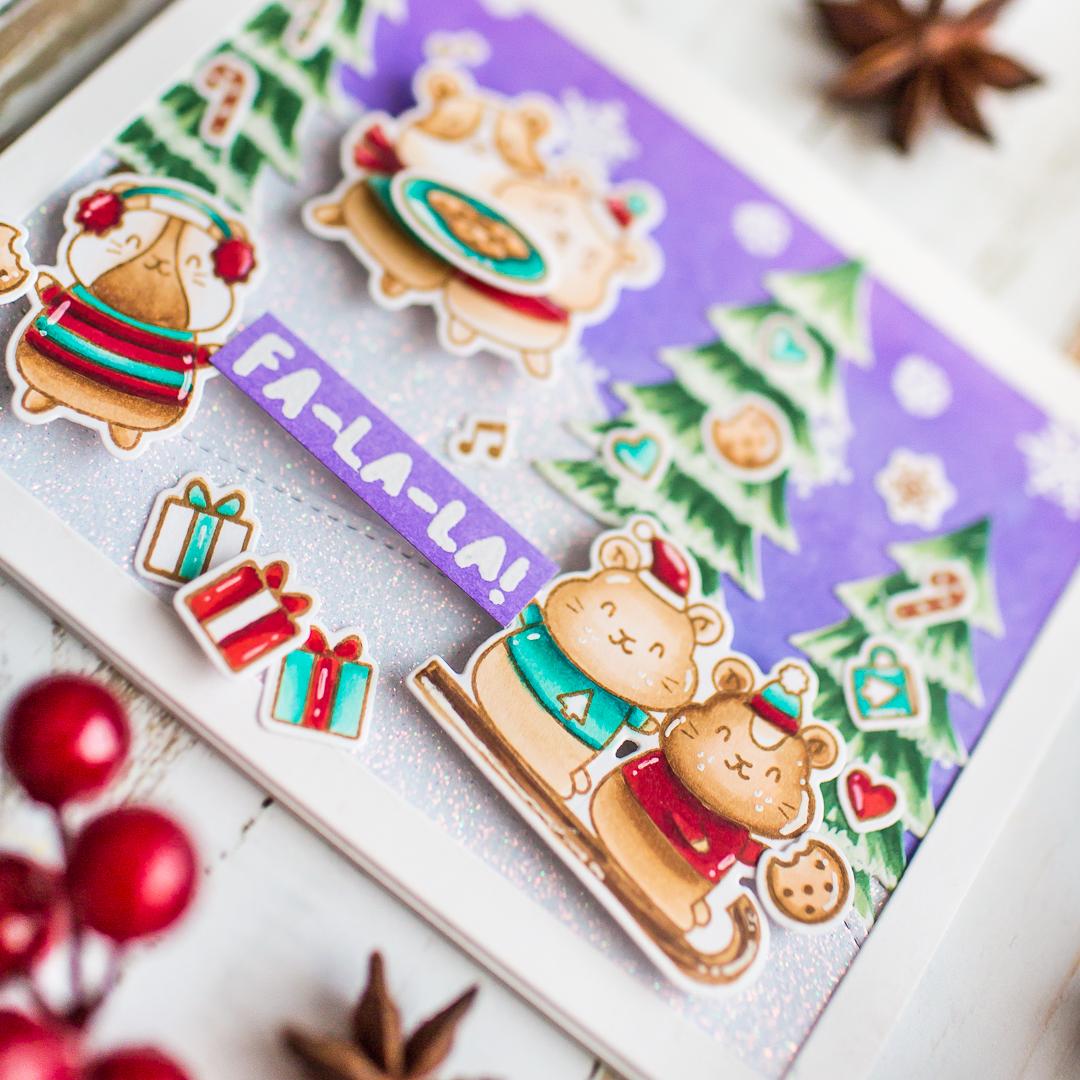
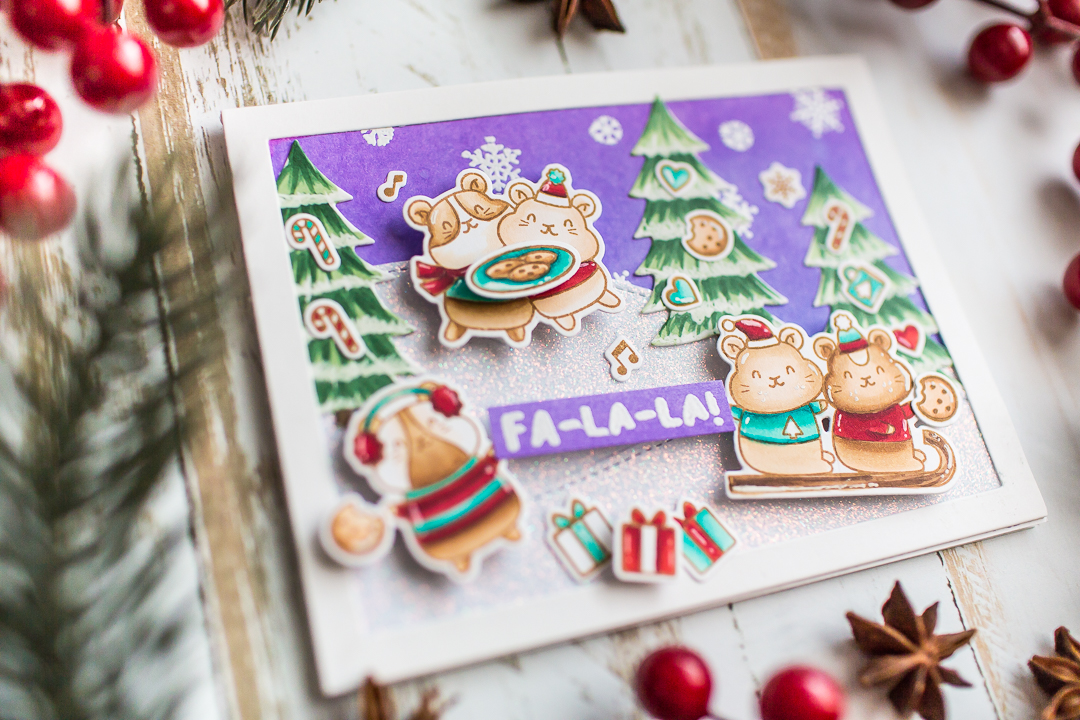
Next I put my card together. I've added a sparkling snow hill to the card. This was my leftover from a previous project, and I thought that I am going to use it. I added a cute decorations to the colored trees and I built up the scene. I adhered the critters and the foodies with 3D Foam Squares from Therm O Web. This gives a perfect dimension to the card.

Finally I placed the sentiment to the hamsters hand and my card was ready. I really love the result, I hope you too. Thank you very much for reading through my post, I hope that you have enjoyed it and I have inspired you! See you next time.
USED SUPPLIES
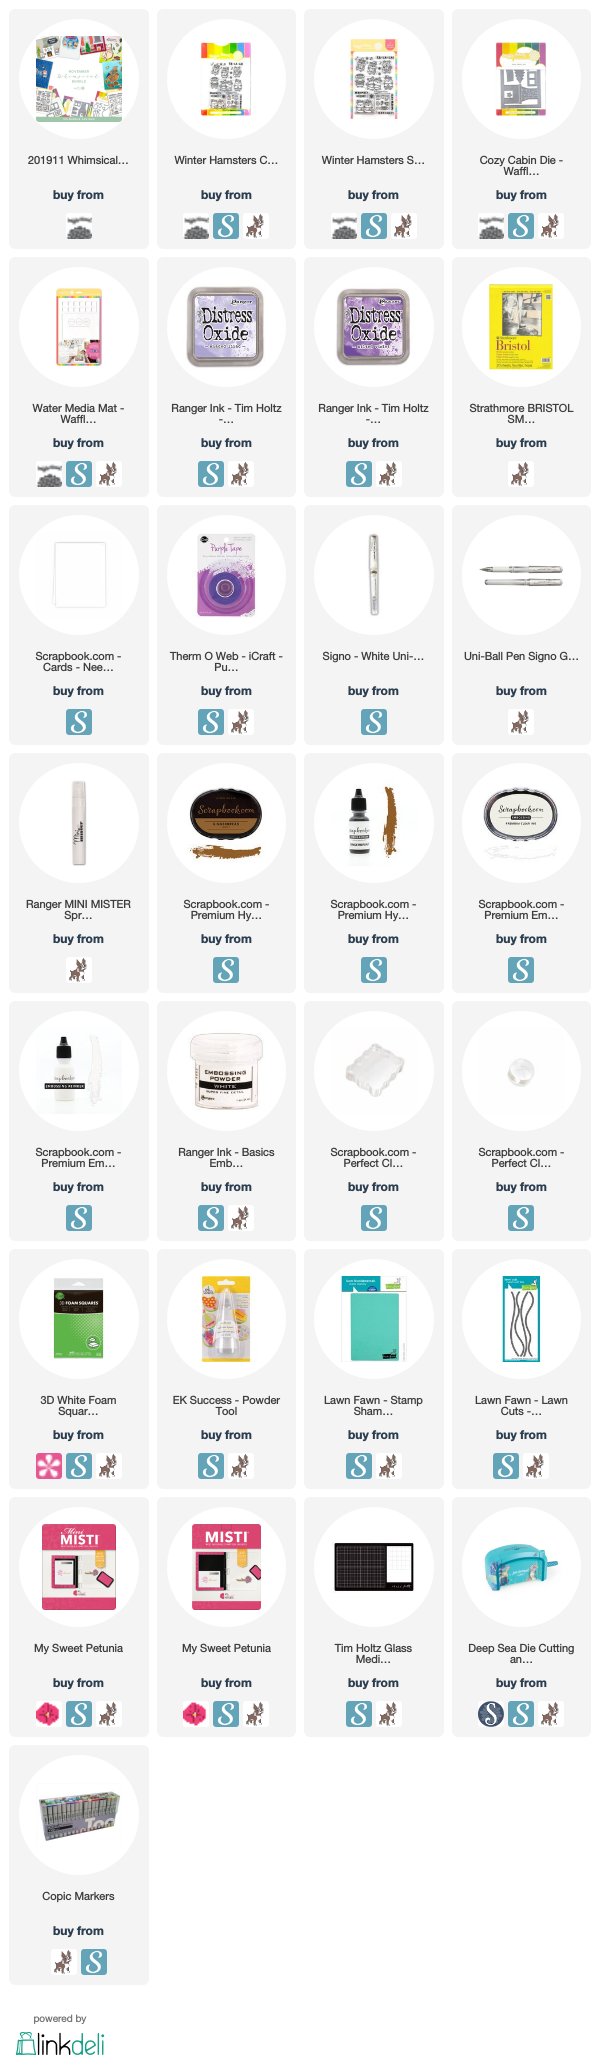
I prepared for you the list of products which I used for making this project. If you buy these through my links you help me running this blog. (You can find the affiliate disclosure here). Thank you for your support!