Hello crafty friend! Welcome to the Thank You For Being My Friend February Release Blog Hop by Alex Syberia Designs! Beside the beautiful inspirations we have a pretty nice giveaway too! You can find more details about it in this post! 🎁😊
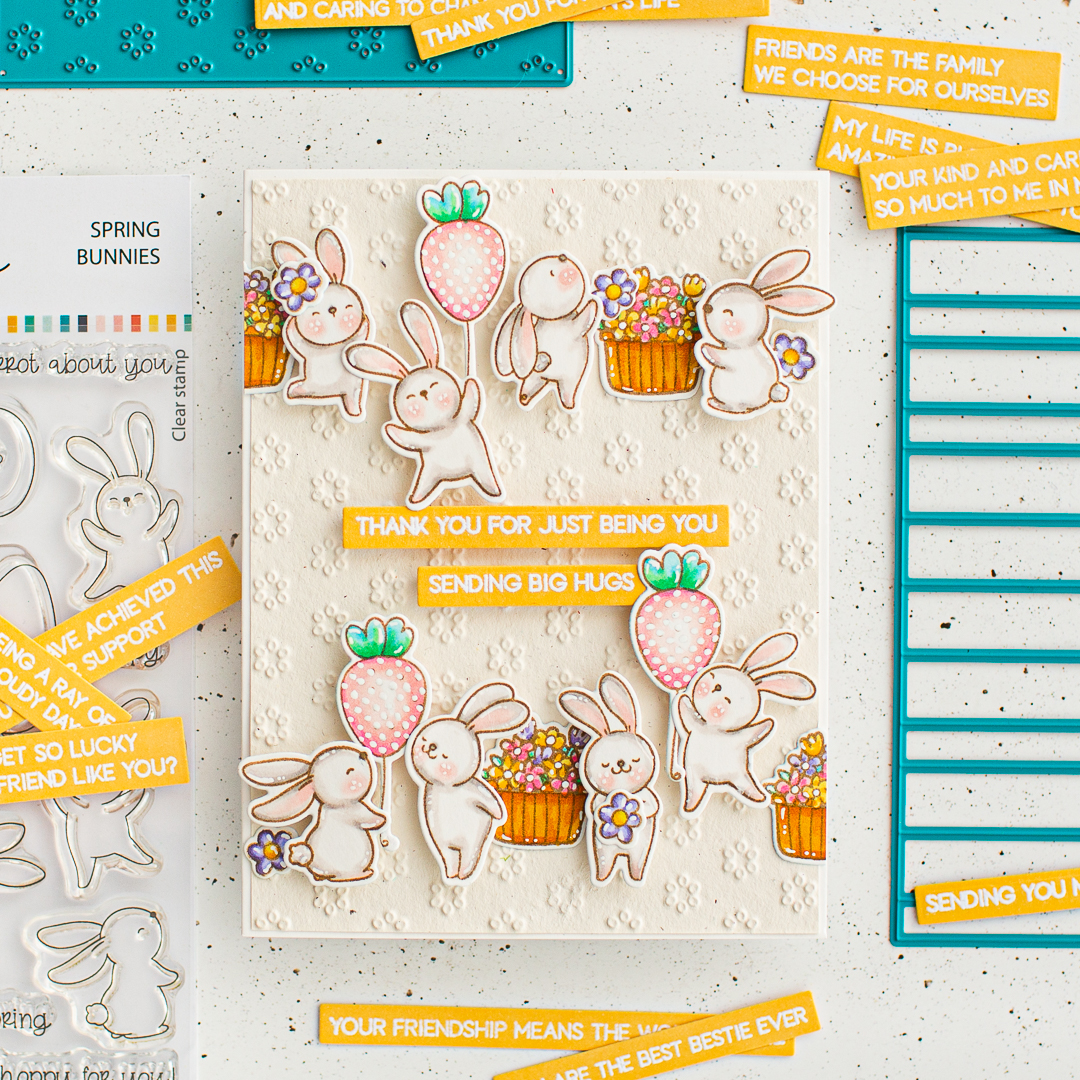
THIS CARD FEATURES
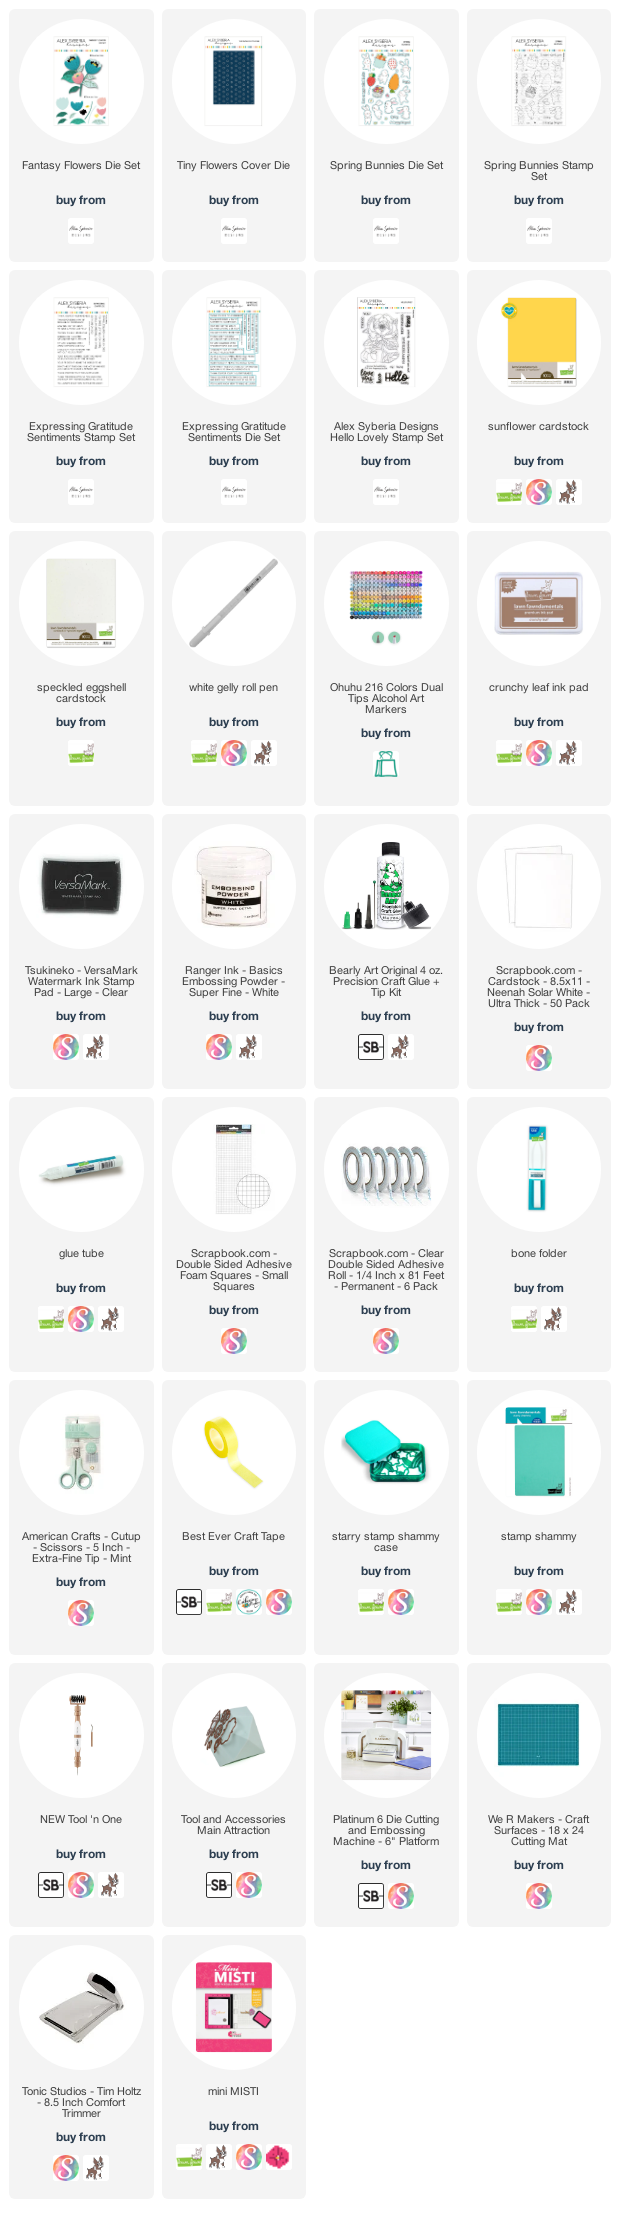
For the additional supplies with shop links visit the thumbnails below this post.
Better craft photos are easier than you think. Start with 5 simple tips you can try today.
🎁 Get my free photo ebook here!
🎁 Get my free photo ebook here!
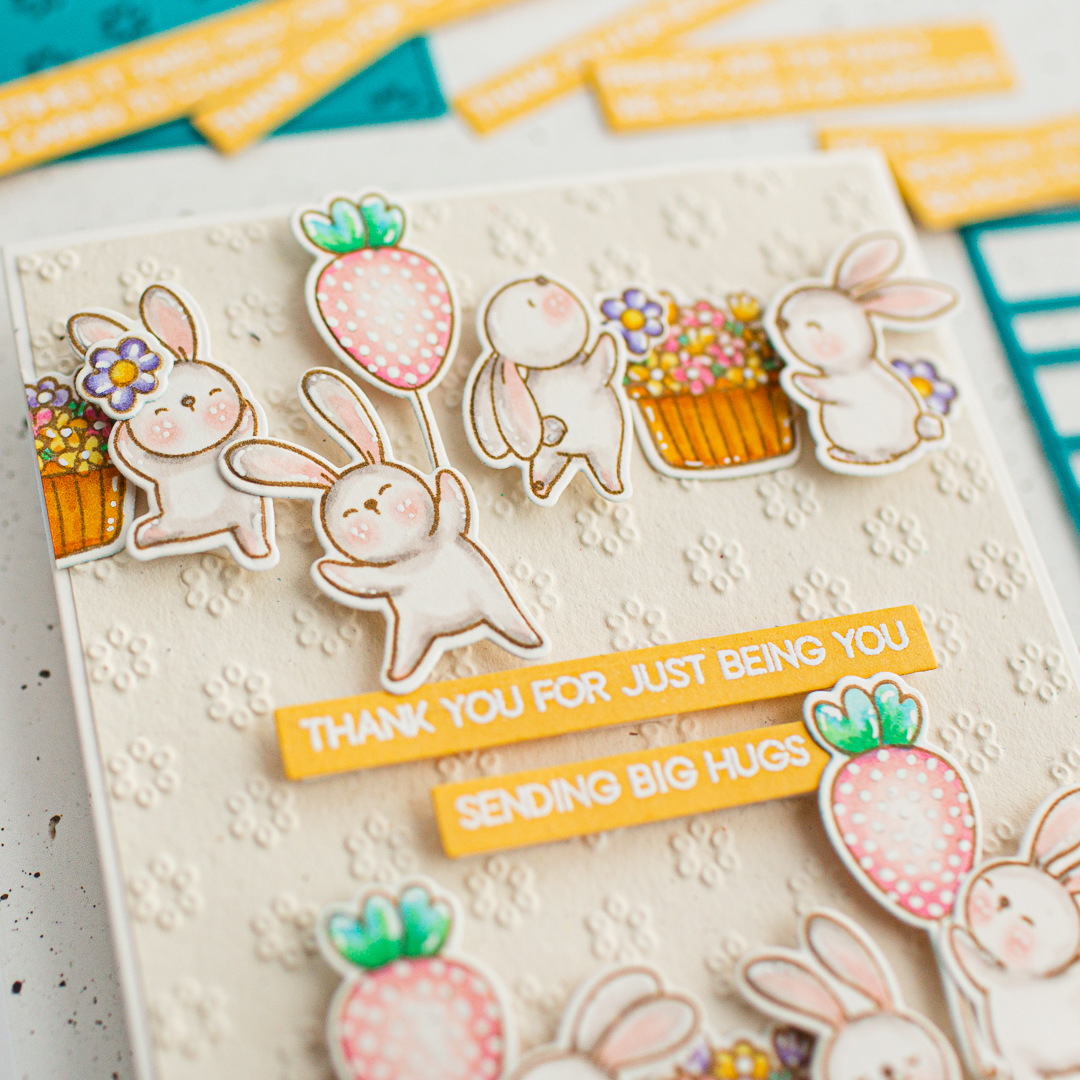
TEXTURED BACKGROUND
The heart of this card is this beautiful textured background what I have created with the new Tiny Flowers Cover Die. To achieve this texture I wet a 5.5" and 4.25" piece of Speckled Egg Cardstock with a water sprayer on both sides. Then I fixed it with craft tape to the Tiny Flowers Cover Die.
Pin this post to your Pinterest board and save this card idea for later.
When it was done, I placed it on my Platinum Six Platform with the cardstock facing up, then I put on the top of it the Tan Embossing mat and the Embossing Plate and run it through my die-cut machine. I decided to use the back of the dry embossed cardstock, because when I saw it I just had to! It looks like a very expensive luxury cardstock! What do you think?
STAMPING AND COLORING
I stamped the cute images from Spring Bunnies Stamp Set with Crunchy Leaf Inkpad to have softer edges. Next I colored them with Ohuhu Markers. I have picked only light colors to keep the figures soft and because they are smaller images, they don't need a super detailed coloring and they look beautiful after a quick coloring too.
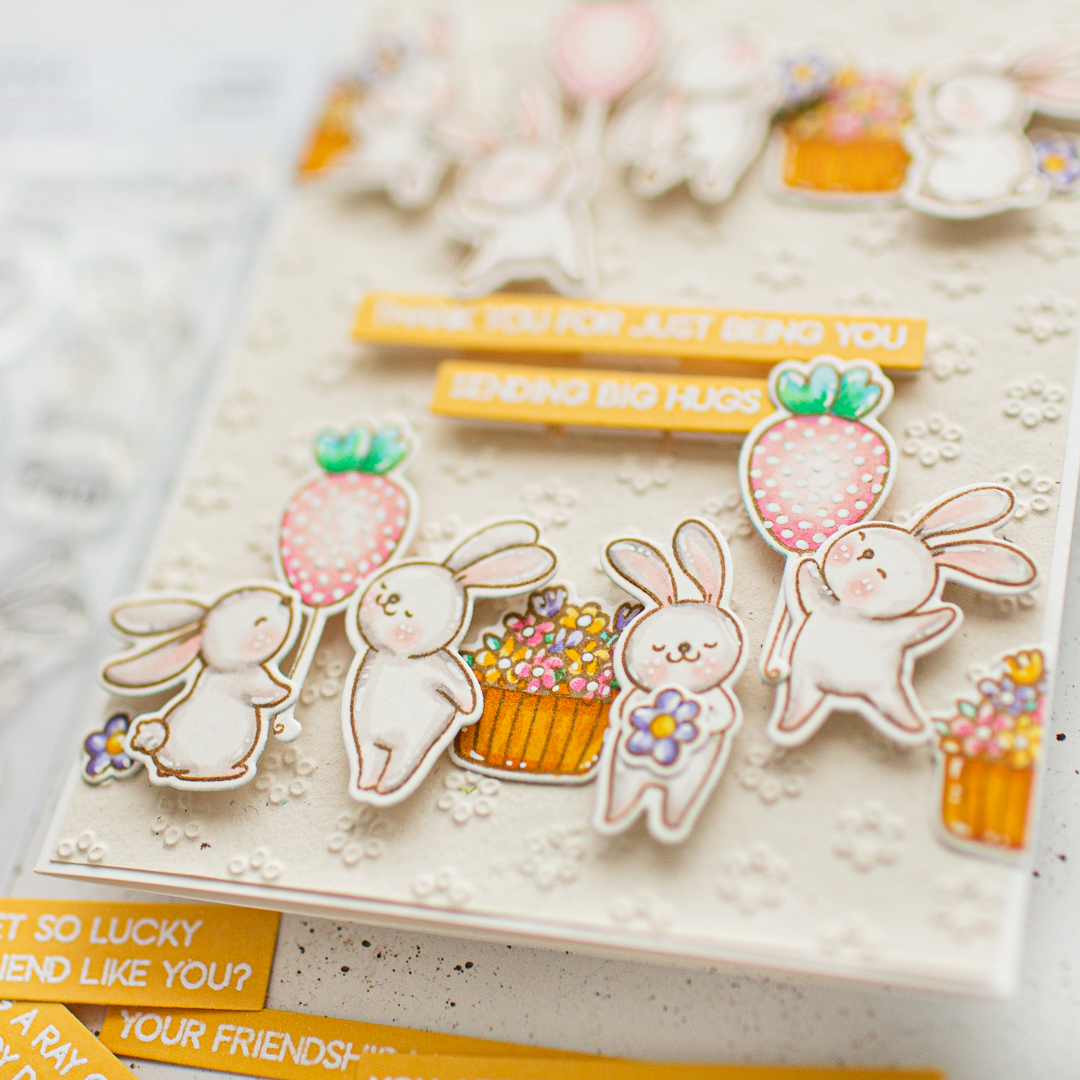
Once the it was done, I added highlights with White Gelly Roll Pen. When it was dry I run them through my die-cut machine with their coordinating dies.
SENTIMENT
Okay, this way my favorite part! I can't tell you, how happy I am for this stamp and die combo! It's absolutely awesome! I stamped the Expressing Gratitude stamp set to a piece of Sunflower cardstock with my Misti and watermark ink, then I heat embossed it with white embossing powder.
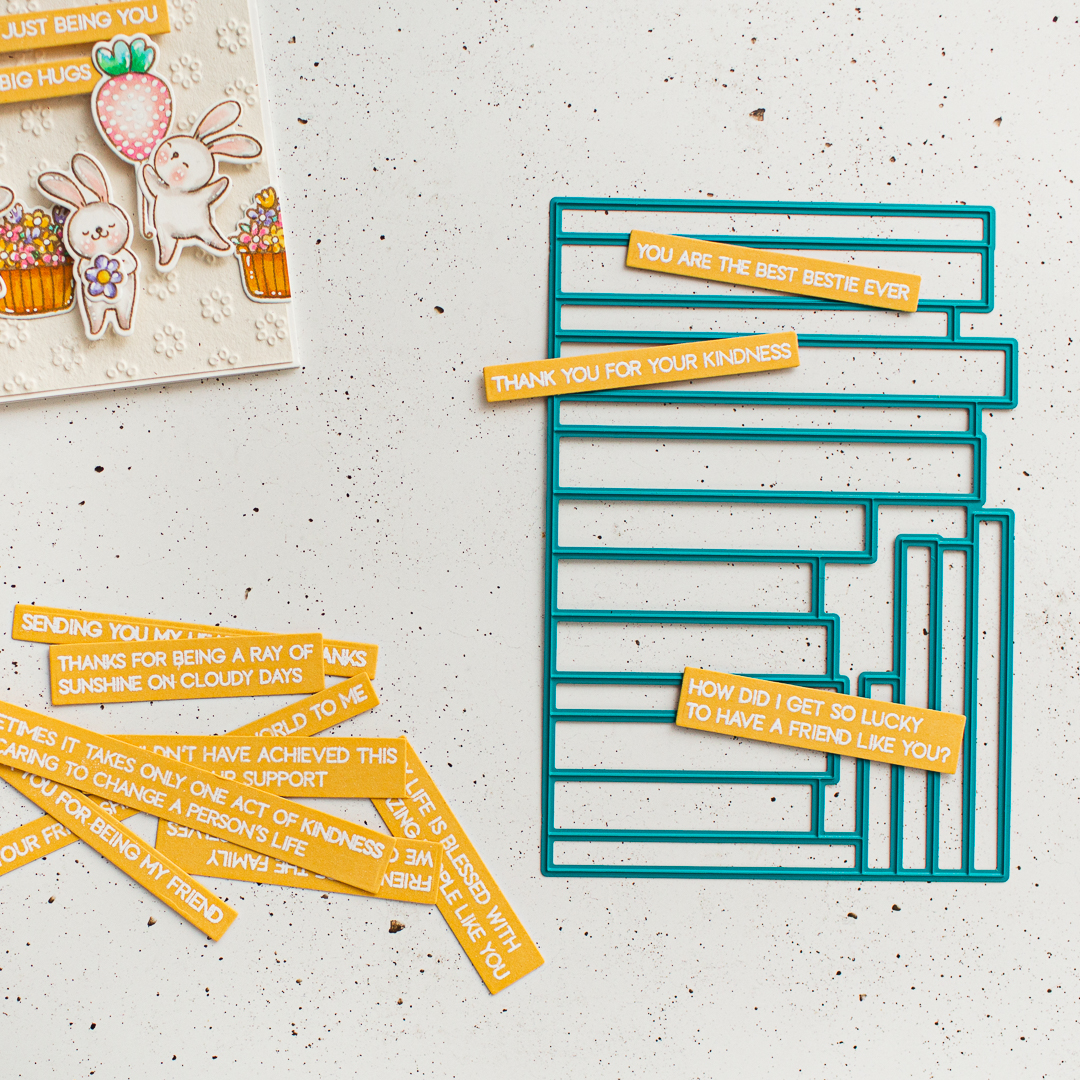
Next I placed on top of it the Expressing Gratitude Sentiments Die and run it through my die-cut machine. And I got 17 die-cuts at once! Super time saving and mind blowing! And the sentiments are talking to my heart as well.
WRAP UP
In the end I created two visual blocks for the images which I have adhered with foam squares and liquid adhesive, then I placed the sentiment to the center of it. Finally I adhered the card front to a heavy card base what I have created with 110lb Neenah Solar White cardstock. For the card panel idea I was inspired by my talented friend, Yana Smakula. I really love her clean designs.
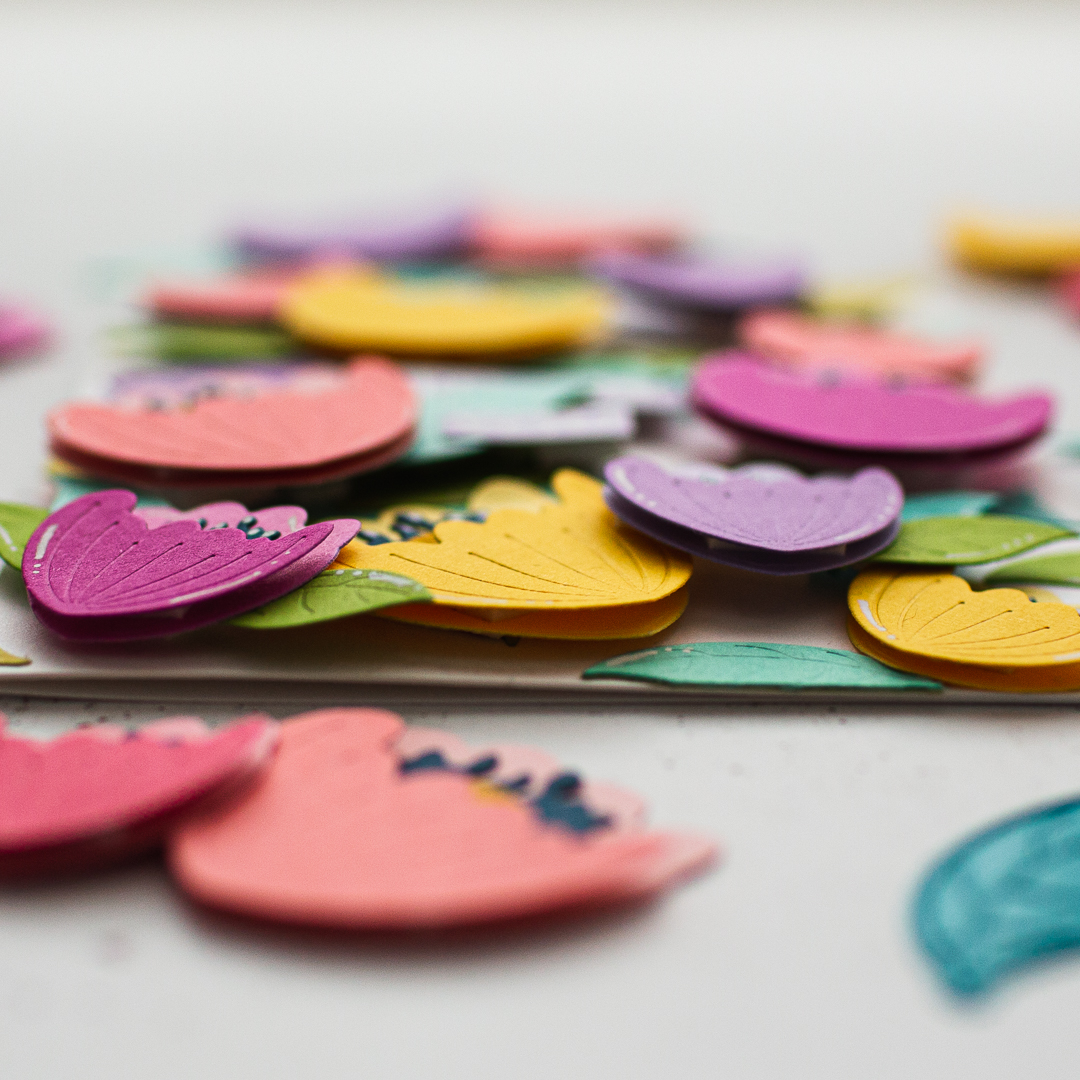
Thank you so much for stopping by, I will show you another inspiration soon on my Instagram with the Fantasy Flowers Die Set, this die set is my favorite piece from this release. You can find a little sneak peek about my upcoming card above. It was a joyful moment when I worked on that card and I am curious what you will say. And now I am wishing you happy blog hopping and good luck as well.
GIVEAWAY

Alex Syberia Designs is giving away the full release bundle, valued at £280 ($340) in total 😱, and giving away a £15 gift card to 2 lucky winners! A winner will be announced on the ASD Release Blog Hop post on February 20th.
BLOG HOP ORDER
Alex Syberia Designs will pick winners to receive the prizes from the comments left on each designer’s blog on the blog hop list below.
· Mona Toth <<< You are here
· Natalia
· Raquel
· Tasha
· Yan
· Aditi
· Bobbi
· Brenda
· Cheryl
· Gemma
· Hannelie
· Joanna
BEFORE YOU GO...
Let’s stay crafty friends! You can find more cardmaking inspiration, behind-the-scenes peeks and photography tips for crafters on my Instagram and Facebook pages.
📷✨ I’m on a mission to help cardmakers and crafters feel more confident with photography, so their beautiful creations can shine online too.
USED SUPPLIES
I’ve listed all the supplies I used below, so you can easily find them. Some of the links are affiliate links, which means I may earn a small commission if you make a purchase, at no extra cost to you. Thank you so much for supporting my blog and creative work!