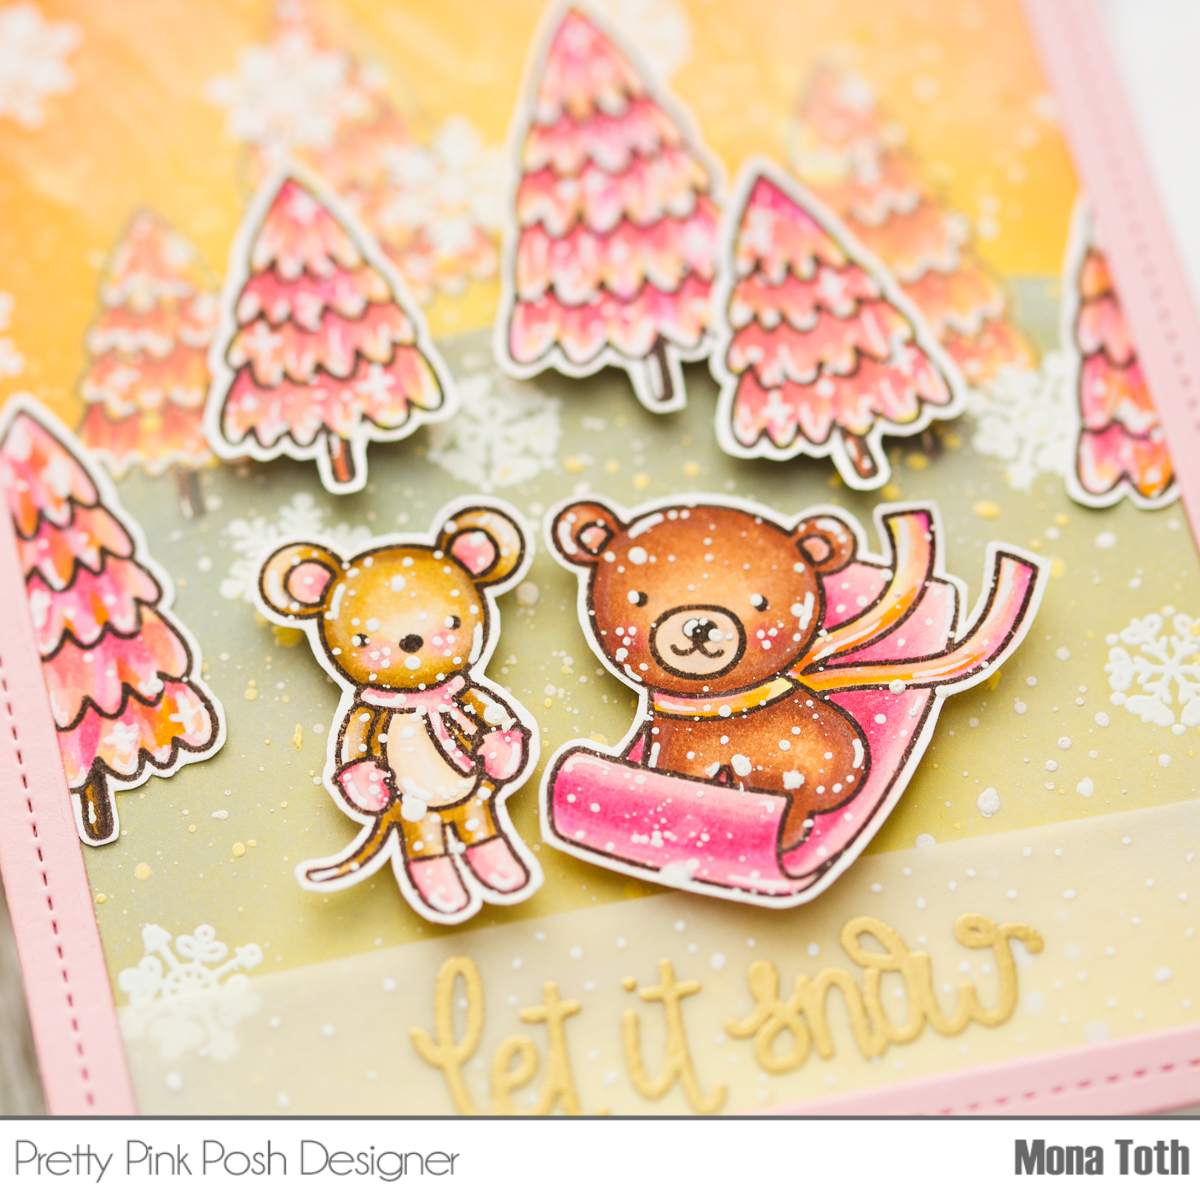
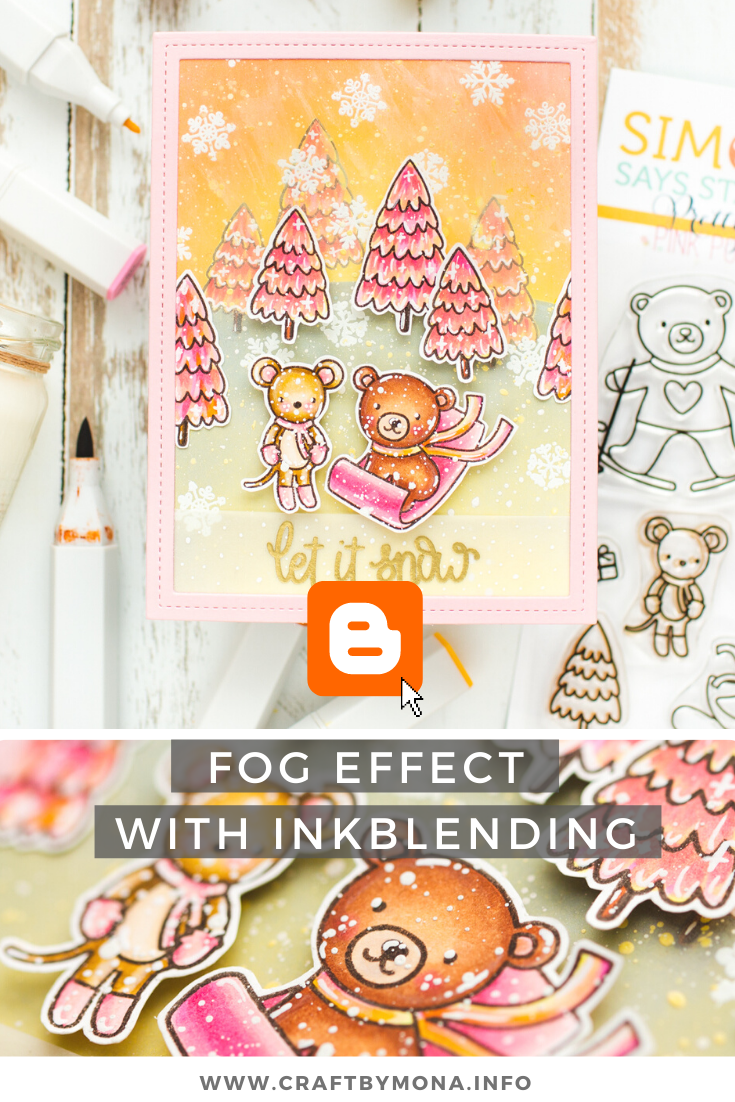
Happy Friday crafty friend! Today we are celebrating the Pretty Pink Posh Exclusive set for Simon Says Stamp STAMPtember 2021! The exclusive, limited edition set for STAMPtember 2021 is called Skiing Bear with lots of cute critters and small elements what is perfect to create a lovely winter card.
THIS PROJECT FEATURES
- Skiing Bear Exclusive STAMPtember Stamp Set
- Skiing Bear Exclusive STAMPtember Stamp Set with their coordinating dies
- Nature Essentials Dies
- For the additional supplies visit the thumbnails below this post.
Do you enjoy this inspiration? I really appreciate if you pin this photo to your Pinterest.
CARD INSTRUCTIONS
I stamped the images from the Skiing Bear Exclusive Stamp Set and colored them with Spectrum Noir Illustrator markers with the following colors: CT1, CT3, CT4, GY3, TN1, TN3, TN4, TN5, TN7, GB6, GB4, GB2, MB1, FS9, FS3, PP1, PP2, PP3, PP5, MG1, MG2, EB4, EB1, MB1, BO1, Blender
Classiques: GB05, BO05. Then I fussycut them with detailed scissors.

Next, I stamped some trees from the same set to the background, colored them the same way and made an inkblending on it with Fossilized Amber, Wild Honey, Squeezed lemonade, and Shaded Lilac Distress Oxide inks as well. Because of the blending I got a nice smooth fog effect in the background.

After the inkblending I splattered on the background and the images with white watercolor to give the card a nice winter "its snowing" kind of effect. Once the background was dry, I stamped on it some snowflakes from the Skiing Bear Exclusive STAMPtember Stamp Set using a watermark ink.

Then I heat embossed it with white embossing powder. I repeated the same process on a piece of vellum, but this time with the let it snow sentiment, and heat embossed it with gold fine embossing powder. Thank you so much for stopping by, take a look at this amazing set. I wish you happy day! Hugs, Mona.
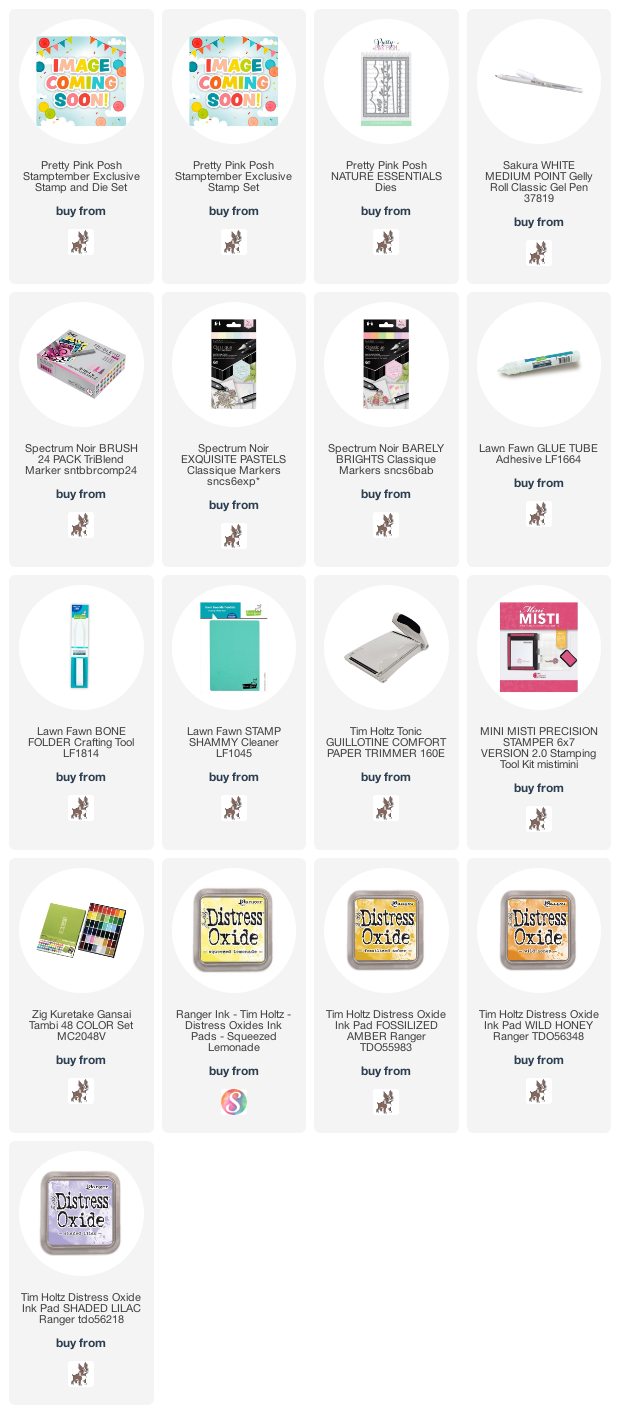
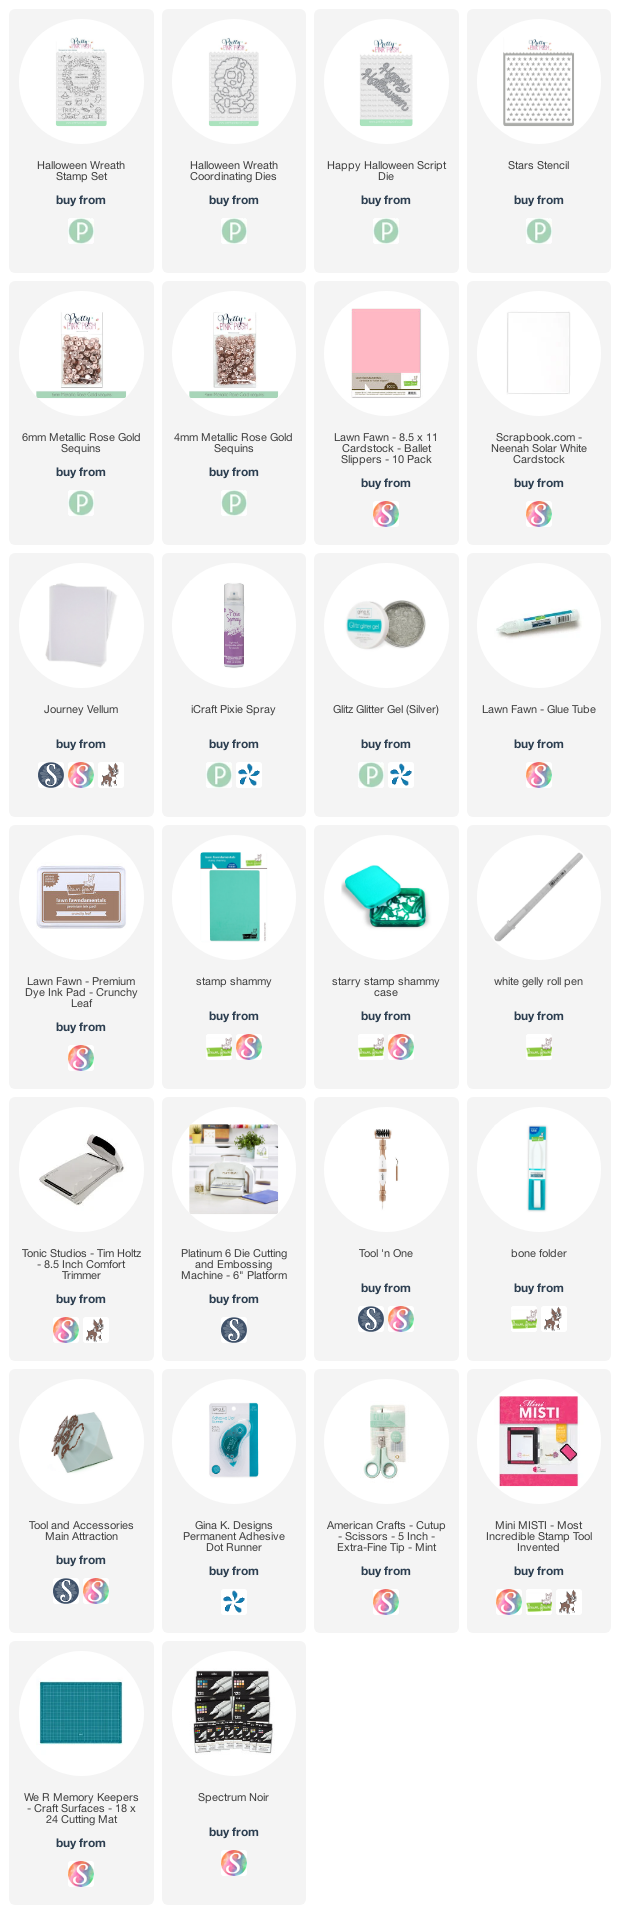
USED SUPPLIES
Affiliate links were used where possible. I may earn a commission if you click them and make a purchase (at no additional cost to you). I am using only products I LOVE. If you buy supplies through my affiliate links, you support my channel and blog with a small commission and when you shop through my links I will do a happy dance. Affiliate Disclaimer.