🎁 Get my free photo ebook here!
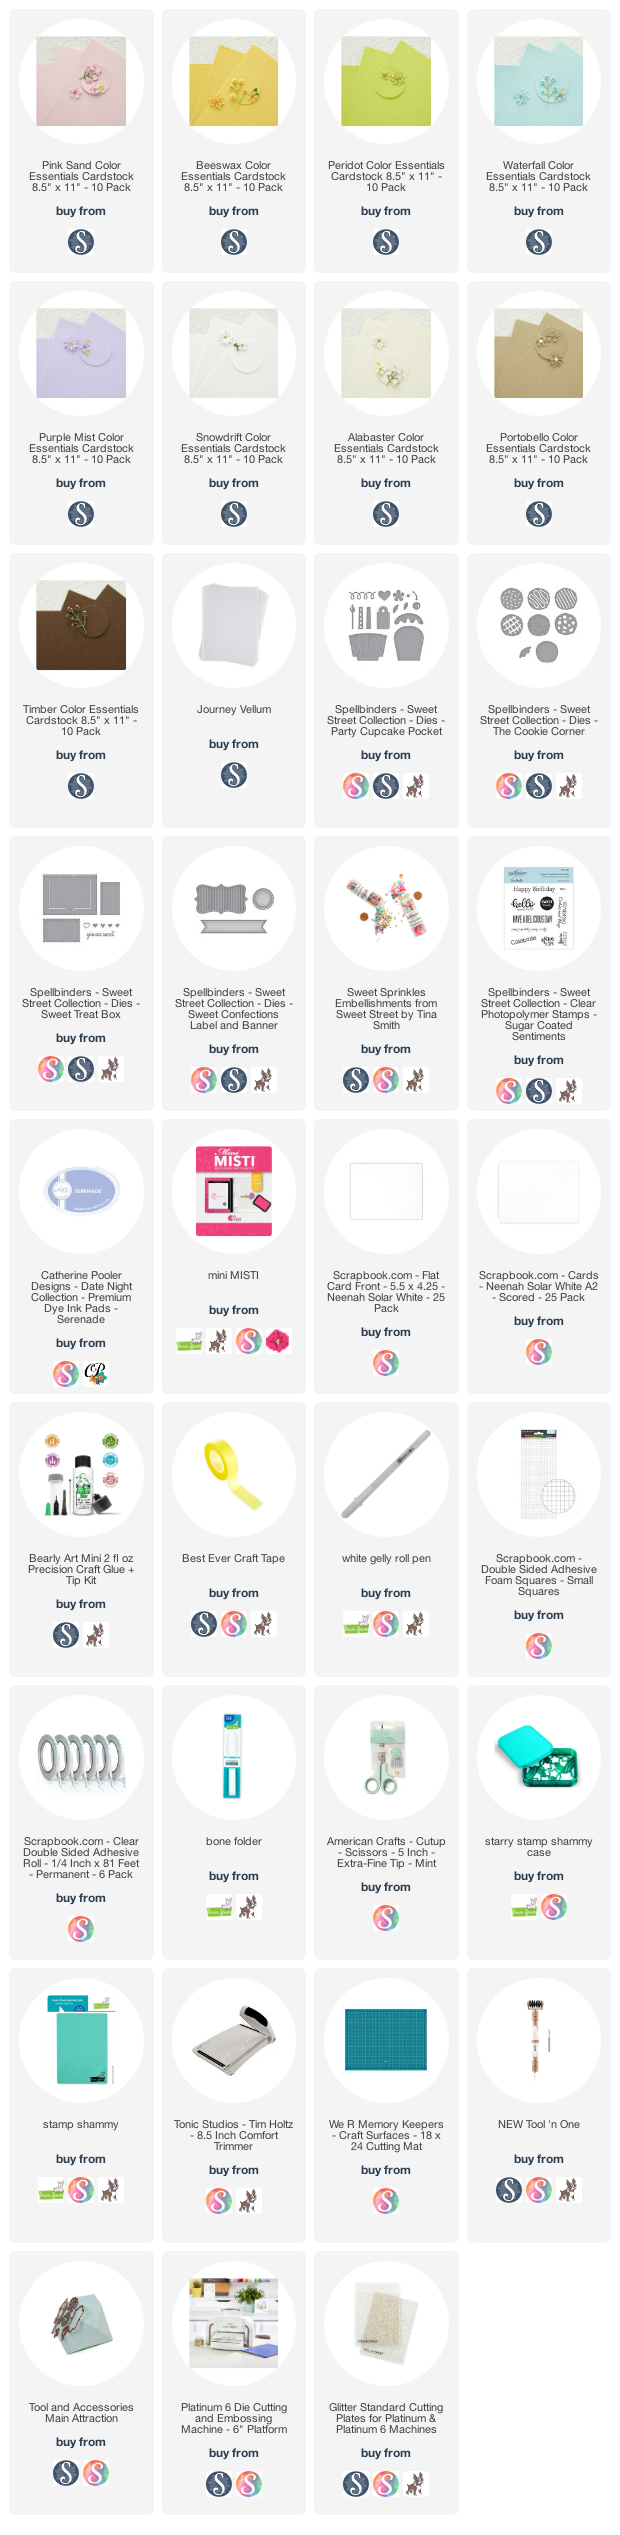
THIS CARD FEATURES

CARD INSTRUCTIONS
For all the three cards I have created
my own pastel rainbow patterned cardstock with paper piecing. To achieve this
beautiful pastel rainbow look I have trimmed 0.25” x 8.5” sized strips from ColorEssentials Cardstocks in the following shades: Pink Sand, Beeswax, Peridot,
Waterfall, Purple Mist. Just a little note, if you like pastel colors like me,
then I suggest you to try the mentioned cardstocks, I am sure you will love them!
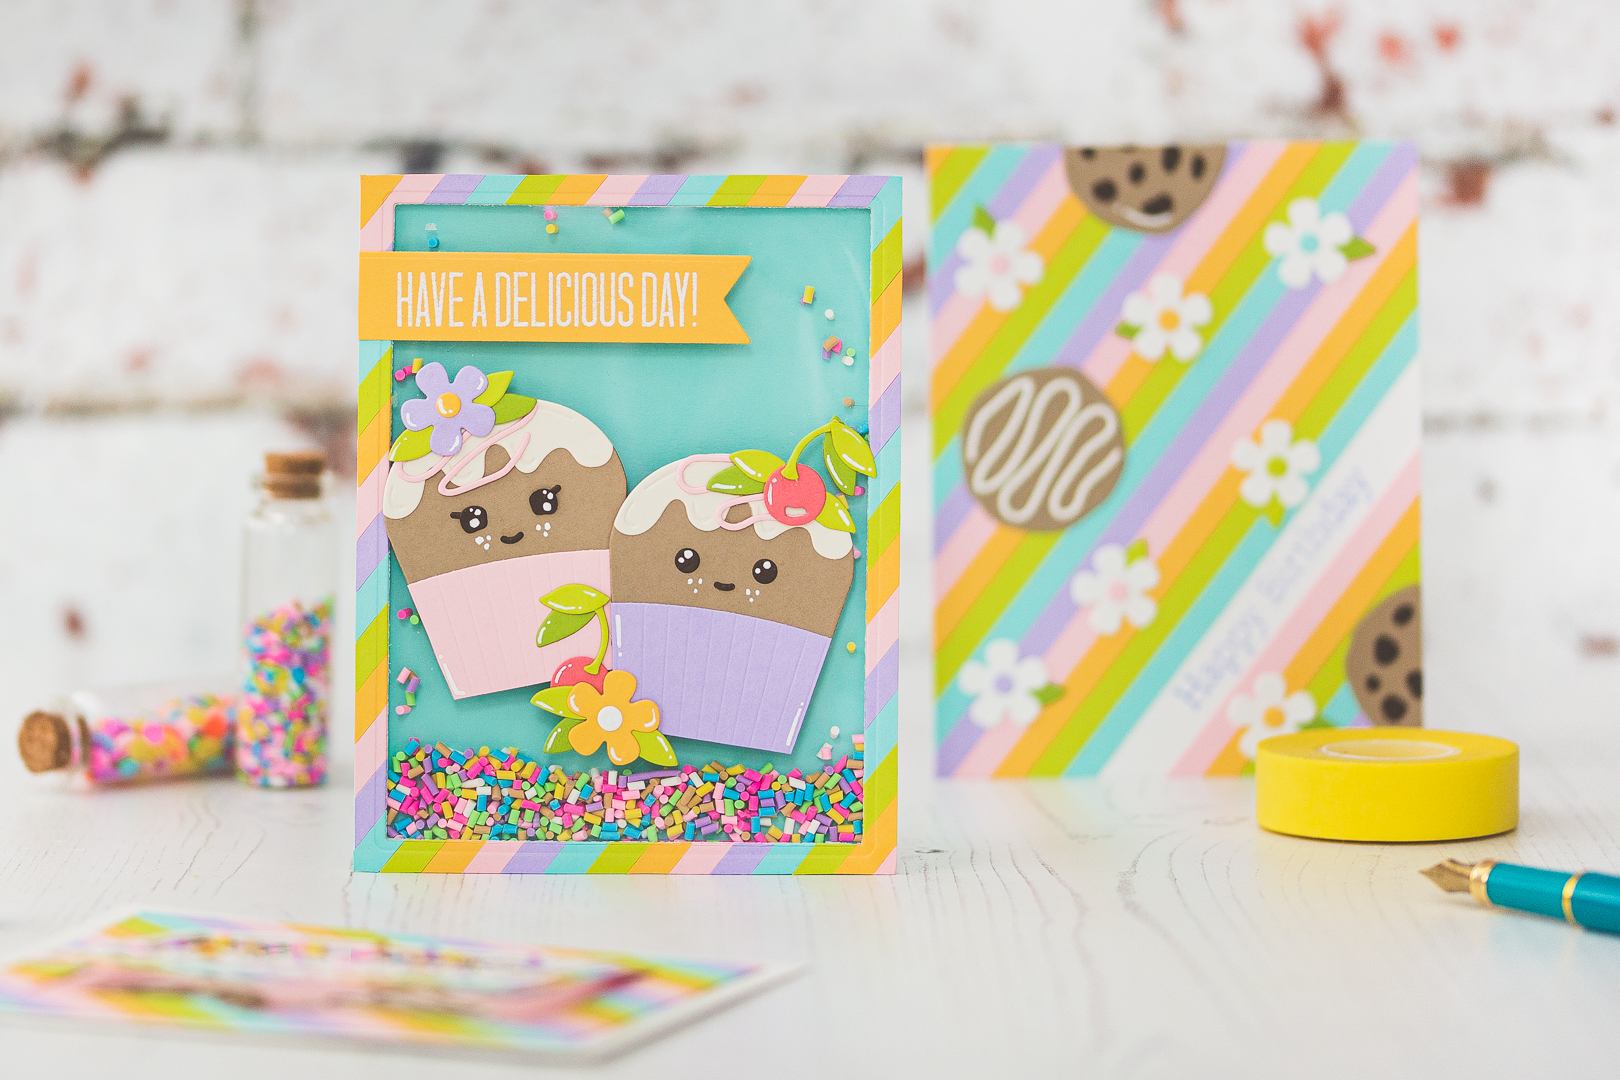
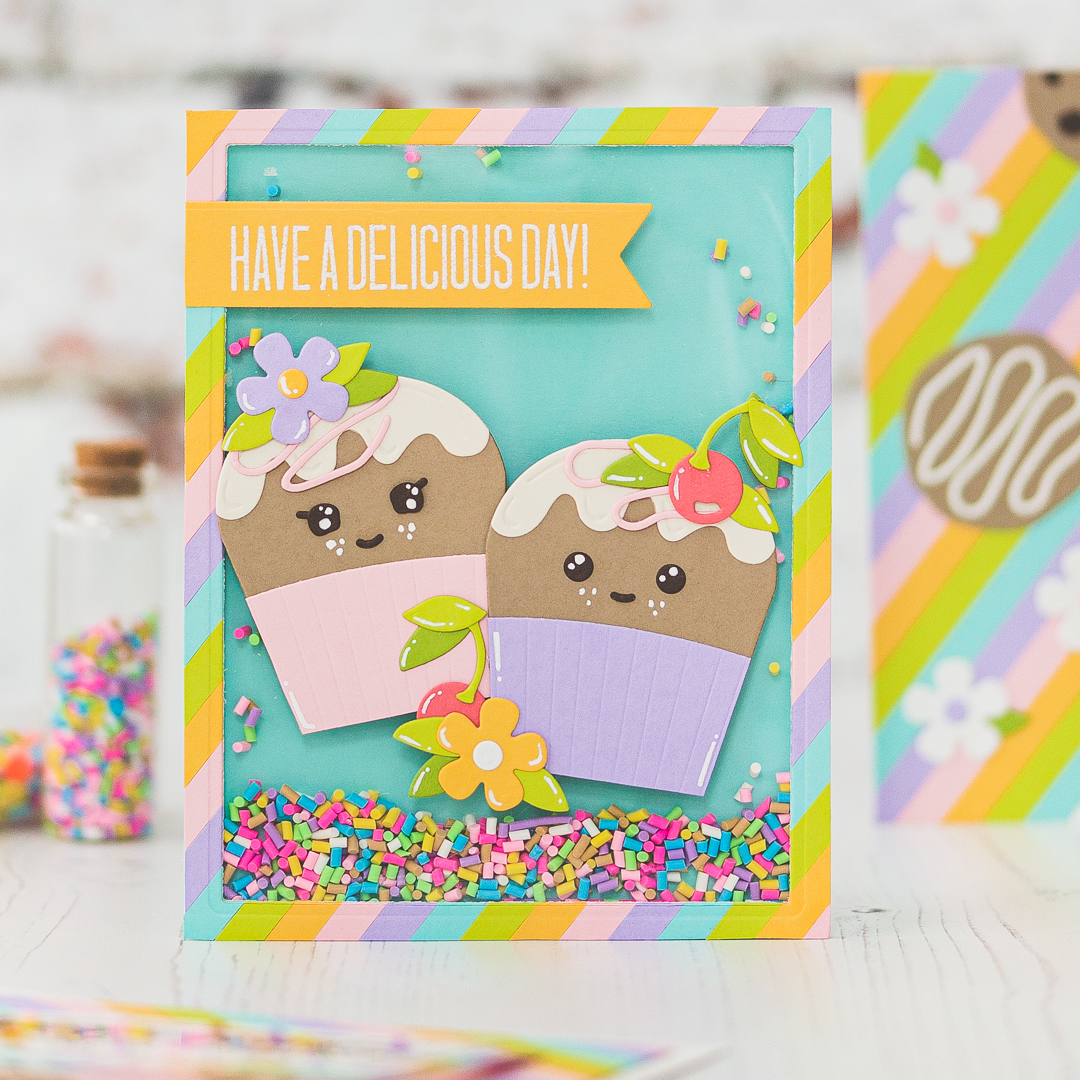
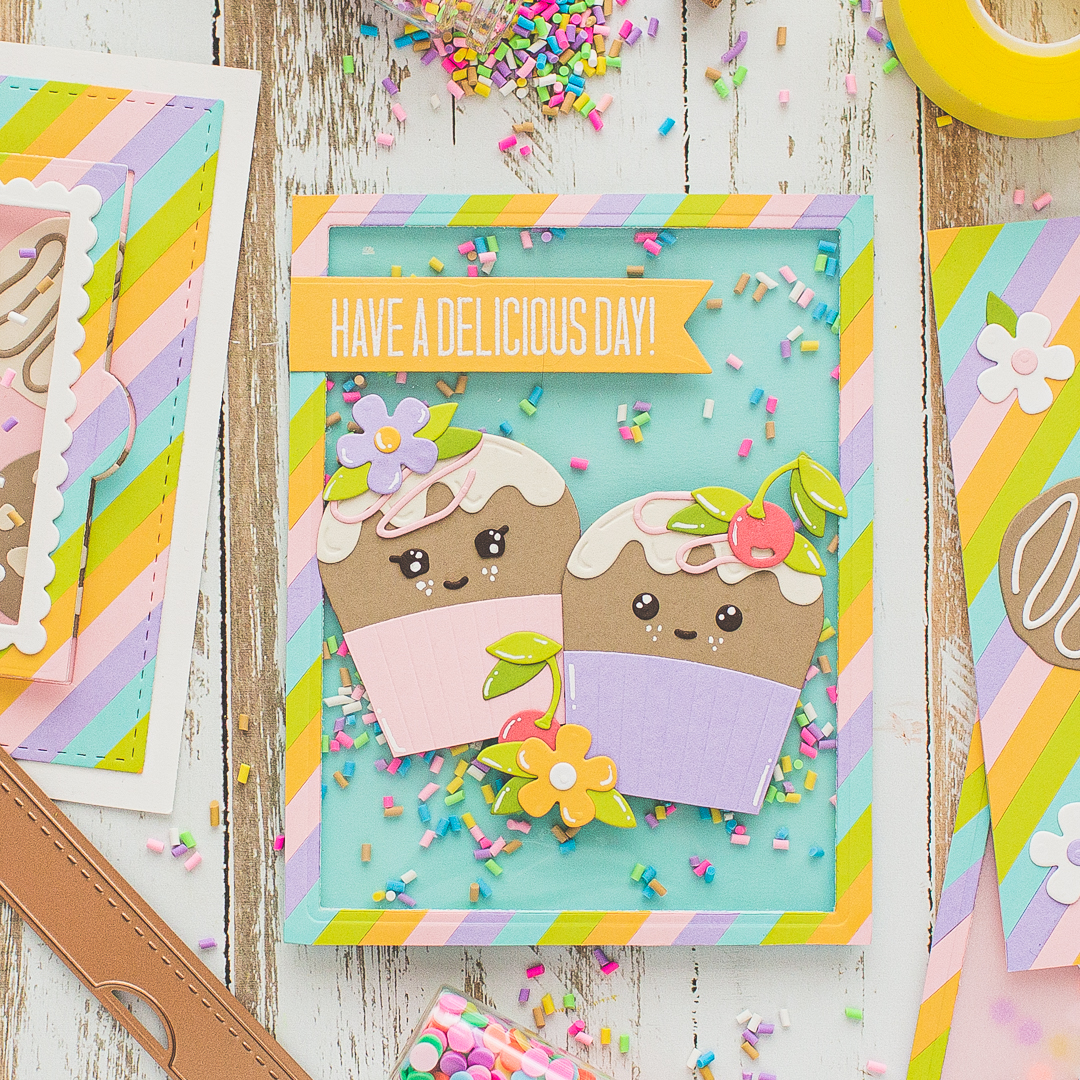
For the first card I created cute
desserts with the Party Cupcake Pocket die-set. I Die-cut the yummy cocoa cupcakes
from Portobello cardstock, then gave them a tasty vanilla topping with Alabaster cardstock. Because I wanted to give personality to the cupcakes, I
run the sprinkle cookie from the The Cookie Corner Die-set and the flower shape from the Party Cupcake Pocket through my die-cut machine with Timber cardstock, to create eyes
and mouth.
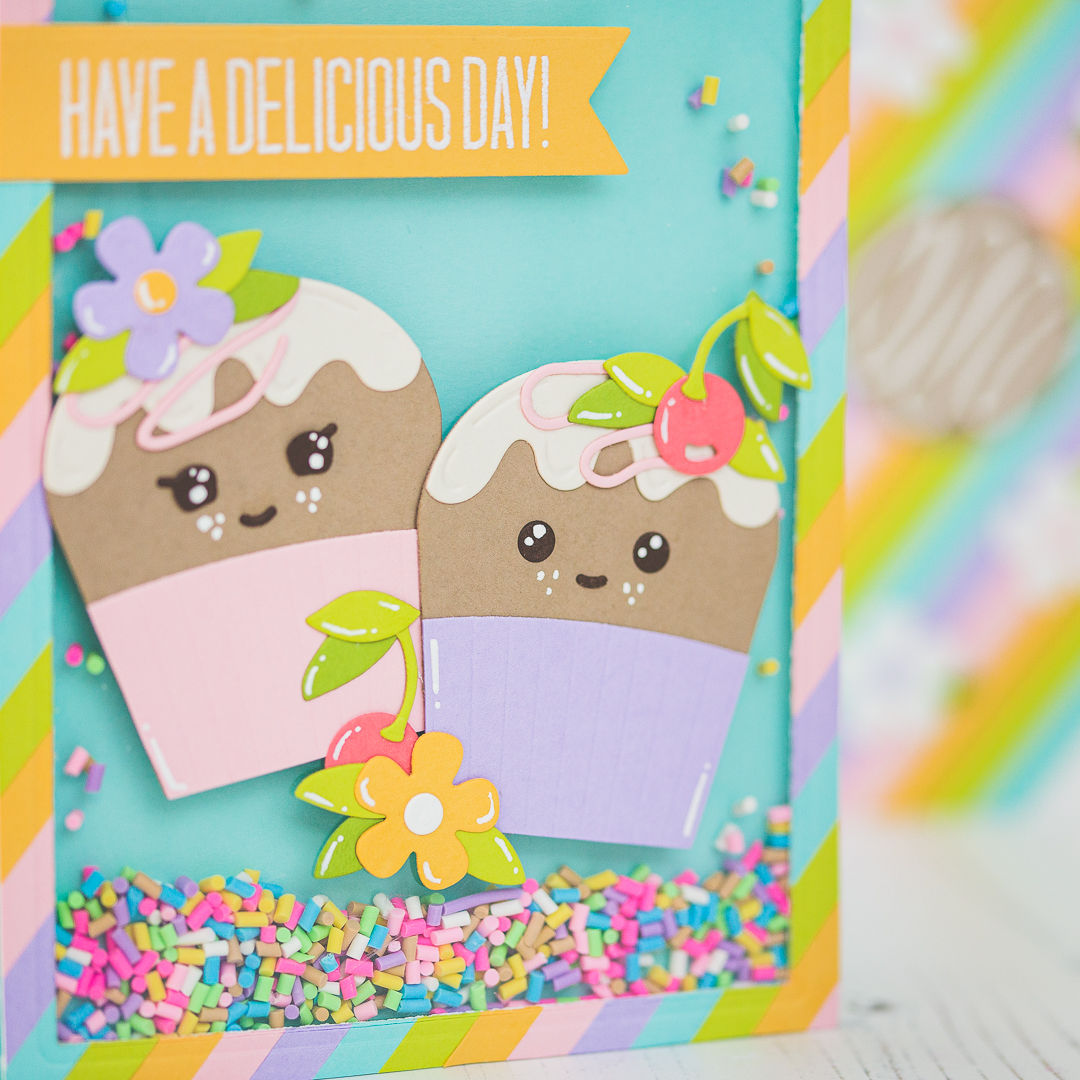
Next, I have shorten the Party Cupcake Pockets a bit with scissors, to uncover the faces I created. As a decoration, I
have created other small die-cuts and embellished them with it. Next, I stamped the sentiment with watermark
ink from the Sugar Coated Sentiments Stamp Set to a piece of Beeswax cardstock
and heat embossed it.
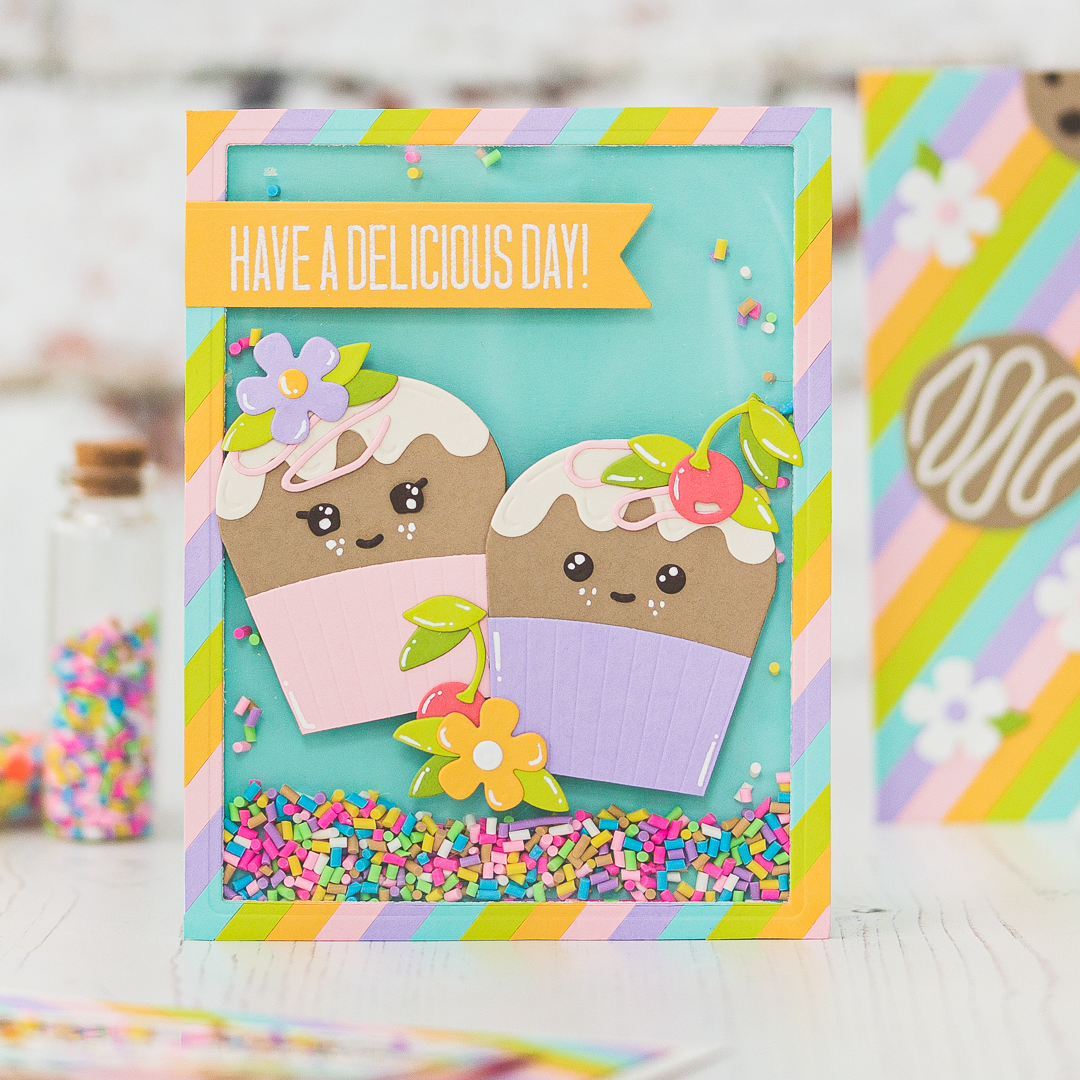
I created the rainbow frame by
using the Sweet Treat Box Dies. This is the negative part of the die-cut I have
created and you will see that piece in my next project. I adhered Acetate to
the frame, then I added Sweet Sprinkles inside it and adhered it to my light
teal card base made from Waterfall cardstock. In the end I added highlights and
sparkle effect with white pen.
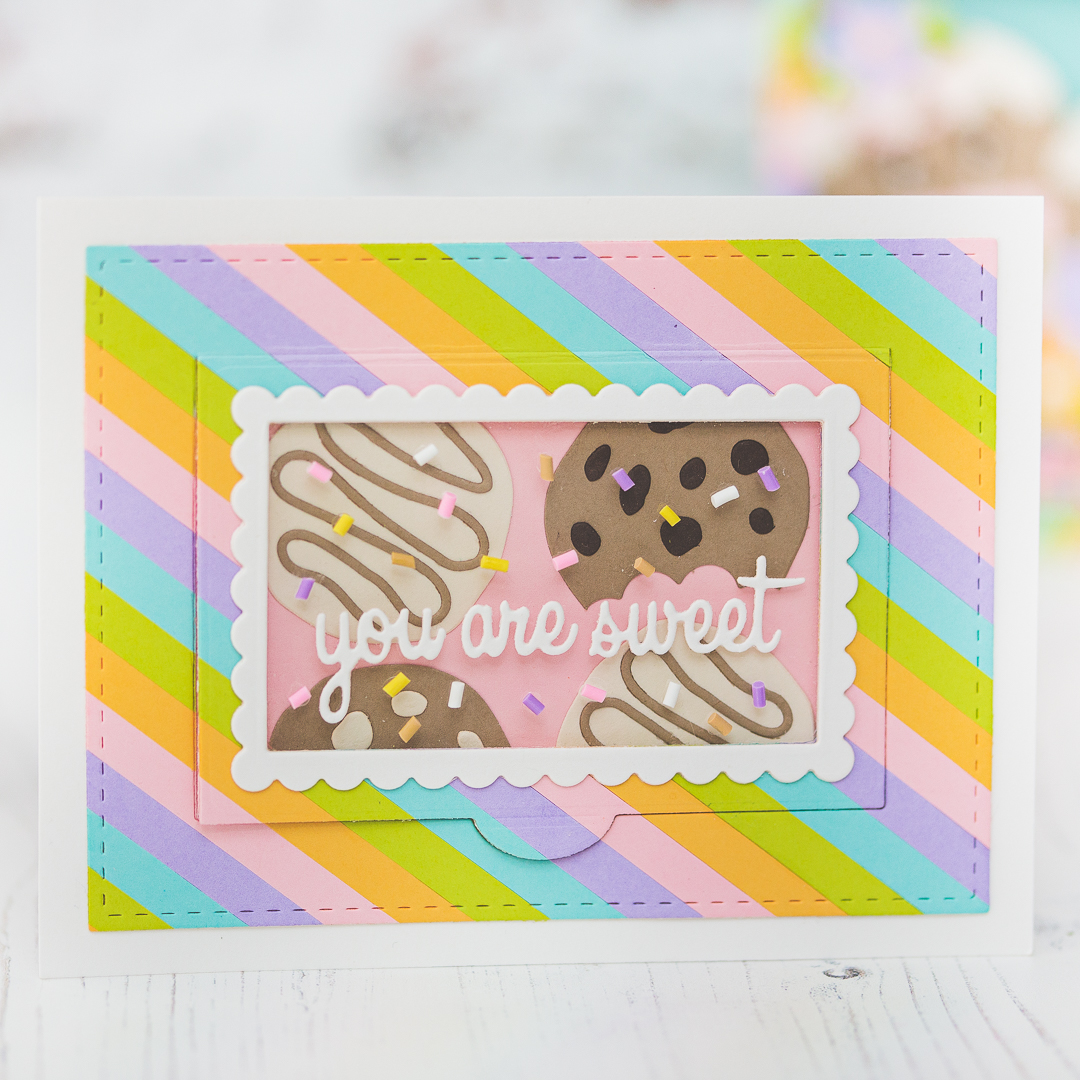
For the next card I have used the
previous leftover die-cut which I made with the Sweet Treat Box set. I also made
on it a little window with the smallest die from the set and adhered on it a
piece of acetate. Next, I created two
pieces of white scalloped frames with the coordinating die from the Sweet Treat Box set. I placed yummy cookies to the box which I have created with the The Cookie Corner Die set.

For this process I have used
Portobello, Timber and Alabaster Color Essentials Cardstocks. In the end I
adhered the You Are Sweet sentiment and some clay sprinkles directly to the
acetate window. You need to know that with the Bearly Art Craft Glue it was
easier than you think!
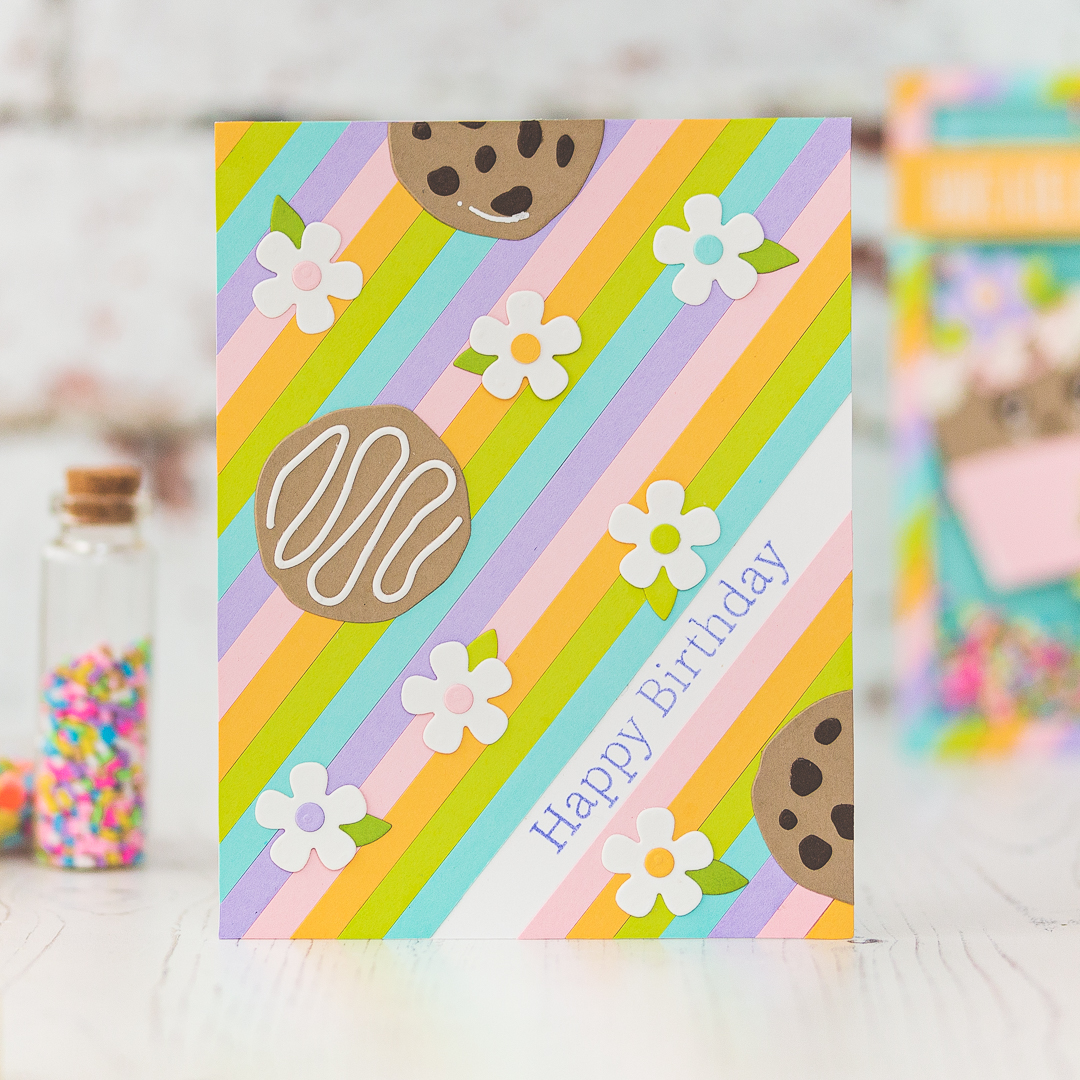
For the third card I wanted to
create a kind of flower-power card with a nice twist. Instead of colorful
flowers I created white ones and to the background I placed all the leftover
strips I have created earlier. The center of the flowers is the same then the
background behind it.

I left a small empty space for
the Happy Birthday Sentiment I have created with the Sugar Coated Sentiments set and I also added some cookie die-cuts to make the card more sweet.
I had so much fun with the Sweet
Street collection, I hope you get a taste to play with this lovely set too! Thank
you so much for joining me today, see you next time, Mona.
SALE
The Spring Cleaning Warehouse Sale by Spellbinders is here! This is one of their biggest sale of the year with deals starting from $1. This sale has last chance items priced at $1, $2, $3, $5, and $10+ and is now live and will be available until Friday 4/30/2021. Take look, and happy shopping SHOP HERE!

BEFORE YOU GO...
Let’s stay crafty friends! You can find more cardmaking inspiration, behind-the-scenes peeks and photography tips for crafters on my Instagram and Facebook pages.
📷✨ I’m on a mission to help cardmakers and crafters feel more confident with photography, so their beautiful creations can shine online too.
FOLLOW ON INSTAGRAM | EXPLORE MY SHOP
USED SUPPLIES