Hedgehog coloring tutorial with DIY die-cut boat

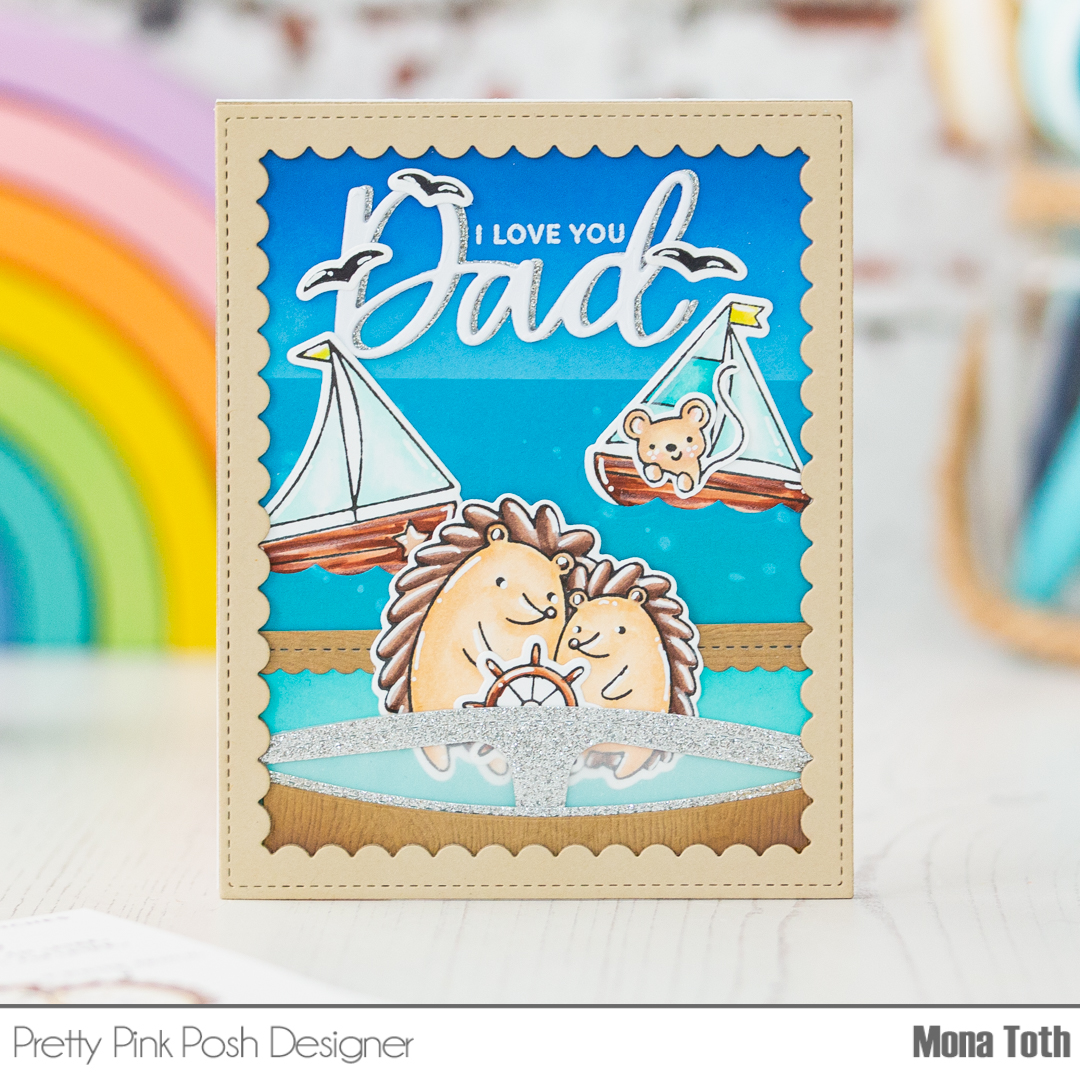
I have a new video tutorial for Pretty Pink Posh where I am sharing with you how I created this sweet card with DIY boat aka with dies from my stash.

Better craft photos are easier than you think. Start with 5 simple tips you can try today.
🎁 Get my free photo ebook here!

VIDEO TUTORIAL


Watch the video above  |  Watch the video in HD on YouTube

THIS CARD FEATURES

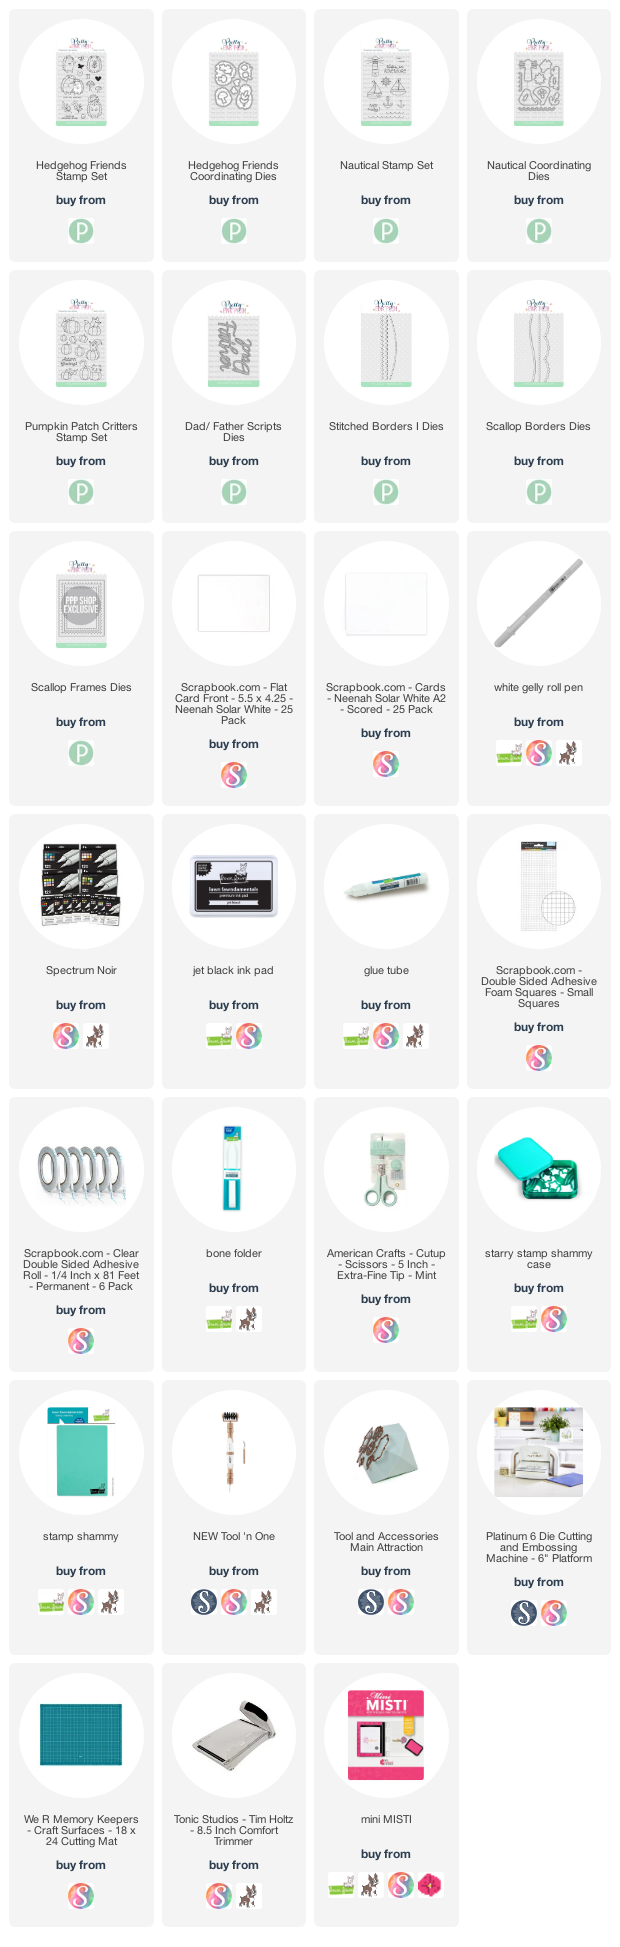
For the additional supplies with shop links visit the thumbnails below this post.
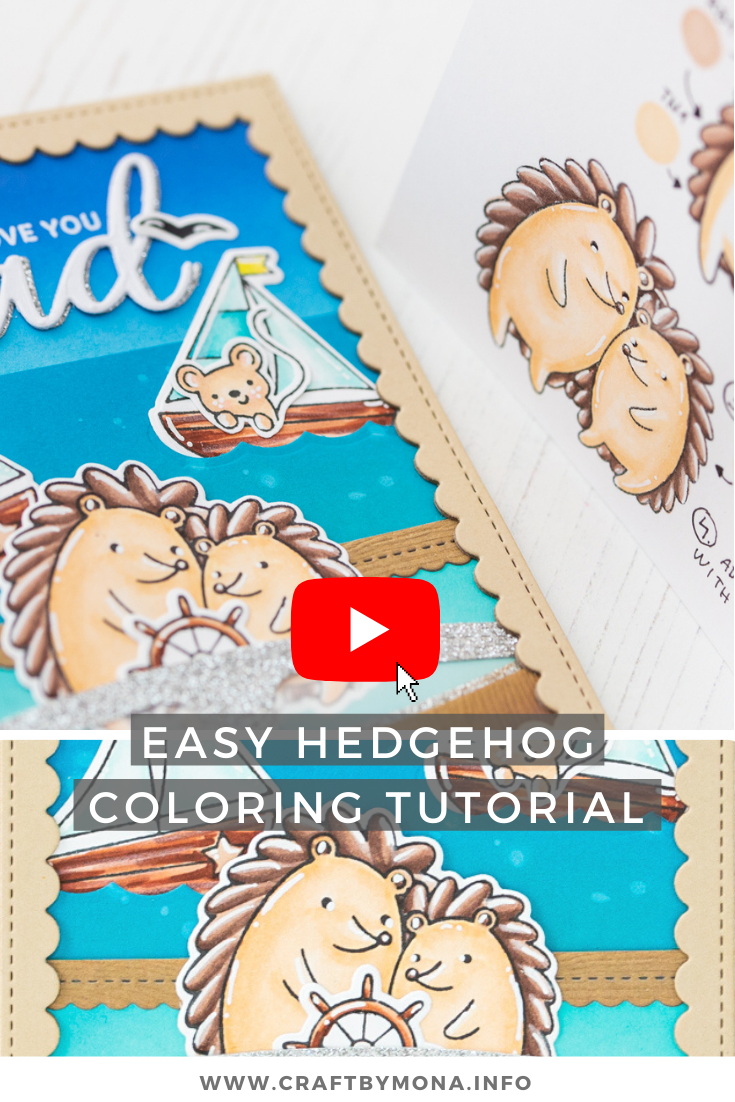
Pin this post to your Pinterest board and save this card idea for later.

USED COLORS

I stamped the images from Nautical, Hedgehog Friends and Pumpkin Patch Critters stamp sets with alcohol marker friendly black inkpad.

For the coloring I have used Spectrum Noir Illustrators in the following colors: BT1, BT2, BT3, BT5, BT6, CT1, CT3, FS9, TN1, TN2, TN3, TN6, TN8, EB5, RB3, RB1, CR2, True Black, Blender. Classiques: BT05. For the full process with useful tips please visit the video tutorial.

Thank you so much for checking my post, I wish you happy watching! Hugs, Mona.

BEFORE YOU GO...

Let’s stay crafty friends! You can find more cardmaking inspiration, behind-the-scenes peeks and photography tips for crafters on my Instagram and Facebook pages.

📷✨ I’m on a mission to help cardmakers and crafters feel more confident with photography, so their beautiful creations can shine online too.

FOLLOW ON INSTAGRAM  |  EXPLORE MY SHOP

USED SUPPLIES

I’ve listed all the supplies I used below, so you can easily find them. Some of the links are affiliate links, which means I may earn a small commission if you make a purchase, at no extra cost to you. Thank you so much for supporting my blog and creative work!
Rainbow Crayon Bookmark tutorial

A new colorful project for you to brighten up your day! I have been playing with Sunny Studio Stamps products to make some colorful bookmarks as a gift, let's see how. 


Better craft photos are easier than you think. Start with 5 simple tips you can try today.
🎁 Get my free photo ebook here!

THIS CARD FEATURES


Pin this post to your Pinterest board and save this card idea for later.

CARD INSTRUCTIONS

I made a bulk stamp layering with the Color my World and Looking Sharp sets, and it was so much fun! I just mix and matched my inkpad colors and enjoyed the creating process. 


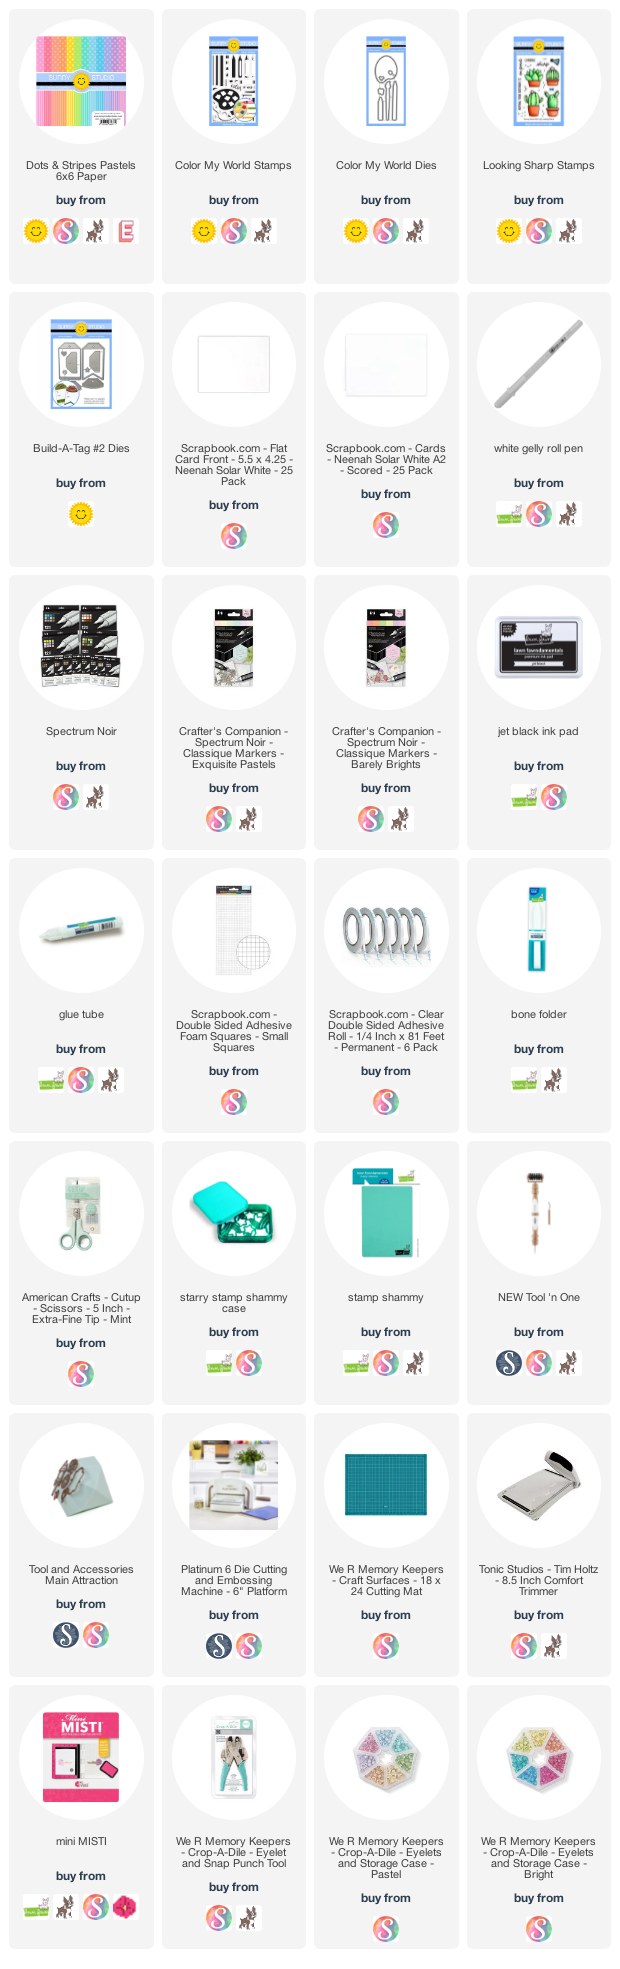
For the stamping I have used the Color my World stamp set with their coordinating dies. For some of them I didn’t stamp the crayon text, instead of that I stamped the cute faces from the Looking Sharp Set.


The next step was the base of the bookmark which I have created with the Built a tag 2 dies. These are shorter, so I cut the tag die-cut in a half, and adhered on it (to the front and the back) a patterned paper from the Dots and Stripes Pastels Paper Pack in size 2” by 4.25”.


In the end I embellished the bookmarks with white tag die-cuts. Put inside colorful eyelets and a handmade tassel as well.


BEFORE YOU GO...

Let’s stay crafty friends! You can find more cardmaking inspiration, behind-the-scenes peeks and photography tips for crafters on my Instagram and Facebook pages.

📷✨ I’m on a mission to help cardmakers and crafters feel more confident with photography, so their beautiful creations can shine online too.

FOLLOW ON INSTAGRAM  |  EXPLORE MY SHOP

USED SUPPLIES

I’ve listed all the supplies I used below, so you can easily find them. Some of the links are affiliate links, which means I may earn a small commission if you make a purchase, at no extra cost to you. Thank you so much for supporting my blog and creative work!

The easiest way to light up your card

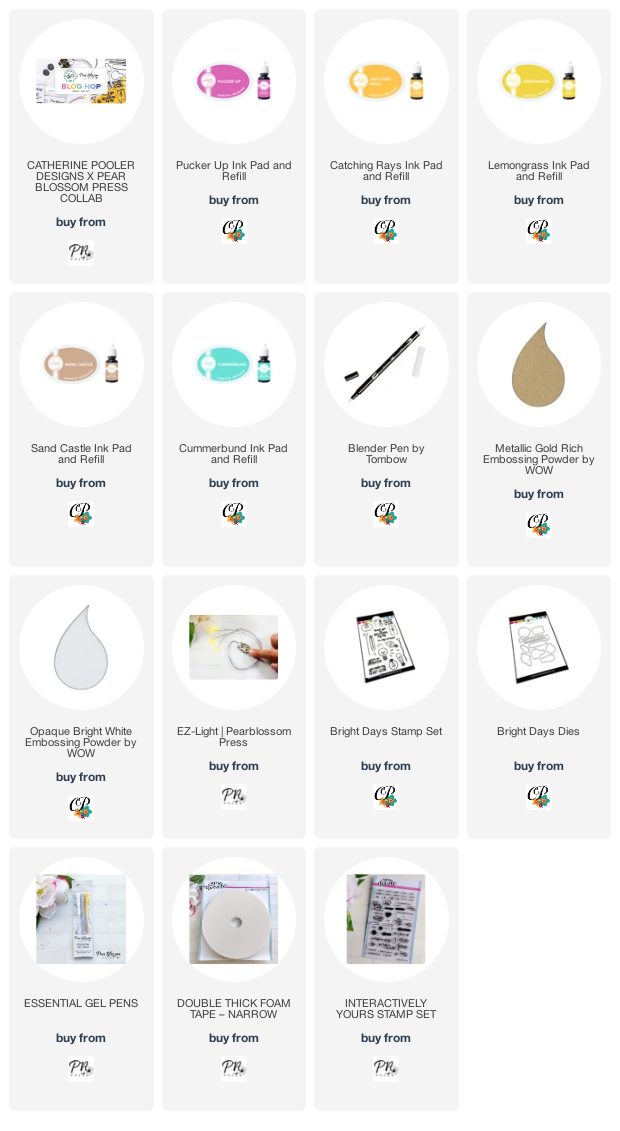
Last week I was guesting on the Pear Blossom Press blog with a rainbowtastic Light Up card inspiration! I have used their E-Z lights and my favorite and vibrant Catherine Pooler Inks as well. Make sure to check my Instagram stories for today if you want to learn about this topic. 


Better craft photos are easier than you think. Start with 5 simple tips you can try today.
🎁 Get my free photo ebook here!

THIS PROJECT FEATURES


Pin this post to your Pinterest board and save this card idea for later.

This post is just a short sneak peek of the original post, for the details and the card instructions please visit their blog here.


Shhhh! It's worh to check the original post by June 25, 2021, because there is a giveaway too! Click here!


If you want to learn more about Catherine Pooler inkpads read my 10 Things Every Crafter Should Know About Catherine Pooler Inks post.


BEFORE YOU GO...

Let’s stay crafty friends! You can find more cardmaking inspiration, behind-the-scenes peeks and photography tips for crafters on my Instagram and Facebook pages.

📷✨ I’m on a mission to help cardmakers and crafters feel more confident with photography, so their beautiful creations can shine online too.

FOLLOW ON INSTAGRAM  |  EXPLORE MY SHOP

USED SUPPLIES

I’ve listed all the supplies I used below, so you can easily find them. Some of the links are affiliate links, which means I may earn a small commission if you make a purchase, at no extra cost to you. Thank you so much for supporting my blog and creative work!

Pretty Pink Posh June 2021 release Blog Hop + Giveaway

Hi crafty friends! Welcome to day 3 of the Pretty Pink Posh June Blog Hop! This release is full of summer fun, and I am sure you will love it too!

Better craft photos are easier than you think. Start with 5 simple tips you can try today.
🎁 Get my free photo ebook here!


THIS PROJECT FEATURES


Pin this post to your Pinterest board and save this card idea for later.

CARD INSTRUCTIONS

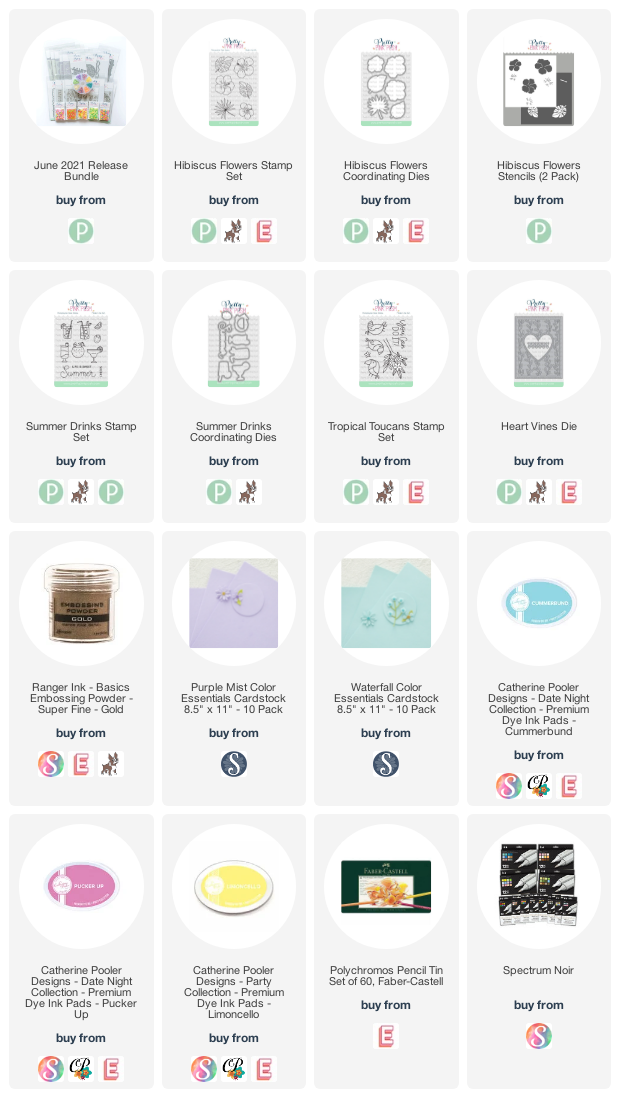
The main idea for these cards was to create rainbow tropical flowers, but as quickly as possible. So I stamped some flowers from the Hibiscus Flowers Stamp Set with watermark ink, then I heat embossed with white detailed embossing powder. I also stamped the leaves, but there I have used gold embossing powder.


Next, I made an ink blending through the Hibiscus Flowers Stencils with yellow, turquoise and pink inkpads and blended them together. The result was this pretty rainbow look and a nice smooth surface.


After this process I picked my colored pencils and colored with them on the top of the blended background. Last, but not the least I have used white pencil in the center of the petals to add highlights. The result was a super quick and pretty tropical flower. Faber Castell Polychromos pencils used on the top of the blending: White 101, 115, 111, 184, 107, 205, 171, 163, 154, 146, 136, 125, 123, 129.


After this process I colored these sweet Tropical Toucans as well. I have used Spectrum Noir Illustrator markers in the following colors: MB1, MB3, CT4, BO1, BO3, MG1, BP2, BP3, LV3, LV1, IB1, IB3, BT4, True Black, Blender. Next, I die-cut a soft violet die-cut with the Heart Vines Die, and covered it with ink blended teal cardfront, and I put together my card. 


In the end I added the sentiment what I have created with the Summer Drinks Stamp Set and dies. Thank you so much for stopping by, take a look at this beautiful release. I wish you happy hopping! Hugs, Mona.

BLOG HOP

We are celebrating with Pretty Pink Posh their new release, below is a list of all of the designers participating in today’s blog hop! Check out all of the wonderful inspirations!
Mona Toth  <<< You are here

GIVEAWAY 

Pretty Pink Posh will be giving away 3 $25 gift certificates during the three-day blog hop (one winner each day)! Comments must be left by 11:59 PM PST on 6/20/2021. The winners will be announced on the Pretty Pink Posh Blog

BEFORE YOU GO...

Let’s stay crafty friends! You can find more cardmaking inspiration, behind-the-scenes peeks and photography tips for crafters on my Instagram and Facebook pages.

📷✨ I’m on a mission to help cardmakers and crafters feel more confident with photography, so their beautiful creations can shine online too.

FOLLOW ON INSTAGRAM  |  EXPLORE MY SHOP

USED SUPPLIES

I’ve listed all the supplies I used below, so you can easily find them. Some of the links are affiliate links, which means I may earn a small commission if you make a purchase, at no extra cost to you. Thank you so much for supporting my blog and creative work!