Hi crafty friends! Welcome to day 3 of the Pretty Pink Posh Holiday Release Blog Hop! We are celebrating this beautiful festive release. For this reason today I have created 3 card inspirations, let me know in your comment which one is your favorite! :)

Do you enjoy this inspiration? I really appreciate if you pin this photo to your Pinterest.
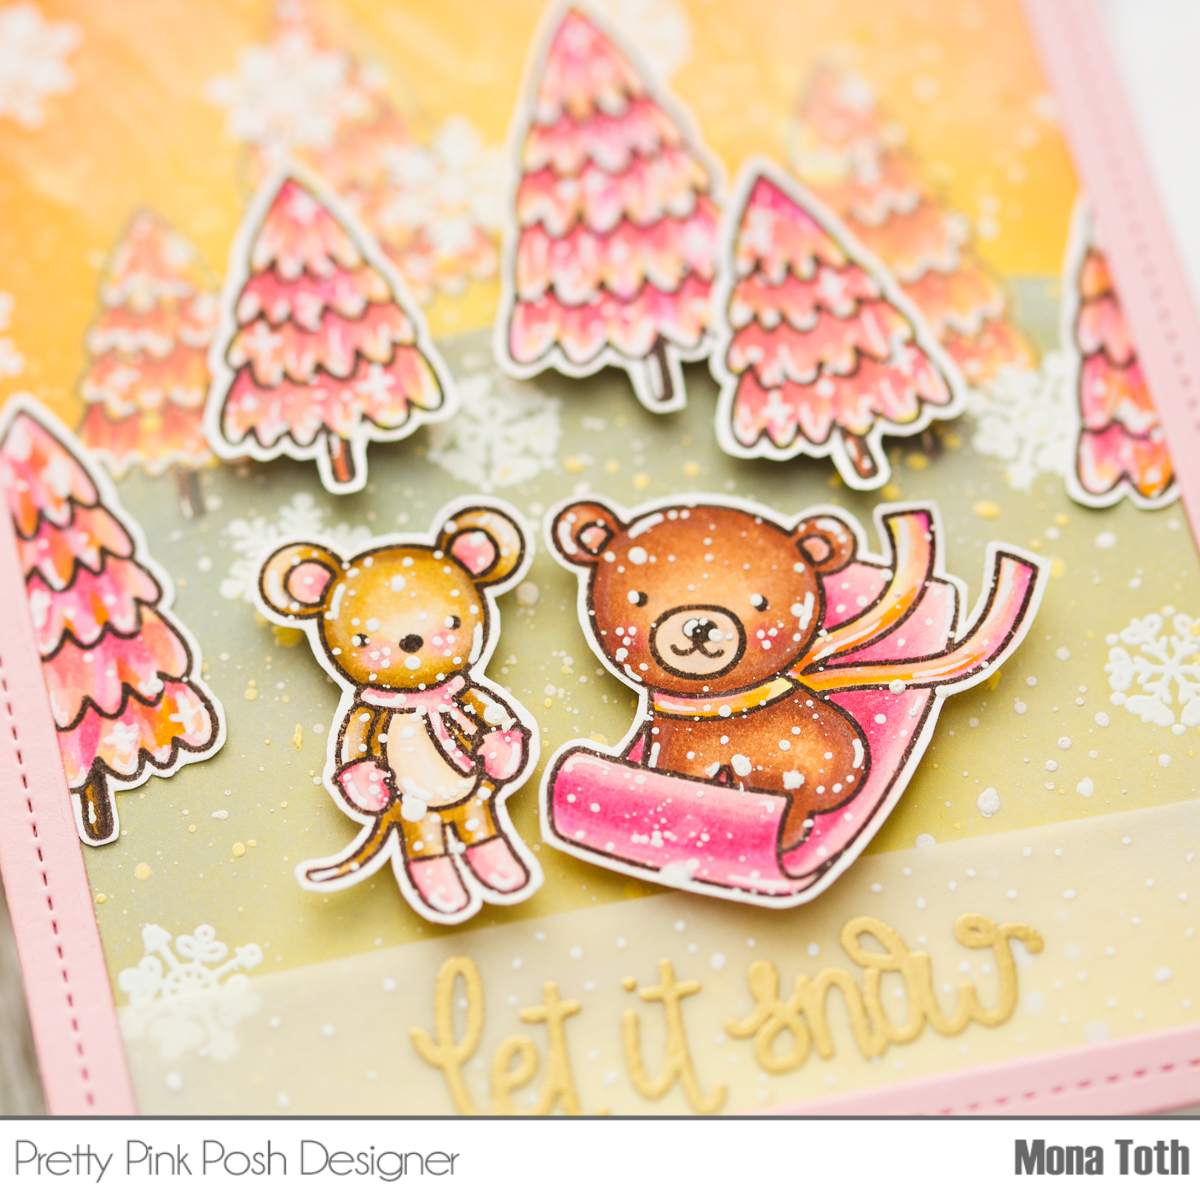
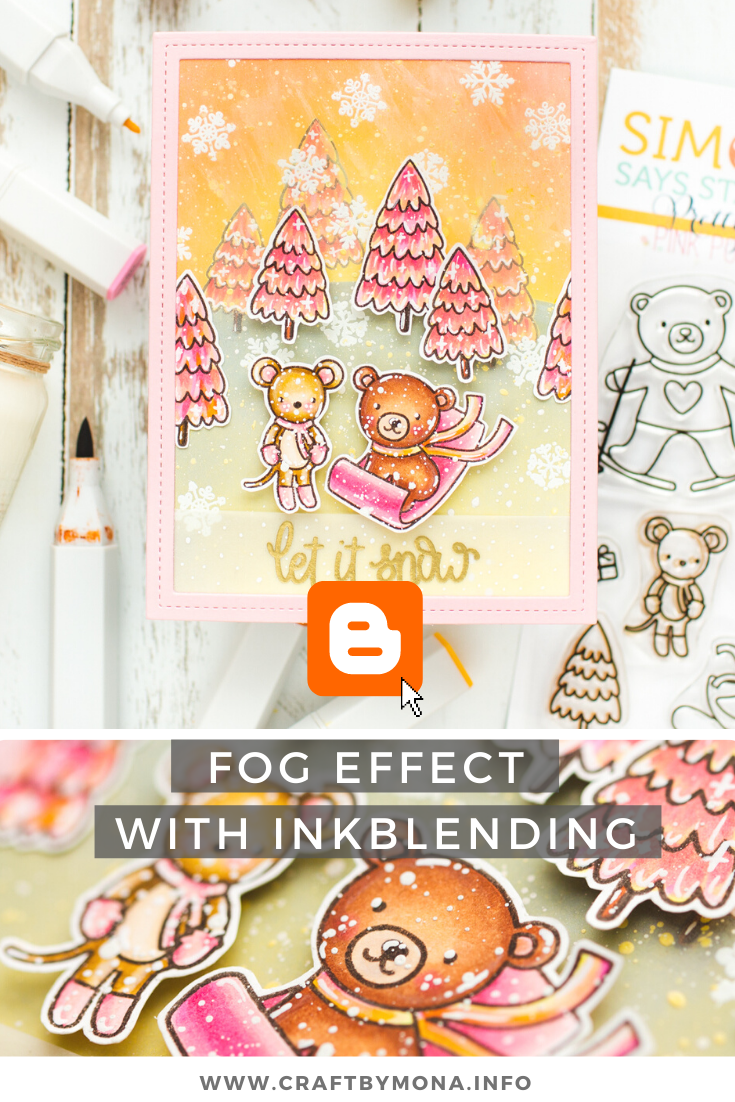
LET IT SNOW CARD
For this festive card I was inspired by holiday shopping streets where I have used rustic colors. When the coloring was done, I have splattered white snow everywhere with white gouache to add that snowy feeling.
THIS CARD FEATURES
- Village Stamp Set with coordinating dies
- Village Additions Stamp Set with coordinating dies
- Holiday Scripts Stamp Set with coordinating dies
- Let It Snow Script Die
- For the additional supplies visit the thumbnails below this post.
 I really like the Village Stamp Set set because its really versatile and useful for many scenes and also perfect for creating lovely vintage tags like these. I colored the images with Spectrum Noir Illustrator markers in the following colors: JG1, JG5, GG2, GG4, YG1, CT1, CT3, CT4, GY3, BO1, BO3, TN7, TN8, FS9, FS8, TN1, TN3, EB2, EB4, Blender.
MERRY CHRISTMAS CARD
When I saw this magical lantern stamp set I knew that I will mix it with older critter sets from Pretty Pink Posh. To the background I created this snowy look with the Snowfall Stencil, I put on it a sheet of vellum, and splattered on it with white gouache to get this layered snowfall look.
THIS CARD FEATURES
- Snowfall Stencil
- Holiday Scripts Stamp Set with coordinating dies
- Christmas Candles Stamp Set with coordinating dies
- Bear Friends Stamp Set with coordinating dies
- Stitched Borders I Dies
- For the additional supplies visit the thumbnails below this post.

I have also splattered the same medium on the colored critters to get that snowy effect. I colored the images with Spectrum Noir Illustrator markers in the following colors: PP5, PP3, PP1, CR1, CT1, CT3, CT4, BO1, BO3, TN7, TN8, TN1, TN3, EB2, EB4, EB6, FS9, Blender.

CUTE SNOWMEN CARD
For this card I did the same thing like on the previous one, but I have stamped another images where I mixed the new snowmen set with the old woodland critters. As final touches I also added some white and silver snowflakes.
THIS CARD FEATURES
- Snowfall Stencil
- Let It Snow Script Die
- Snowmen Friends Stamp Set with coordinating dies
- Bear Friends Stamp Set with coordinating dies
- Winter Woodland Stamp Set with coordinating dies
- Stitched Borders I Dies
- For the additional supplies visit the thumbnails below this post.

I colored the images with Spectrum Noir Illustrator markers in the following colors: TN8, TN7, BO3, BO1, EB4, EB2, TN3, TN1, FS9, CR1, PL1,
Blender. Classiques: PV05, PP05, CR05, CT05

BLOG HOP
We are celebrating with Pretty Pink Posh their new release, below is a list of all of the designers participating in today’s blog hop! Check out all of the wonderful inspirations!

Ashley Ebben
Leica Palma
GIVEAWAY
Pretty Pink Posh will be giving away 3 $25 gift certificates during the three-day blog hop (one winner each day)! Comments must be left by 11:59 PM PST on 10/19/2021. Winners will be announced on the Pretty Pink Posh Blog.
FREE GIFT
FREE shipping on US orders $75+ and FREE gift with purchases over $125. Click HERE for details or on the image below.

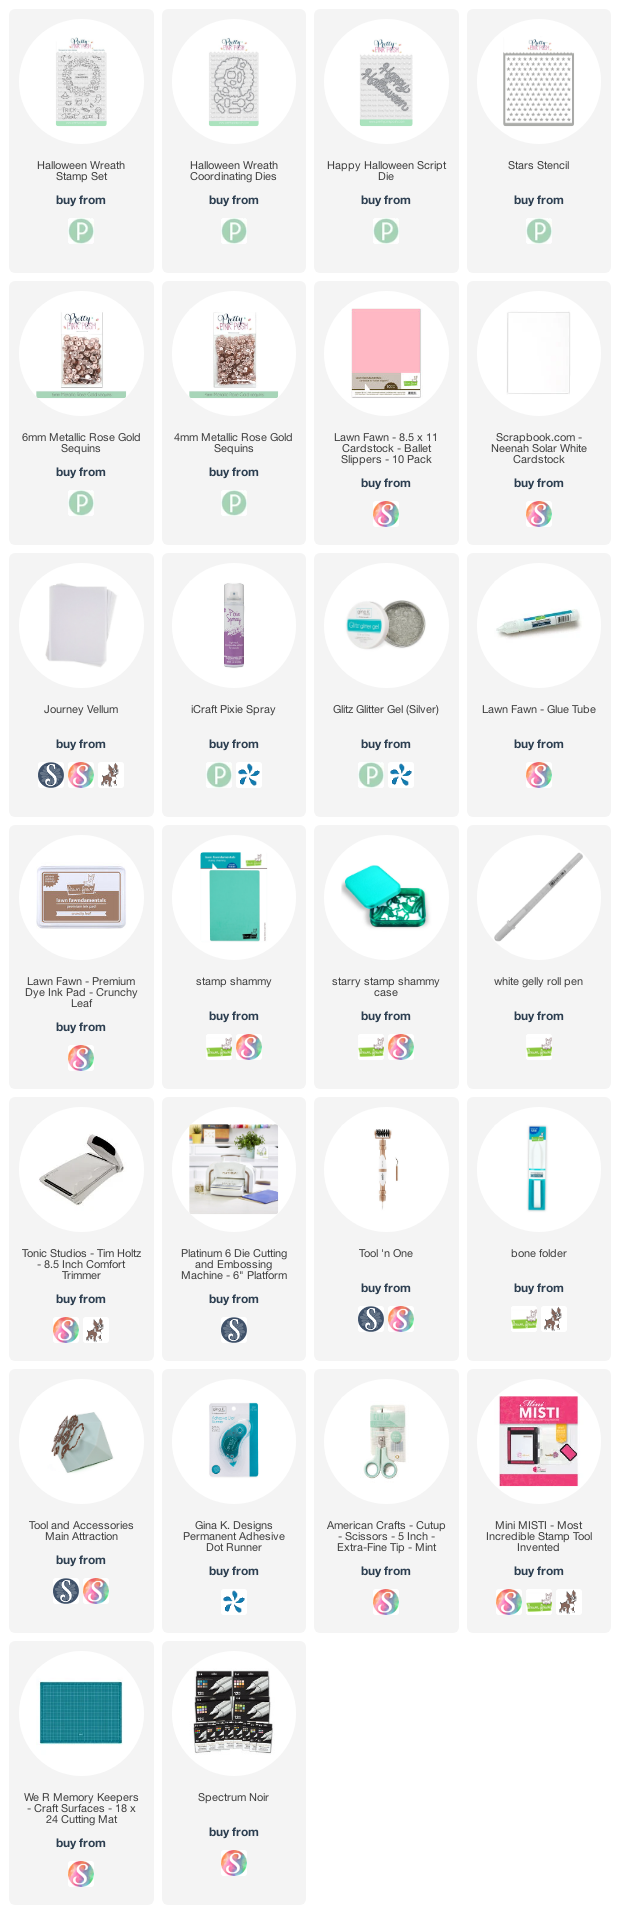
USED SUPPLIES
Affiliate links were used where possible. I may earn a commission if you click them and make a purchase (at no additional cost to you). I am using only products I LOVE. If you buy supplies through my affiliate links, you support my channel and blog with a small commission and when you shop through my links I will do a happy dance. Affiliate Disclaimer.