

Do you know the feeling, when you are in a hurry with a project, when you have to post in a few hours, but you can’t find the Die-cut what you just held in your hand? Where can it be? You just put it here, but it’s not there and you are super nervous. If you don’t know what I am talking about, then all my respect is yours! When I am not organizing my projects, I am doing this activity and I can be really close to a Hulk transformation. 😂


If you prepare the bases and fronts in advance, you can save a lot of time or the most time saving tip is to buy them precut. Honestly it is not a 5 min project, but it will save you time for other things (trust me loooots of time).

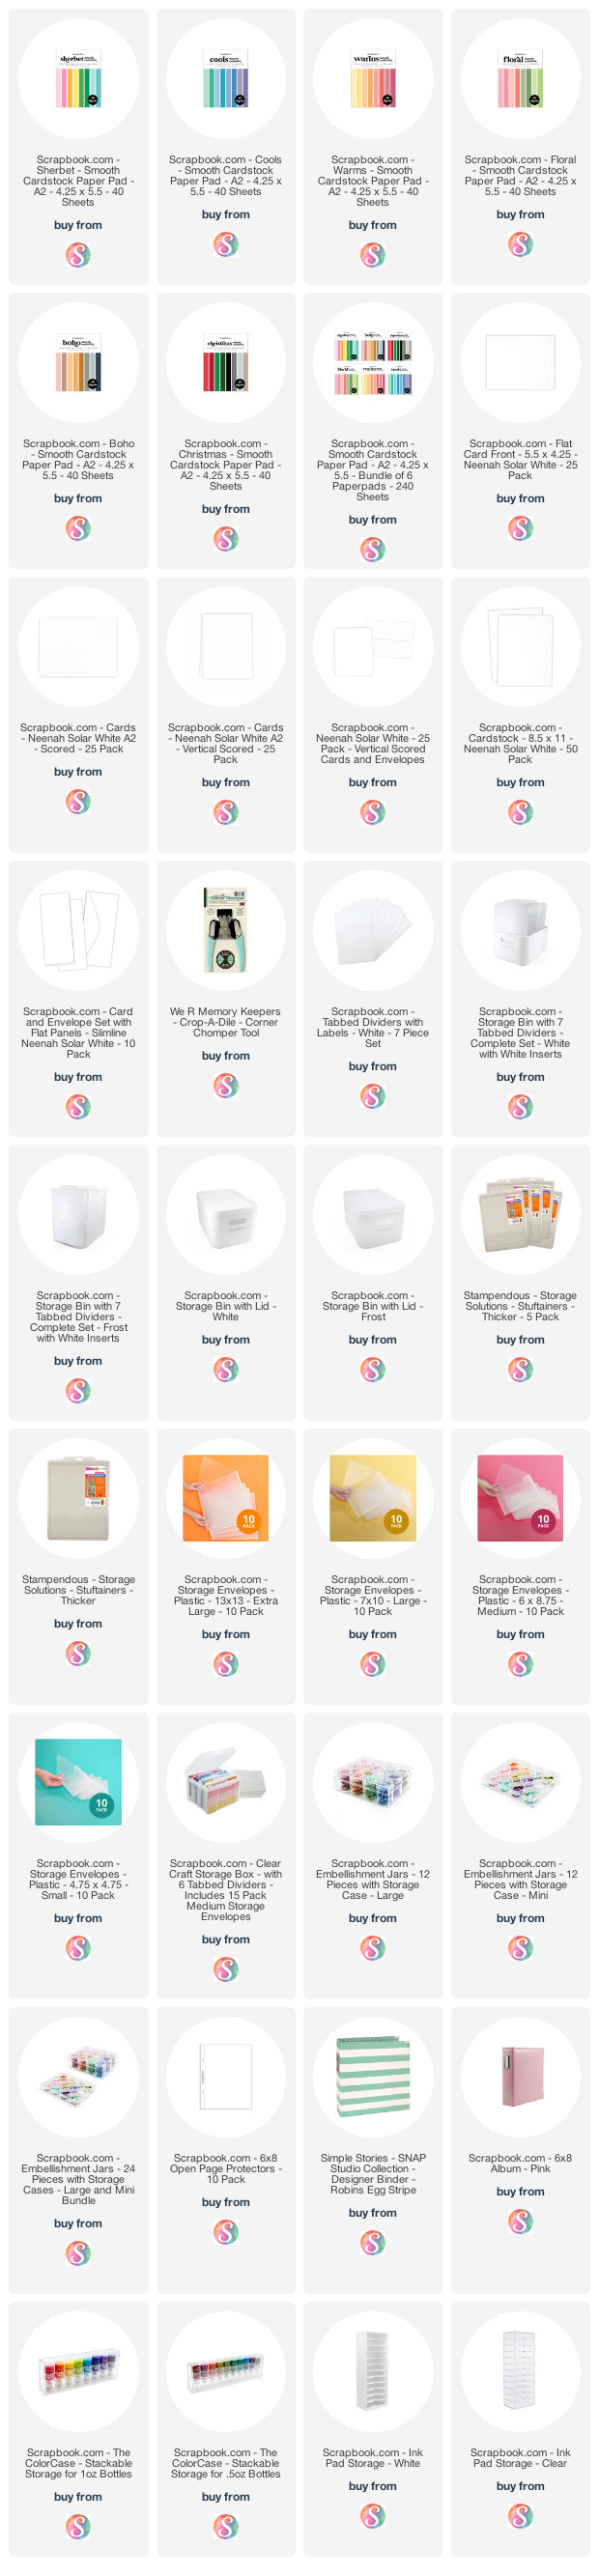
I mostly use Neenah Solar White cardstock because I love it! I use it for my coloring and its super useful that it is available in an already cut 5.5” x 4.25” size. In this case I just have to order in time before I use all of them.

I am extremely happy that the colorful precut 5.5" x 4.25"card bases are available too, and I can use them not only as bases, but for die-cutting too.

I buy and use the scored card base the same way so I just have to fold it in half and my base is ready. I mostly use horizontal but I have some vertical ones too.

Two times in a year I cut my favorite papers and cardstock to 5.5” x 4.25” and organize them into my storage box. I put them on my crafty desk as close as I can.

I made laminated dividers for better transparency. I printed the name of the paper on a colored copy paper, rounded the edges with corner chomper, laminated the whole and cut to size.
If you don’t have time for making dividers, then check out white dividers. You just have to cut to size from the bottom and put the name of the cardstock on a vinyl sticker.

I love this method, because when I look at the box, I instantly know which one I need and also, I can track their number so I know when to shop them. The point is there are at your fingertips. I use the Storage Bin with Lid, because it fits perfectly in my ALEX (Ikea) drawer, so when I need one cardstock, I just open the drawer and pull one out.

Also, this drawer is ideal for stamp and 6x6 embossing folder storing.

Now that cardstocks are OK, let’s have a little preparation. The steps are really easy. For example, you want to create 4 projects until the end of the day. You plan all the projects and make sketches for each one. This way you will know which products you want to use. I prefer the stamping -> die-cutting -> heat embossing combo.

When I am making more projects at once, I use Thicker Storage Solutions by Stampendous. I love it because it can hold the 8.5” x 11” cardstock, the inkpad, stencil and the prepared die-cuts and stamped images, almost everything what I need for the project. If I make it only tomorrow or the next week, then I write the project’s name on a sticky notes, stick it to the box’s side so I immediately know what’s inside.

There are near future projects which are urgent but not instantly. For these I prepare the stamped die-cut images and I know which word dies I am going to use.

I put all of these to a transparent envelope and I write to a masking tape the content and date of project. Later I can use the masking tape for die-cutting. This plastic envelope is made from sturdy plastic so even a Metal Die can’t harm it. It can be re-used lots of times. I have them at home in various sizes.

If I need to create lots of projects then I put the Clear Craft Storage Box with 6 Tabbed Dividers to my desk and I put the projects into it in order. I know, this sounds a little too much for organizing, but I have a main job beside crafting so I would be lost without this level of organization.
Sometimes I just feel I want to color, not having a project in mind. Then I just stamp and die cut for example cute critters from Lawn Fawn and I put them into clear containers which are transparent and easy to use. I can organize them separately so I can avoid mixing them.

Also, in this way I will actually use all of them. Before I started using these containers, I just made them but somehow forgot about coloring and using them on cards. I heard that others have this problem too!

So, if you want to improve in this field, try it out! What I extremely love, that you need to gently twist the lid when you open it, so the contents are not spilling out. There are two sizes I have the larger one and this is the smaller one available together with the clear box so you can stack them.

If you are ready with your project put all the supplies back to their places, so you will know where to look for them and you will avoid the unnecessary search for them.

In the end I just want to share with you how I store my 6”x6” and 6”x8” stencils. It’s super simple, but I just LOVE it! I am using a 6x8 ring album for it, and 6x8” Open Page Protectors. These page protectors are perfect quality, and I can put back my scencils tons of times.

For my 6x8 Exclusive stencils I put the back sleeves from the original packaging to the page protectors, because there is the printed name, but for the other stencils I print out the brand and the name of the Stencil to a colored copy paper.

To one-page protector I put 2 stencils so I save space too. As you can see my album is full, so I will order this beautiful pink album soon for my new stencils.

I hope you found this post helpful, in the near future I will have some different Quick Craftroom Tips. If you don’t want to miss it, subscribe to my newsletter. Please, write in your comment what is a topic which you would like to read about! Thanks for stopping by, big crafty hugs, Mona
USED SUPPLIES
I am using products only I LOVE. If you buy supplies through my affiliate links, you support my channel and blog with a small commission and when you shop through my links I will do a happy dance. Using affiliate links does not mean additional cost for you. I really appreciate your support. Affiliate Disclaimer here.
I am using products only I LOVE. If you buy supplies through my affiliate links, you support my channel and blog with a small commission and when you shop through my links I will do a happy dance. Using affiliate links does not mean additional cost for you. I really appreciate your support. Affiliate Disclaimer here.
PIN IT
I you like this post, please pin it to your pinterest board to share with your crafty friends! Thank you so much, I really appreciate it! :)


That was indeed a great bunch of tips Mona
ReplyDeleteYou are very welcome :)
DeleteThanks for sharing these tips, Mona! Looks like you have a great system going. I would love to hear about your actual planning process. Here you have an idea of the cards you want to make, so you prepare for those. What do you do to plan a card, do you make a sketch of what you want it to look like first? Thanks for sharing!
ReplyDeleteThank you so much sweet Jeanne, I will share about my planning process soon too. :) Thank you so much for asking that.
DeleteThanks you so much for sharing this info. Im always looking for organization ideas!!
ReplyDeleteYou are very welcome Rebekah :)
DeleteThanks for sharing. Such great ideas! I have been looking for ideas for my projects in process storage.
ReplyDeleteThanks for sharing. Such great ideas! I have been looking for ideas for my projects in process storage.
ReplyDeleteI am so happy that this was useful for you. Sending you big hugs.
DeleteHi Mona, thanks for sharing. I am wondering if the Scrapbook brand page protectors can be used in their album and the Simple Studios album. I see you linked both albums. Thanks!
ReplyDeleteHi Joy, Yes they can be used in both 6x8" albums. I have at home the striped one album, hope it helps. :)
DeleteWhat kind of shelf or container are you using for your markers?
ReplyDeleteFor my markers I created a diy holder from fome board, but I am planning to change it soon. :)
DeleteHi Mona,
ReplyDeleteJust found your blog from project photos you posted on Scrapbook.com.
I’m curious how many stencils do you have in one 6x8 album?
I’m trying to do a re-organization of my stamps, stencils & dies. Right now everything is tucked away and I forget to use what I have. I’d like to have easier access and the album method just might work.
Thank you! Regards!!
I would say 30pc 6x8 page protectors what exactly means 60 stencils if you putting them double side. :) Hope it helps.
Delete