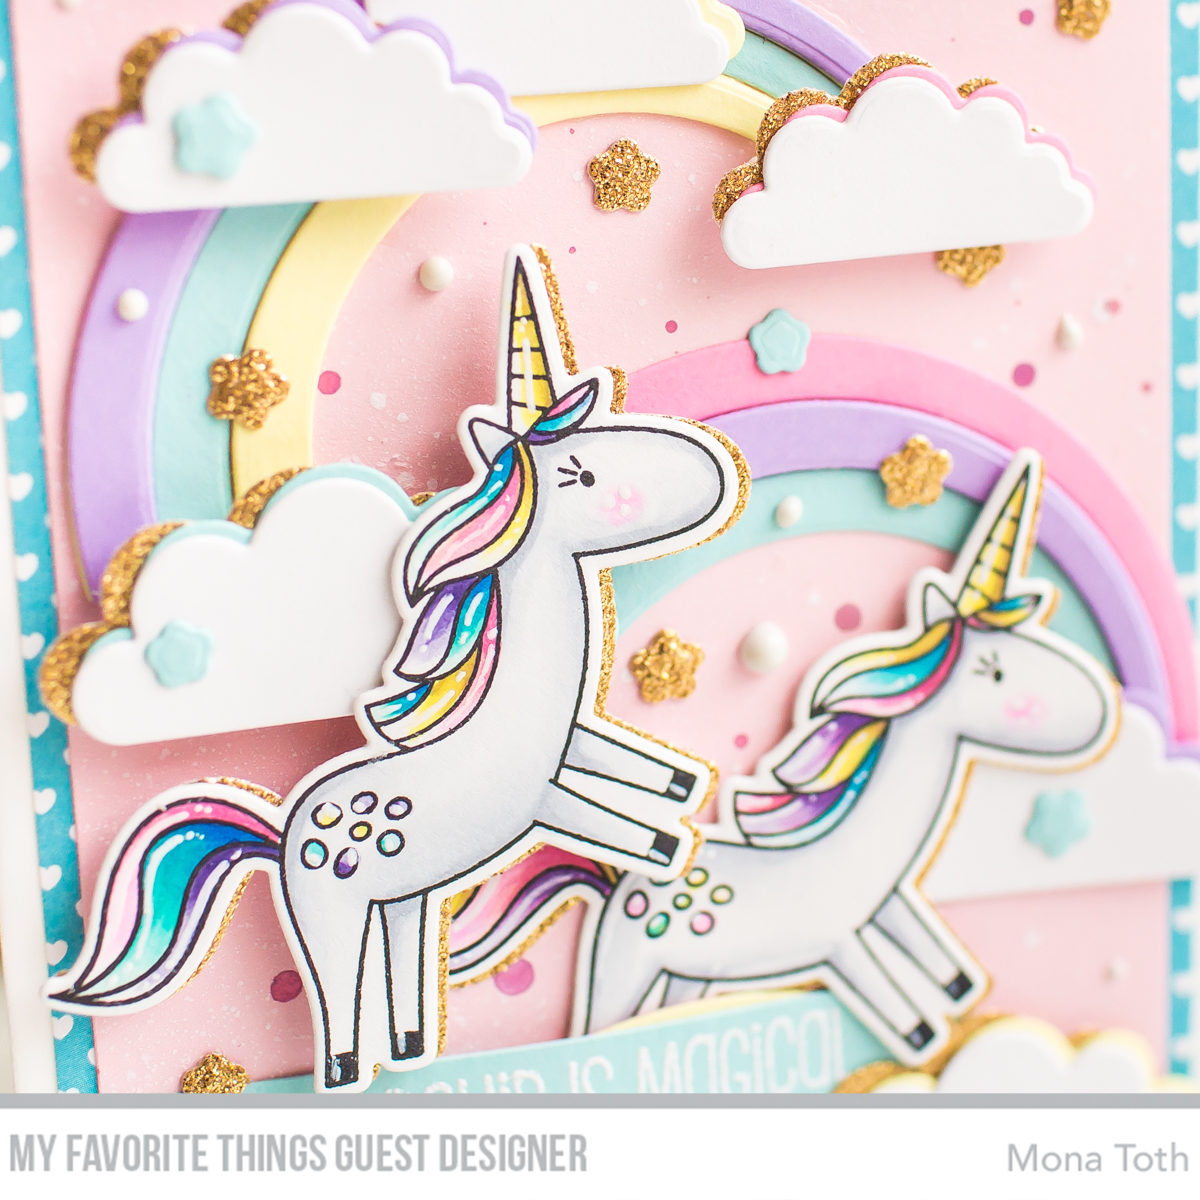
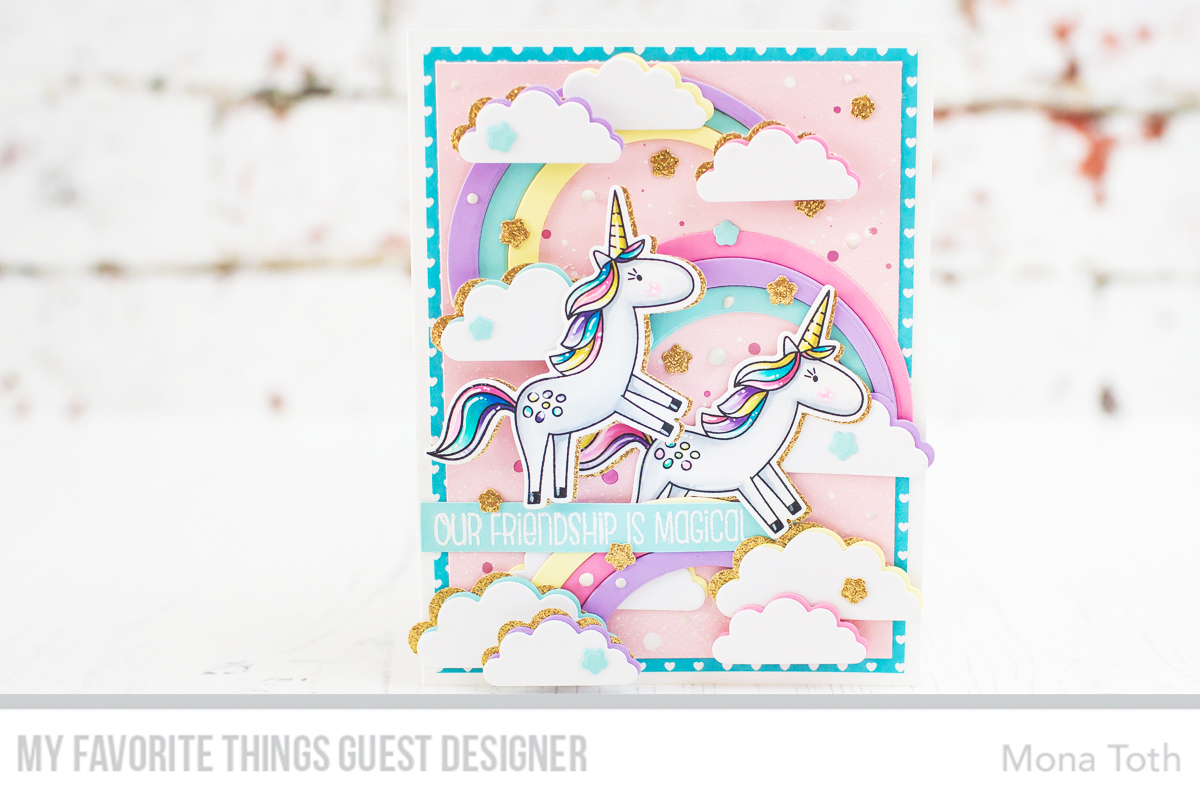
I started the card making with Die-cutting so I made a background Die-cut with the Frilly Frames Polka Dot Die. I backed it with beautiful yellow plaid paper from the Gingham Pastels 6x6 Cardstock. When it was done, I made my pink background. I dry embossed it with the amazing Quilted Hearts Embossing Folder. This texture is absolutely awesome! I prepared a little scene, so I made grass with the border from the Comic Strip Everyday Dies.

Next I stamped the images from the Miss Moo Stamp Set and cute tulips from Spring Greetings stamp set and I colored them with Copic Markers. After the coloring I used the coordinating dies to cut the images and added highlights with Signo Uniball white pen.

(Used Copic Markers: 0, Y11, Y15, Y19, E0000, E000, E31, E35, E42, E53, YG01, YG03, YG93, R20, R32 RV32, W7, W5, N9,)
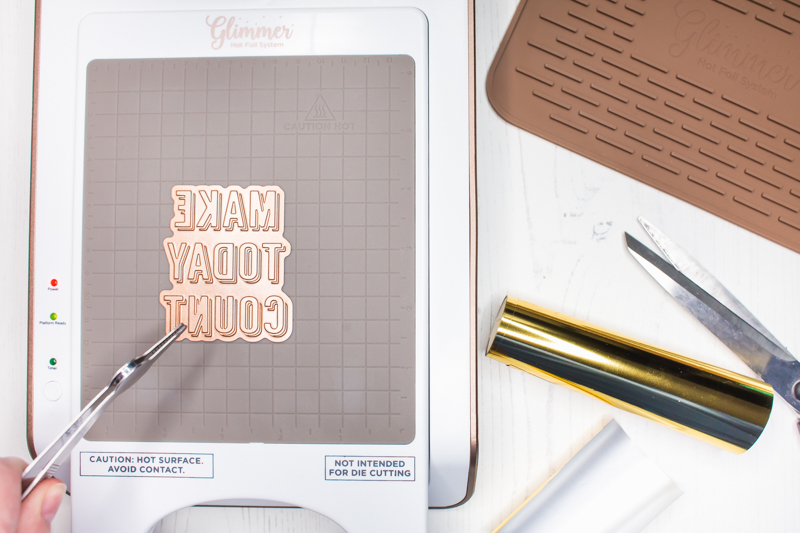
I decided to make the sentiment with Die-cutting so I used the Loopy Letters Dies for it.

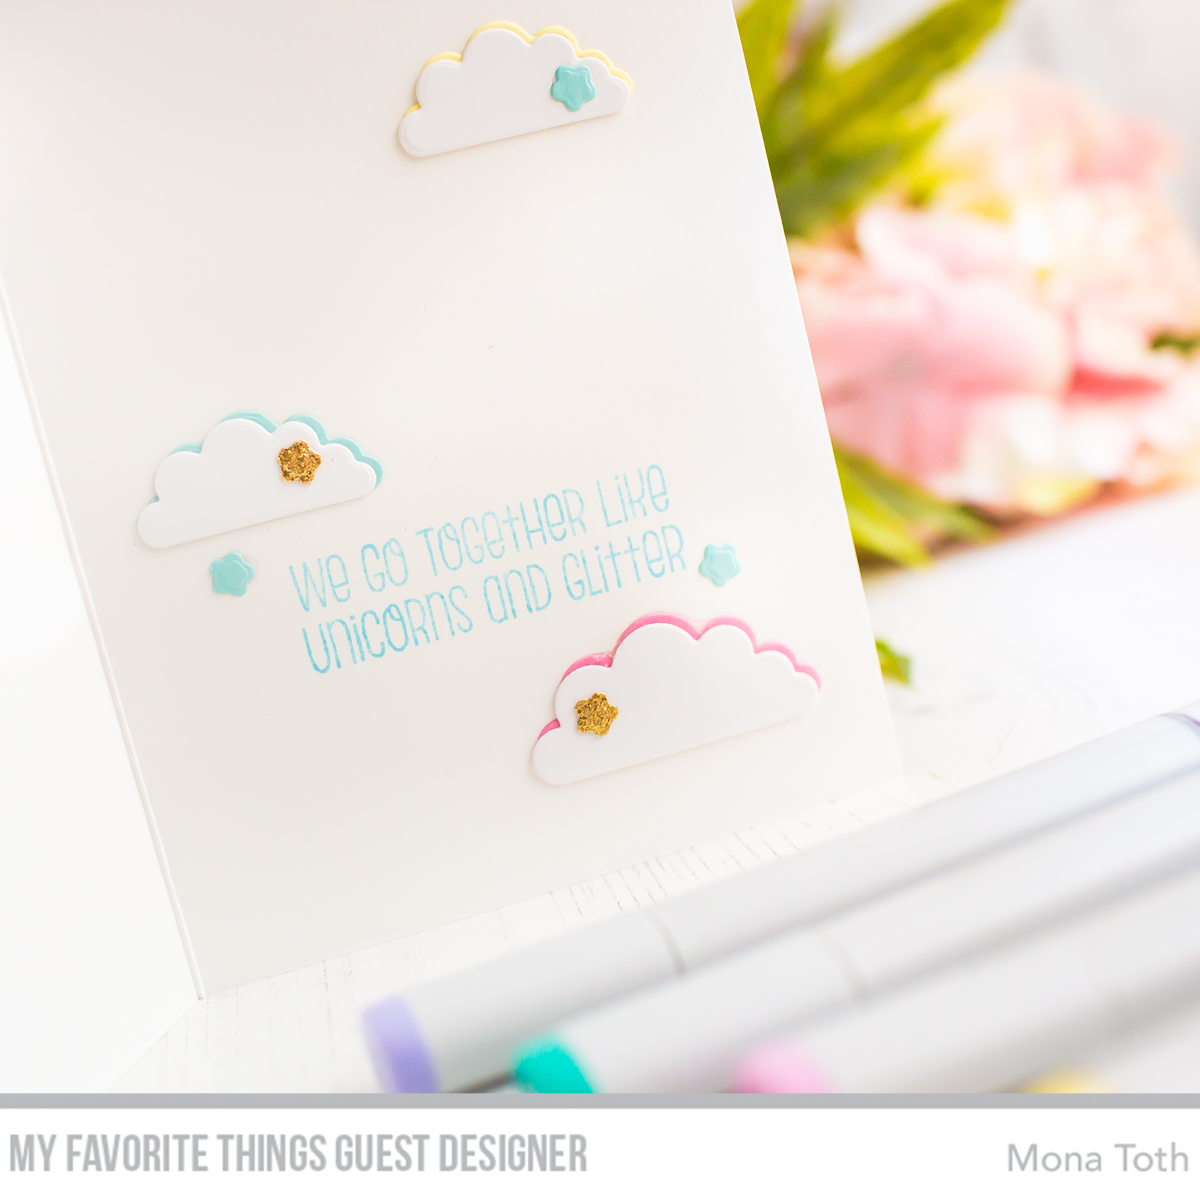
In the end I styled my card and adhered everything together. Thank you very much for reading through my post, I hope that you have enjoyed it and I have inspired you! If you like my creations let's be friends on Instagram. :)
Hugs, Mona
Hugs, Mona
SUPPLIES
I prepared for you the list of products which I used for making this project. If you buy these through my links you help me running this blog. (You can find the affiliate disclosure here). Thank you for your support!

PIN ME
My projects compressed into a photo :) If you like it, save it to your Pinterest boad. Thank you!