

Hello crafty friend, today I am showing you three envelope tricks to try right now! I have a really special post for you with a quick envelope magic, where I want to highlight you my friend Judit, from Artistampdesign.

She is an Etsy maker, who is creating the most magical handmade personalized stamps ever. This post contains affiliate links and you can find the used supplies in the end of my post.

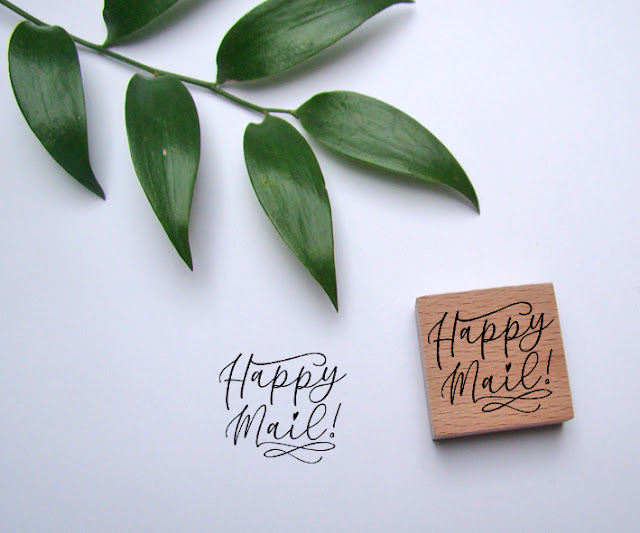
A few weeks ago I have received from her the most amazing personalized gift what a
cardmaker can dream of! I got one address stamp and one stamp to the back of my cards. I remember those magical moments, when I was spying for Santa
and I was super excited when I got a present from him. My feelings were exactly
the same, when I received Judit's amazing package.

The holiday is coming and if you want to gift yourself with a beautiful personalized stamp then this is the right time to ask one from Santa. You can see some of her recent designs below. Aren't they amazing? Before check out use this code: HAPPYNOVEMBER to get 10% OFF!


We are creating tons of cards weekly, so why we don't add an extra touch to our envelopes, which says: hey you! You have received an extra special something from me! Please be more excited! 😊

Three envelope tricks to try right now!
I created for you a quick inspiration with Instagram Reels video, on how to rock your envelopes quickly.

HEAT EMBOSSING
If you have a personalized stamp with your address, you can stamp with colorful ink to your envelope or you can stamp with watermark ink then heat emboss it with gold or any colored embossing powder. This will save you lots of time, and a stamped address is just amazing!


DRY EMBOSSING
Did you think about that you can dry emboss your envelopes? Oh yes! You can dry emboss your envelopes with your stencils and because of it your envelope will look more luxury and extra expensive! At scrapbook.com you can find 6"x8" sized stencils which are perfect for larger envelopes. For this inspiration I have used the Teardrop Floral Stencil.


Once you heat embossed your sentiment, run your envelope through your die-cut machine with your favorite stencil. All you need to have a tan embossing mat what I am showing you in my dry embossing technique video here.
WAX SEAL IT
If you feel that the heat embossed address and the luxury dry embossed envelope is not enough, then the cherry on the top is when you are closing your envelope with a wax seal. There are some new different and amazing tools for it be sure to check it out.

These were my tips for today, I really hope you will try it, its so much fun, and your envelope will really rock! Be sure to visit my friends Judit's Etsy shop to see her magical personalized designs or reach her with a custom questions, she is always happy to help.


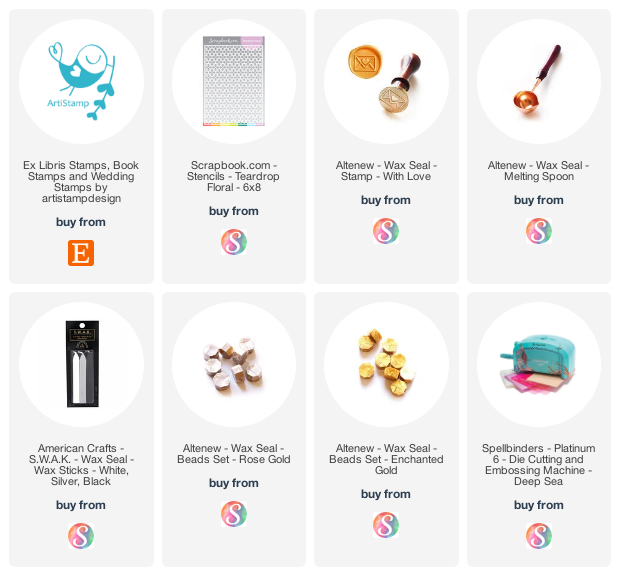
USED SUPPLIES
I am using products only I LOVE. If you buy supplies through my affiliate links, you support my channel and blog with a small commission and when you shop through my links I will do a happy dance. Using affiliate links does not mean additional cost for you. I really appreciate your support. Affiliate Disclaimer.
• 💖 FREE 2020 Holiday Gift Guide for Crafters
——— https://shrsl.com/2mehd
• 🖤 Pre-Black Friday Sale
——— https://shrsl.com/2mgj8
• 🎁 FREE GIFTS and COUPONS on Scrapbook.com
——— https://shrsl.com/2md2w
PIN IT
If you like this post, please save it to your Pinterest board from my original post. Thank you!


No comments
Type your comment below: