Showing posts with label Pretty Pink Posh. Show all posts

Easy Rainbow Butterfly background with Stencil | Pretty Pink Posh Blog Hop

Hi crafty friend! Welcome to day 2 of the Pretty Pink Posh March Release Blog Hop! We are celebrating this lovely release. We are also having a giveaway too, don't forget to let me know in your comment which product is your favorite from the new release! 😊

THIS CARD FEATURES

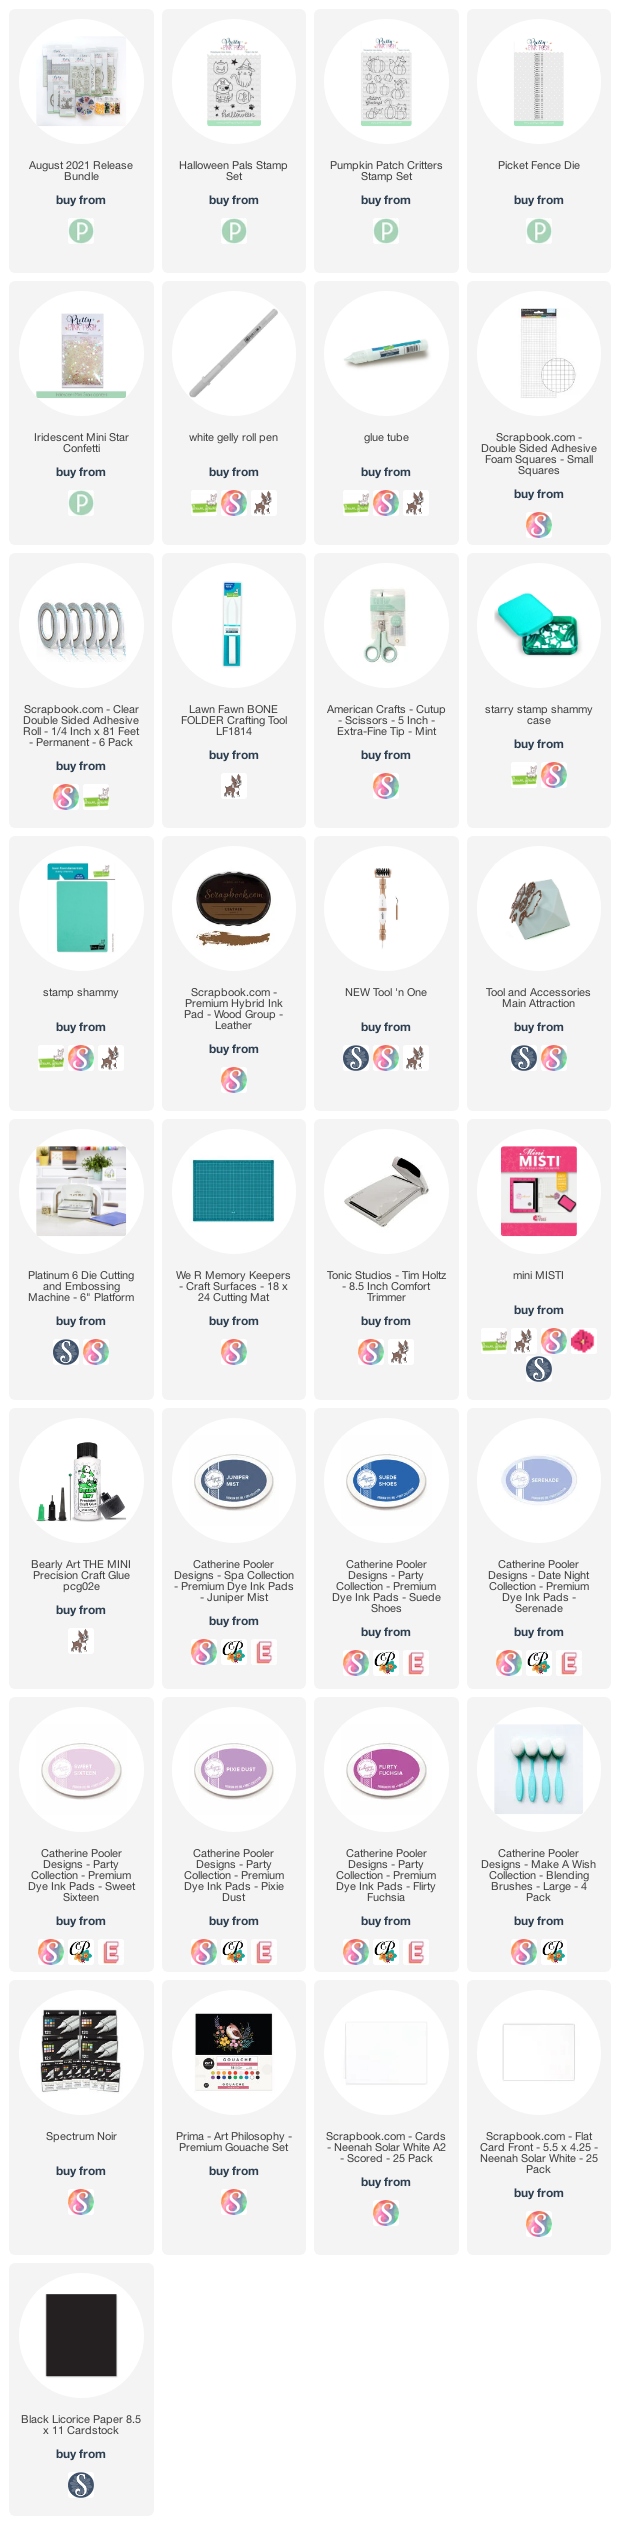
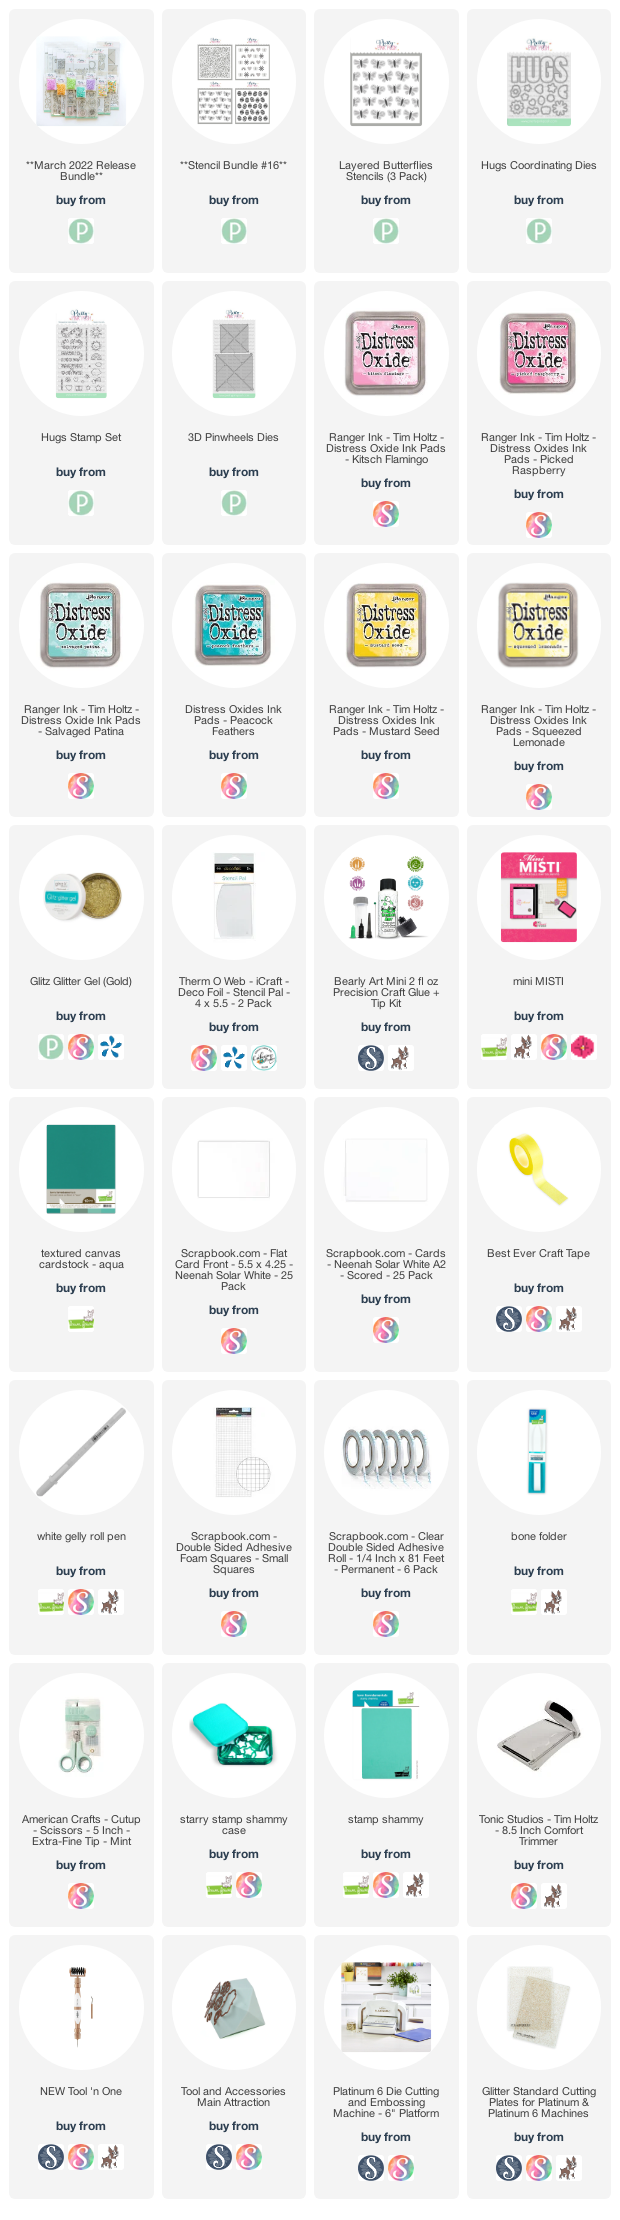
For the additional supplies with shop links visit the thumbnails below this post.
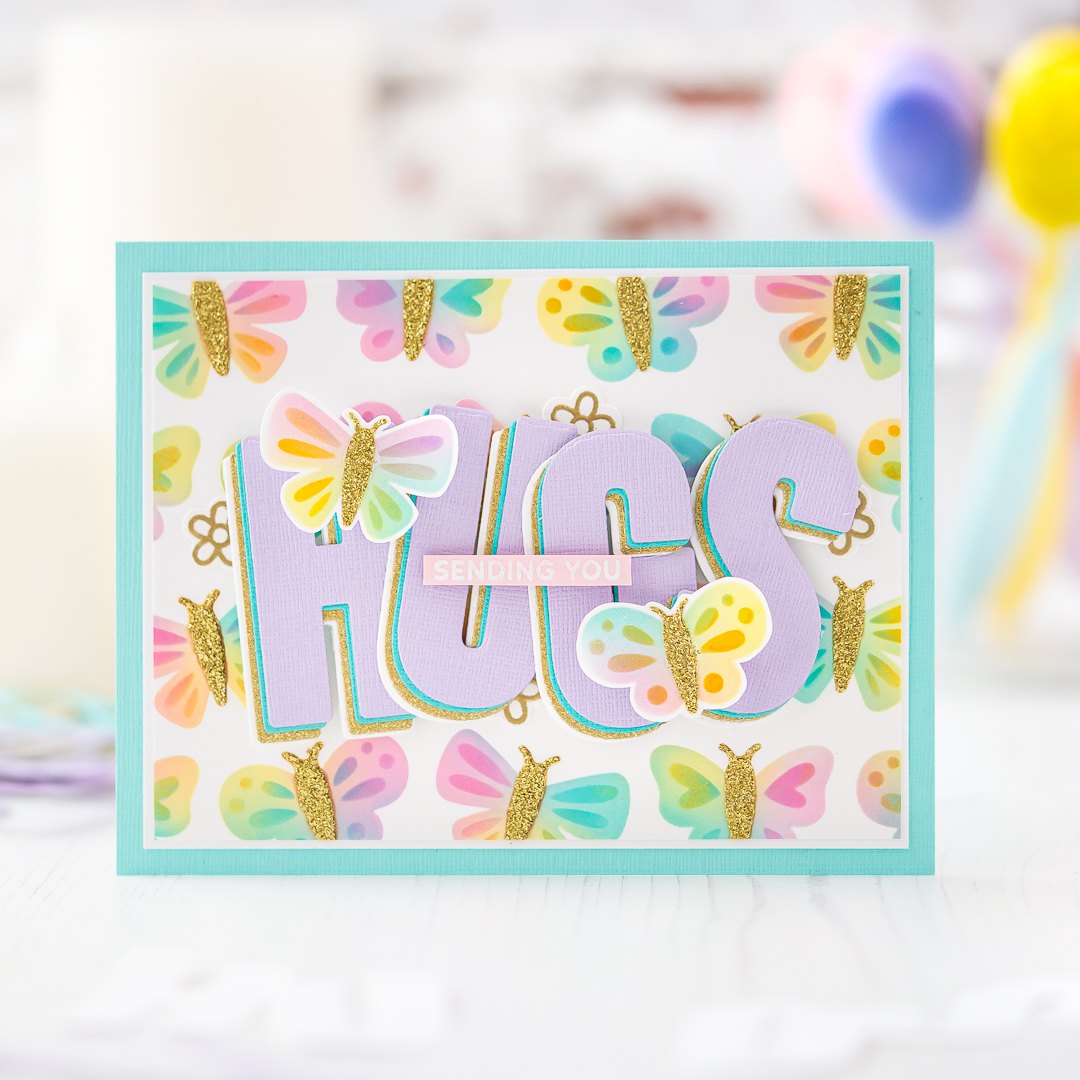


Do you enjoy this inspiration? I really appreciate if you pin this photo to your Pinterest.

CARD INSTRUCTIONS

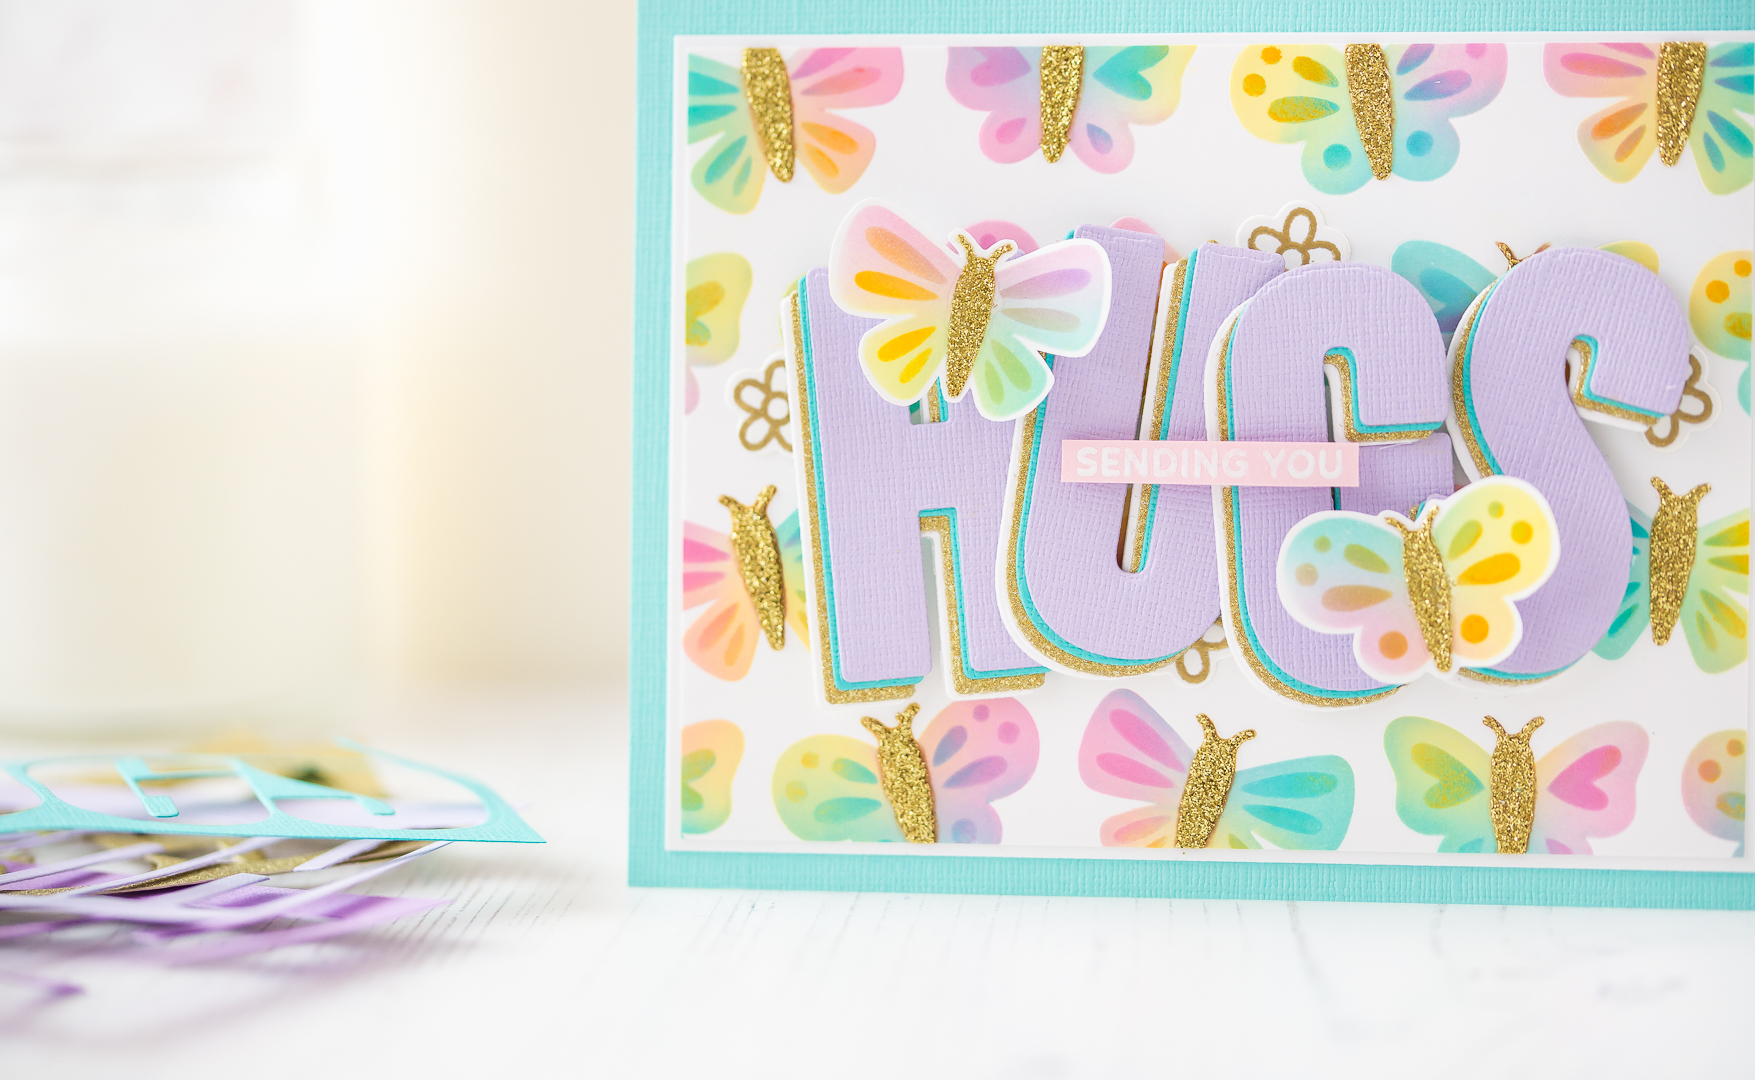
I started with a piece of Neenah Solar White Cardstock and the first stencil from the Layered Butterflies Stencil and blended through it with Salvaged Patina, Kitsch Flamingo and Squeezed Lemonade Distress Oxide inks to get this soft rainbow look as a background. Next, I followed with the second stencil and repeated the same ink blending process, but this time with Peacock Feathers, Picked Raspberry and Mustard Seed Distress Oxide inks, which are a bit darker color then the previous ones. 
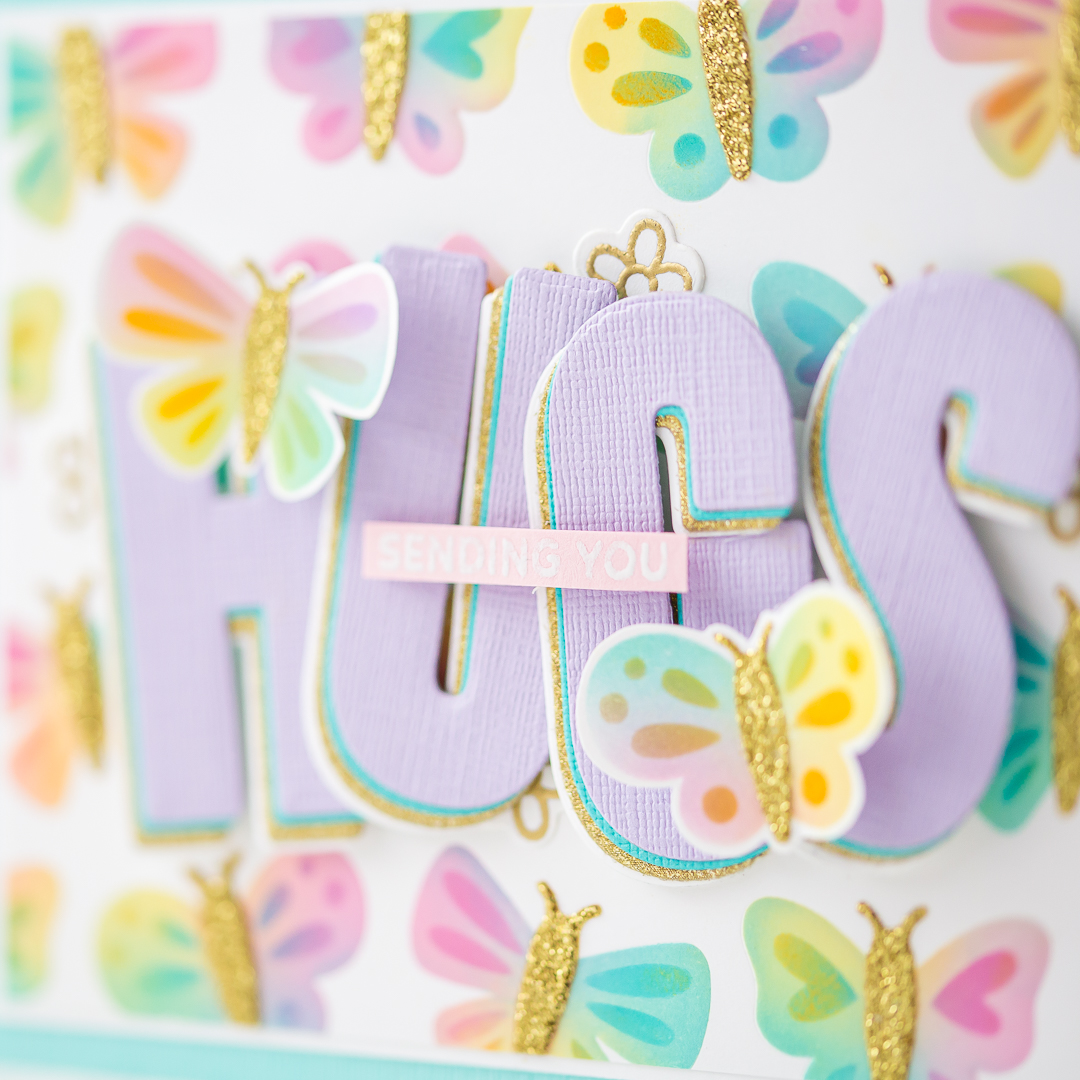

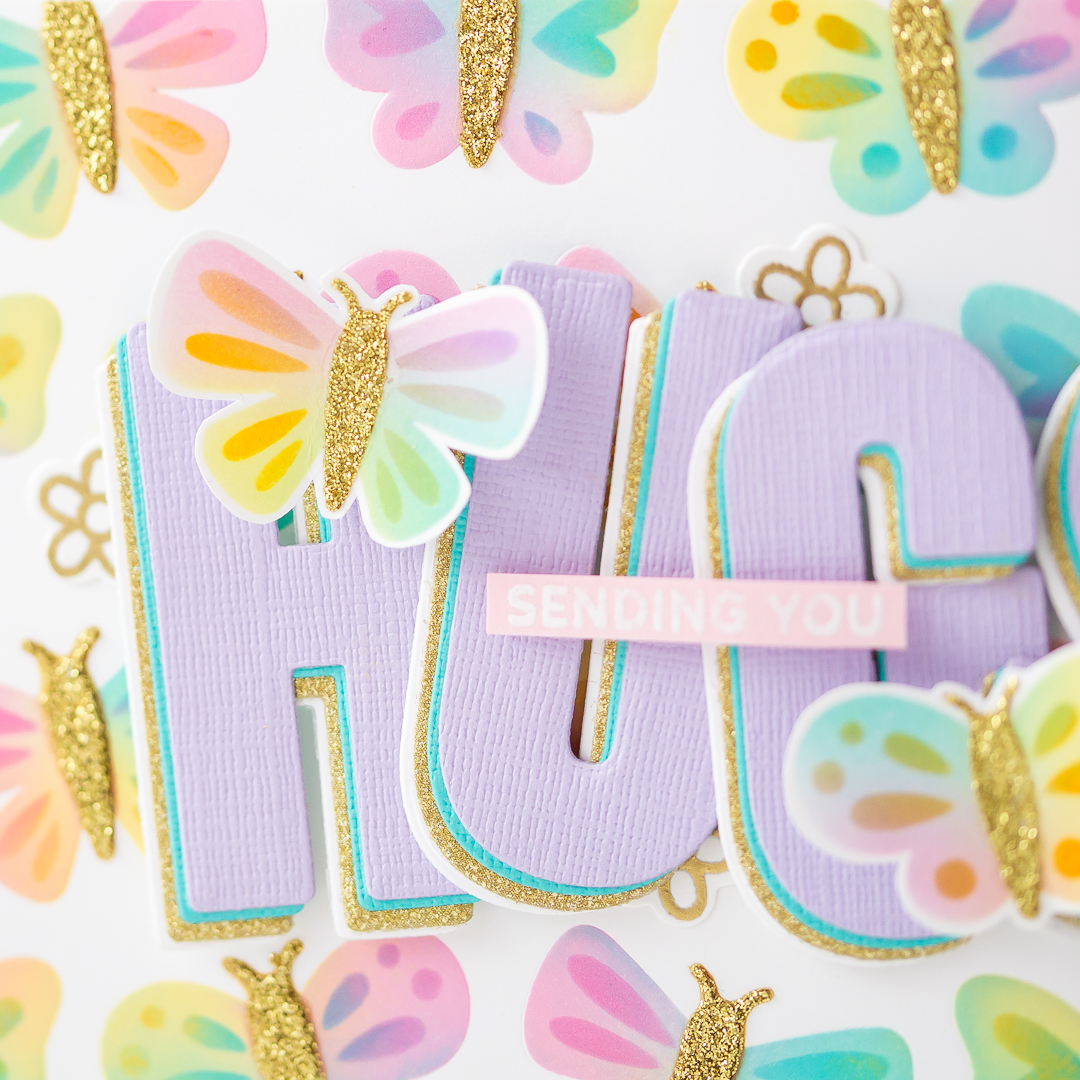
With the last stencil I have used Gold Glitz Glitter Gel to add a bit bling to the butterflies. After this process I washed the stencil immediately and let the background dry. While it was drying I created the HUGS sentiment with the Coordinating Dies of the hugs stamp. I have created multiple diecuts of the letters and adhered them together to get this bold layered look. When the background was dry I layered the card and put it together. I embellished it with cute tiny flowers from the Hugs Stamp and I have also cut out a few butterflies to get this lovely look. 😍 

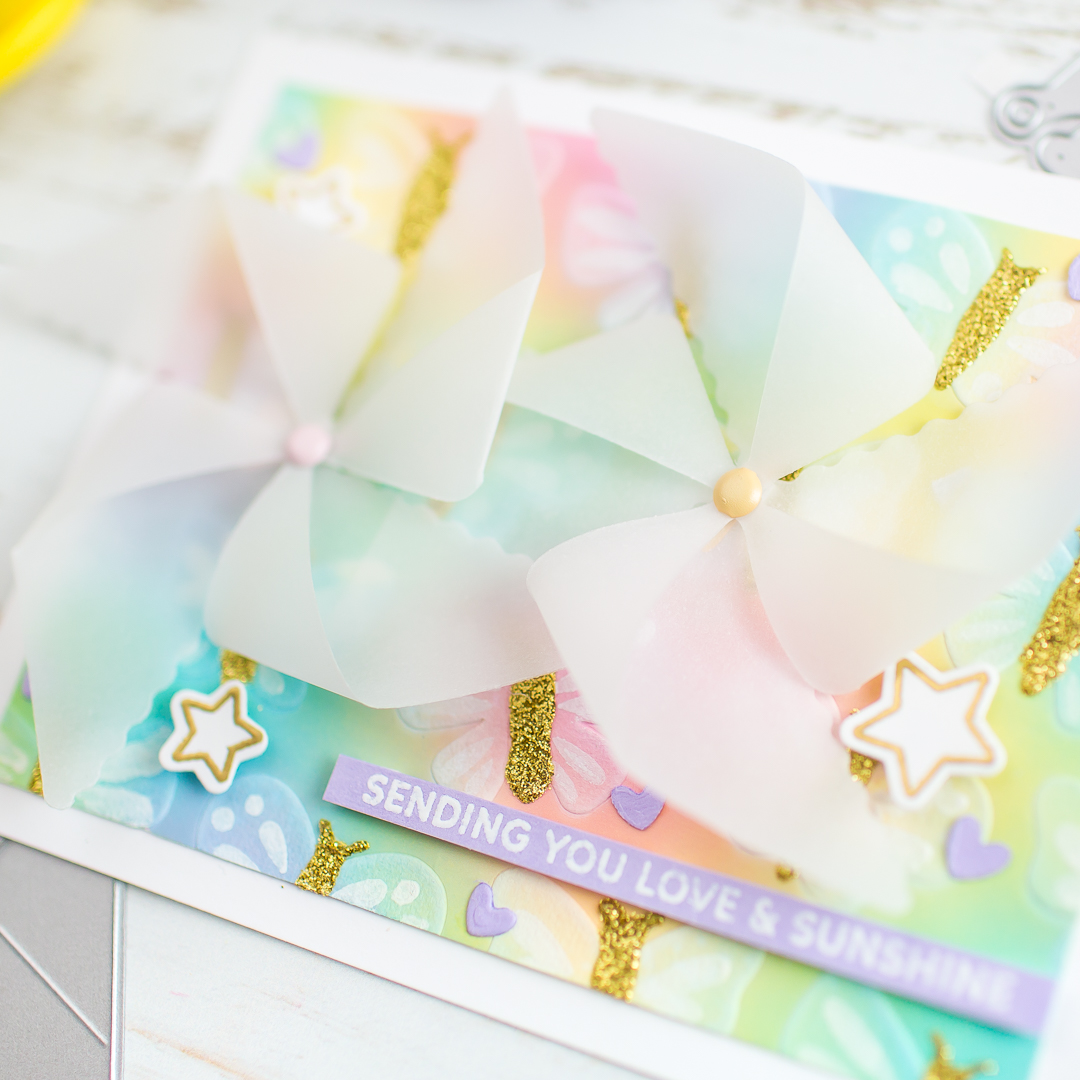
I will show you another inspiration soon on my Instagram with the new release, this pinwheel die is oh so fabulous isn't it? I will have a surprise game on my Instagram stories soon too so if you like games, don't miss it! 💖 

Disclaimer: This post contains affiliate links and I may earn a commission if you click them and make a purchase (at no cost to you). 


BLOG HOP


We are celebrating with Pretty Pink Posh their new release, below is a list of all of the designers participating in today’s blog hop! Check out all of the wonderful inspirations!

Pretty Pink Posh blog
Mona Toth <<< You are here
Rebecca Keppel
Davina Cantrell
Elaine Wakeling
Dana Kirby
Jeanne Jachna


GIVEAWAY


Pretty Pink Posh will be giving away 3 $25 gift certificates during the three-day blog hop (one winner each day)! Comments must be left by 11:59 PM PST on 3/20/2022. Winners will be announced on the Pretty Pink Posh Blog.


USED SUPPLIES


Using affiliate links does not mean additional costs for you. I really appreciate your support. I am using only products I LOVE. If you buy supplies through my affiliate links, you support my channel and blog with a small commission and when you shop through my links I will do a happy dance. Affiliate Disclaimer.
Lovely Inspiration | Pretty Pink Posh Blog Hop with FREEBIE and GIVEAWAY


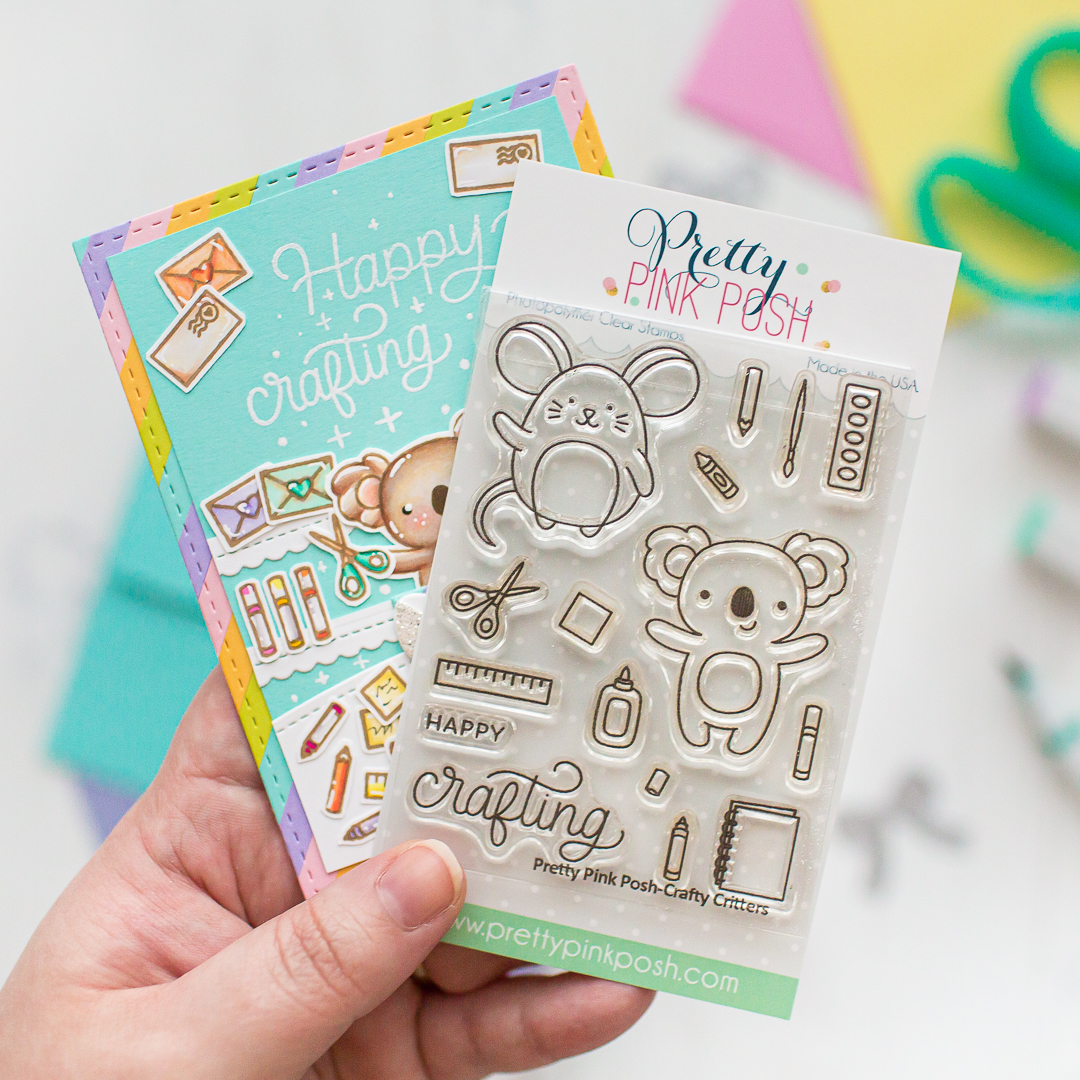
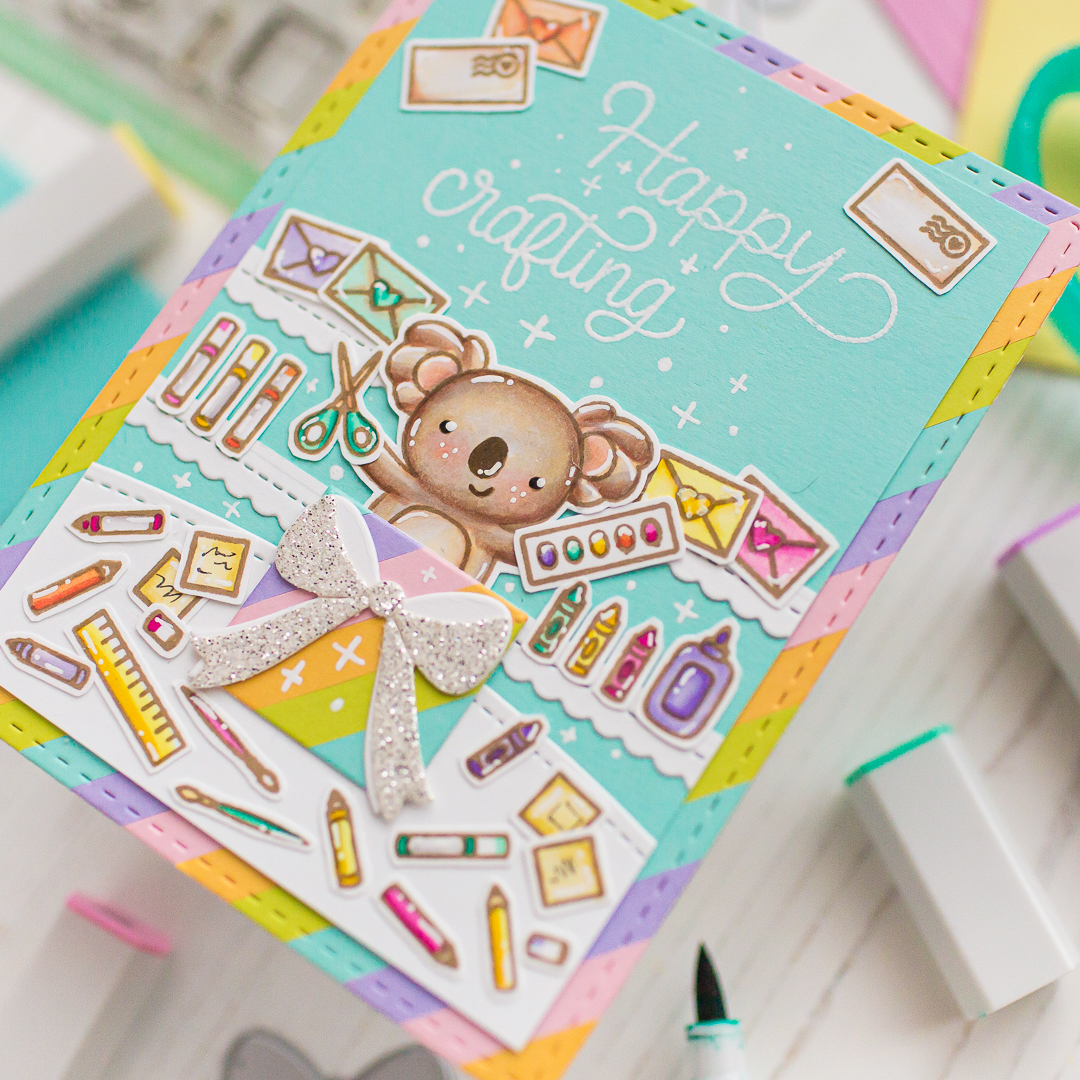
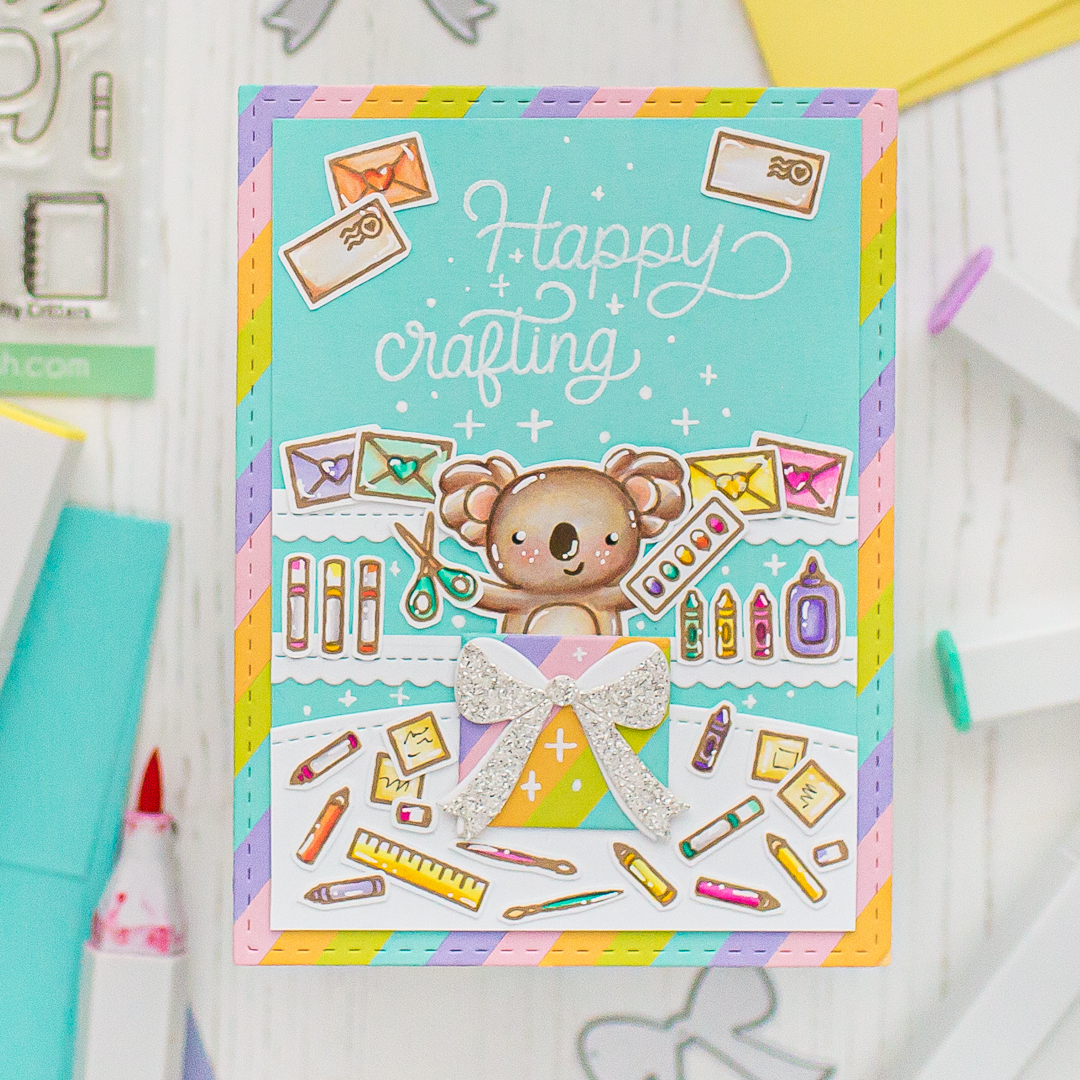
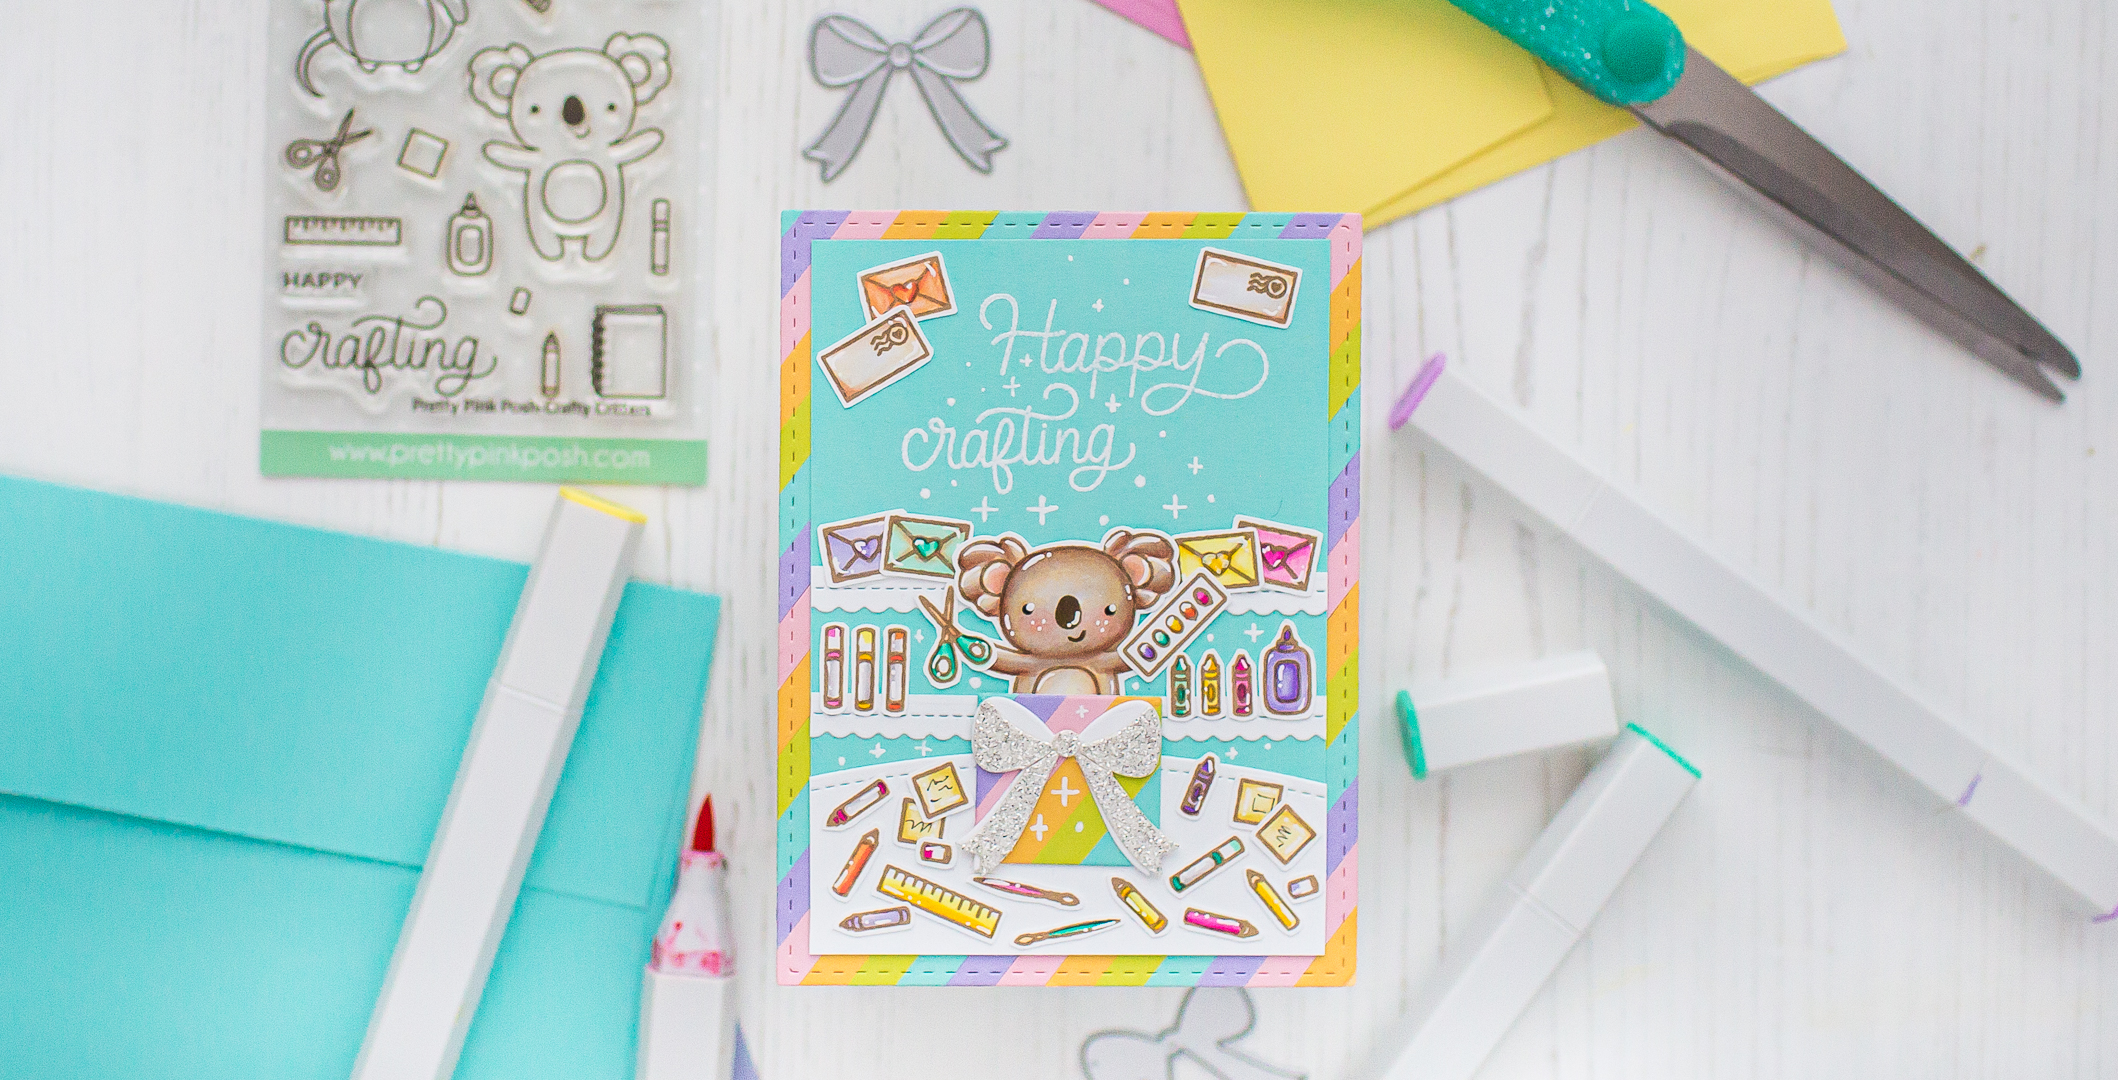
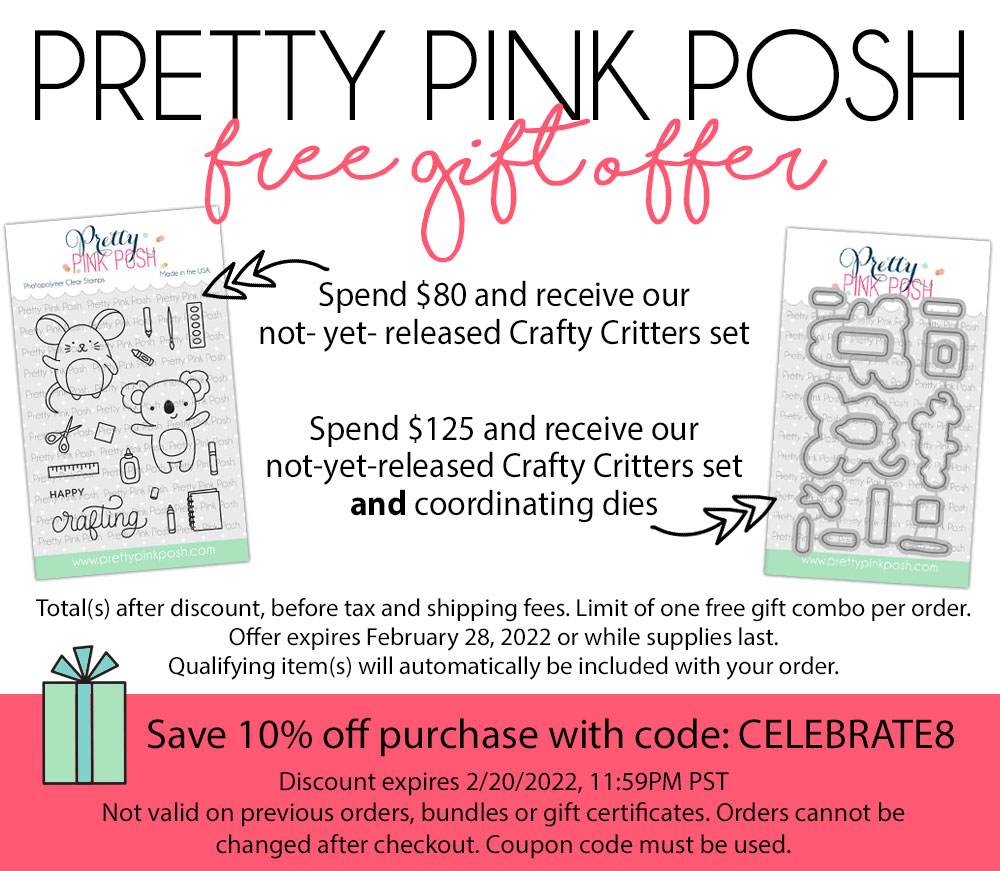
Hi crafty friends! Welcome to day 2 of the Pretty Pink Posh Birthday Celebrations Blog Hop! I made this cute birthday card with a super cute FREEBIE called Crafty Critters When I saw that, I immediately knew that I will use this koala as a star on my card! More details about the freebie and for a discount code as well below this post. 


THIS CARD FEATURES


Do you enjoy this post? I really appreciate if you pin this photo to your Pinterest.


CARD INSPIRATION


When I saw this adorable stamp I knew that I will make a craftroom kind of card with organized "shelves" and with a bit of a crafty mess on the table. I stamped the images with alcohol marker friendly brown ink, and after a quick heat set I colored them with Spectrum Noir Illustrator Markers. I have used the following colors: LY1, LY3, CT1, CT3, CT4, TN1, TN3, EB1, BO1, OR2, CR2, MG1, MG3, HB1, HB2, HB3, GT1, GT3, GB3, GB1, GB11, Blender and a white pen for the highlights as well.


After the coloring, I made a quick fussy cutting, and die-cutting as well. Then I stamped with watermark ink and heat embossed the Happy Crafting sentiments with white embossing powder on a light teal cardstock, I put my card together and I added finishing touches with white pen.


BLOG HOP

Below is a list of all of the designers participating in today’s blog hop! Check out all of the wonderful inspirations!

Pretty Pink Posh blog
Cathy Zielske
Laura Bassen
Mona Toth <<< You are here
Raquel Arribas
Heather Hoffman
Tina Smith
Gemma Campbell

GIVEAWAY 

Pretty Pink Posh will be giving away 3pc $50 gift certificates during the three-day blog hop celebration! Comments must be left by 11:59 PM PST on 2/16/2022. Winners will be announced on the Pretty Pink Posh Blog. Check the new arrivals here or tap on the image below.


Thank you so much for stopping by, don’t forget to check this beautiful release, enjoy the hop. Hugs, Mona.

USED SUPPLIES

Using affiliate links does not mean additional costs for you. I really appreciate your support. I am using only products I LOVE. If you buy supplies through my affiliate links, you support my channel and blog with a small commission and when you shop through my links I will do a happy dance. Affiliate Disclaimer.

Pretty Pink Posh Holiday Release Blog Hop + Giveaway

Hi crafty friends! Welcome to day 3 of the Pretty Pink Posh Holiday Release Blog Hop! We are celebrating this beautiful festive release. For this reason today I have created 3 card inspirations, let me know in your comment which one is your favorite! :) 

Do you enjoy this inspiration? I really appreciate if you pin this photo to your Pinterest.


LET IT SNOW CARD


For this festive card I was inspired by holiday shopping streets where I have used rustic colors. When the coloring was done, I have splattered white snow everywhere with white gouache to add that snowy feeling. 

THIS CARD FEATURES

I really like the Village Stamp Set set because its really versatile and useful for many scenes and also perfect for creating lovely vintage tags like these. I colored the images with Spectrum Noir Illustrator markers in the following colors: JG1, JG5, GG2, GG4, YG1, CT1, CT3, CT4, GY3, BO1, BO3, TN7, TN8, FS9, FS8, TN1, TN3, EB2, EB4, Blender. 


MERRY CHRISTMAS CARD


When I saw this magical lantern stamp set I knew that I will mix it with older critter sets from Pretty Pink Posh. To the background I created this snowy look with the Snowfall Stencil, I put on it a sheet of vellum, and splattered on it with white gouache to get this layered snowfall look. 

THIS CARD FEATURES


I have also splattered the same medium on the colored critters to get that snowy effect. I colored the images with Spectrum Noir Illustrator markers in the following colors: PP5, PP3, PP1, CR1, CT1, CT3, CT4, BO1, BO3, TN7, TN8, TN1, TN3, EB2, EB4, EB6, FS9, Blender.


CUTE SNOWMEN CARD


For this card I did the same thing like on the previous one, but I have stamped another images where I mixed the new snowmen set with the old woodland critters. As final touches I also added some white and silver snowflakes.

THIS CARD FEATURES


I colored the images with Spectrum Noir Illustrator markers in the following colors:  TN8, TN7, BO3, BO1, EB4, EB2, TN3, TN1, FS9, CR1, PL1, Blender. Classiques: PV05, PP05, CR05, CT05


BLOG HOP


We are celebrating with Pretty Pink Posh their new release, below is a list of all of the designers participating in today’s blog hop! Check out all of the wonderful inspirations!


Pretty Pink Posh blog

Ashley Ebben

Leica Palma


GIVEAWAY 


Pretty Pink Posh will be giving away 3 $25 gift certificates during the three-day blog hop (one winner each day)! Comments must be left by 11:59 PM PST on 10/19/2021. Winners will be announced on the Pretty Pink Posh Blog

FREE GIFT


FREE shipping on US orders  $75+  and FREE gift with purchases over $125. Click HERE for details or on the image below.


USED SUPPLIES

Affiliate links were used where possible. I may earn a commission if you click them and make a purchase (at no additional cost to you). I am using only products I LOVE. If you buy supplies through my affiliate links, you support my channel and blog with a small commission and when you shop through my links I will do a happy dance. Affiliate Disclaimer.
Stamptember Pretty Pink Posh Exclusive set

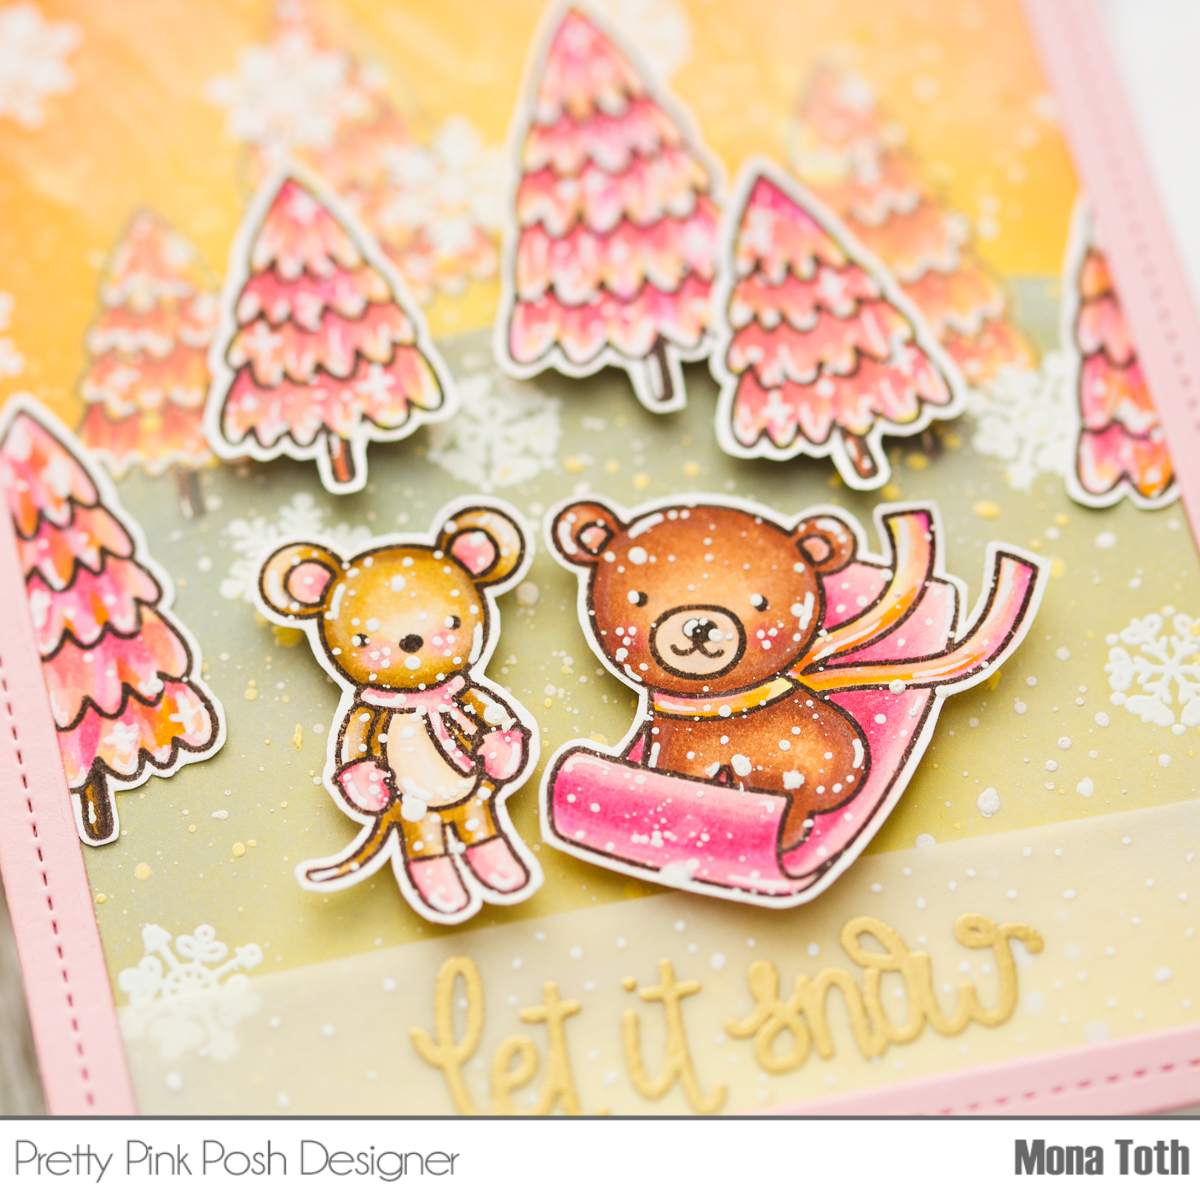
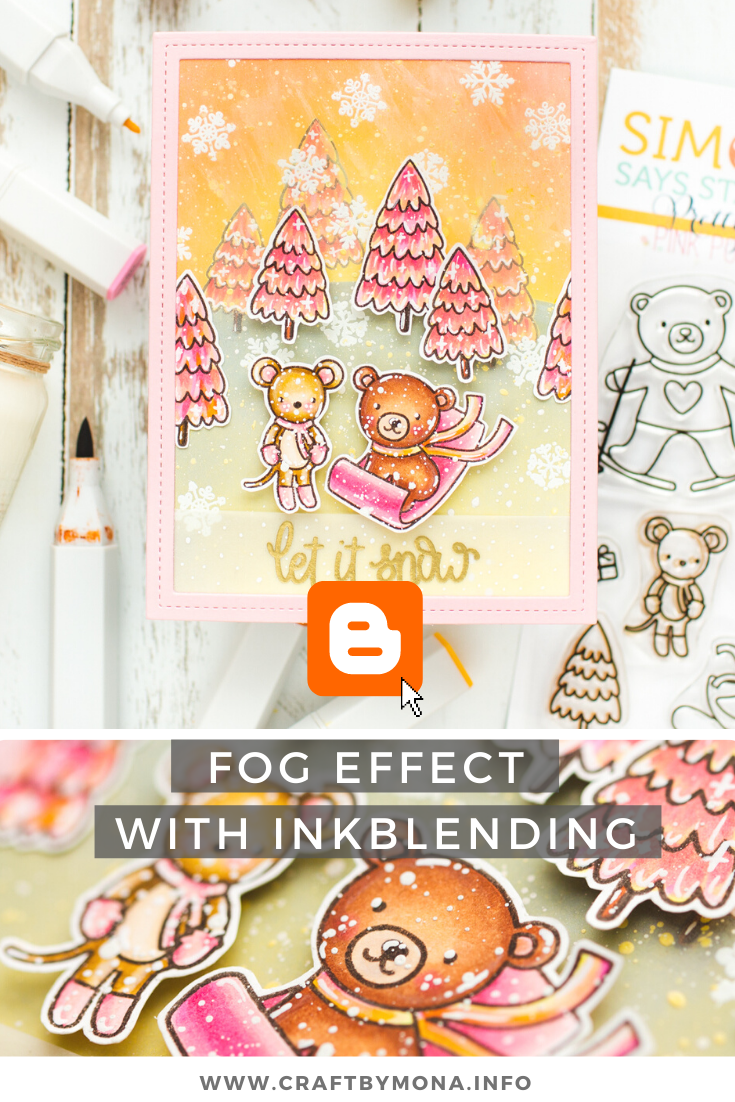
Happy Friday crafty friend! Today we are celebrating the Pretty Pink Posh Exclusive set for Simon Says Stamp STAMPtember 2021! The exclusive, limited edition set for STAMPtember 2021 is called Skiing Bear with lots of cute critters and small elements what is perfect to create a lovely winter card.

THIS PROJECT FEATURES


Do you enjoy this inspiration? I really appreciate if you pin this photo to your Pinterest.

CARD INSTRUCTIONS

I stamped the images from the Skiing Bear Exclusive Stamp Set and colored them with Spectrum Noir Illustrator markers with the following colors: CT1, CT3, CT4, GY3, TN1, TN3, TN4, TN5, TN7, GB6, GB4, GB2, MB1, FS9, FS3, PP1, PP2, PP3, PP5, MG1, MG2, EB4, EB1, MB1, BO1, Blender
Classiques: GB05, BO05. Then I fussycut them with detailed scissors.


Next, I stamped some trees from the same set to the background, colored them the same way and made an inkblending on it with Fossilized Amber, Wild Honey, Squeezed lemonade, and Shaded Lilac Distress Oxide inks as well. Because of the blending I got a nice smooth fog effect in the background. 


After the inkblending I splattered on the background and the images with white watercolor to give the card a nice winter "its snowing" kind of effect. Once the background was dry, I stamped on it some snowflakes from the Skiing Bear Exclusive STAMPtember Stamp Set using a watermark ink. 


Then I heat embossed it with white embossing powder. I repeated the same process on a piece of vellum, but this time with the let it snow sentiment, and heat embossed it with gold fine embossing powder.  Thank you so much for stopping by, take a look at this amazing setI wish you happy day! Hugs, Mona.


USED SUPPLIES

Affiliate links were used where possible. I may earn a commission if you click them and make a purchase (at no additional cost to you). I am using only products I LOVE. If you buy supplies through my affiliate links, you support my channel and blog with a small commission and when you shop through my links I will do a happy dance. Affiliate Disclaimer.
[VIDEO] Cute Halloween card with an interactive twist

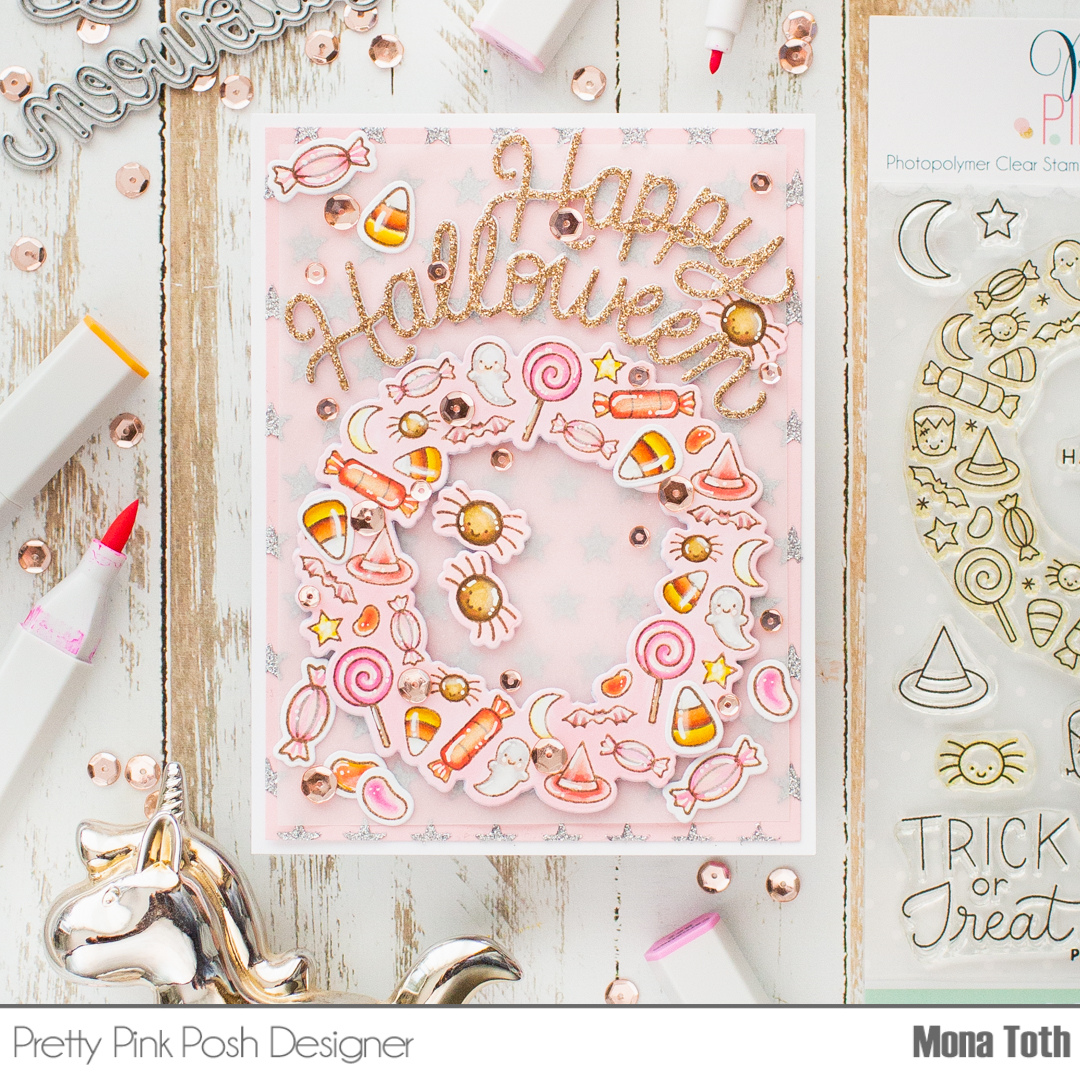
Hi crafty friend! I can’t wait to show you how I made this pinky-sparkly-girly Halloween card tutorial with an interactive twist so let's jump into it! 


THIS PROJECT FEATURES


VIDEO TUTORIAL

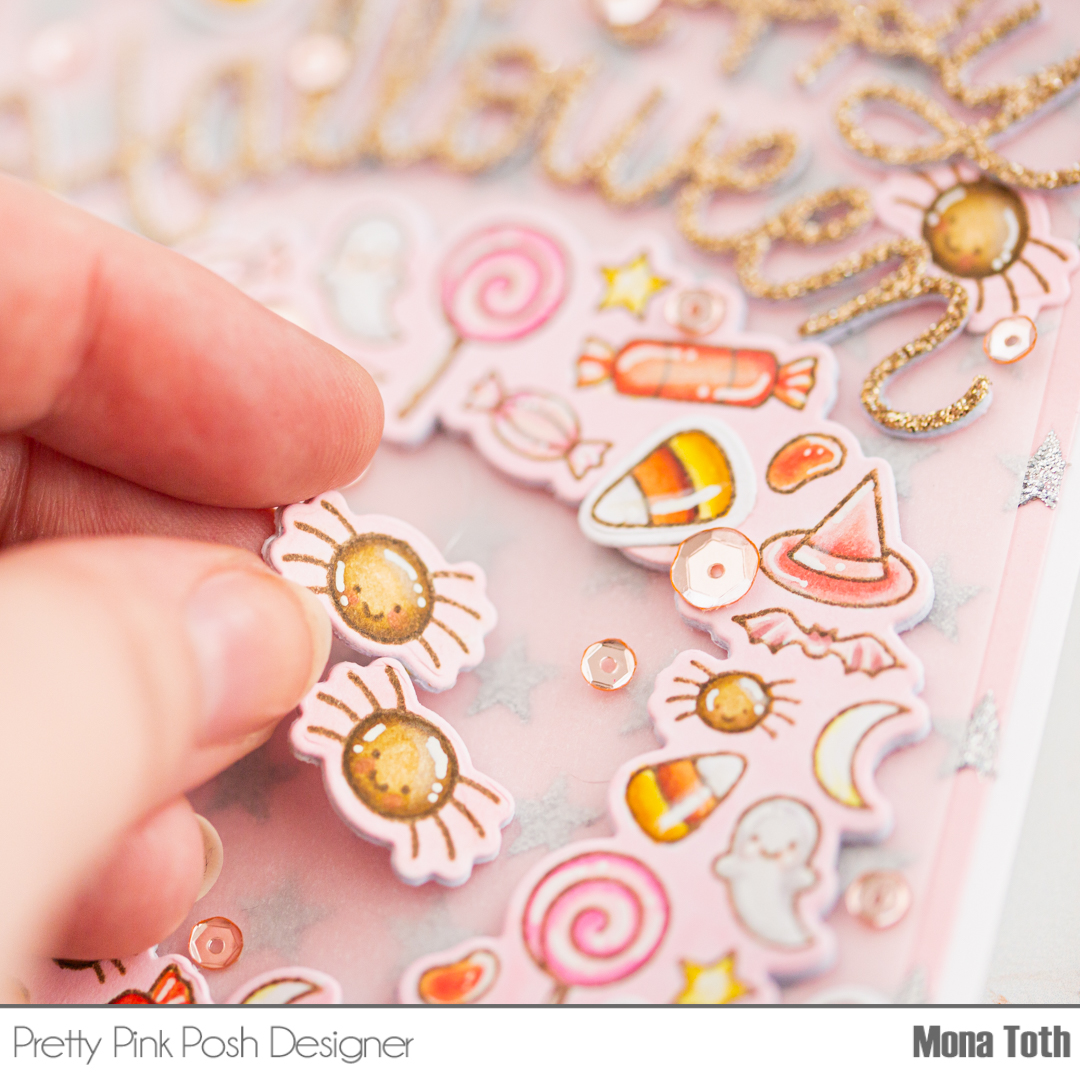
From my newest video you can learn how to transform your word die-cuts easily to the wished shape as well as how to move your spiders like real inside your card! The video is super short! And I am sure, that you will LOVE it! :)  


Or click here to watch the video in HD on YouTube You can find the card instructions below this photo.


Do you enjoy this inspiration? I really appreciate if you pin this photo to your Pinterest.

CARD INSTRUCTIONS

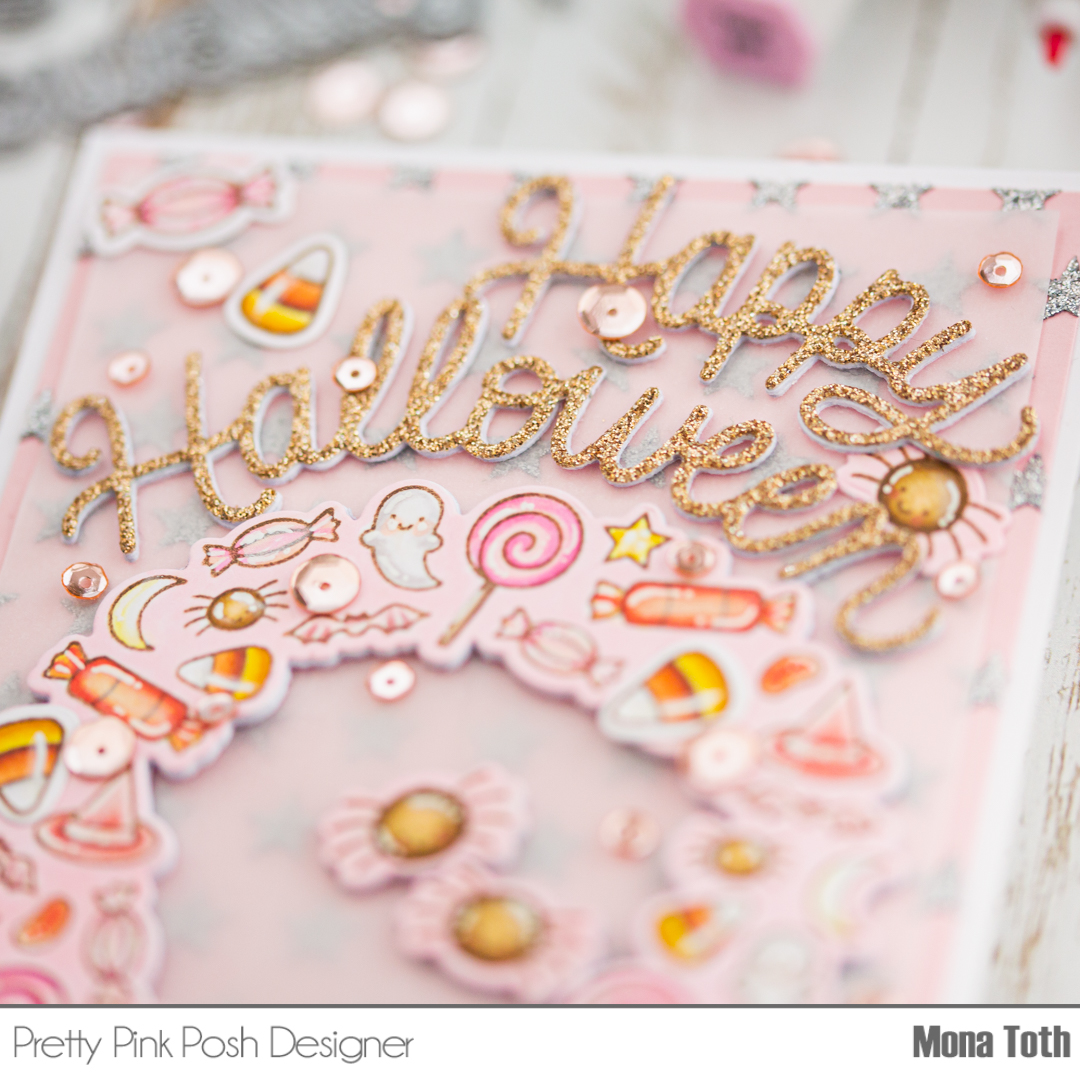
I made the glittery background with the Stars stencils on a pale pink cardstock with the Silver Glitz Glitter Gel. In the video I am showing you what is my favorite method for this process. While the background dries, I stamped the Halloween Wreath Stamp and the other coordinating images from the same stamp set with brown alcohol marker friendly inkpad to a piece of Neenah Solar White cardstock and colored them with Spectrum Noir Illustrators.

I have used the following colors: CT1, CT2, CT4, GY3, BO1, BO2, BO3, BO4, OR2, OR3, CR1, CR3, CR5, CR7, GB1 GB4, GB6, GB10, RB3, RB1, AP4, AP3, AP2, PP1, FS1, MG1, MG2, BG1, BG2, Blender. After the coloring I die-cut all the images and I colored the wheel with a pale pink alcohol marker.


Next, I continued with the die-cutting. I made more die-cuts from heavy weight cardstock, because I wanted to add thickness to the wreath and the spiders, in this case the interactive part will be more durable. Then I transformed the Happy Halloween Die-cuts made with the Happy Halloween Script Dies. This is a fun way to alter the scripted sentiments, in the video I am describing how.

When it was done, I created the interactive element and added the spider to the circle with fishing line, and created the card front. I covered the glittery background with a piece of vellum, and styled the circle, the sentiment and the other elements. In the end I styled my card and added some Metallic Rose Gold Sequins to it as a decoration. Thank you so much for stopping by, see you next time. Hugs, Mona.


USED SUPPLIES

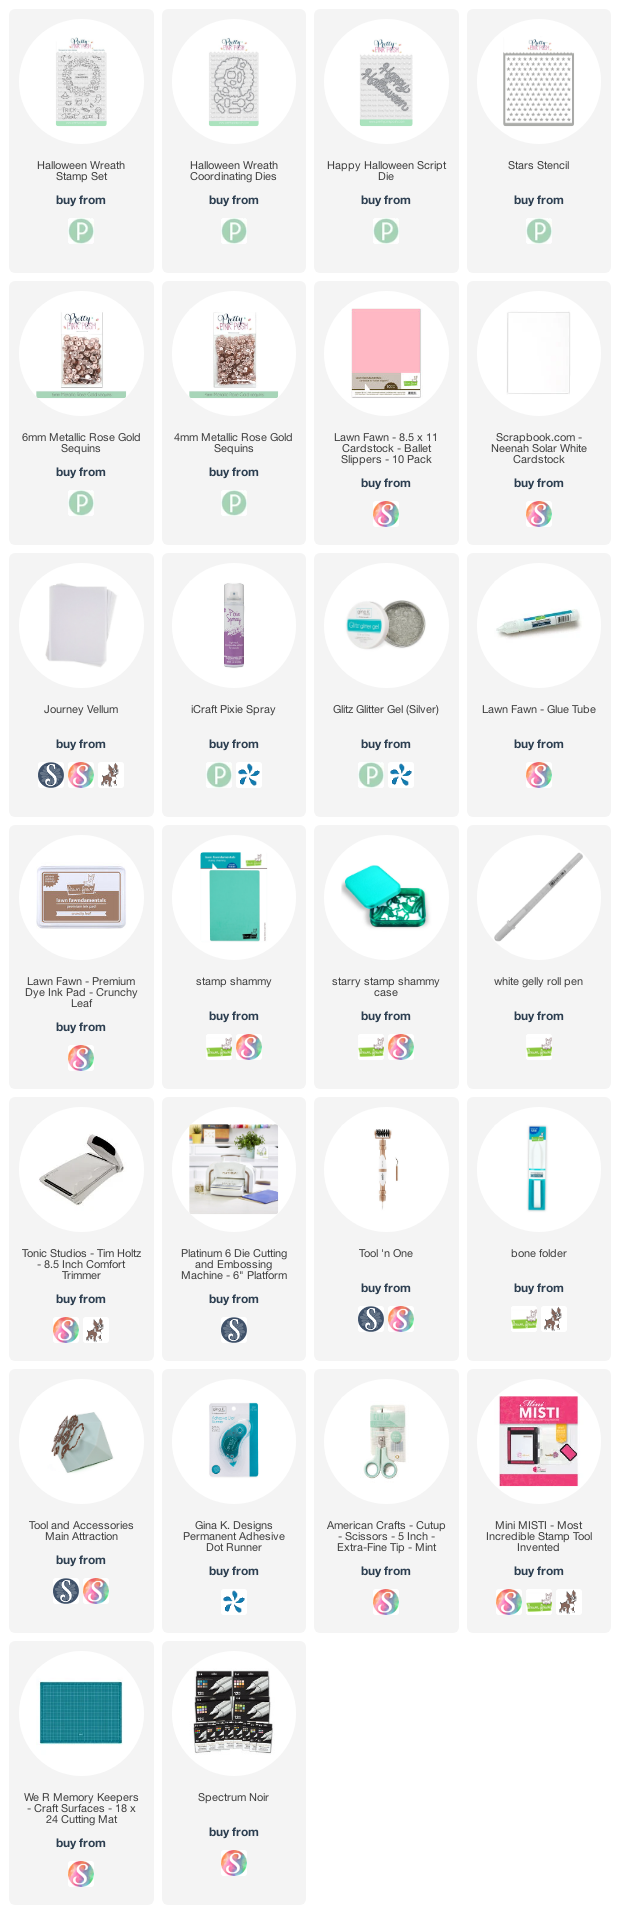
Affiliate links were used where possible. I may earn a commission if you click them and make a purchase (at no additional cost to you). I am using only products I LOVE. If you buy supplies through my affiliate links, you support my channel and blog with a small commission and when you shop through my links I will do a happy dance. Affiliate Disclaimer.

Pretty Pink Posh September release Blog Hop + Giveaway

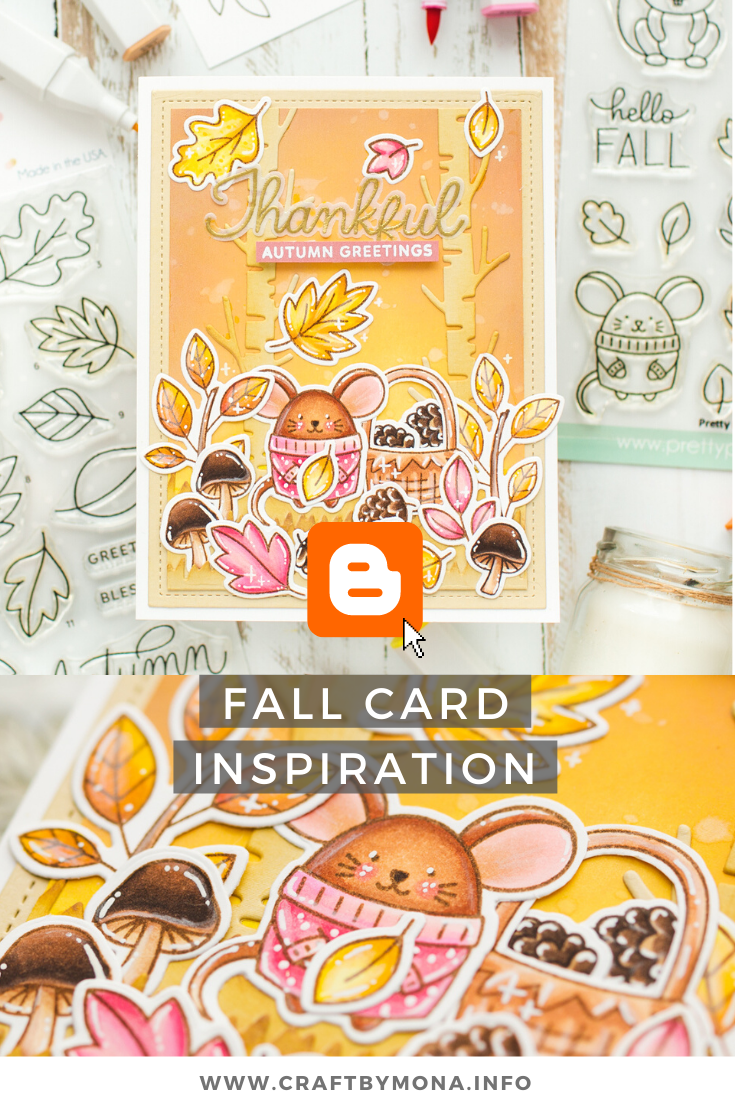
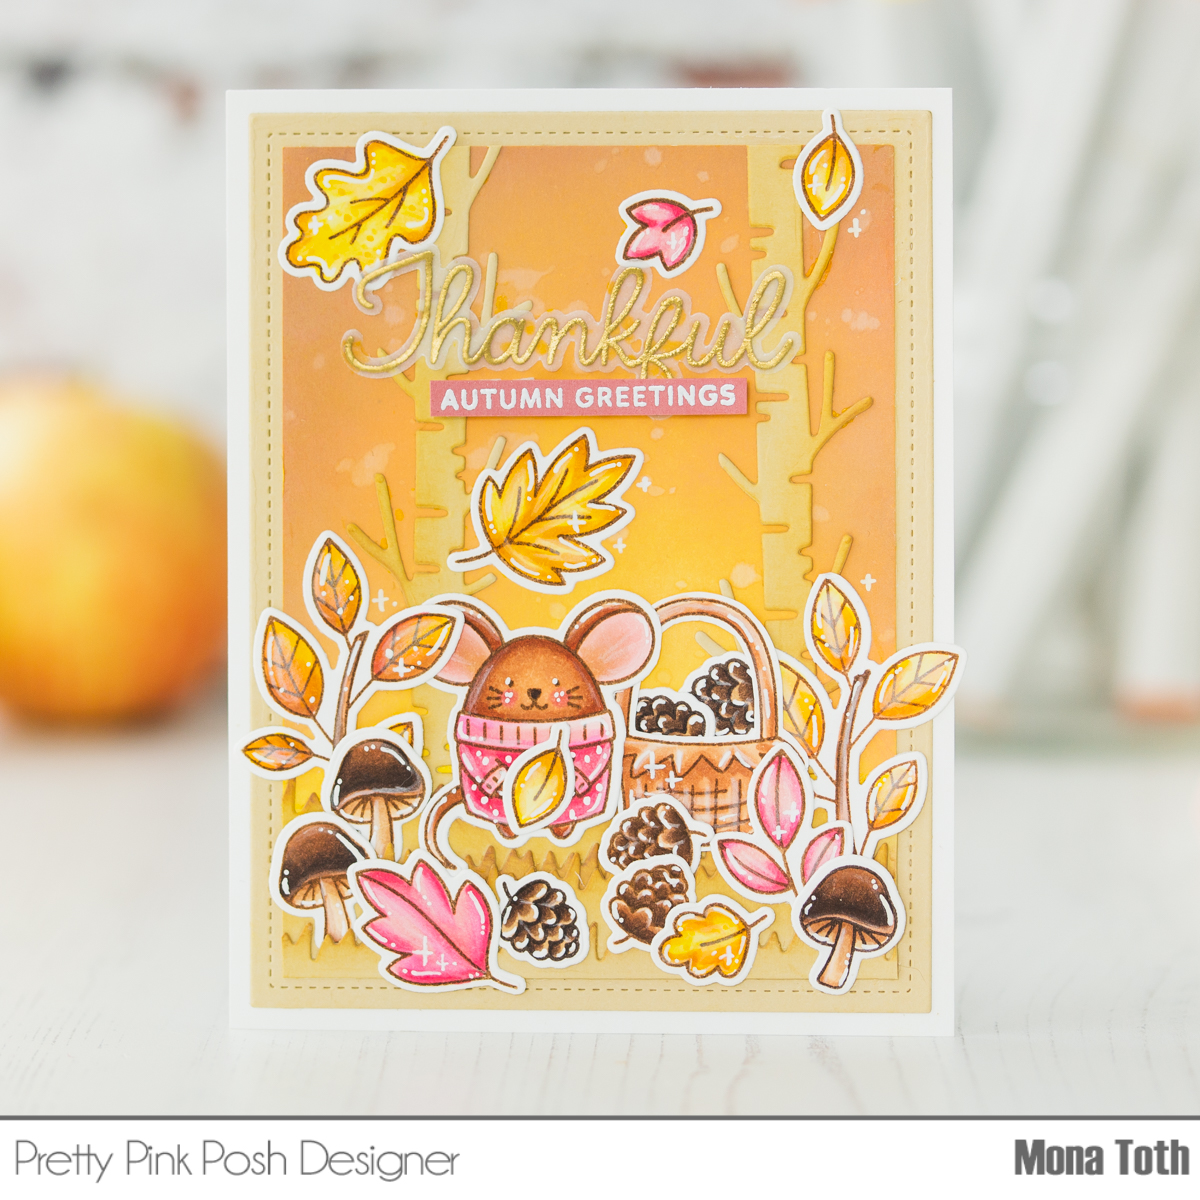
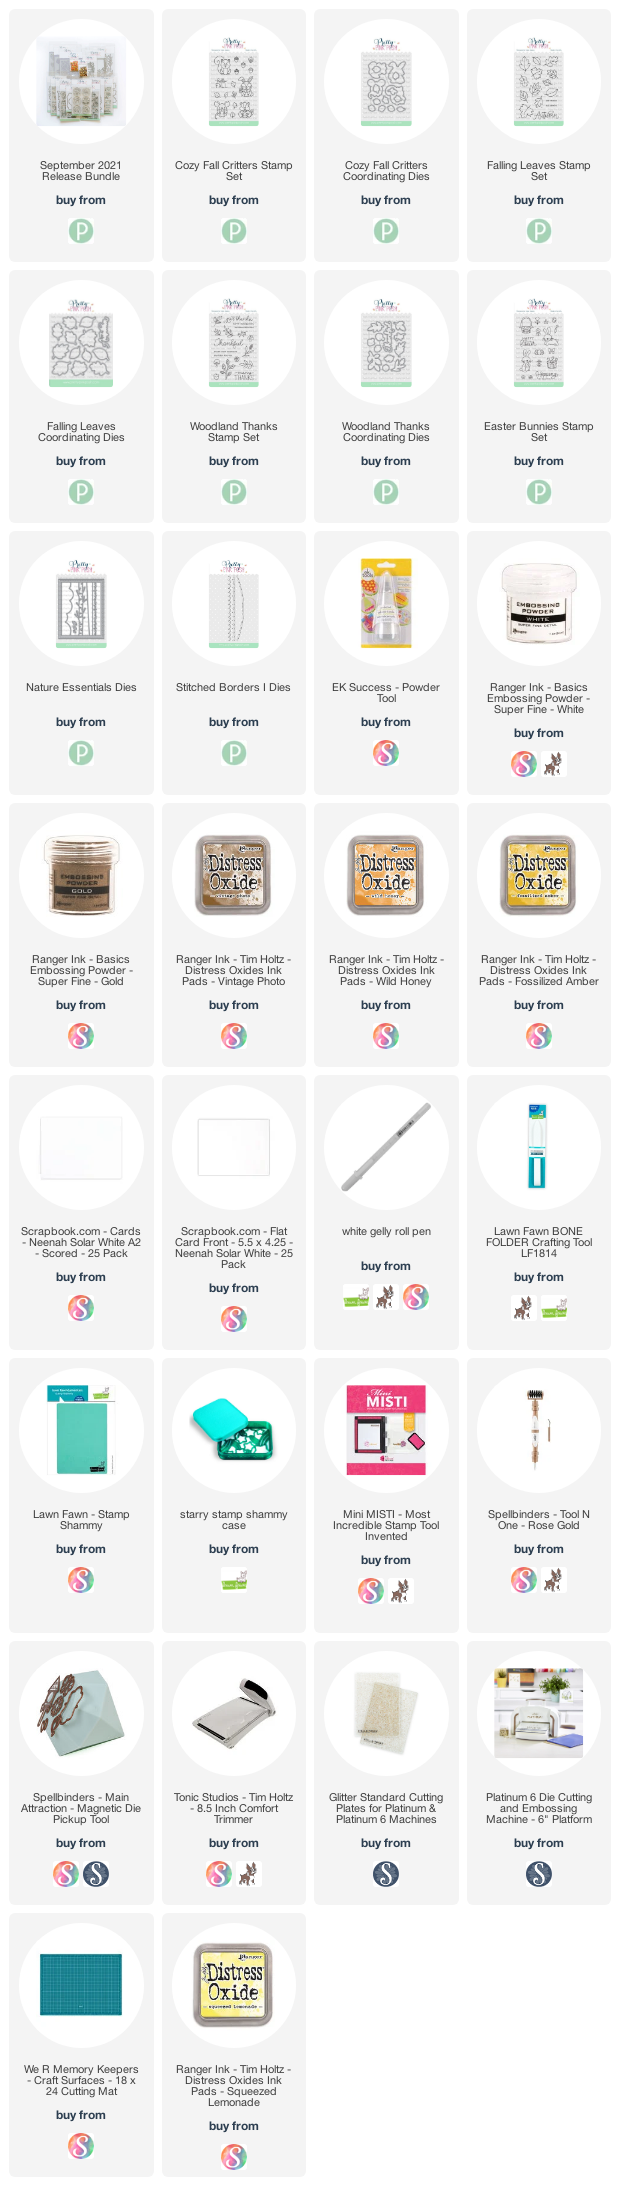
Hi crafty friends! Welcome to day 1 of the Pretty Pink Posh September Release Blog Hop! We are celebrating this magical fall release, okay, I am obsessed because I am a fall girl and this is my favorite season of the year!

THIS PROJECT FEATURES


Do you enjoy this inspiration? I really appreciate if you pin this photo to your Pinterest.

CARD INSTRUCTIONS


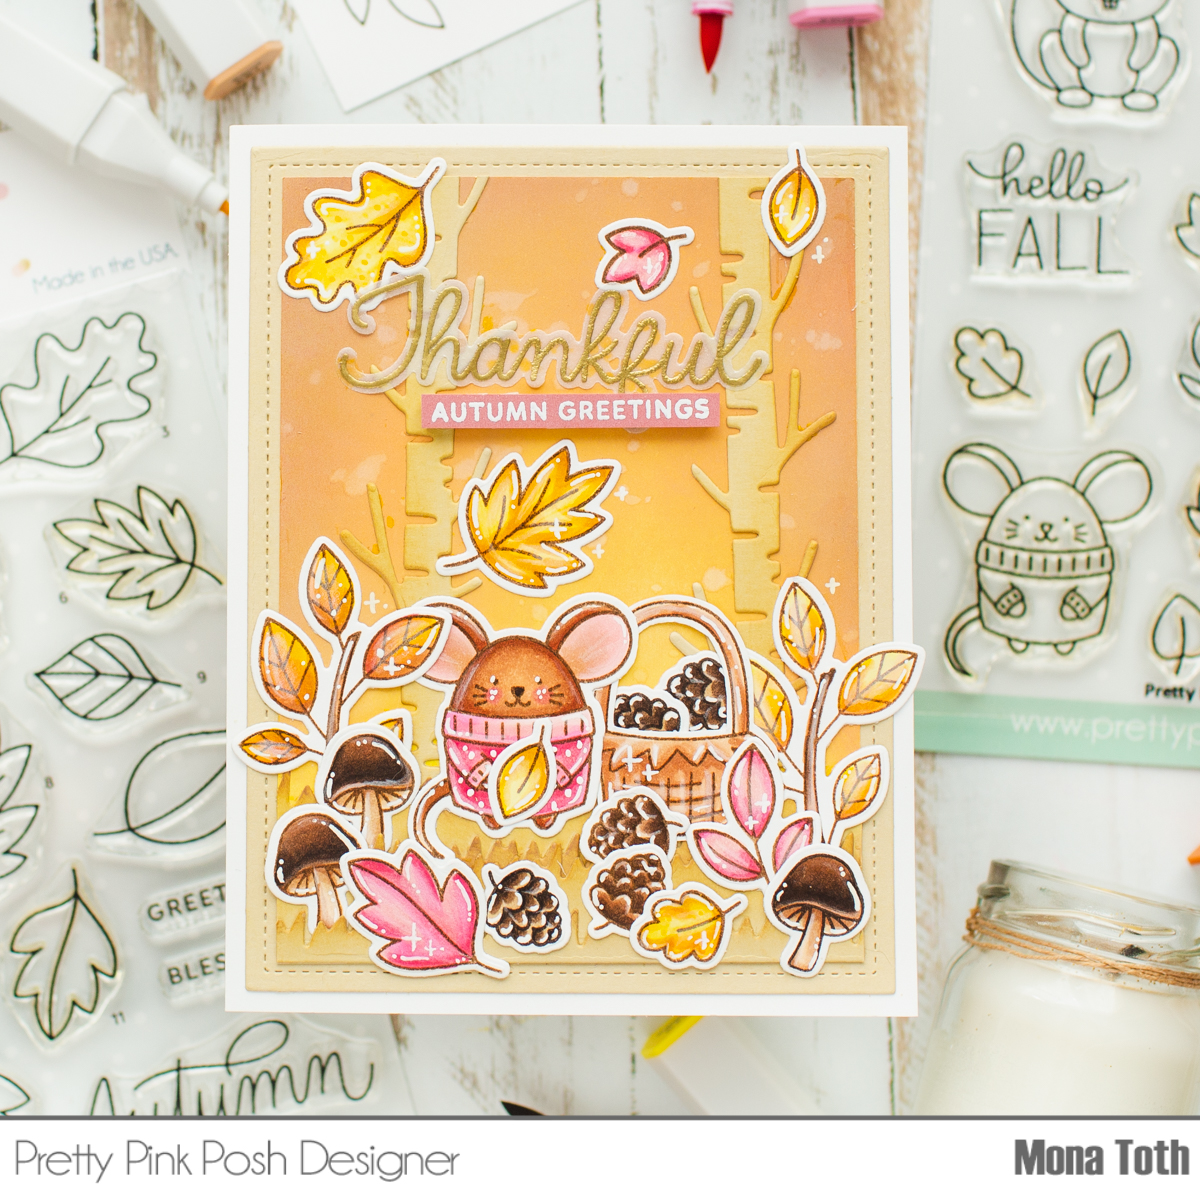
For this card I was inspired by one of my fall portrait photos what I shot last year and I wanted to create a cozy warm and cute scene with full of fall, so I reached for warm yellows, muted oranges as well as slightly muted pinks, which works perfectly together with the warm brown shades. 


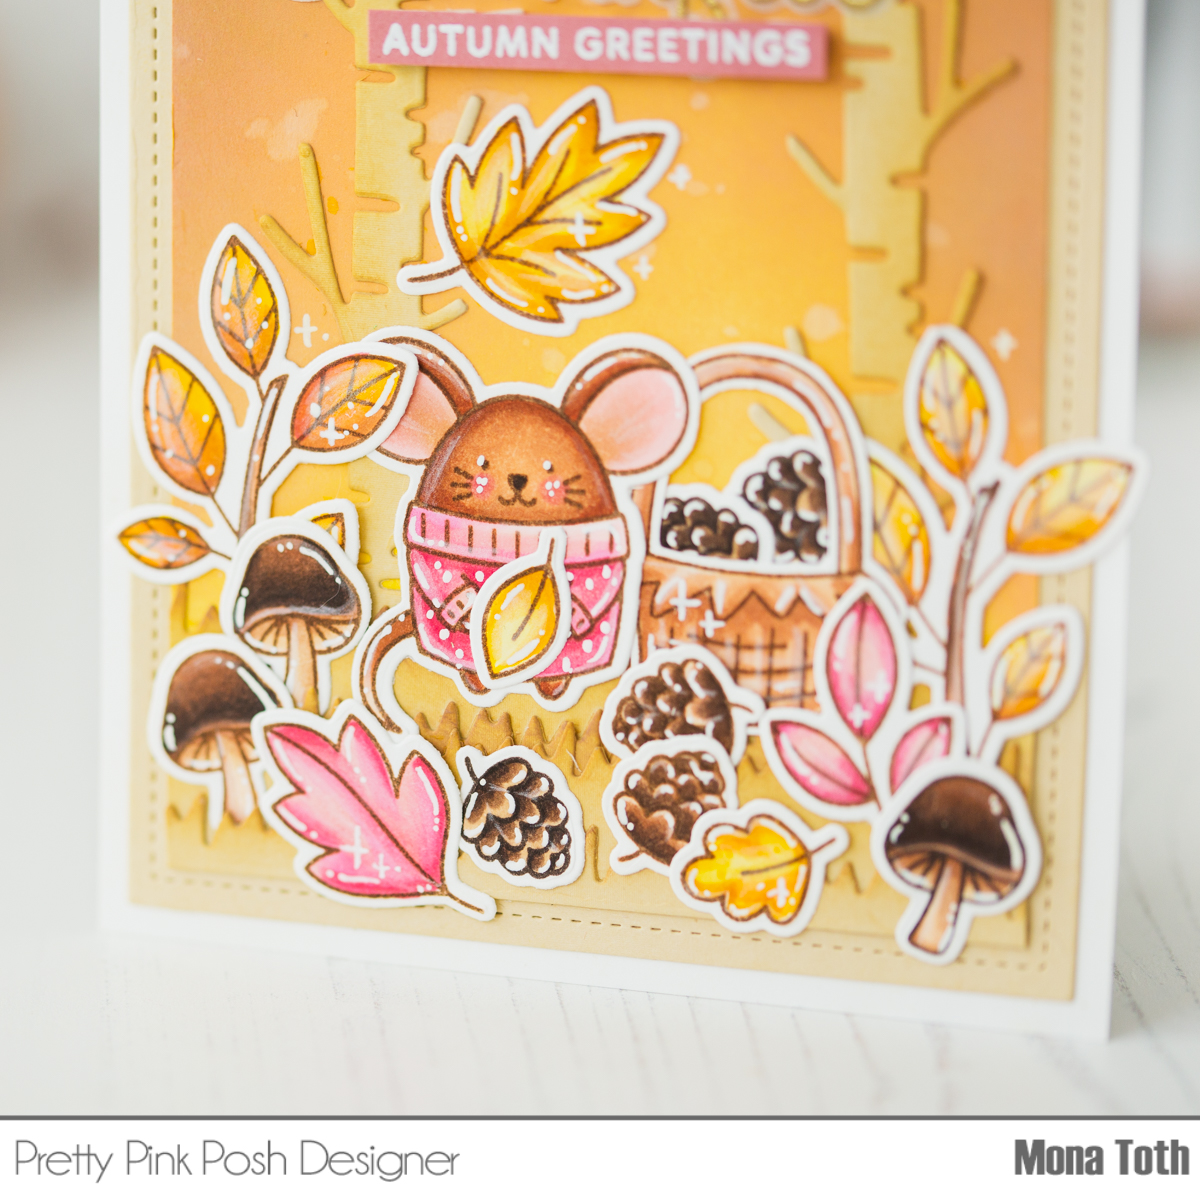
I stamped the images from the above mentioned stamps: Cozy Fall Critters Stamp SetFalling Leaves Stamp Set as well as Woodland Thanks Stamp Set and colored them with Spectrum Noir Illustrator markers with the following colors: CT1, CT3, CT4, GY3, TN1, TN3, TN4, TN5, TN7, GB6, GB4, GB2, MB1, FS9, FS3, PP1, PP2, PP3, PP5, MG1, MG2, EB7, EB4, EB1, BO1, Blender. Classiques: GB05, BO05. 


As you can see these stamps perfectly work together, my personal favorite is that super adorable pinecone stamp, which is a nice addition to your fall and winter cards as well! Take a closer look of this set hereNext, I stamped the Thankful autumn greeting sentiments from the Woodland Thanks Stamp Set with watermark ink, and heat embossed with gold and white embossing powders. The thankful sentiment has its coordinating die, which is really cool. I love when the scripty sentiments have their coordinating dies.


In the end I created the ink blended background with Distress Oxide inks (see the used colors below the post), then I splattered on it with clear water to make a really quick bokeh effect. Finally I made frame, trees and grass from a cream cardstock with the Nature Essentials Dies and put my card together. Thank you so much for stopping by, take a look at this beautiful release. I wish you happy hopping! Hugs, Mona.

BLOG HOP


We are celebrating with Pretty Pink Posh their new release, below is a list of all of the designers participating in today’s blog hop! Check out all of the wonderful inspirations!


GIVEAWAY 


Pretty Pink Posh will be giving away 3 $25 gift certificates during the three-day blog hop (one winner each day)! Comments must be left by 11:59 PM PST on 9/19/2021. Winners will be announced on the Pretty Pink Posh Blog


SAVE


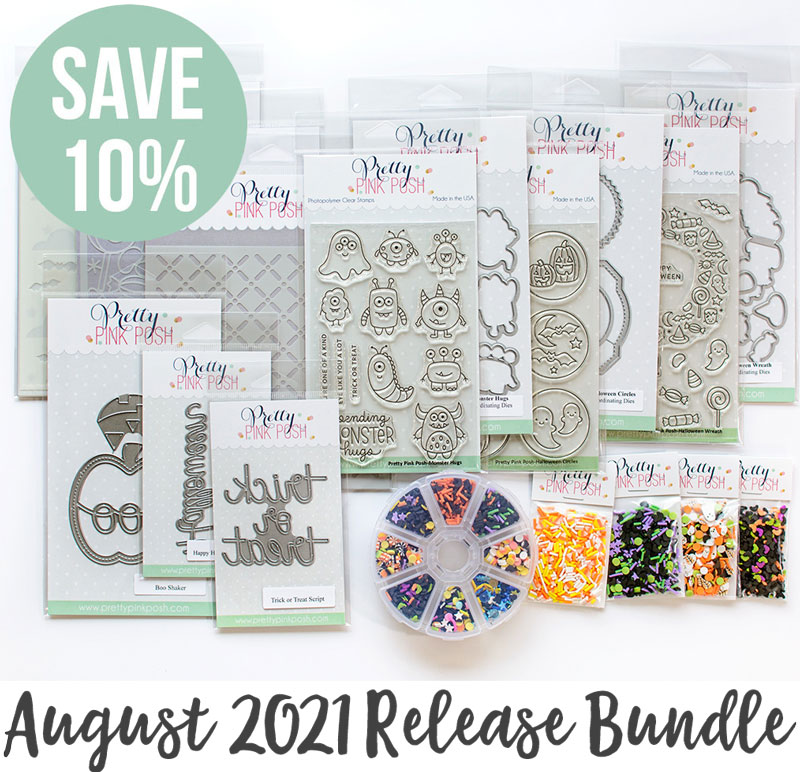
Pretty Pink Posh has a limited amount of bundles available where you can buy the whole collection in one easy click. Plus, you’ll get 10% off when you buy it altogether. Shop HERE or below on the thumbnail!

USED SUPPLIES

Affiliate links were used where possible. I may earn a commission if you click them and make a purchase (at no additional cost to you). I am using only products I LOVE. If you buy supplies through my affiliate links, you support my channel and blog with a small commission and when you shop through my links I will do a happy dance. Affiliate Disclaimer.


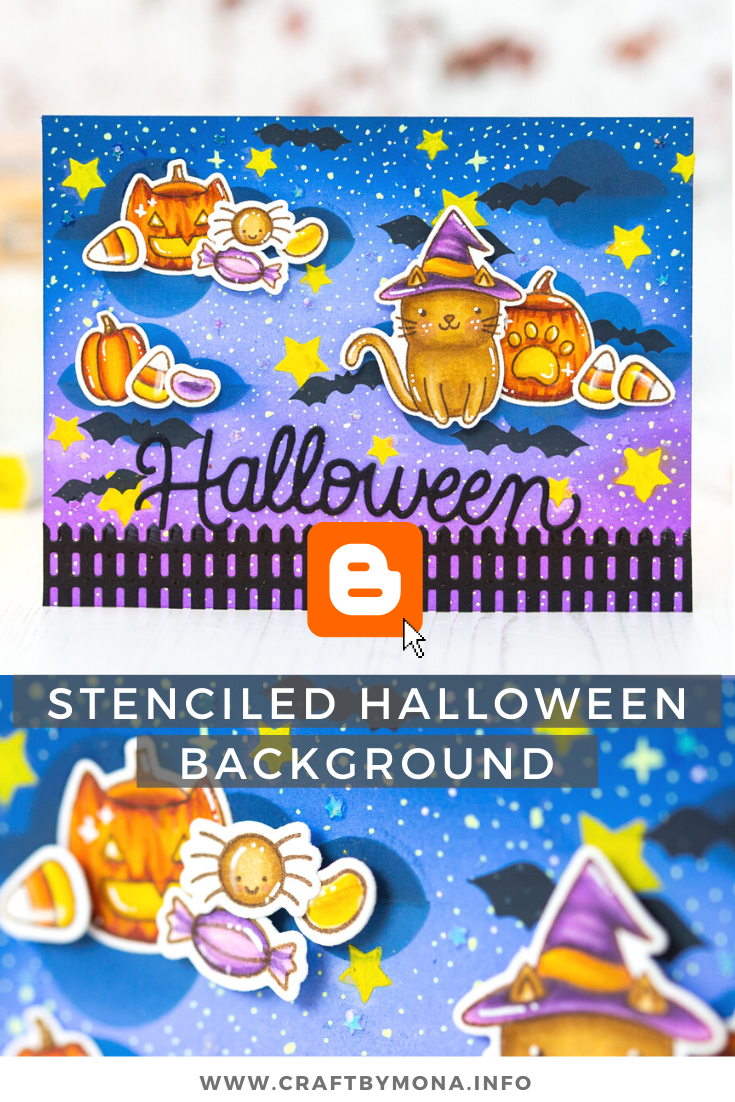
Stenciled Halloween Background + Giveaway

I just want to let you know that we are celebrating the Pretty Pink Posh August 2021 release with a fun two day Instagram Hop! The Instagram hopping starts here on my Instagram account, just search for this Halloween project, don't forget to comment and you are done! ;)  Winners will be announced on the Pretty Pink Posh Instagram account.


THIS PROJECT FEATURES


Do you enjoy this inspiration? I really appreciate if you pin this photo to your Pinterest.

CARD INSTRUCTIONS

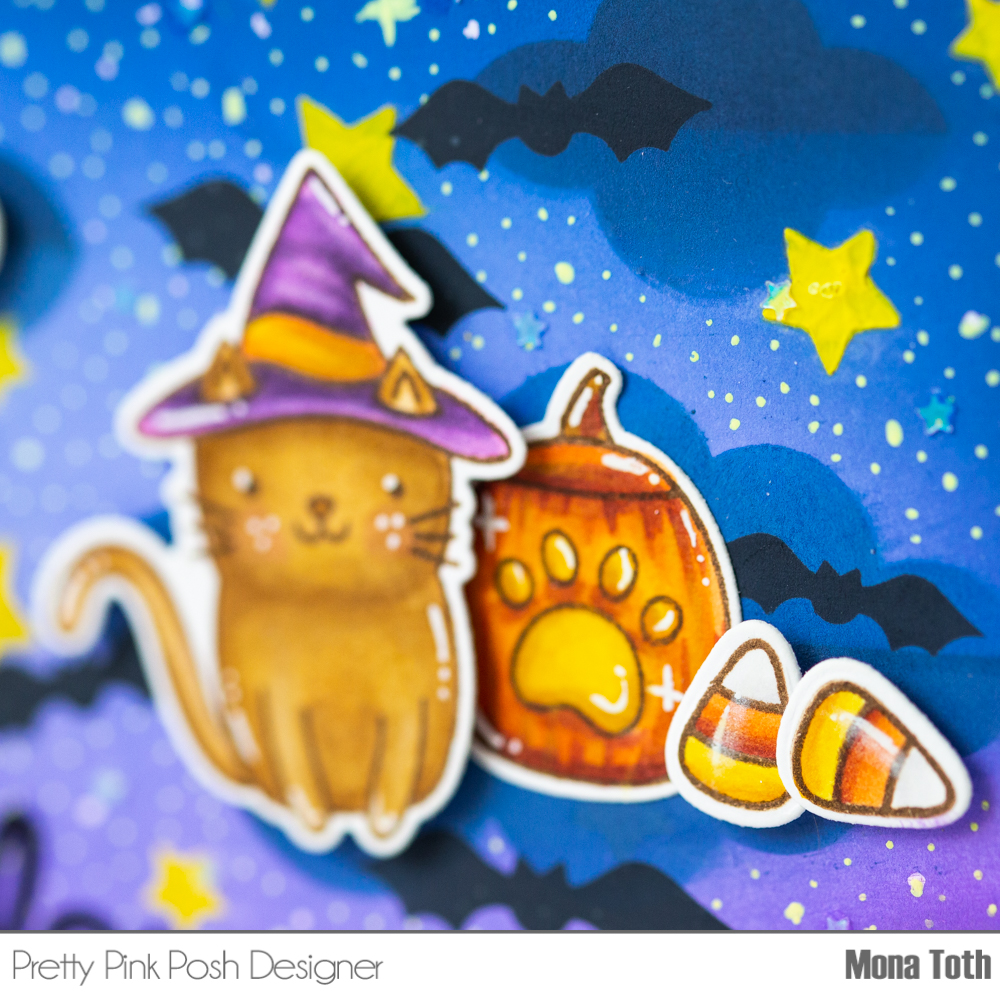
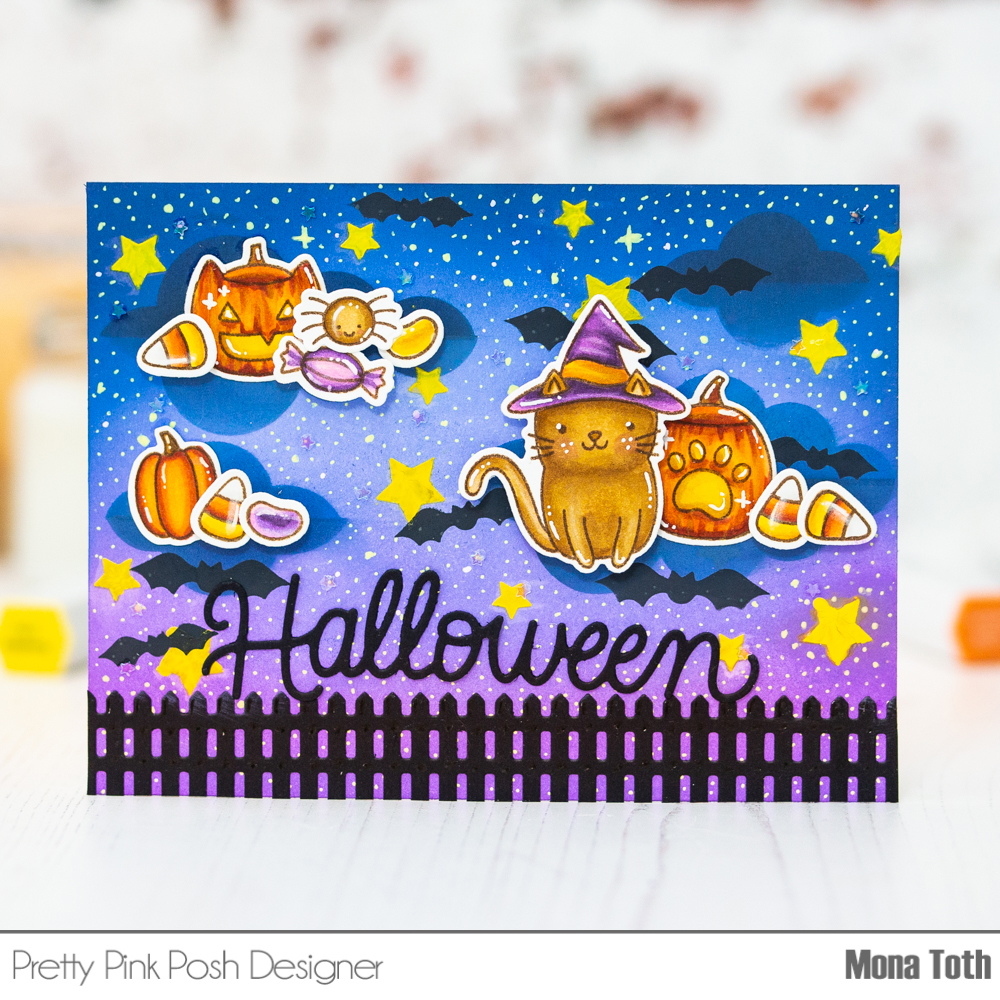
I created my background with the best Halloween stencil ever, called Spooky Sky stencils! For the base I have used colorful inkpads from Catherine Pooler (see the colors at the end of the post) then I blended dark blue through the 1st "cloud" part. For the yellow stars layer I have used yellow gouache with my fingers through the stencil and let it dry. After that I continued with the 3rd "bat" part with a black ink.


I wanted to create a spooky night coloring but with adorable images, so I stamped the images from the above mentioned stamps with brown inkpad and colored them with Spectrum Noir Illustrator markers with the following colors: FS1, PL1, PL2, PL3, PL4, PL5, BO4, BO3, BO1, GY4, GY3, CT4, CT3, CT1, GB10, GB6, GB4, GB2, FS5, Blender.

When the coloring was done, I die-cut the beautiful Happy Halloween script sentiment from white and gold glitter with the new Happy Halloween Script die set as well as a deep orange die-cut with the Easter Basket Dies, and put them together with liquid and 3D adhesives.

For my Instagram click here or tap on the graphic above.


PROMOTION

Pretty Pink Posh has a limited amount of bundles available where you can buy the whole collection in one easy click. Plus, you’ll get 10% off when you buy it altogether. Shop HERE or tap the image below!

USED SUPPLIES

Affiliate links were used where possible. I may earn a commission if you click them and make a purchase (at no additional cost to you). I am using only products I LOVE. If you buy supplies through my affiliate links, you support my channel and blog with a small commission and when you shop through my links I will do a happy dance. Affiliate Disclaimer.