Hello crafty friends, I am back with an another coloring video tutorial. Today I am going to show you how to create these Linzer biscuits with dies and alcohol markers. I encourage you to try it! It's much more easier then it looks like! You can find the video here. As always you can find the used supplies below the post.

For this project I am going to use various stamps and dies from Heffy Doodle. I have linked all the used supplies below the post. I stamped the image to a Neenah Solar White cardstock. I wanted to achieve a softer look for the stamping, so instead of a black inkpad, I have used one of my favorite brown inkpads, called Gingerbread, which is Copic and Spectrum Noir marker friendly as well. Just don’t forget to add a quick heat set before the coloring.

For the coloring I have used Spectrum Noir Illustrator Markers, but you can make it with any other markers as well. For the coloring and the full process be sure to check out the video tutorial here. Spectrum Noir Illustrator Markers Used: AG2, AG3, AG4, BT2, BT5, CG2, DG1, FS9, LG4, Blender.

Once the coloring was done, I added highlight’s with white pencil and white pigment pen. After the highlighting, I stamped these cute faces from the Pasta La Vista stamp set by Heffy Doodle with Leather Brown Inkpad, then I run them through my mini die-cut machine with their coordinating dies.

I also die-cut my own sentiment with stitched alphabetter dies from Hint Of Mint cardstock. Once the die-cutting was done, I just put all the letters to a masking tape, and made a quick inkblending on them with moved Lawn distress and distress oxide inks. Next I put all the parts together, the colored images and the sentiment as well. As you can see, I have also created and colored some additional small Heffy images for embellishing the card.

Be sure to check the video for the full tutorial with the extra tips and tricks. As always, you can find the used supplies below the post, and if you have any questions feel free to ask in a comment. Thank you so much for joining me, see you next time, have an amazing day, Mona
VIDEO TUTORIAL
SALE

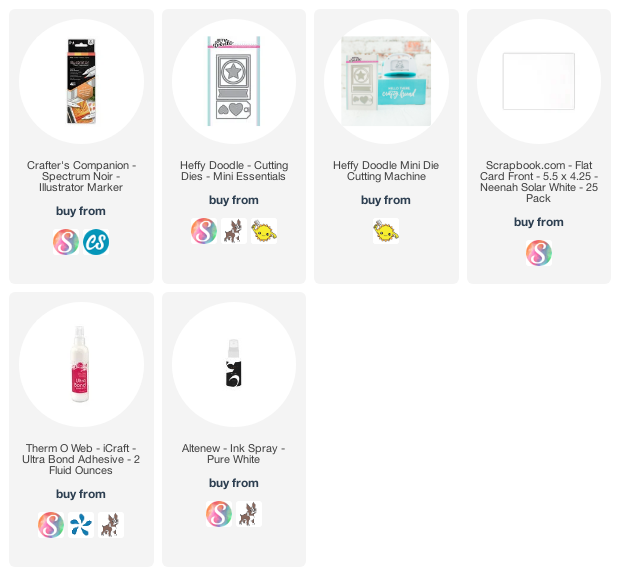
USED SUPPLIES
Using affiliate links does not mean additional cost for you. I really appreciate your support. I am using products only I LOVE. If you buy supplies through my affiliate links, you support my channel and blog with a small commission and when you shop through my links I will do a happy dance. Affiliate Disclaimer.