Showing posts with label Spectrum Noir Illustrator. Show all posts

Lovely Inspiration | Pretty Pink Posh Blog Hop with FREEBIE and GIVEAWAY

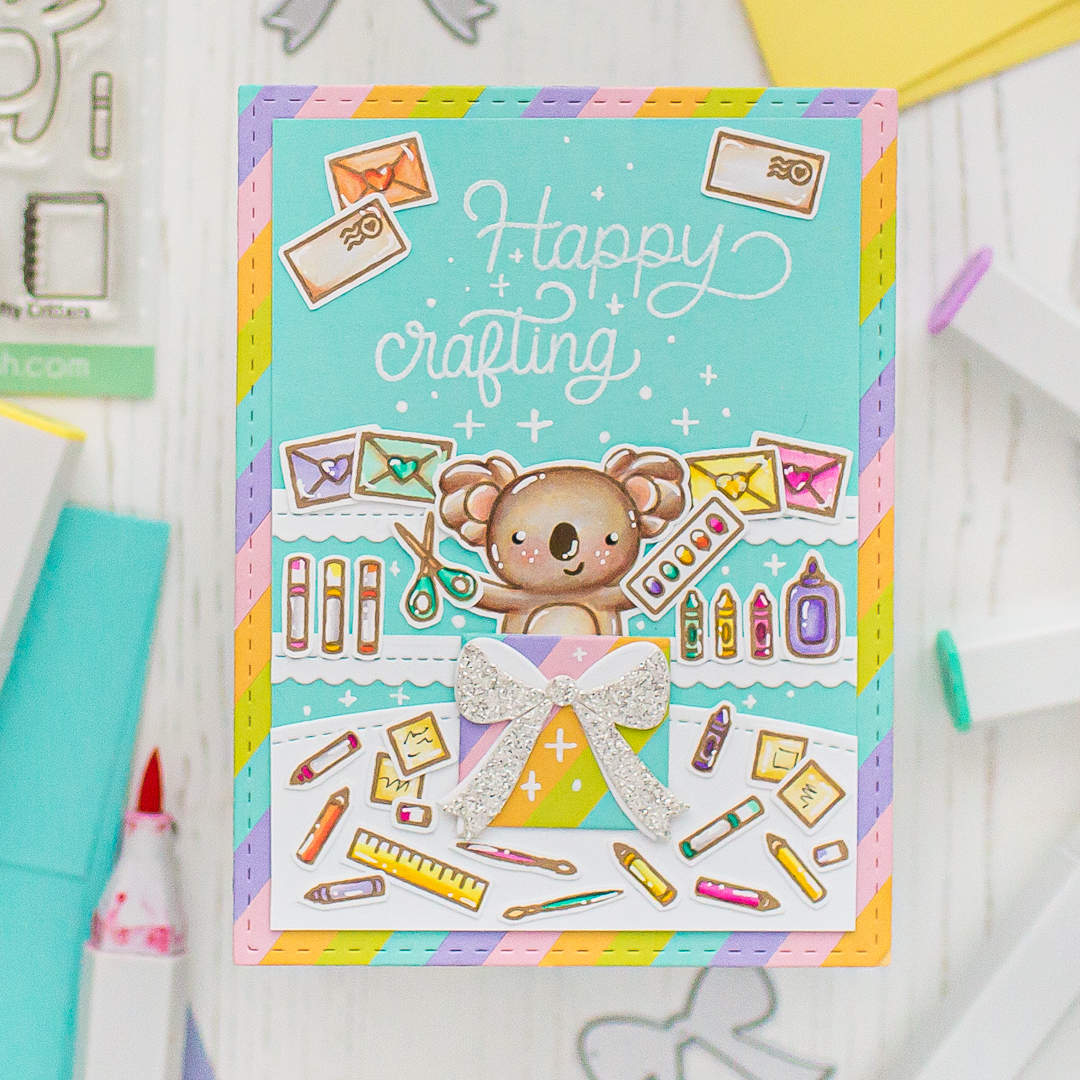
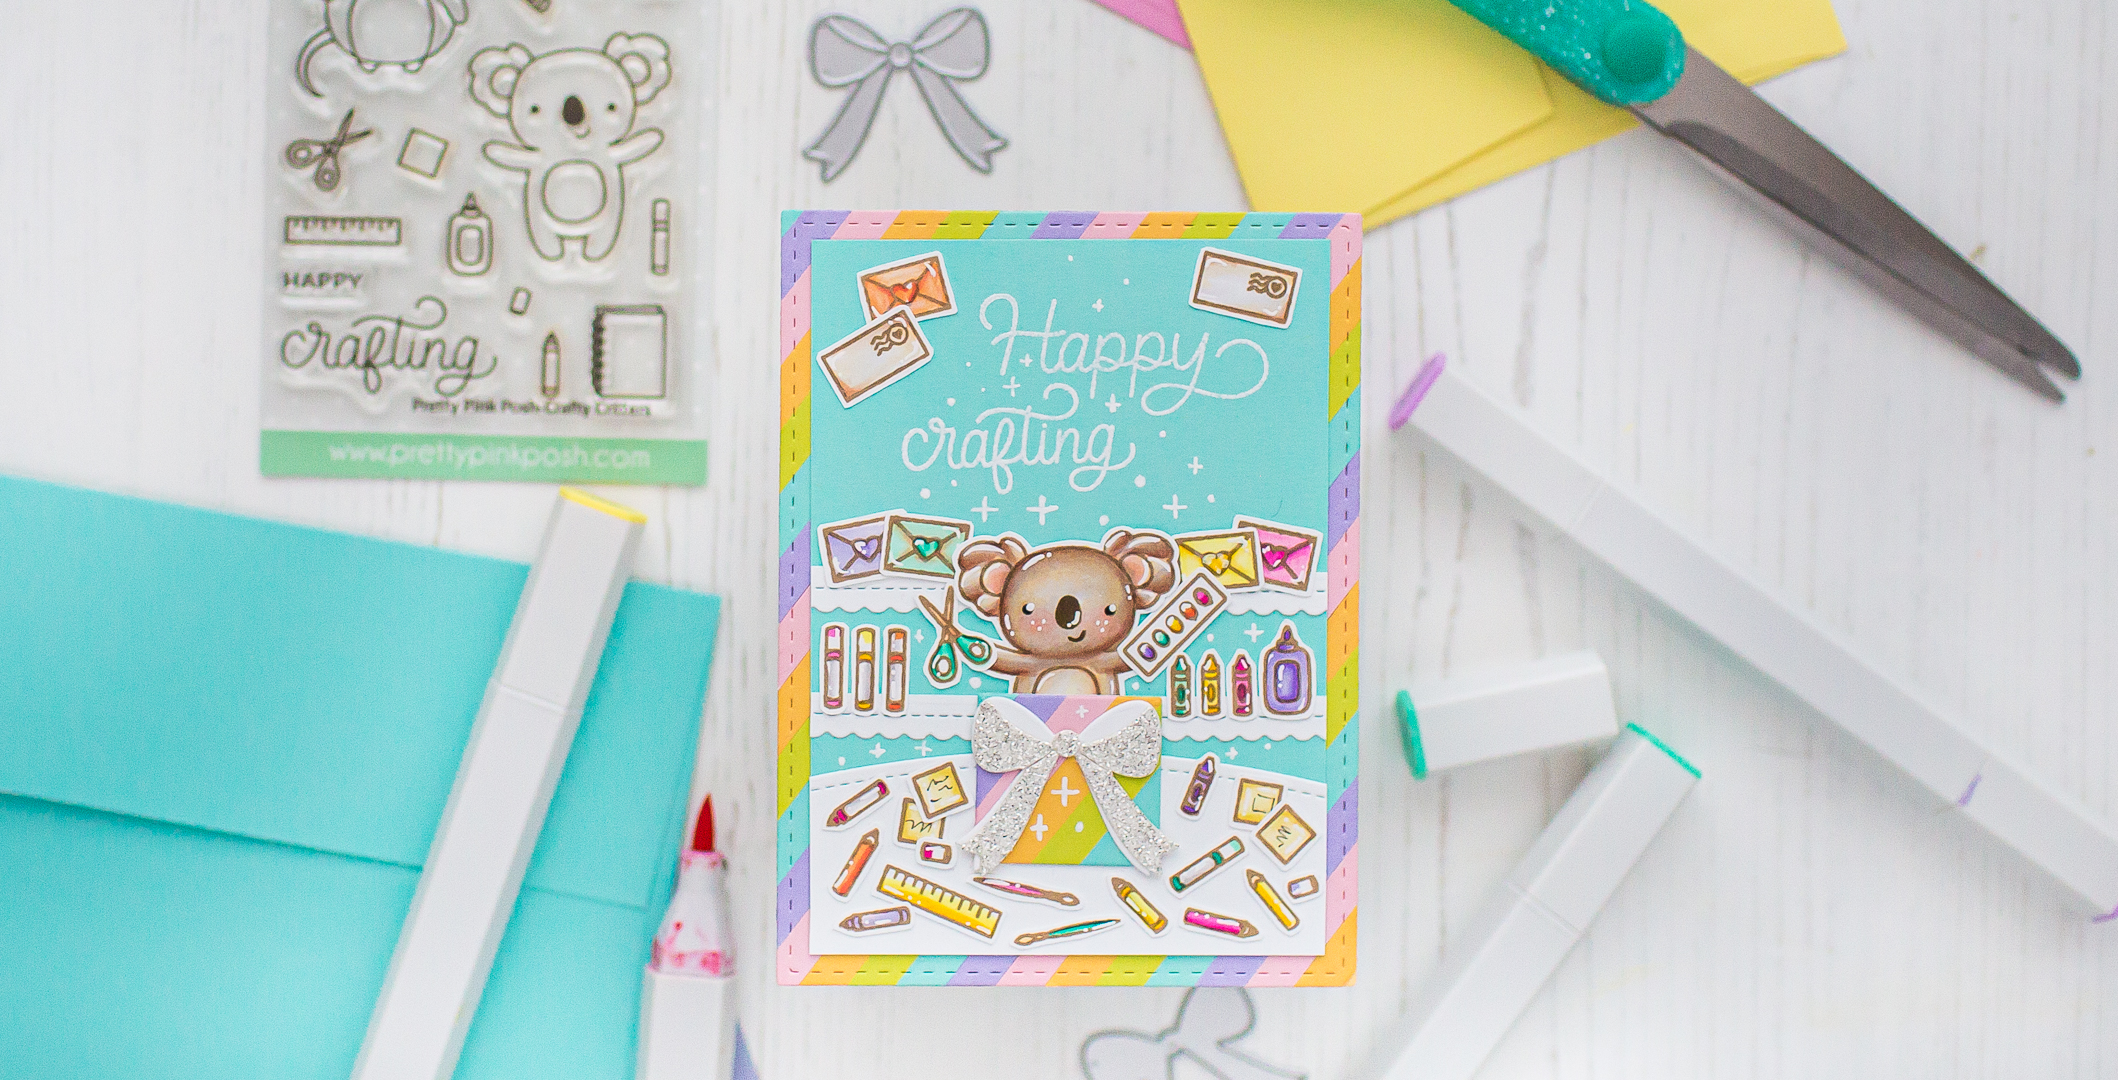
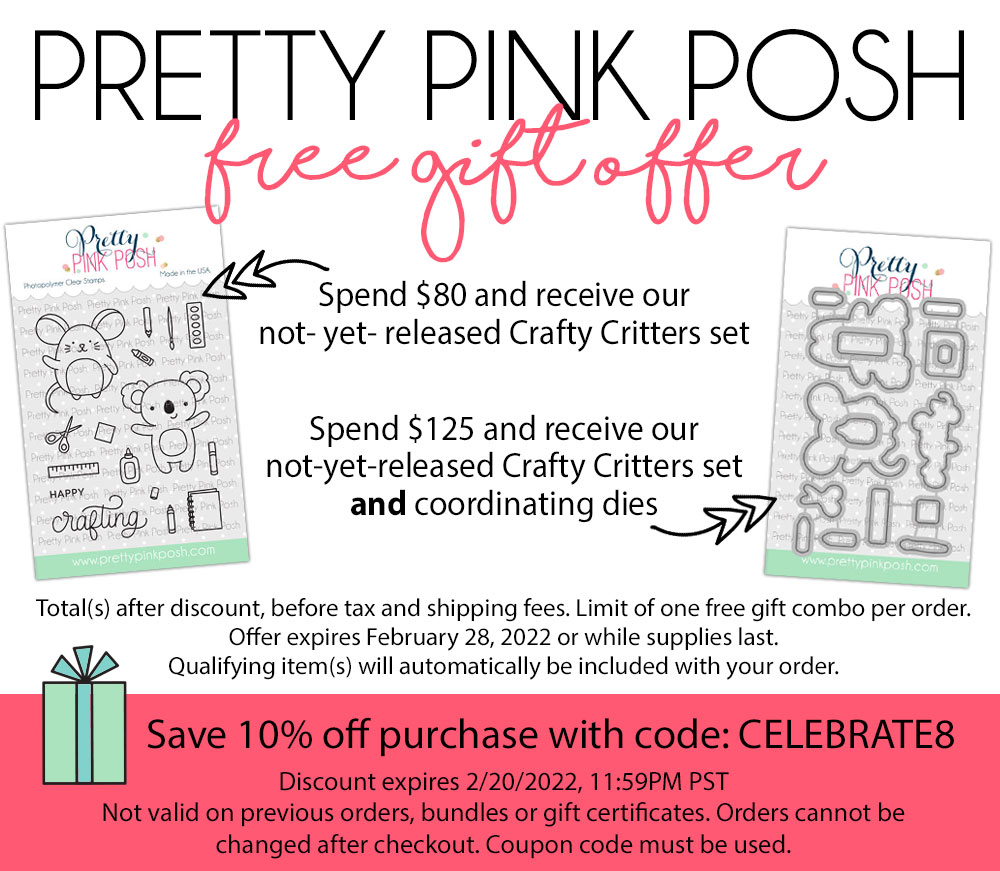
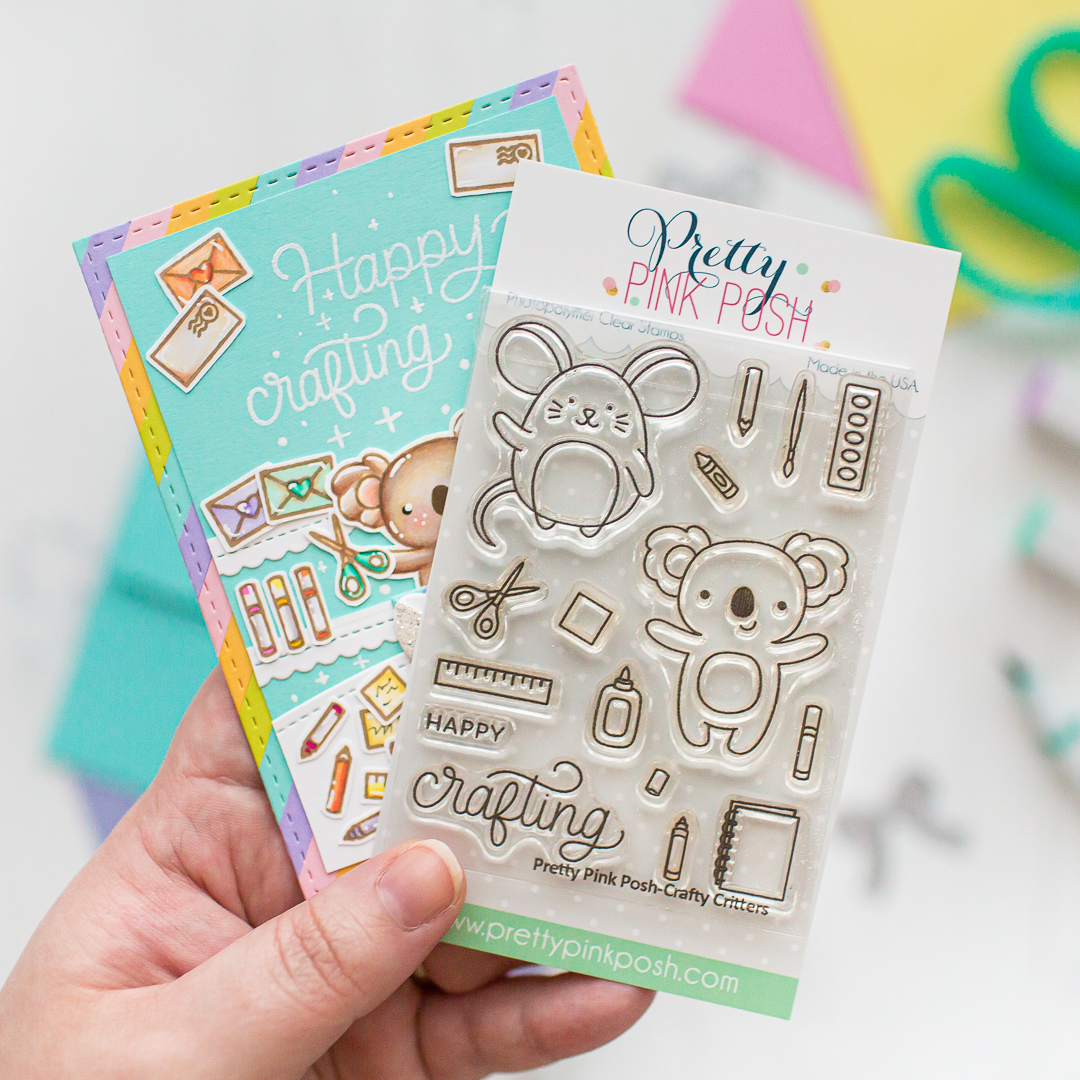
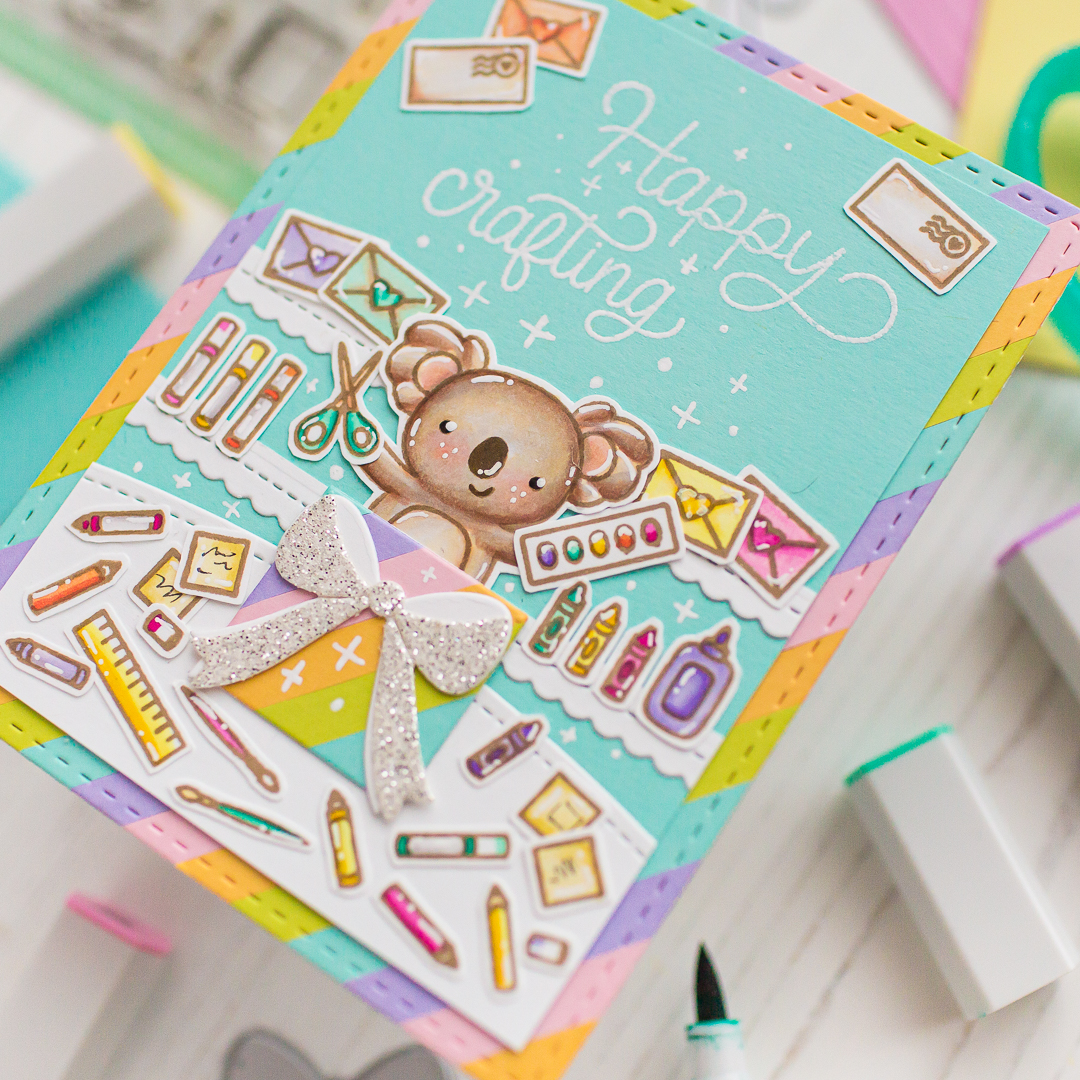
Hi crafty friends! Welcome to day 2 of the Pretty Pink Posh Birthday Celebrations Blog Hop! I made this cute birthday card with a super cute FREEBIE called Crafty Critters When I saw that, I immediately knew that I will use this koala as a star on my card! More details about the freebie and for a discount code as well below this post. 
Better craft photos are easier than you think. Start with 5 simple tips you can try today.
🎁 Get my free photo ebook here!

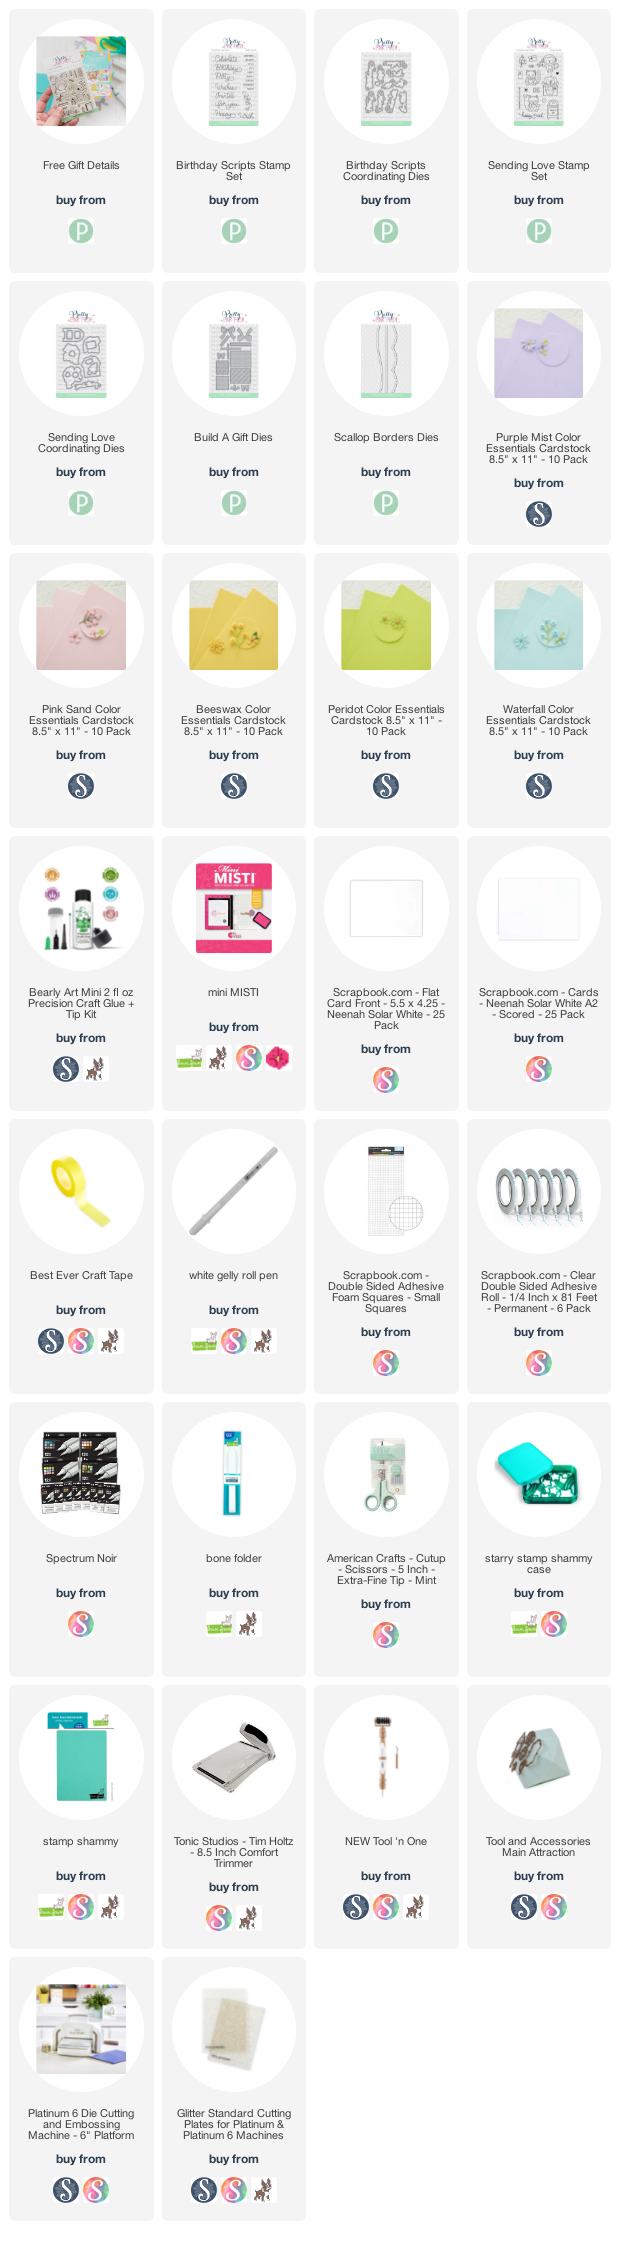
THIS CARD FEATURES


Pin this post to your Pinterest board and save this card idea for later.

CARD INSPIRATION

When I saw this adorable stamp I knew that I will make a craftroom kind of card with organized "shelves" and with a bit of a crafty mess on the table. I stamped the images with alcohol marker friendly brown ink, and after a quick heat set I colored them with Spectrum Noir Illustrator Markers. I have used the following colors: LY1, LY3, CT1, CT3, CT4, TN1, TN3, EB1, BO1, OR2, CR2, MG1, MG3, HB1, HB2, HB3, GT1, GT3, GB3, GB1, GB11, Blender and a white pen for the highlights as well.


After the coloring, I made a quick fussy cutting, and die-cutting as well. Then I stamped with watermark ink and heat embossed the Happy Crafting sentiments with white embossing powder on a light teal cardstock, I put my card together and I added finishing touches with white pen.


BLOG HOP

Below is a list of all of the designers participating in today’s blog hop! Check out all of the wonderful inspirations!

Pretty Pink Posh blog
Cathy Zielske
Laura Bassen
Mona Toth <<< You are here
Raquel Arribas
Heather Hoffman
Tina Smith
Gemma Campbell

GIVEAWAY 

Pretty Pink Posh will be giving away 3pc $50 gift certificates during the three-day blog hop celebration! Comments must be left by 11:59 PM PST on 2/16/2022. Winners will be announced on the Pretty Pink Posh Blog. Check the new arrivals here or tap on the image below.


Thank you so much for stopping by, don’t forget to check this beautiful release, enjoy the hop. Hugs, Mona.

BEFORE YOU GO...

Let’s stay crafty friends! You can find more cardmaking inspiration, behind-the-scenes peeks and photography tips for crafters on my Instagram and Facebook pages.

📷✨ I’m on a mission to help cardmakers and crafters feel more confident with photography, so their beautiful creations can shine online too.

FOLLOW ON INSTAGRAM  |  EXPLORE MY SHOP

USED SUPPLIES

I’ve listed all the supplies I used below, so you can easily find them. Some of the links are affiliate links, which means I may earn a small commission if you make a purchase, at no extra cost to you. Thank you so much for supporting my blog and creative work! 

[VIDEO] Paper hugs for Mother's Day | card inspiration

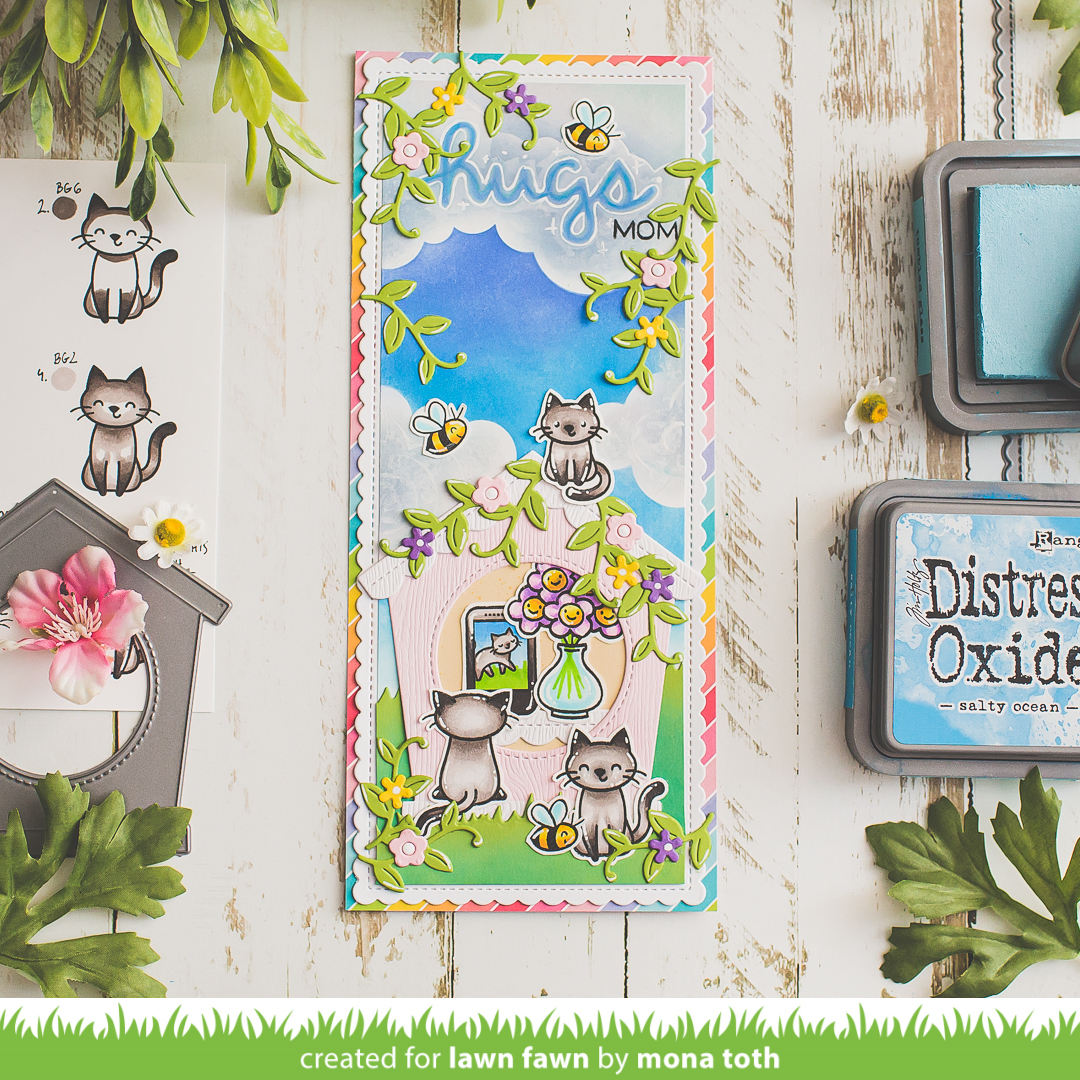
Paper hugs for Mother's day? Oh yes, we can say it with a personalized heart warming card which has it's own magic. The secret ingredient for the magic card is to create a card with a memory which both of you share together. You still have time to create and send it, however if you can’t give it to her anymore, you can still make it for yourself to think about her and the good memories. Today I am up on the Lawn Fawn blog with a new video tutorial, where I am sharing this lovely slimline card which I made for Mother's day with coloring instructions. Let's color seal pointed cats together with alcohol markers. 


Better craft photos are easier than you think. Start with 5 simple tips you can try today.
🎁 Get my free photo ebook here!

THIS CARD FEATURES

Magic Iris Birdhouse Add-On [ LF | SBC ]
For the additional supplies with shop links visit the thumbnails below this post.

Pin this post to your Pinterest board and save this card idea for later.

VIDEO TUTORIAL

This time no card instructions on my blog, instead of it I have this tutorial. You can watch the video below or click HEREHERE to watch at my YouTube channel.
 

Watch the video above | Watch the video in HD on YouTube

USED COLORS

For the coloring I have used Spectrum Noir Illustrators in the following colors: GY3, CT4, CT3, CT1, AG1, AG2, IB1, IB2, TB1, TB2, TB3, TB4, PL1, PL2, BG1, BG2, BG4, BG6, BG10, Blender. Classiques: (tints): BG05, PL05, IB05.


BEFORE YOU GO...

Let’s stay crafty friends! You can find more cardmaking inspiration, behind-the-scenes peeks and photography tips for crafters on my Instagram and Facebook pages.

📷✨ I’m on a mission to help cardmakers and crafters feel more confident with photography, so their beautiful creations can shine online too.

FOLLOW ON INSTAGRAM  |  EXPLORE MY SHOP

USED SUPPLIES

I’ve listed all the supplies I used below, so you can easily find them. Some of the links are affiliate links, which means I may earn a small commission if you make a purchase, at no extra cost to you. Thank you so much for supporting my blog and creative work!
[VIDEO] Pastel Slimline Card Tutorial

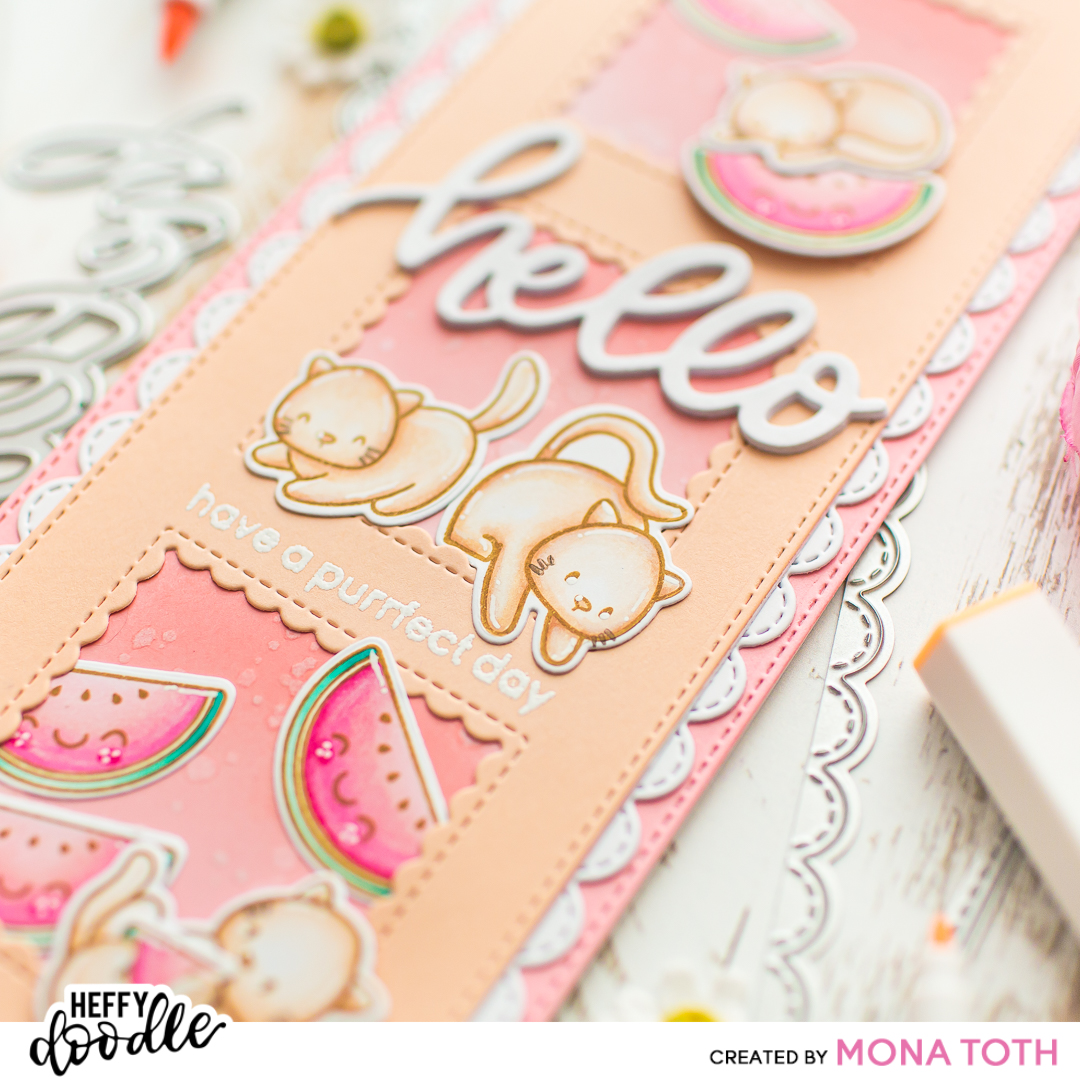
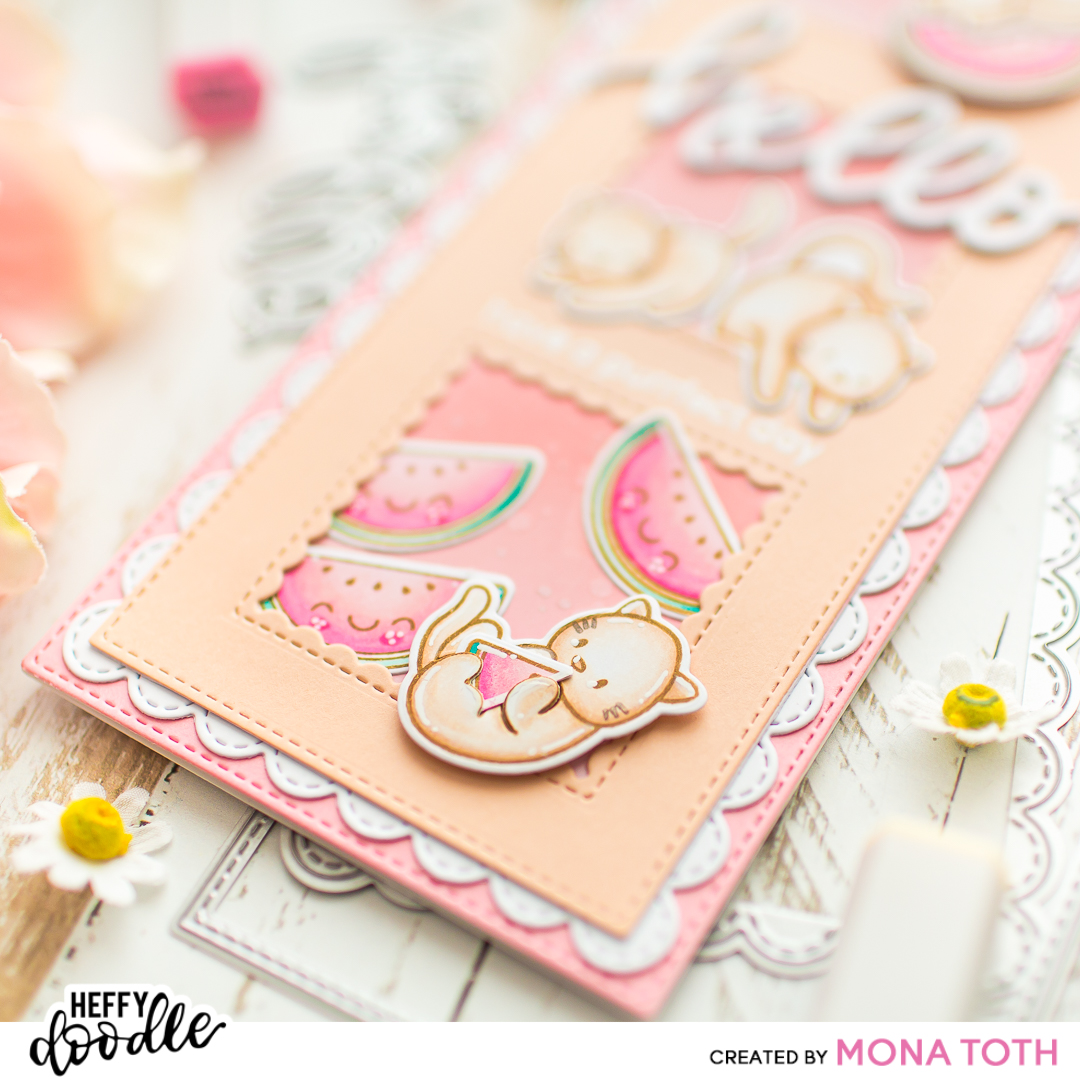
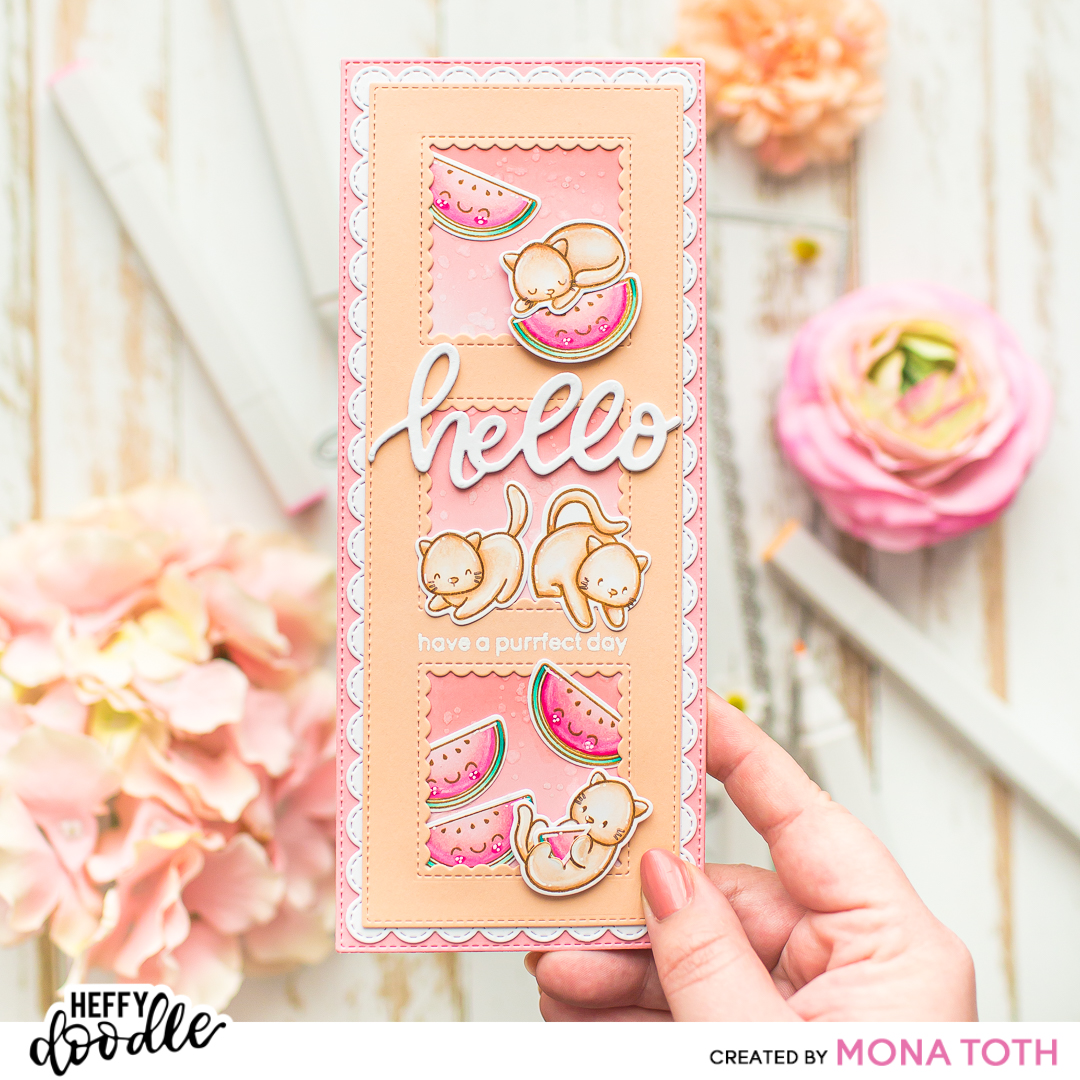
Hello lovelies, I am back with another coloring video tutorial. Today I am going to show you how I created this sweet pastel slimline card with cats and melons. You can find the video here. 


THIS CARD FEATURES

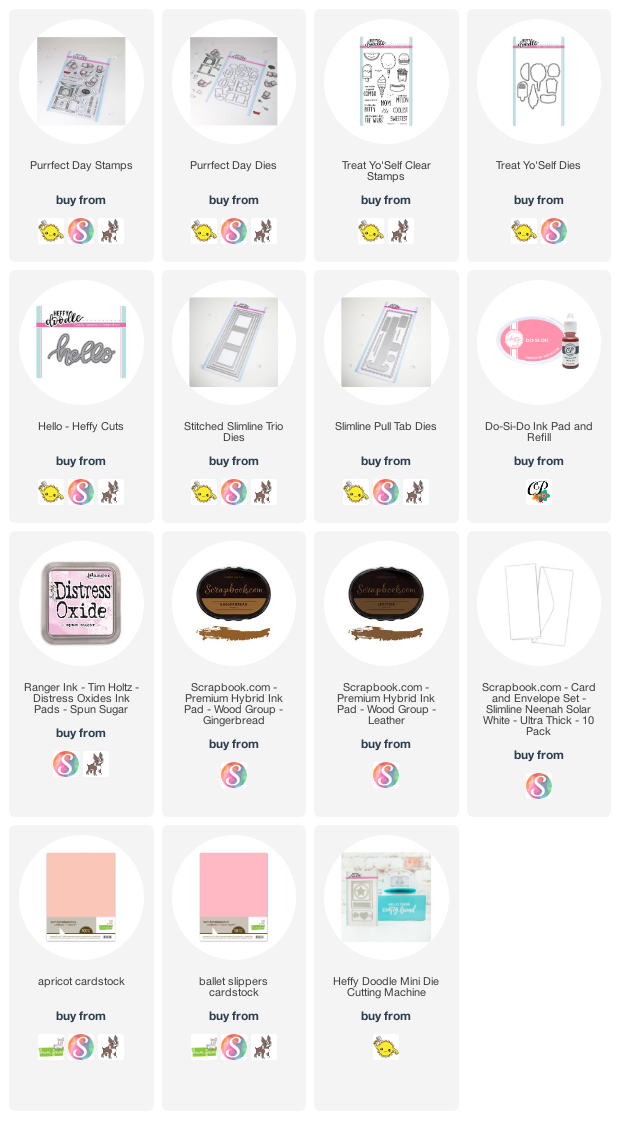
  • Purrfect Day Stamps [ HFF | SBC | SSS ]
  • Treat Yo'Self Clear Stamps [ HFF | SSS ]
  • Stitched Slimline Trio Dies [ HFF | SBC | SSS ]
  • Slimline Pull Tab Dies [ HFF | SBC | SSS ]
  • For the additional supplies visit the thumbnails below this post.


    Do you enjoy this inspiration? I really appreciate if you pin this photo to your Pinterest.


VIDEO TUTORIAL

Watch my video tutorial below to learn how I created this slimline card as well as how I colored these cute cats. If you have any questions feel free to ask in a comment.


Watch the video above | Watch the video in HD on YouTube


CARD INSTRUCTIONS

For this project I will use these cute cat images from the Purrfect day stamp set as well as this melon image from Treat Yo’self. I think it’s so much fun to mix animal stamps with fruit images. I stamped the images with lighter brown, alcohol marker friendly inkpad called Gingerbread. I used this color because I wanted to achieve a softer look for the images.

For the coloring I have used Spectrum Noir Illustrator Markers, but you can make it with any other marker as well. For the coloring and the full process be sure to check out the video tutorial here. Spectrum Noir Illustrator Markers Used: GT3, GT2, GT1, MG3, MG2, MG1, PP2, FS1, TN3, TN1, FS6, Blender. Once the coloring was done, I added highlights with white pencil and white pigment pen. Once it was done, I run the images through my mini die-cutting machine with their coordinating dies.

I have also prepared slimline die-cuts with the Stitched Slimline Trio Dies and Slimline Pull Tab Dies in different cardstock colors. For the background I made a quick ink blending with Du-si-do Pink inkpad from Catherine Pooler as well as with Spun Sugar distress oxide ink. Next, I splattered on it with clear water and white watercolor as well, and let it air dry.

After this I stamped the have a purrfect day sentiment from the “Purrfect day” stamp set with watermark ink to the pastel peach die-cut, then I heat embossed with white embossing powder. I have also created four die-cuts with the Hello word die from white cardstock. I adhered them together for more depth and now I have everything prepared to finish my card. Thank you so much for stopping by, have an amazing day, Mona


USED SUPPLIES

Using affiliate links does not mean additional costs for you. I really appreciate your support. I am using only products I LOVE. If you buy supplies through my affiliate links, you support my channel and blog with a small commission and when you shop through my links I will do a happy dance. Affiliate Disclaimer.

Lawn Fawnatics Challenge 91 - New Year


Happy happy new year crafty friends! 🦄 Wishing you good health, happiness, success and lots of crafty time! Thank you, thank you for all your amazing support and love in the past year. It means the world to me!


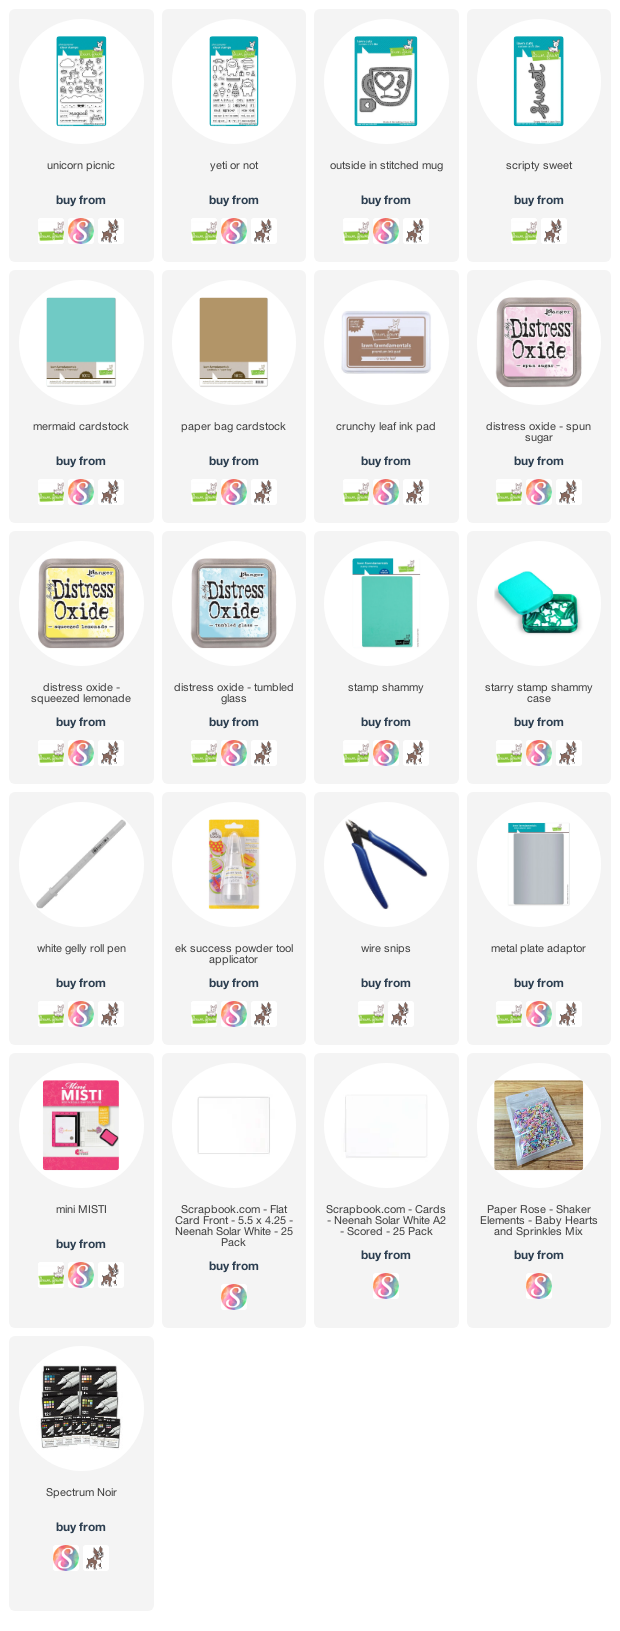
I have created this card tonight for the current Lawn Fawnatics challenge 91 - where the topic is the new year. As always you can find the used supplies below the post.


I wanted to create a simple but colorful card so I decided to create a pastel rainbow ink blending in the background, I did exactly the same blending like in my Yeti video here. 


Then I created a shaker part with the Outside in stitched mug die, to the center of my card which I backed with mermaid cardstock (this is my all time favorite soft turquoise cardstock).


Next I stamped these sweet images from the unicorn picnic stamp and colored with Spectrum Noir Illustrator markers. I have used: FS9, FS6, FS8, FS1, PP2, BP1, PP4, HB1, HB2, HB3, AB1, AB2, AB3. When the coloring was done I added white highlights with white pen.


When it was done I created the "have a Sweet New Year" sentiment with die-cutting and heat embossing. In the end I put together my card. Thank you so much for stopping by, see you next time! 

Big hugs, 
Mona

USED SUPPLIES

[VIDEO] Twist and Sprout Card with Coloring

Hello crafty friends, I am back with an another coloring video tutorial. Today I am going to show you how to create these Linzer biscuits with dies and alcohol markers. I encourage you to try it! It's much more easier then it looks like! You can find the video here. As always you can find the used supplies below the post.


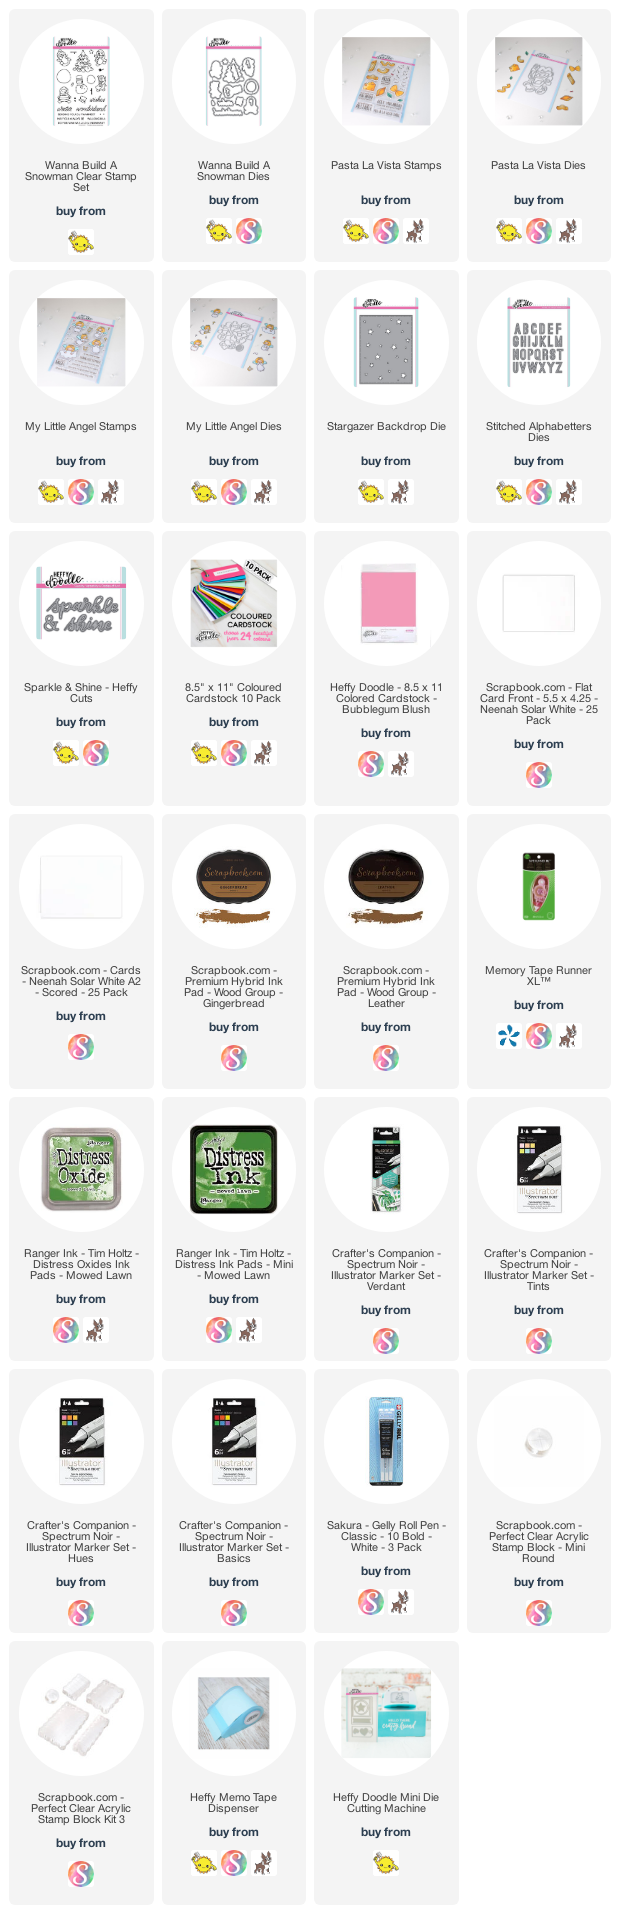
For this project I am going to use various stamps and dies from Heffy Doodle. I have linked all the used supplies below the post. I stamped the image to a Neenah Solar White cardstock. I wanted to achieve a softer look for the stamping, so instead of a black inkpad, I have used one of my favorite brown inkpads, called Gingerbread, which is Copic and Spectrum Noir marker friendly as well. Just don’t forget to add a quick heat set before the coloring.


For the coloring I have used Spectrum Noir Illustrator Markers, but you can make it with any other markers as well. For the coloring and the full process be sure to check out the video tutorial here. Spectrum Noir Illustrator Markers Used: AG2, AG3, AG4, BT2, BT5, CG2, DG1, FS9, LG4, Blender. 


Once the coloring was done, I added highlight’s with white pencil and white pigment pen. After the highlighting, I stamped these cute faces from the Pasta La Vista stamp set by Heffy Doodle with Leather Brown Inkpad, then I run them through my mini die-cut machine with their coordinating dies.


I also die-cut my own sentiment with stitched alphabetter dies from Hint Of Mint cardstock. Once the die-cutting was done, I just put all the letters to a masking tape, and made a quick inkblending on them with moved Lawn distress and distress oxide inks. Next I put all the parts together, the colored images and the sentiment as well. As you can see, I have also created and colored some additional small Heffy images for embellishing the card.


Be sure to check the video for the full tutorial with the extra tips and tricks. As always, you can find the used supplies below the post, and if you have any questions feel free to ask in a comment. Thank you so much for joining me, see you next time, have an amazing day, Mona


VIDEO TUTORIAL


SALE


USED SUPPLIES


Using affiliate links does not mean additional cost for you. I really appreciate your support. I am using products only I LOVE. If you buy supplies through my affiliate links, you support my channel and blog with a small commission and when you shop through my links I will do a happy dance. Affiliate Disclaimer.


[Video] Magnetic cookie bookmarks from start to finish

Hello lovelies, I am back with an another realistic food coloring video tutorial. Today I am showing you on my YouTube channel how I created these Linzer biscuits with Heffy Doodle dies and Spectrum Noir alcohol markers. I encourage you to try it! It's much more easier then it looks like! You can find the video here. As always, you can find the used supplies below the post.


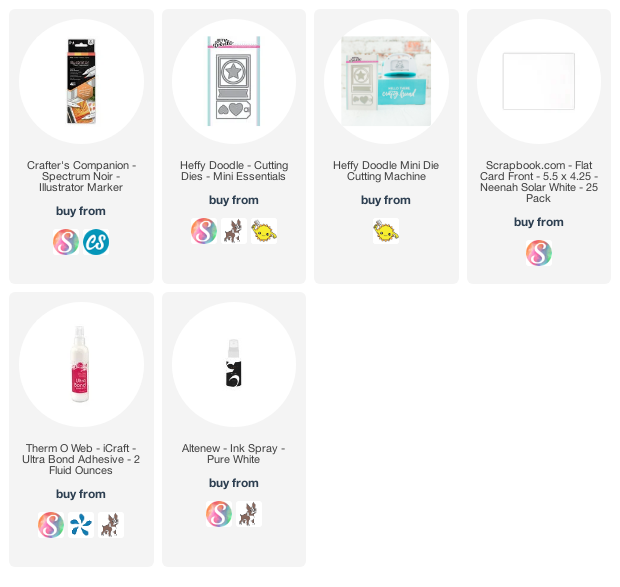
For this project I am using the new mini essential die set from Heffy Doodle which coordinates perfectly with the new Heffy doodle die-cutting machine. I am going to use the cute small circle dies; This size, is a perfect biscuit size, and I absolutely love these tiny scallops or frills on the edges.


For the coloring I have used Spectrum Noir Illustrator Markers, but you can make it with any other markers as well. For the coloring and the full process be sure to check out the video tutorial here. Spectrum Noir Illustrator Markers Used; Cookie: BG1, GY1, GB4, EB1, EB4 Strawberry Jam: CR4, CR9, DR5, DR7, Raspberry Jam: BP3, BP6, DR5, DR7.


After creating a couple more cookies, I am turning them into bookmarks. I am adhering the fronts and backs to the openable part with my liquid adhesive and when it dried, I am opening it and putting inside a pair of small magnets. I am just removing the parchment paper of the magnet, closing the cookies and my tasty bookmarks are done!


Be sure to check the video for the full tutorial with the extra tips and tricks. As always, you can find the used supplies below the post, and if you have any questions feel free to ask in a comment. Thank you so much for joining me, see you next time, have an amazing day, Mona

VIDEO TUTORIAL


USED SUPPLIES

I am using products only I LOVE. If you buy supplies through my affiliate links, you support my channel and blog with a small commission and when you shop through my links I will do a happy dance. Using affiliate links does not mean additional cost for you. I really appreciate your support. Affiliate Disclaimer.


[Video] No laminator foiling hacks with Deco Foil Transfer Sheets


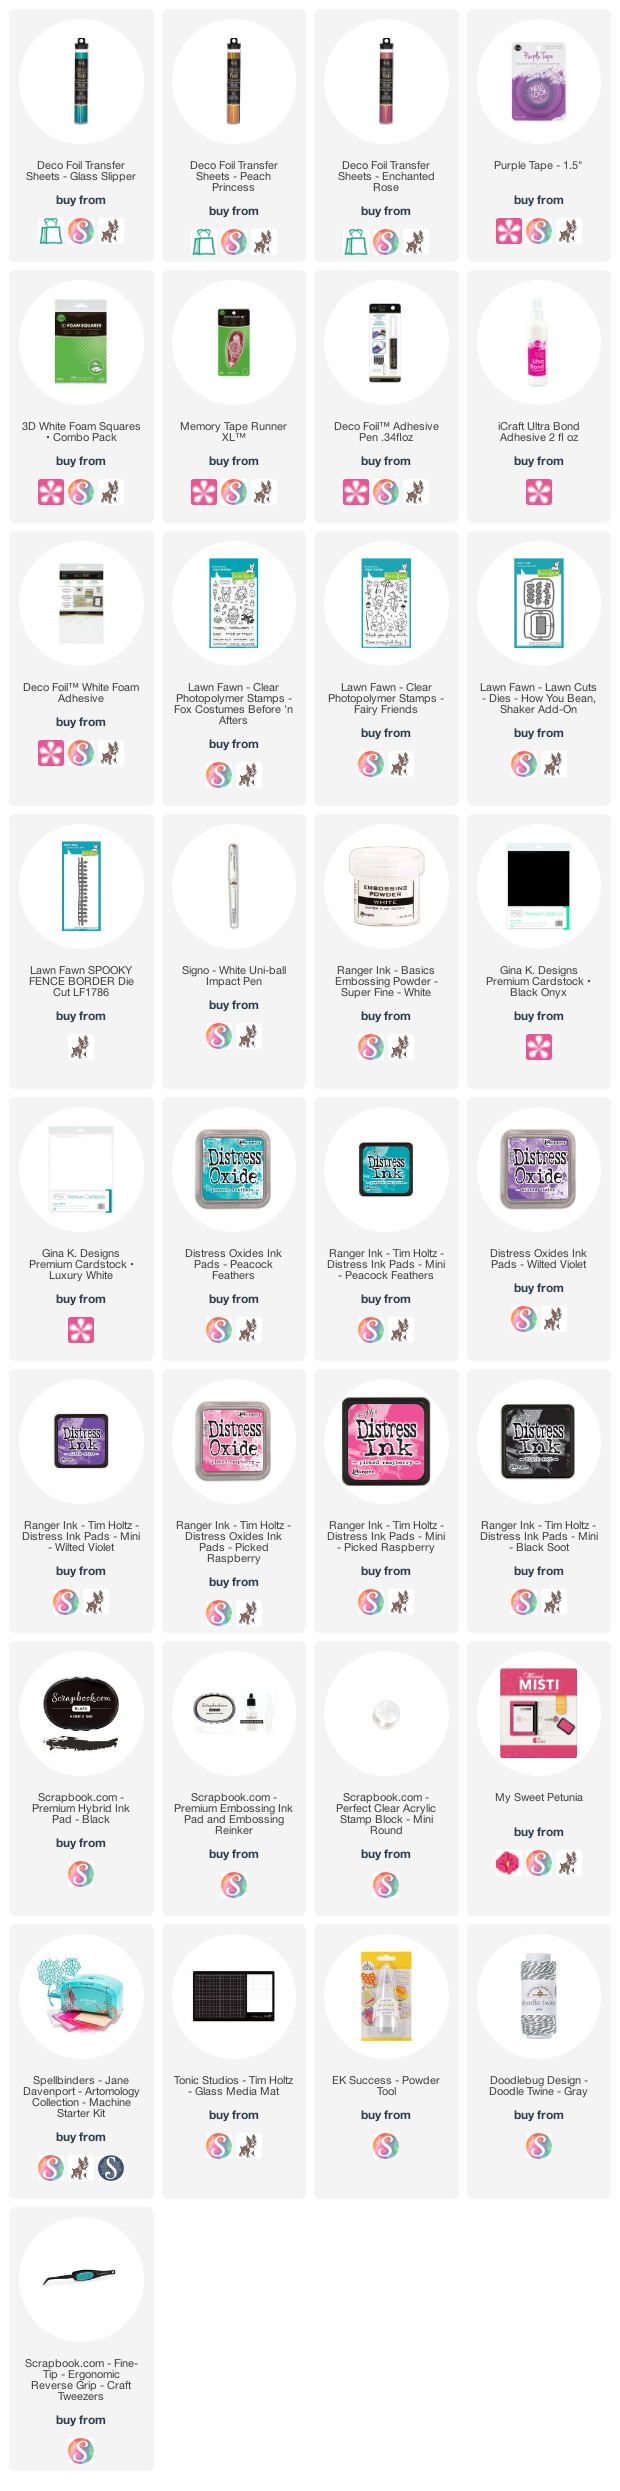
Hi crafty friend I am back with an another video tutorial, where I am showing you how can you foil easily without laminator as well as how I created these cute Lawn Fawn Halloween tags with the new Deco Foil Transfer Sheets by Therm O Web.

VIDEO TUTORIAL


If the video is not working above please open it here. If you like written tutorials more, visit my original post on the Therm O Web blog. Thank you so much for stopping by, big hugs Mona! 


USED SUPPLIES


I am using products only I LOVE. If you buy supplies through my affiliate links, you support my channel and blog with a small commission and when you shop through my links I will do a happy dance. Using affiliate links does not mean additional cost for you. I really appreciate your support. Affiliate Disclaimer here.

Spectrum Noir Illustrator Markers Used: TN7, BO3, BO1, OR2, GY3, CT4, CT3, GY2, FS7, FS6, FS3, MG1, MG3, PV3, PL3, AB1, AB3, True Black, Blender

[Video] Portrait Style Shadowbox Card | Heffy Doodle


Hi crafty friends, I am super excited to announce that I joined the Heffy Doodle Video team! Each month I will create a new cardmaking video tutorial because I have a new series, the Color it! with Mona! 


For the color inspiration for this card I have used Davina’s Halloween Color Snapshot Board. Today I am going to show you how I colored and created this portrait style tunnel shadowbox card which folds perfectly to fit an A2 envelope. Be sure to check it out, find the video here. As always the you can find the used supplies below the post. 


I started the cardmaking with stamping the images from the Quill You Be Mine, Yappy Happy Mail and the Pasta La Vista Stamp Sets. I have used the Bright White Alcohol Marker Friendly cardstock from Heffy Doodle. For the stamping I have used the dark brown alcohol marker friendly inkpad called Leather. 


When the stamping was done, after a quick heat set, I started the coloring with Spectrum Noir Illustrator Markers. For the coloring and the card making process be sure to check out the video tutorial here. Spectrum Noir Illustrator Markers Used: LV3, PL3, PV3,GY2, BO1, BO3, CT1, CT4, GY3, AB3, AB1, MB3, MB1, EB1, EB2, EB4, EB7, BG4, BG2, Blender. After the coloring I diecut the images with the Mini Die-cutting machine and added white highlights to the images with white pen. 


In the end I put my card together and the shadowbox card was done. I hope you have enjoyed my project for today, be sure to check the video for the full tutorial with the extra tips and tricks. Also I wanted to mention that check out the actual Heffy Doodle Card Challenge, you can win a generous gift certificate monthly! I recommend you to try it. it’s so much fun! See you next time, have an amazing day, Mona

VIDEO TUTORIAL


USED SUPPLIES

I am using products only I LOVE. If you buy supplies through my affiliate links, you support my channel and blog with a small commission and when you shop through my links I will do a happy dance. Using affiliate links does not mean additional cost for you. I really appreciate your support. Affiliate Disclaimer here.

Heffy Friends Blog Hop

Hello lovelies and welcome to the Heffy Doodle Friends Blog Hop. Today I am showing you a cute pony card inspiration with the newest release! I hope you will enjoy it.

Do your projects look better in real life? Start with 5 simple ways to make your craft photos do them justice. 🎁 Get my free photo ebook for cardmakers and colorists here!


As always, you can find the supply list below the post. Now let see the cardmaking and also don't forget to comment on my blog, because there is a giveaway too! Yaaay! 

I started the cardmaking with ink blending. I have used lighter Distress Oxide Inkpads first in rainbow order in the following shades: Tumbled Glass, Cracked Pistachio, Twisted Citron, Squeezed Lemonade, Spun Sugar and Shaded Lilac. When it was done, I put on my ink blending through the Rays The Roof stencil and created darker lines through the stencil. I have used the Peacock Fathers, Moved Lawn, Fossilized Amber, Picked Raspberry, and Wilted Violet Distress Oxide inkpads. 


When the ink blending was done, I run the blended cardstock with the Imperial Stitched Rectangles Dies (the second largest) through my Die-cut machine. After that I splattered on it with white and gold Gansai Tambi Watercolors and let it dry. 


The next step was the stamping and coloring. I have used the Fluffy Puffy Unicorns Stamps and Dies. Aren’t they adorable? I have a few more inspirations with these cutenesses. I will show them in the end of my post. I stamped them with my MISTI and this time I colored them as Ponies from the My Little Pony movies. 


For the coloring I have used my Spectrum Noir Illustrator Markers. The used colors for Ponies are: CT1, CT3, CT4, LY1, GY1, GY2, GY3, BO1, BO2, DR2, MG3, MG1, PP4, PP2, PP1, PV3, HB1, LV1, LV3, PL3, TB5, TV4, TB2, TB1, IB1, IG2, BGR4, DG3, LG4, LG3, Blender. 


When the coloring was done, I adhered the Ponies to the background with 3D foam adhesive. Next I run the Starry Rainbow Die, the Stitched Alphabetter Dies and the “To my” Word Heffy Cuts through my Die-cut machine with white cardstock. I created the sentiment then embellished with the stars from the Starry Rainbow die, then styled and put my card together. 


I hope you have enjoyed my inspirations for today, see you next time and good luck in the giveaway! Mona 

Few more inspirations what I have created with the new Heffy Doodle Release:  


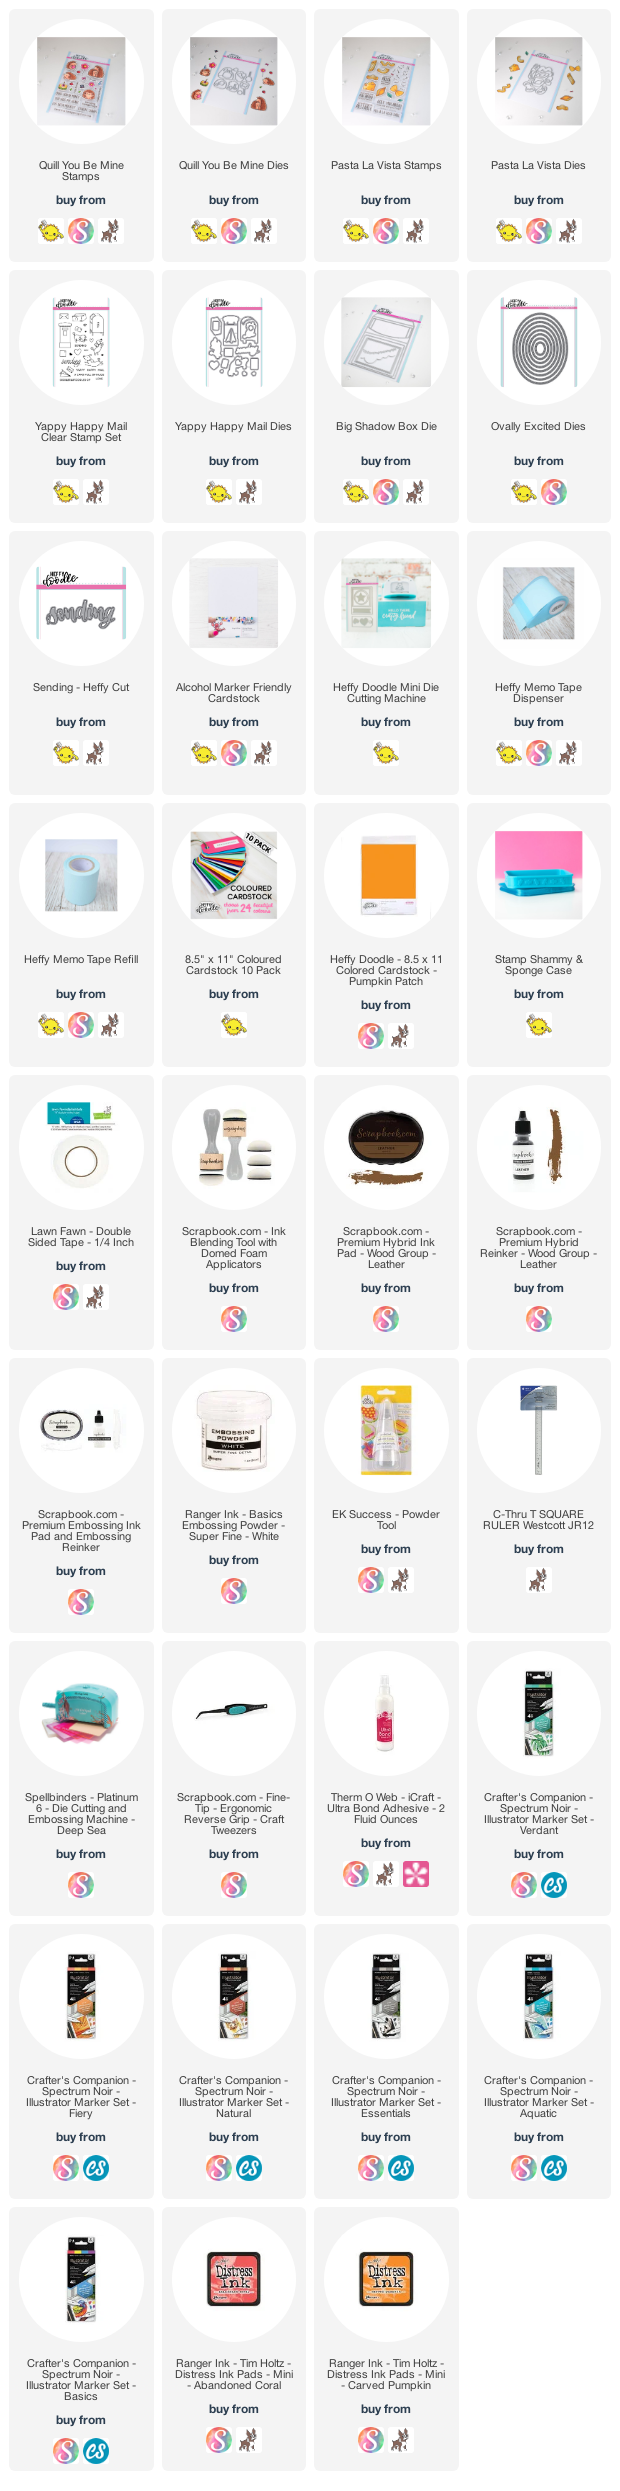
USED SUPPLIES 

I’ve listed all the supplies I used below, so you can easily find them. Some of the links are affiliate links, which means I may earn a small commission if you make a purchase, at no extra cost to you. Thank you so much for supporting my blog and creative work! 


GIVEAWAY 

To celebrate the hop Heffy Doodle will be giving away a £50 voucher to the Heffy Doodle Store!! Make sure to comment on each stop in the hop to be entered for your chance to win. The winner will be selected randomly and announced on the Heffy Doodle blog on August 25th. You should have come from the “scene queen” Megan Quinn and the next stop is Isha Gupta. 
LINE UP 

Heffy Doodle Blog
Megan Quinn
Mona Tóth
Isha Gupta
Kelly Faye Martin
Jessica Frost-Ballas
Jessica McAfee Mercer
Rachel AlvaradoAmanda Stevens
Francesca Vignoli
 

PIN ME 

If you like my projects, please save them to your pinterest board. Thank you.