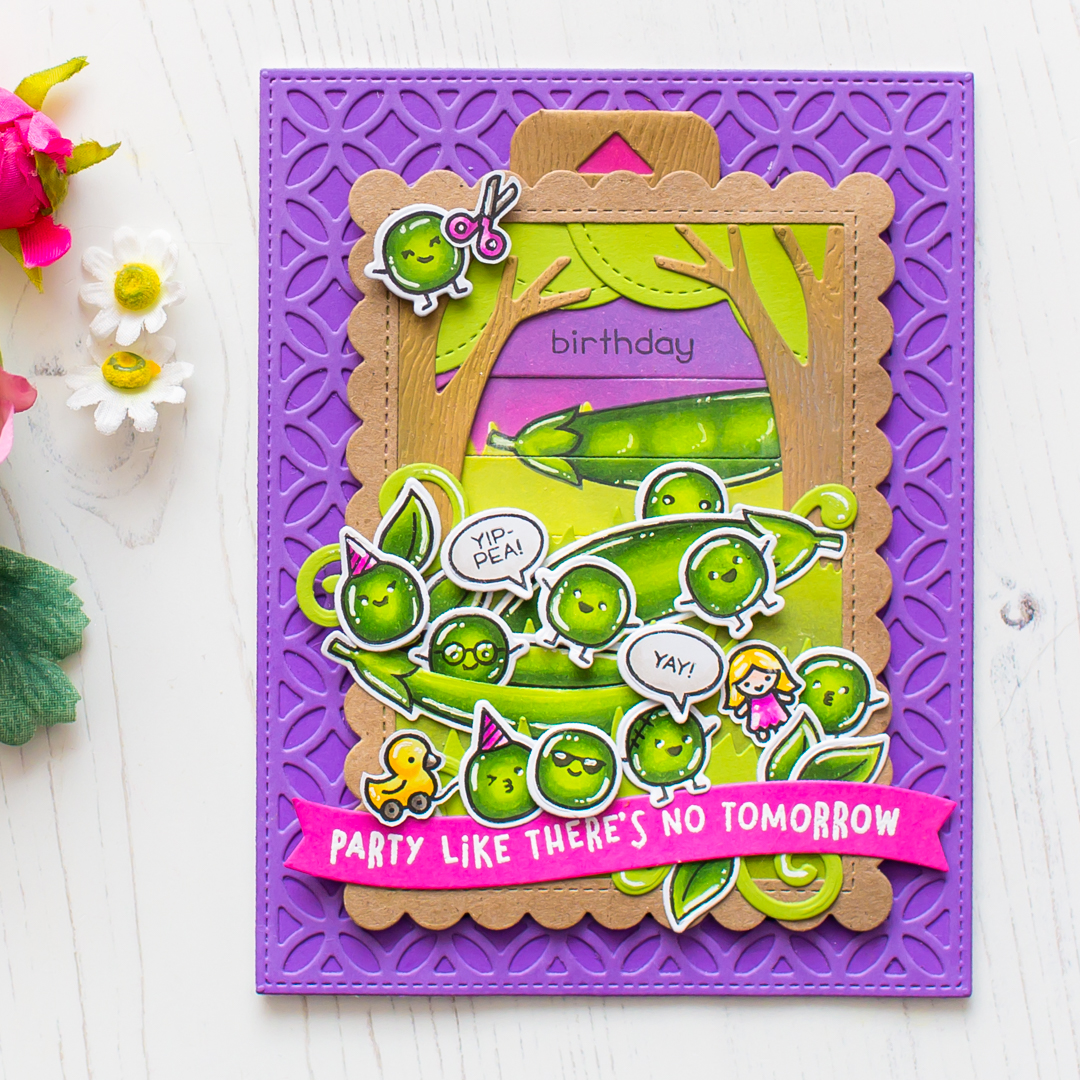
Hi crafty friends! Today I am showing you a cute spring card with bunnies featuring the Spring Greetings Stamp Set. You can find the used supplies below.
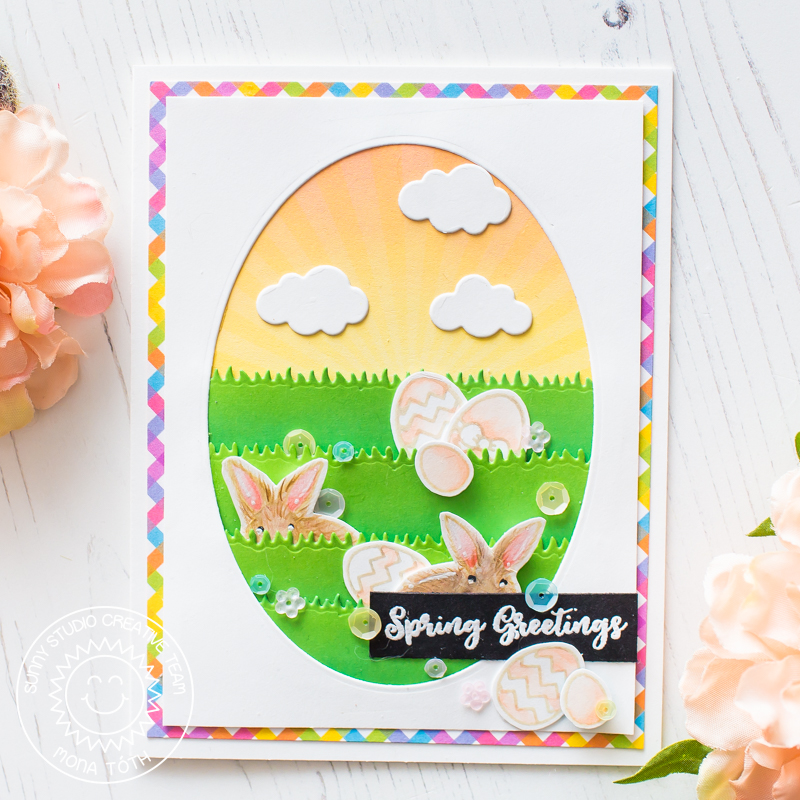
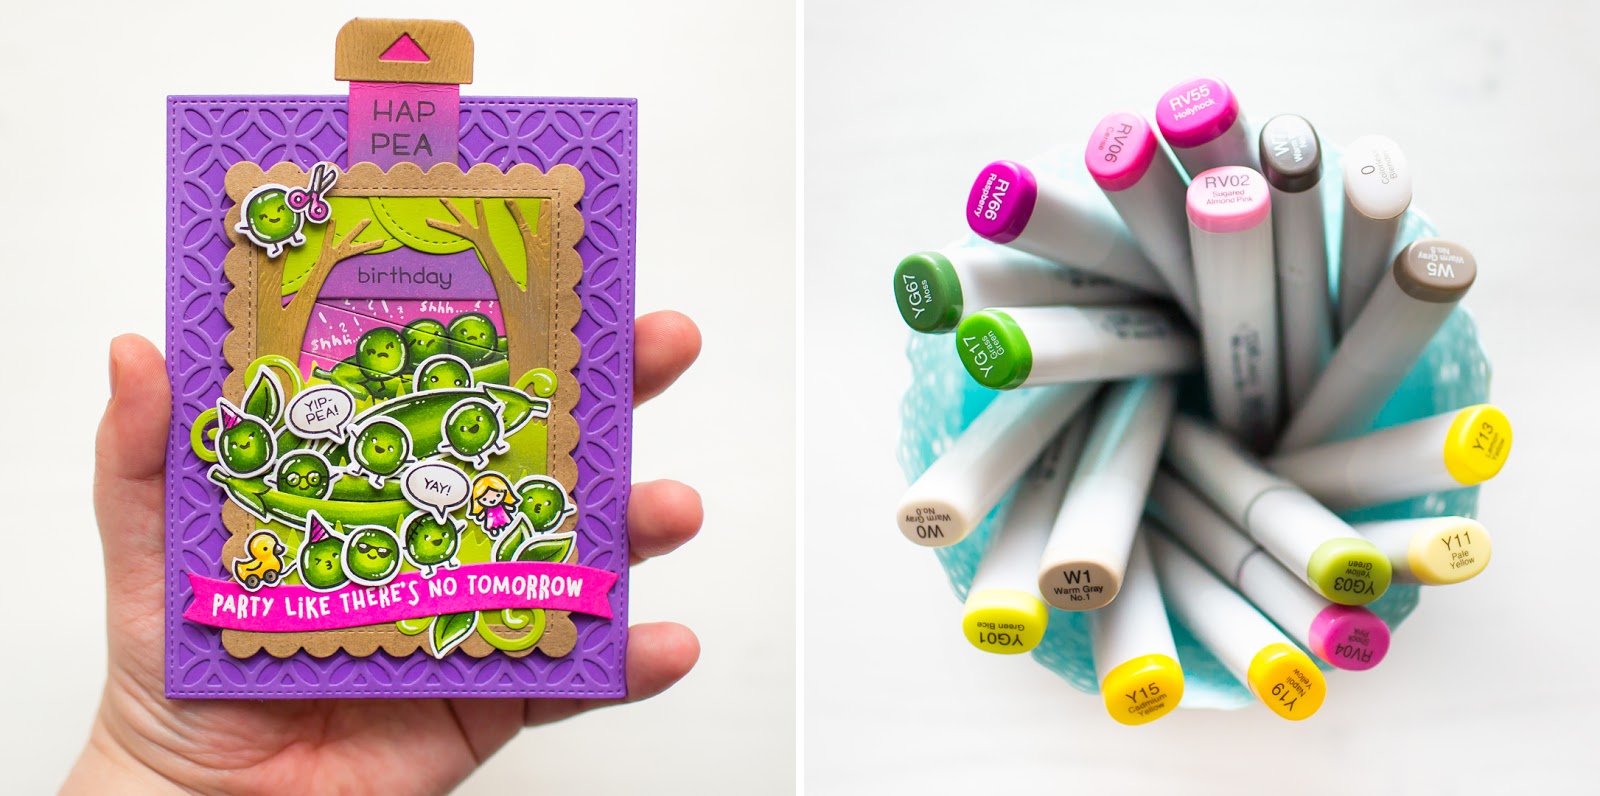
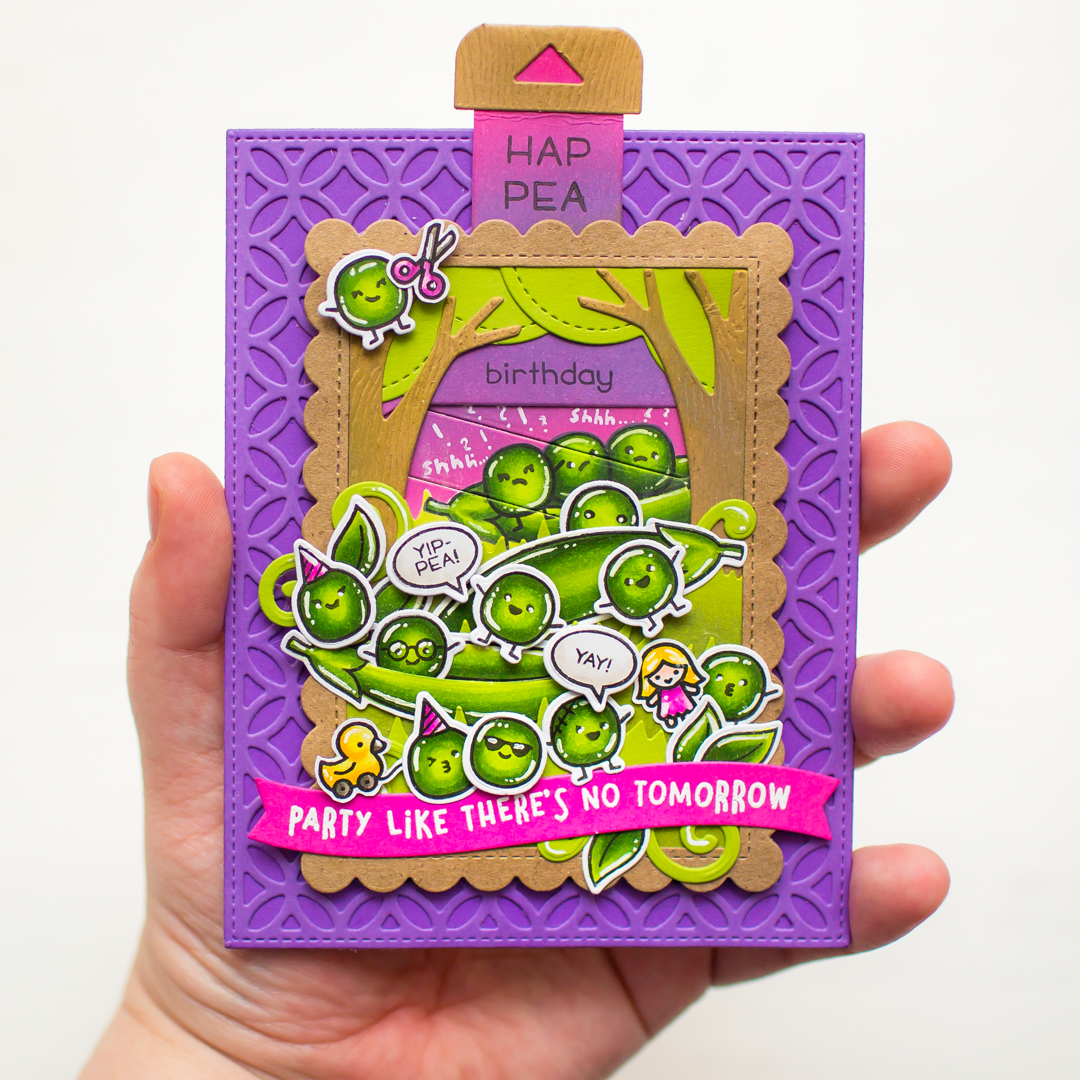
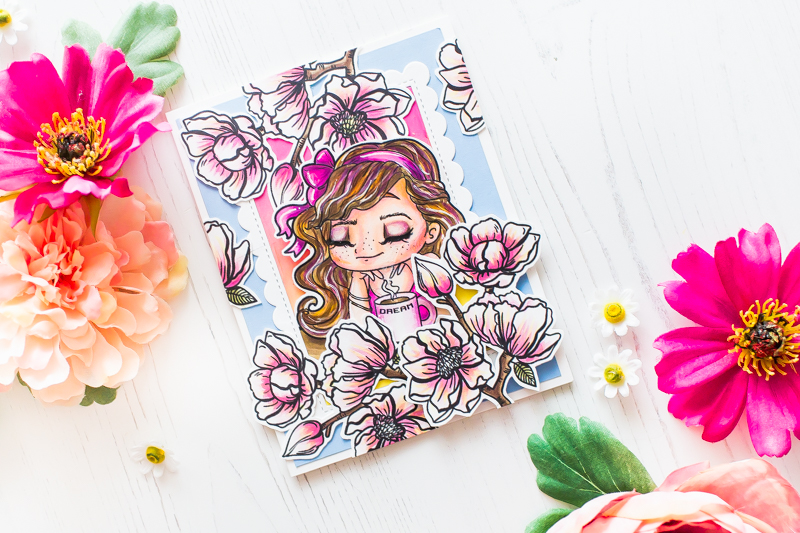
I started the cardmaking with Die-cutting. First I made an egg shaped Die-cut from white paper with the Stitched Oval Dies then I built up my little scene behind the egg shape so I made grass and cloud Die-cuts with the Comic Strip Everyday Dies. Adhered the little pieces to the yellow paper from Spring Sunburst Paper Pad and finally I backed with colorful cardstock from the same paper pad.
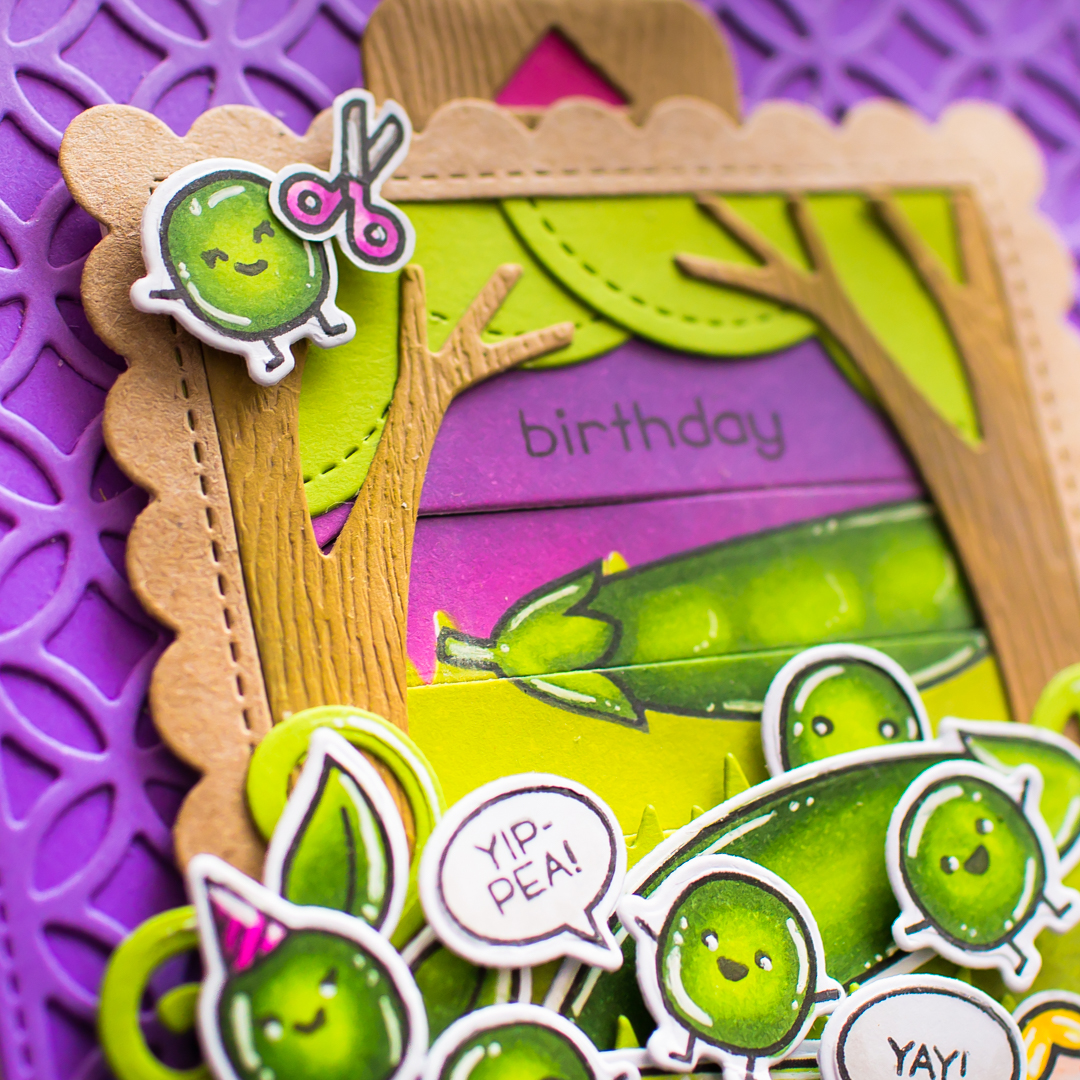
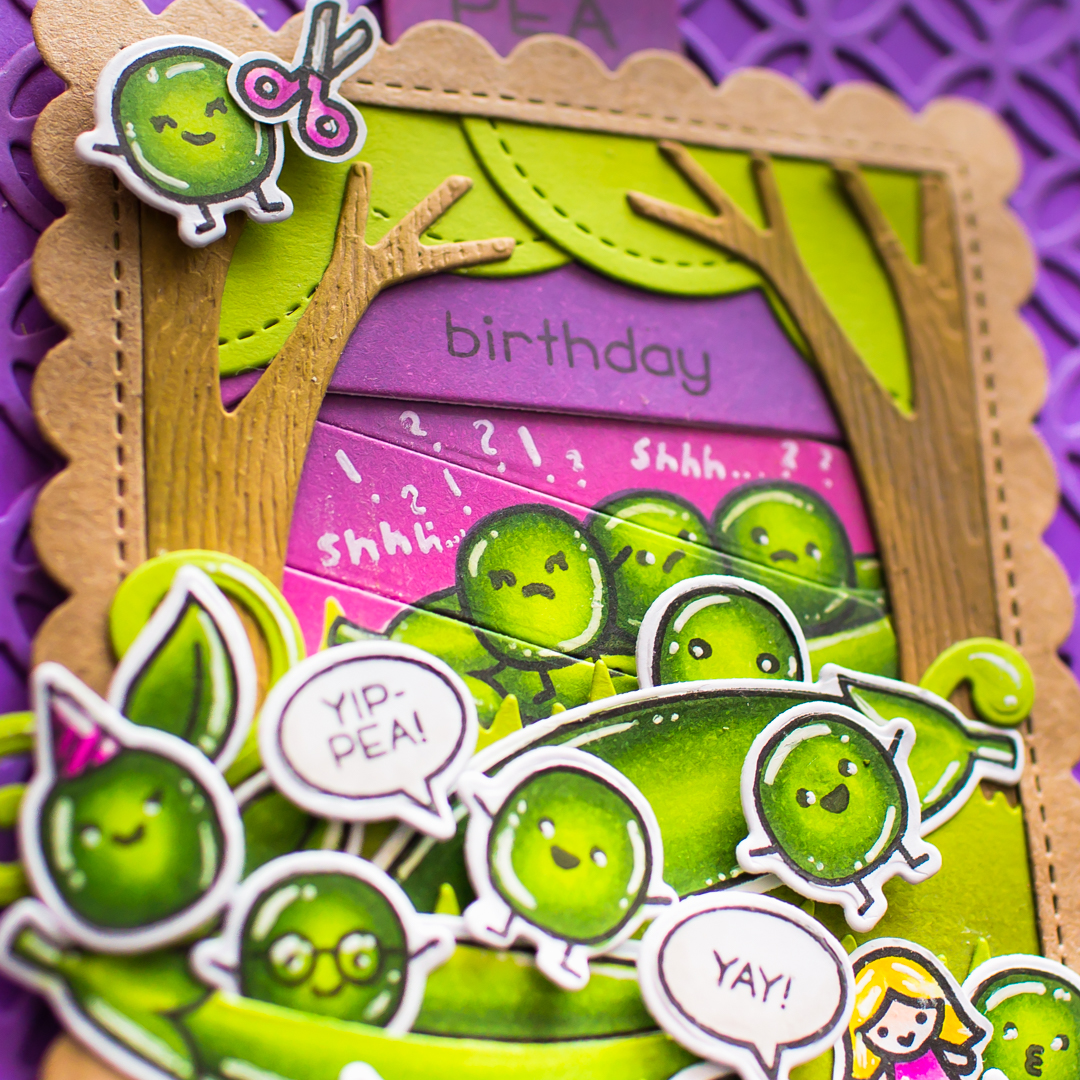
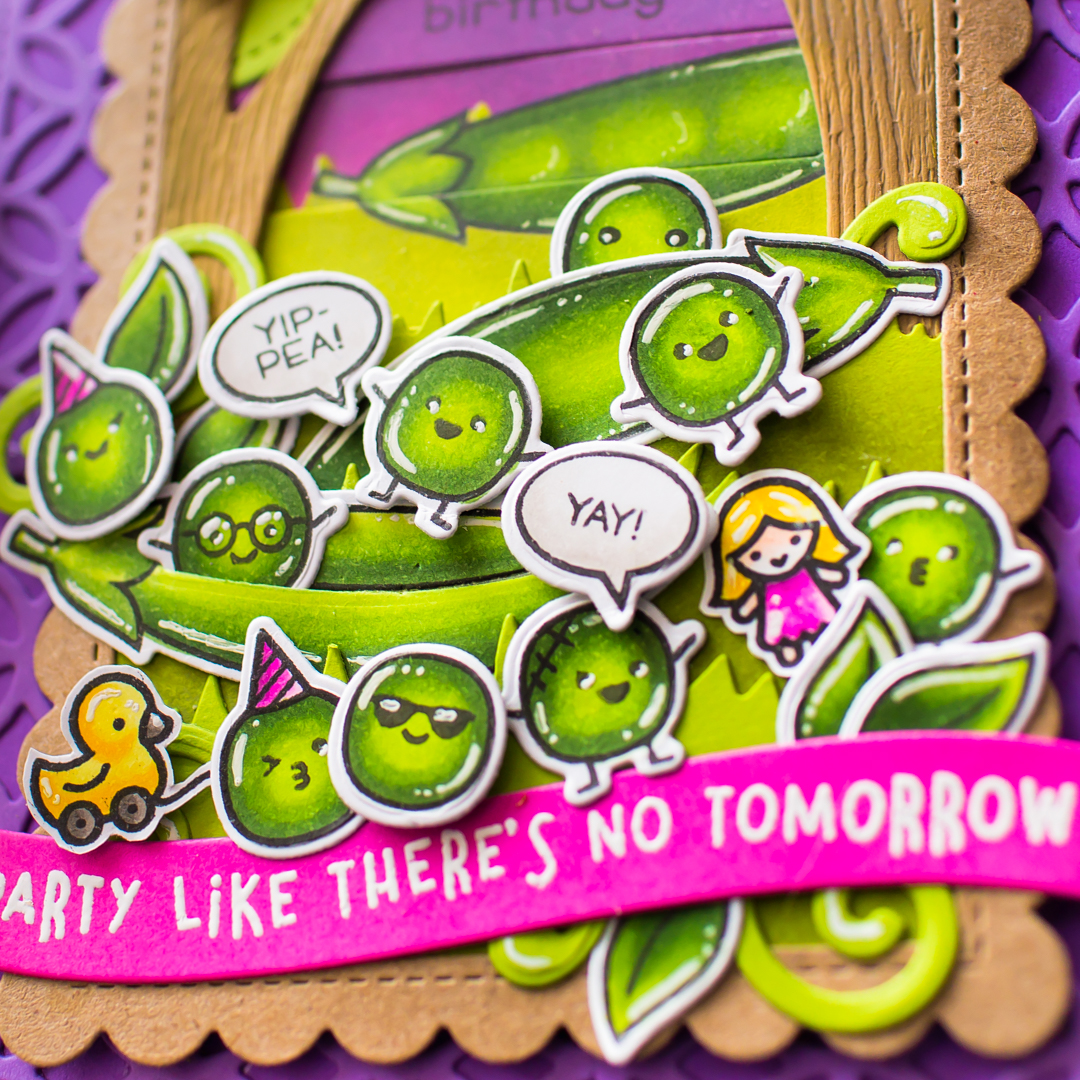
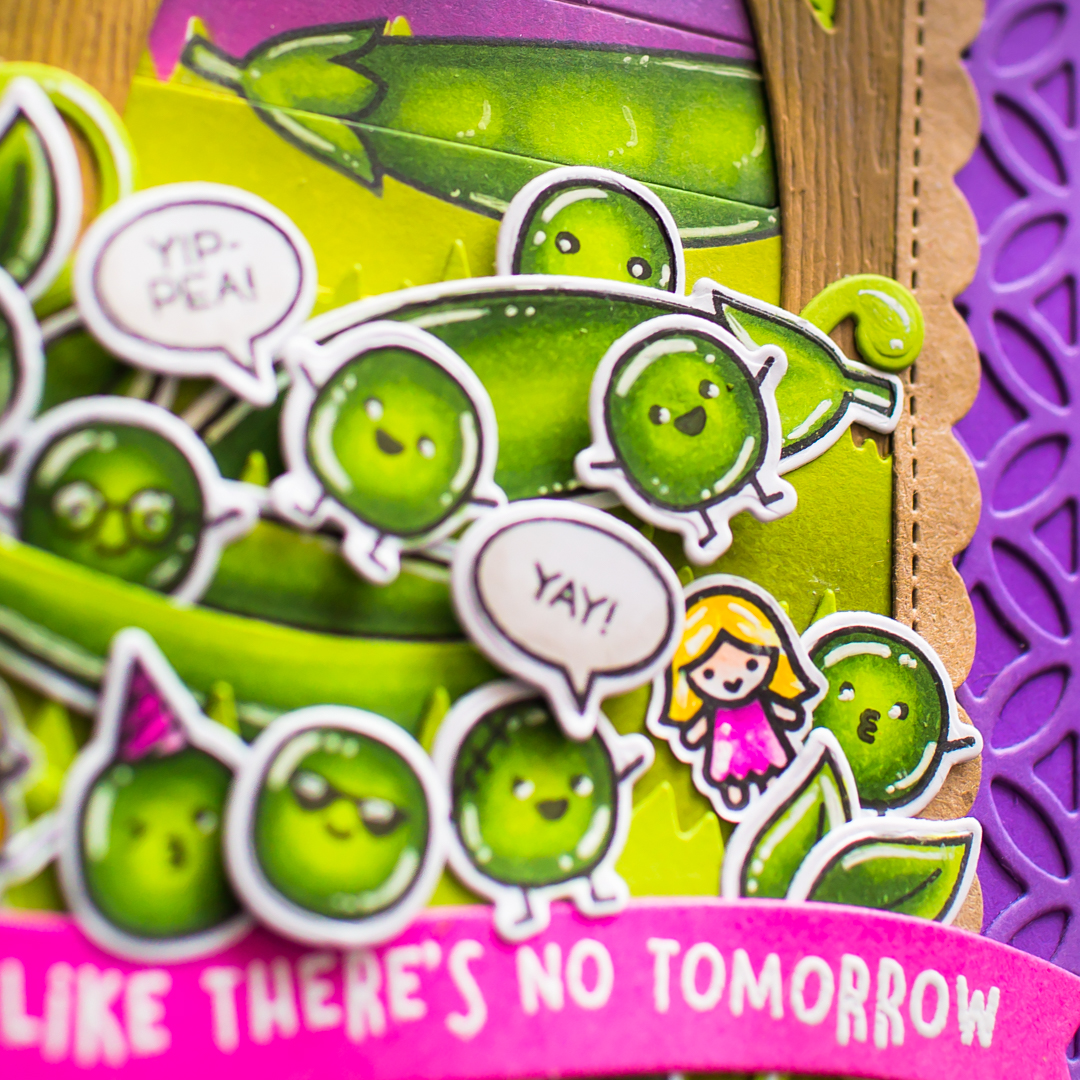
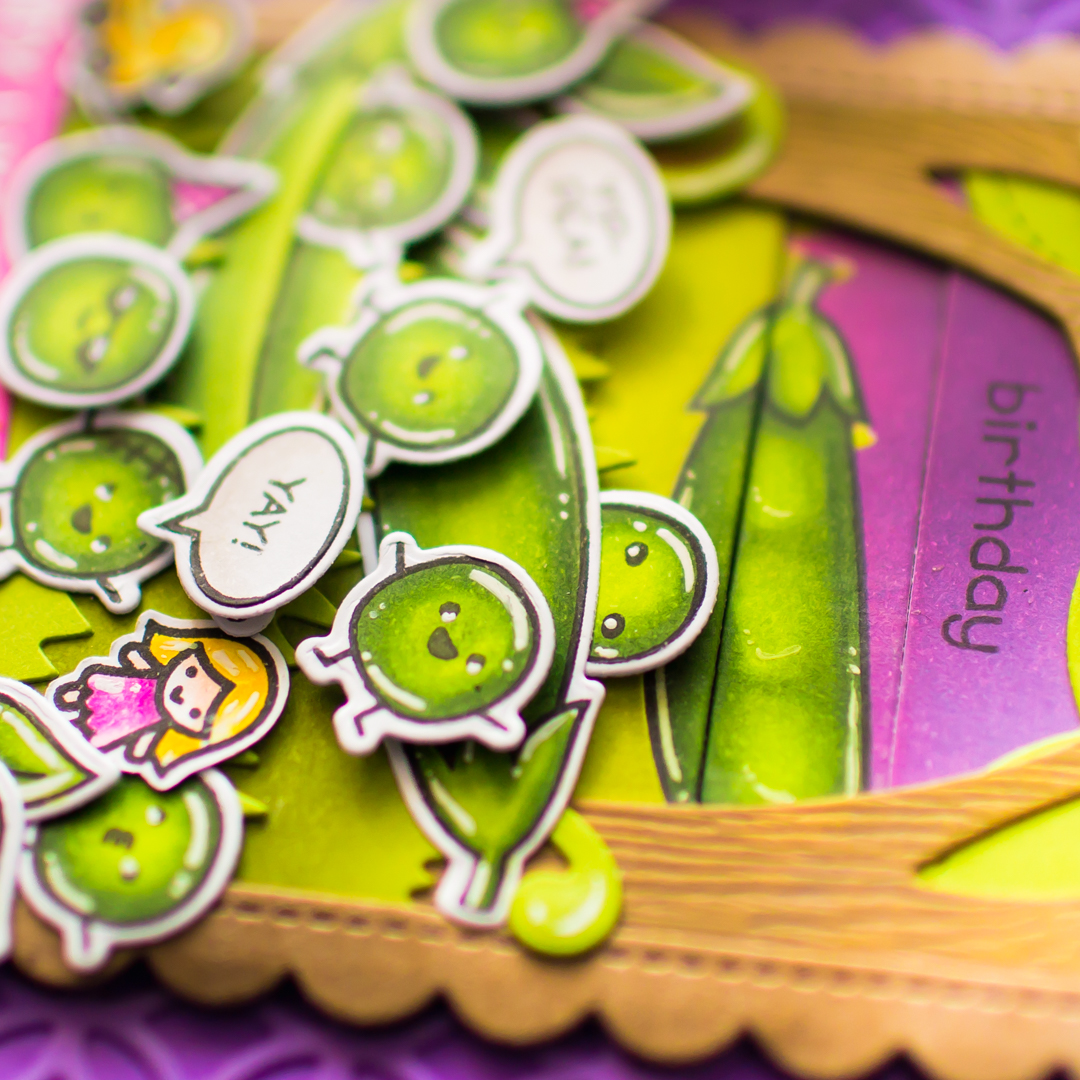
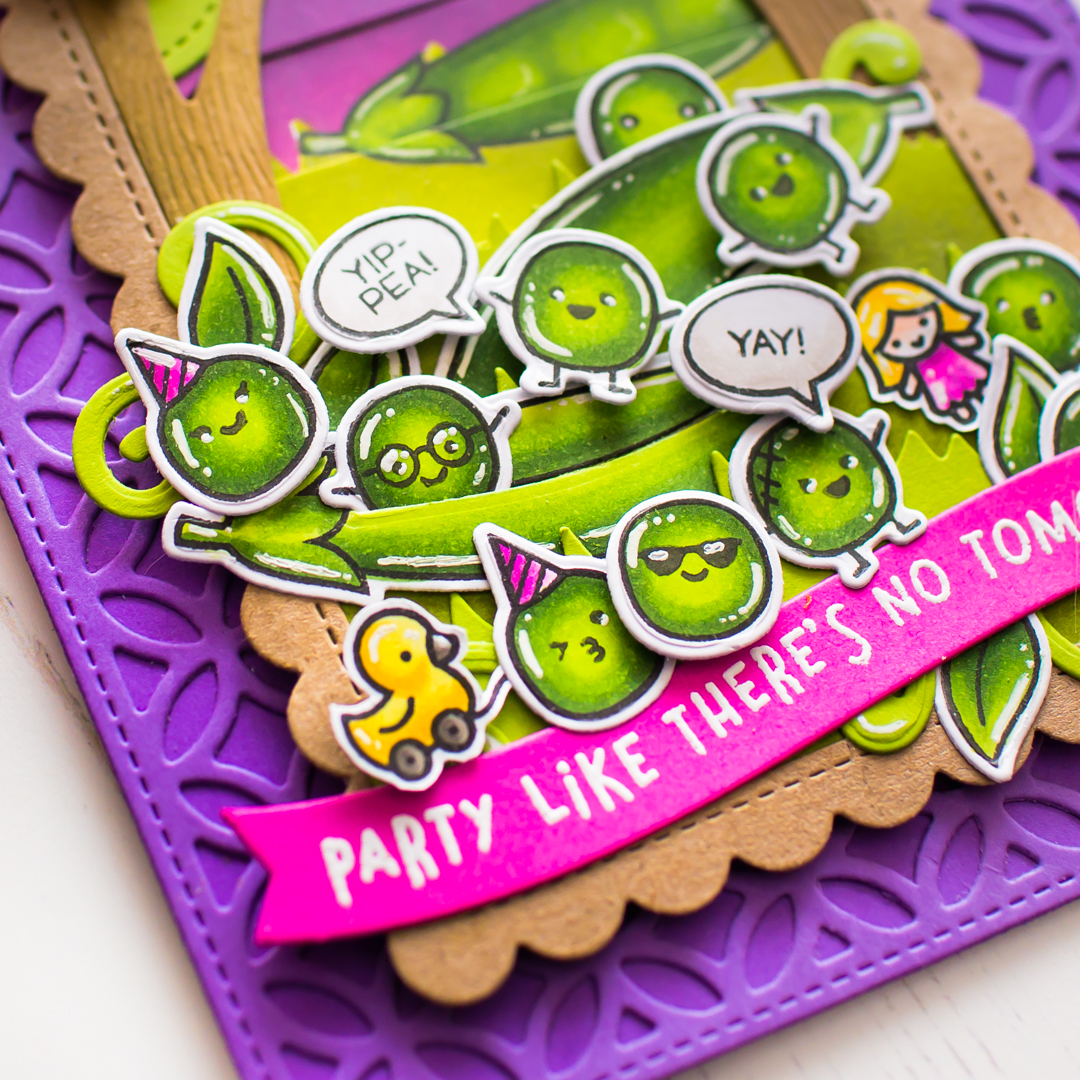
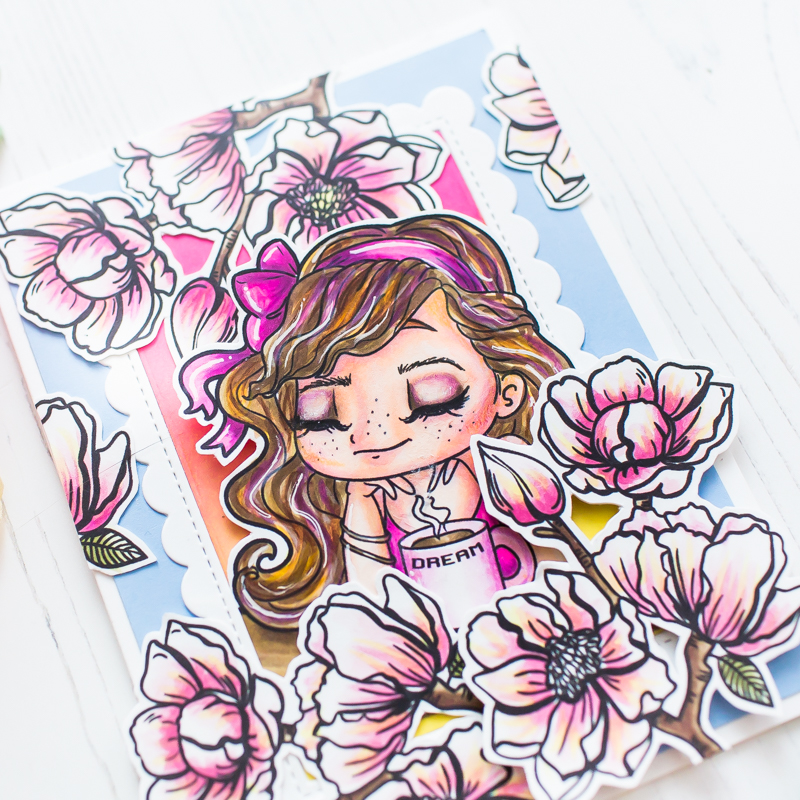
When the card base was done I added no line colored bunnies from the Spring Greetings Stamp Set and a few eggs from the Chubby Bunny Stamp Set to the grass.
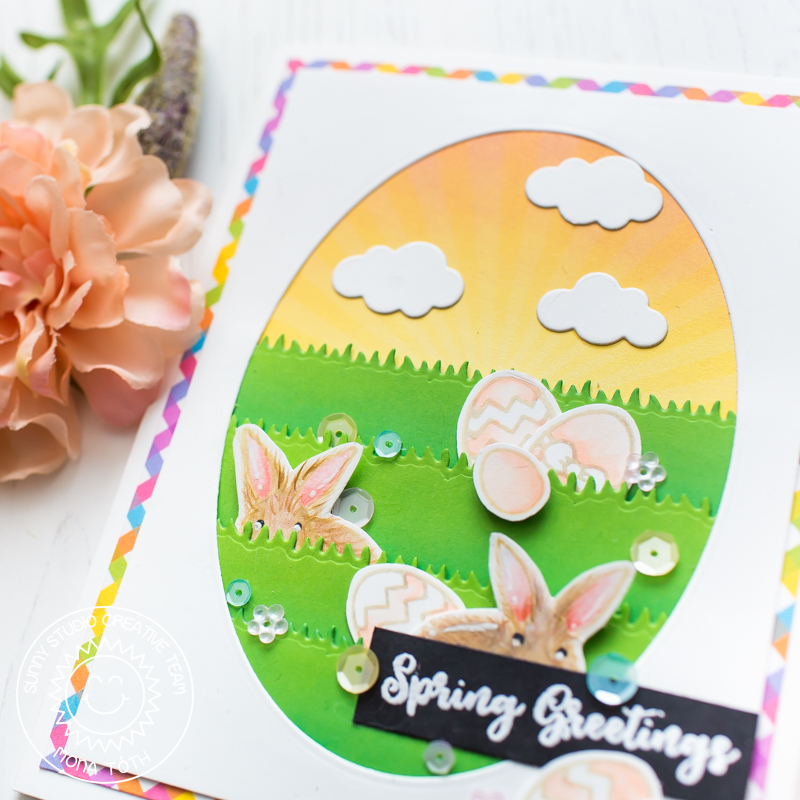
In the end I added my heat embossed sentiment and embellished my card with little sequins. Thank you very much for reading through my post, I hope that you have enjoyed it and I have inspired you! If you like my creations let's be friends on Instagram. :)
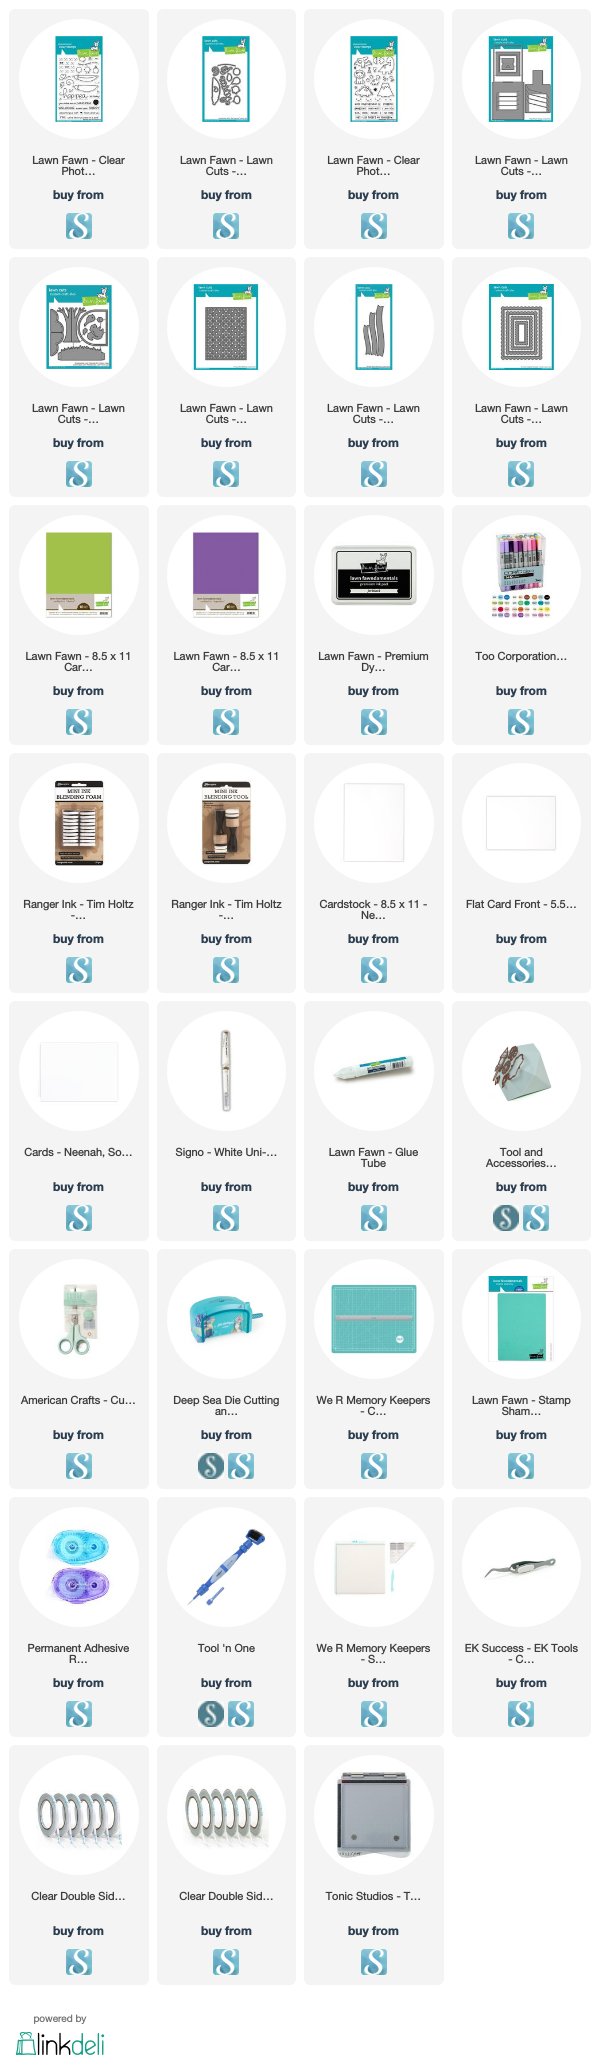
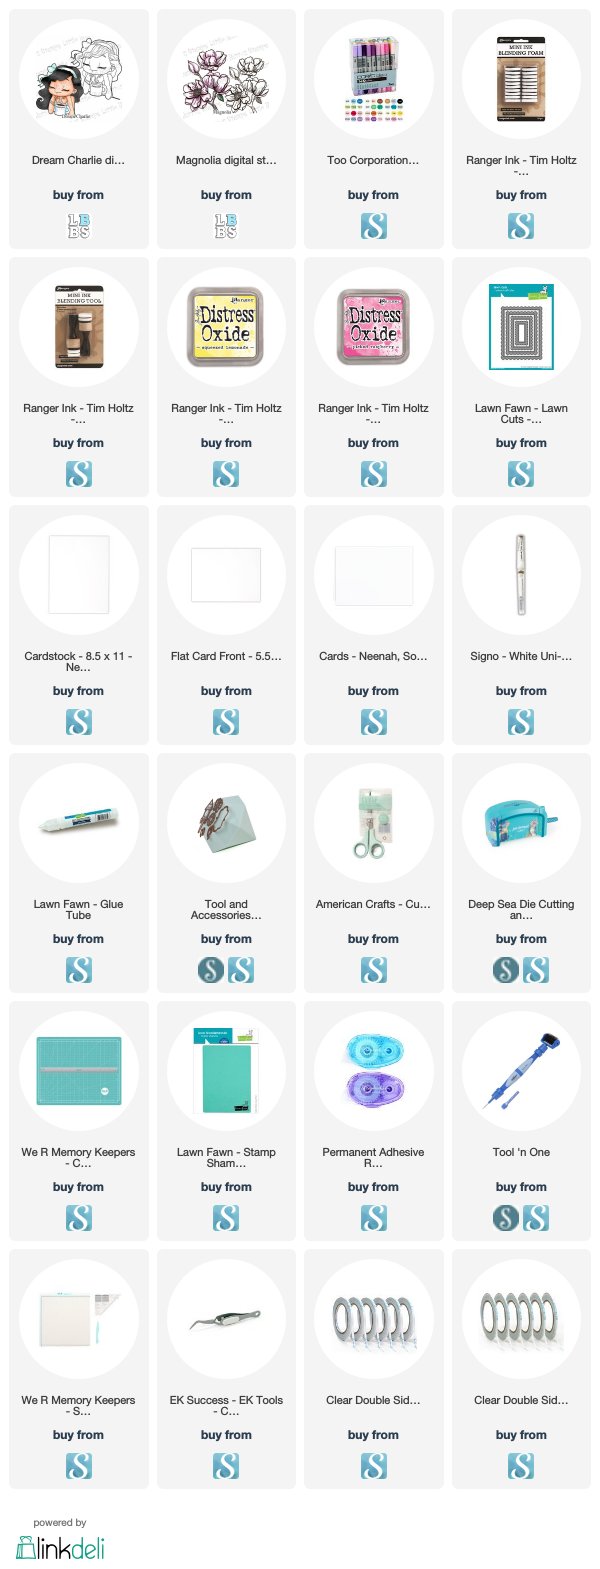
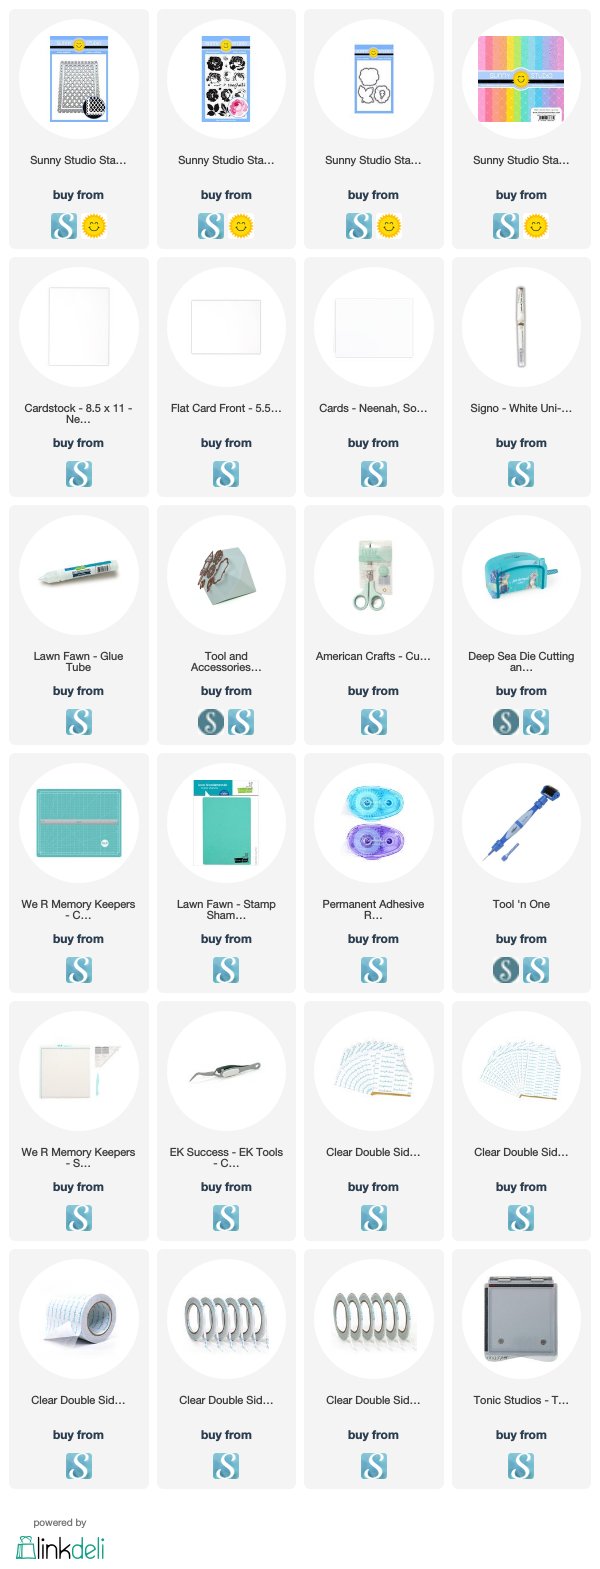
SUPPLIES
I prepared for you the list of products which I used for making this project. If you buy these through my links you help me running this blog. (You can find the affiliate disclosure here). Thank you for your support!