
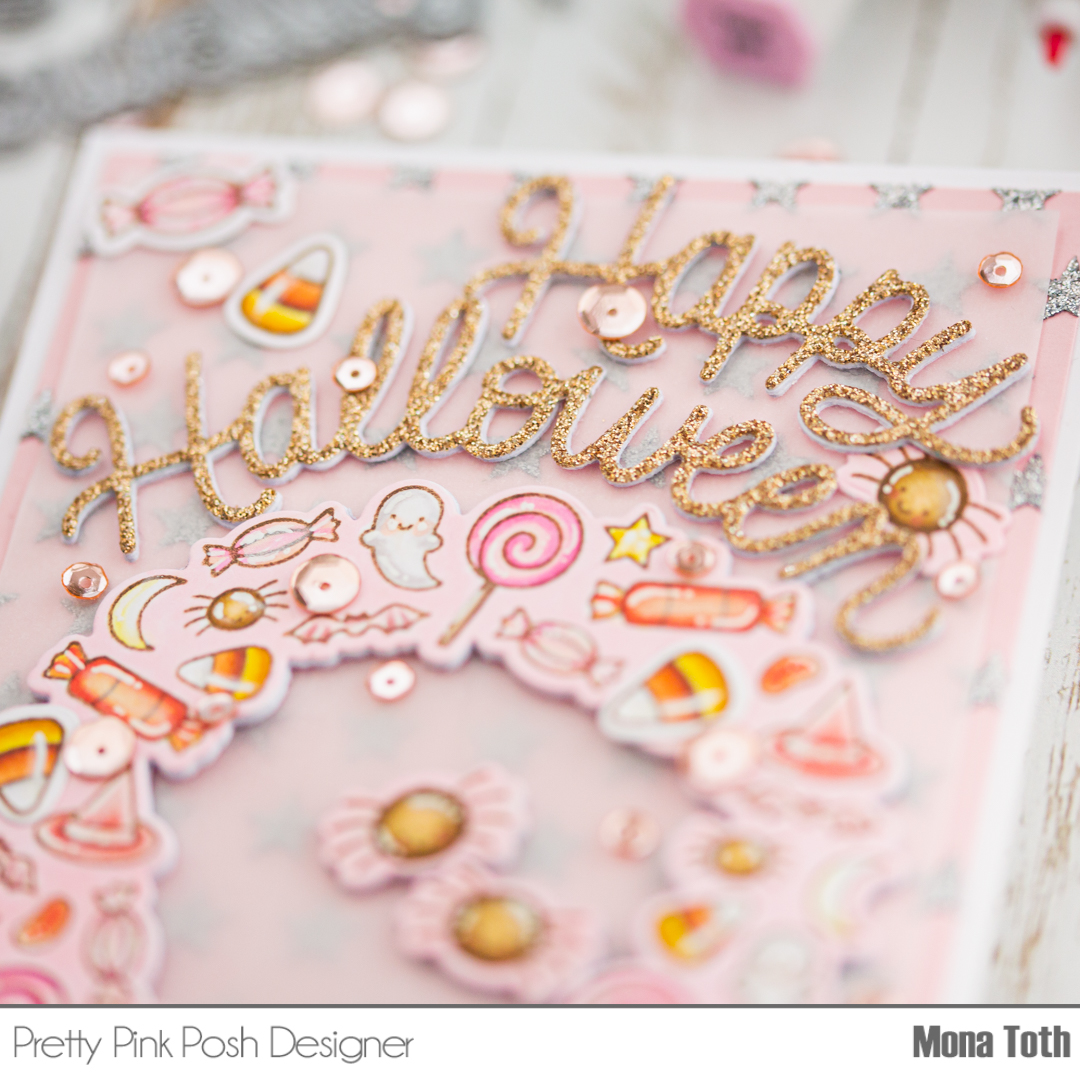
Hi crafty friend! I can’t wait to show you how I made this pinky-sparkly-girly Halloween card tutorial with an interactive twist so let's jump into it!
🎁 Get my free photo ebook here!
THIS PROJECT FEATURES
- Halloween Wreath Stamp Set
- Halloween Wreath Coordinating Dies
- Happy Halloween Script Die
- Stars Stencil
- 6mm Metallic Rose Gold Sequins
- 4mm Metallic Rose Gold Sequins
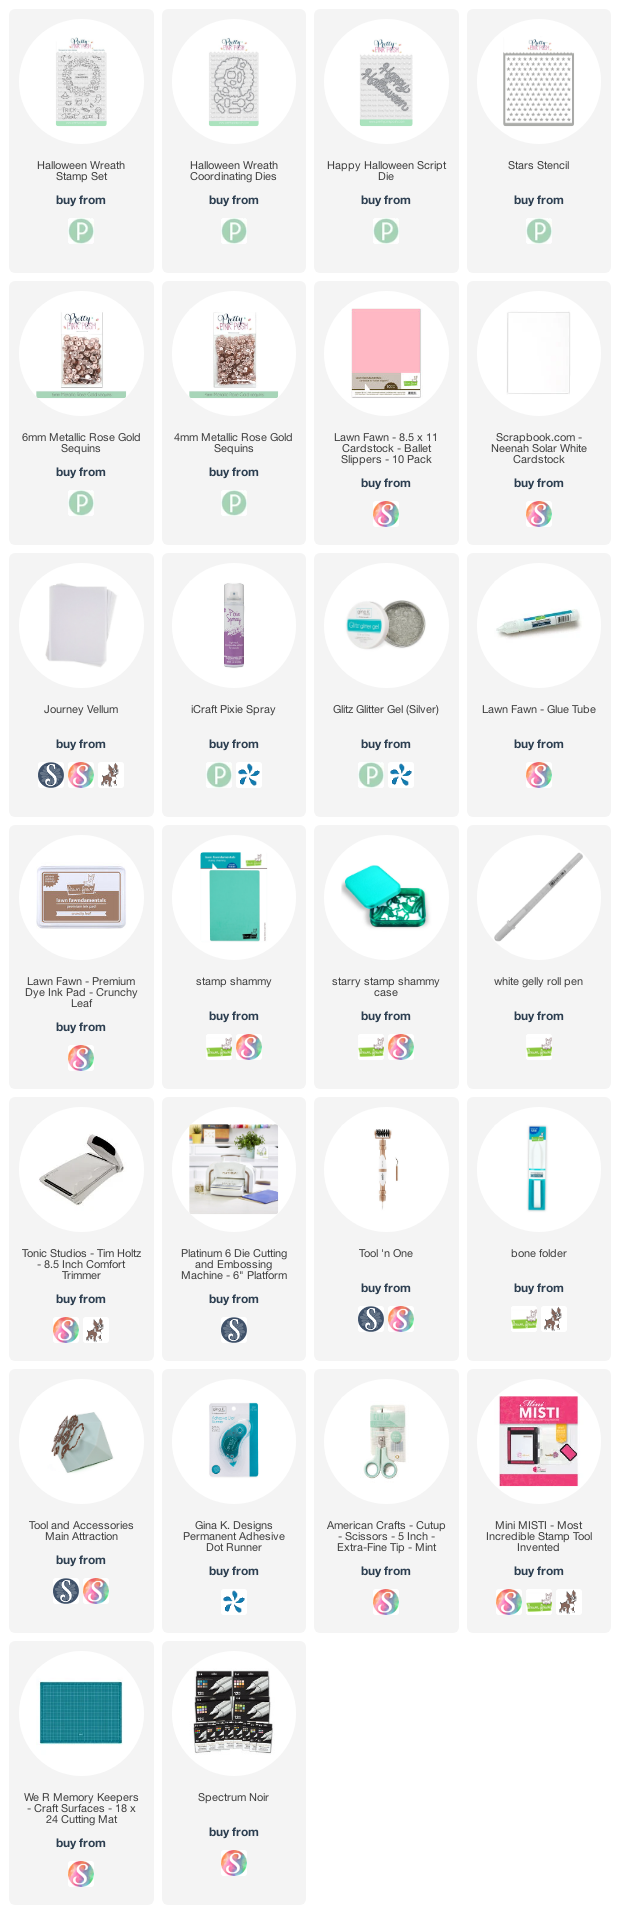
- For the additional supplies visit the thumbnails below this post.
VIDEO TUTORIAL

CARD INSTRUCTIONS
I made the glittery background with the Stars stencils on a pale pink cardstock with the Silver Glitz Glitter Gel. In the video I am showing you what is my favorite method for this process. While the background dries, I stamped the Halloween Wreath Stamp and the other coordinating images from the same stamp set with brown alcohol marker friendly inkpad to a piece of Neenah Solar White cardstock and colored them with Spectrum Noir Illustrators.

I have used the following colors: CT1, CT2, CT4, GY3, BO1, BO2, BO3, BO4, OR2, OR3, CR1, CR3, CR5, CR7, GB1 GB4, GB6, GB10, RB3, RB1, AP4, AP3, AP2, PP1, FS1, MG1, MG2, BG1, BG2, Blender. After the coloring I die-cut all the images and I colored the wheel with a pale pink alcohol marker.
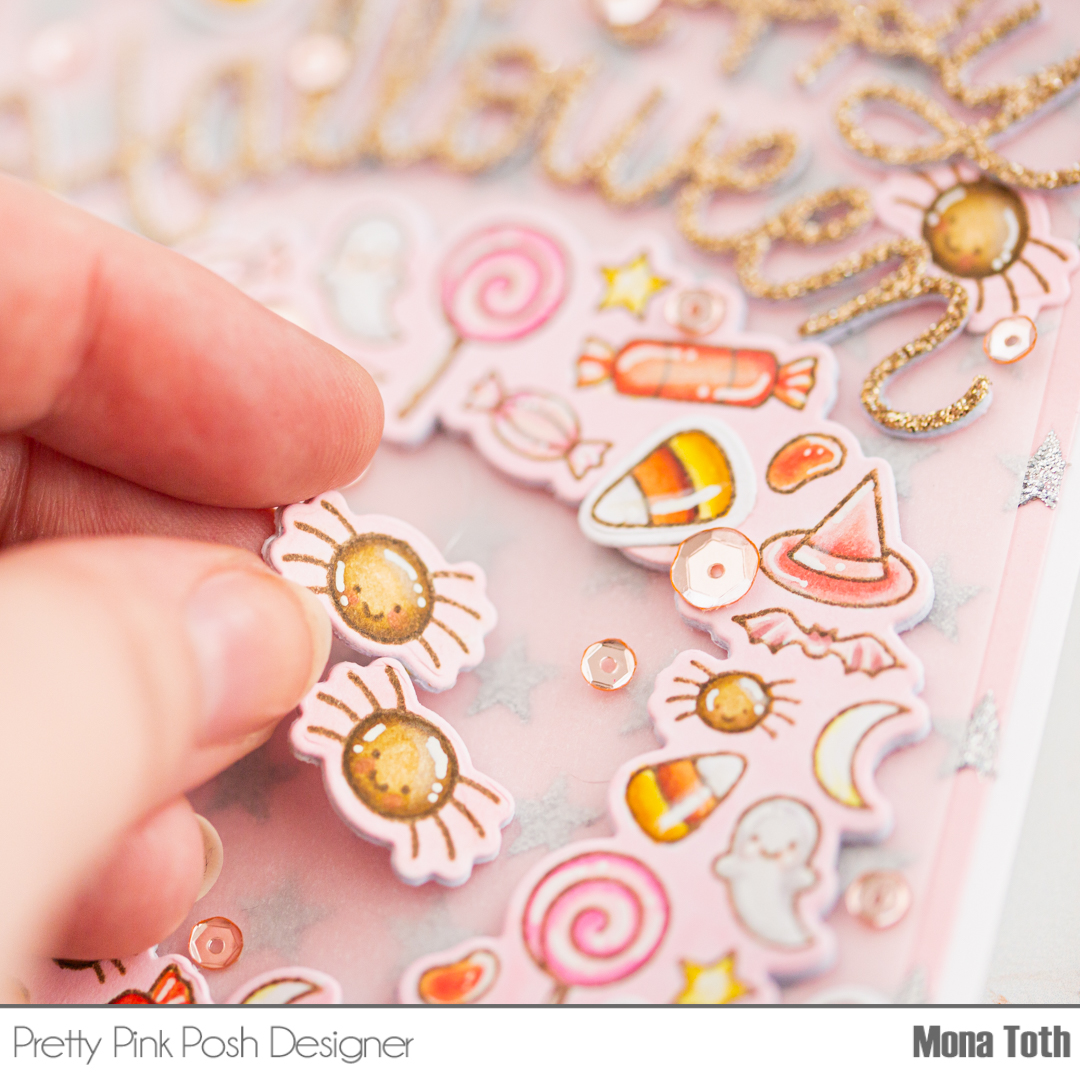
Next, I continued with the die-cutting. I made more die-cuts from heavy weight cardstock, because I wanted to add thickness to the wreath and the spiders, in this case the interactive part will be more durable. Then I transformed the Happy Halloween Die-cuts made with the Happy Halloween Script Dies. This is a fun way to alter the scripted sentiments, in the video I am describing how.
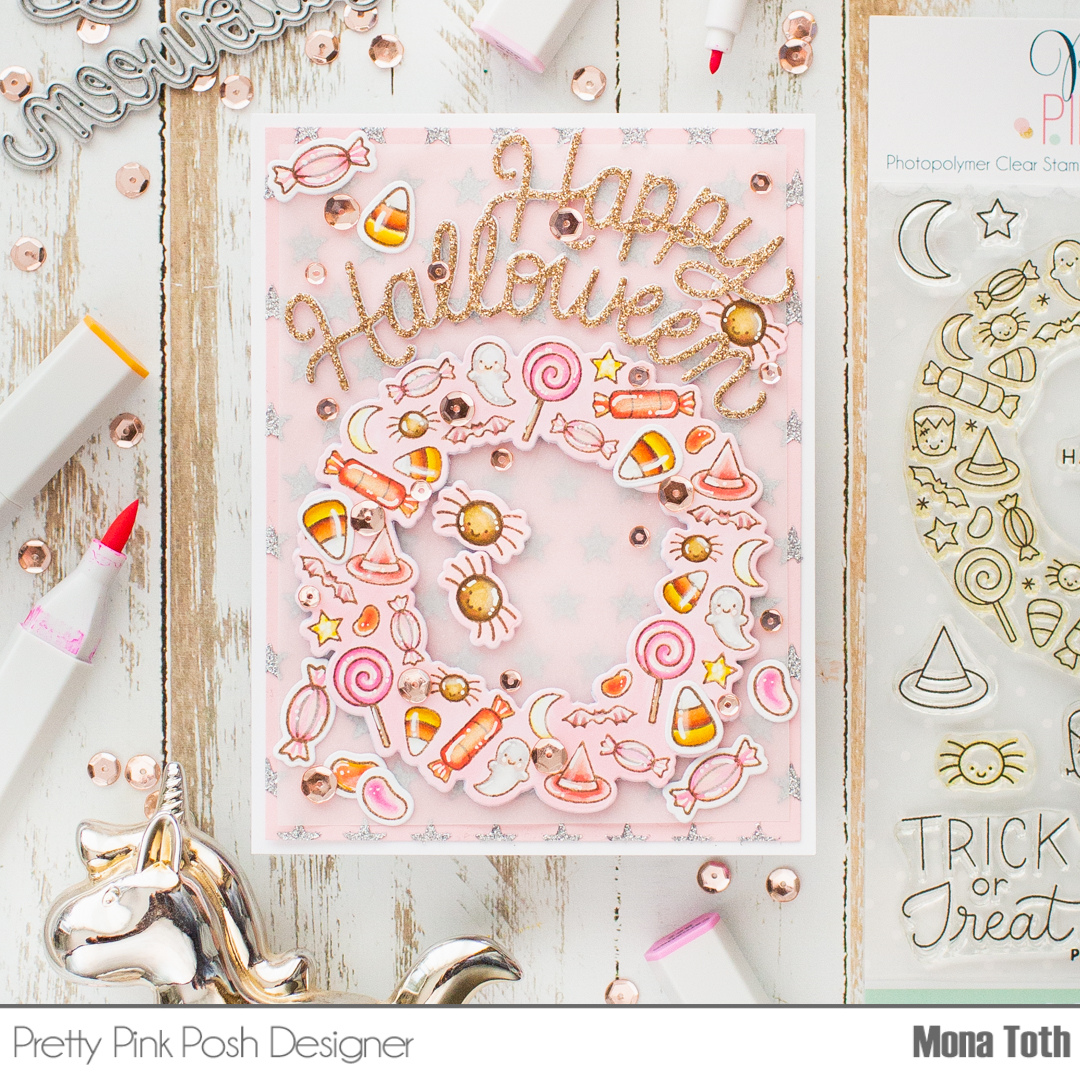
When it was done, I created the interactive element and
added the spider to the circle with fishing line, and created the card front. I
covered the glittery background with a piece of vellum, and styled the circle,
the sentiment and the other elements. In the end I styled my card and added some Metallic Rose
Gold Sequins to it as a decoration. Thank you so much for stopping by, see you
next time. Hugs, Mona.
BEFORE YOU GO...
Let’s stay crafty friends! You can find more cardmaking inspiration, behind-the-scenes peeks and photography tips for crafters on my Instagram and Facebook pages.
📷✨ I’m on a mission to help cardmakers and crafters feel more confident with photography, so their beautiful creations can shine online too.
USED SUPPLIES
I’ve listed all the supplies I used below, so you can easily find them. Some of the links are affiliate links, which means I may earn a small commission if you make a purchase, at no extra cost to you. Thank you so much for supporting my blog and creative work!












No comments
Type your comment below: