


THIS CARD FEATURES

For today's card inspiration, I went with a slightly non-traditional Christmas color palette, combining soft peach, pink, deep teal, and a little touch of gold.

I started by hot foiling the Holiday Ornament Background onto white glitter cardstock using my Glimmer Hot Foil System.
Next, I die-cut the poinsettias from Peach and Vanilla malt cardstock. After that I added some color with Kitsch Flamingo and Picked Raspberry Distress Oxide Inks with ink blending. For the leaves, I used dark teal cardstock, and for the flower centers, I went back to the same white glitter cardstock.

I assembled the flowers using a combination of liquid glue and foam squares to give the petals some extra dimension.

For the sentiment, I hot foiled the word "joy" onto dark brown cardstock with Opaque White Glimmer Hot Foil and cut it out with the coordinating die.

I also die-cut a tiny dove from the Mini Ornaments No.2 Die Set using white glitter cardstock and attached it to my sentiment.
Before assembling everything, I added some white gouache splatters for a snowy effect. Finally, I adhered everything to my background and layered it onto a soft pink cardstock base.

I created a few more cards with this release, which you will be able to see on my Instagram. And if you'd like another chance to win, we have an Instagram Hop coming tomorrow too!

GIVEAWAY
Alex Syberia Designs is giving away a $15 or £15 gift card to three lucky winners.
The giveaway is open internationally. All three winners will be selected from those who participate in the blog hop by 11:59 PM GMT on November 30. The winners will be announced on December 1 on the Giveaway Winners page of the Alex Syberia Designs blog.
Don't forget to leave comments along the hop for a chance to win! You can find the full blog hop lineup on the Alex Syberia Designs blog.
BLOG HOP ORDER
Alex Syberia DesignsMona <<< you're here
Nicoletta
Lea
Brenda
Martin
Carol
Ang
Samantha
Lien
Bobbi
Linda
Theresa
Carly
Kelly
PHOTO TIP FOR CARDMAKERS
When photographing cards with lots of dimension, try photographing them from different angles too.
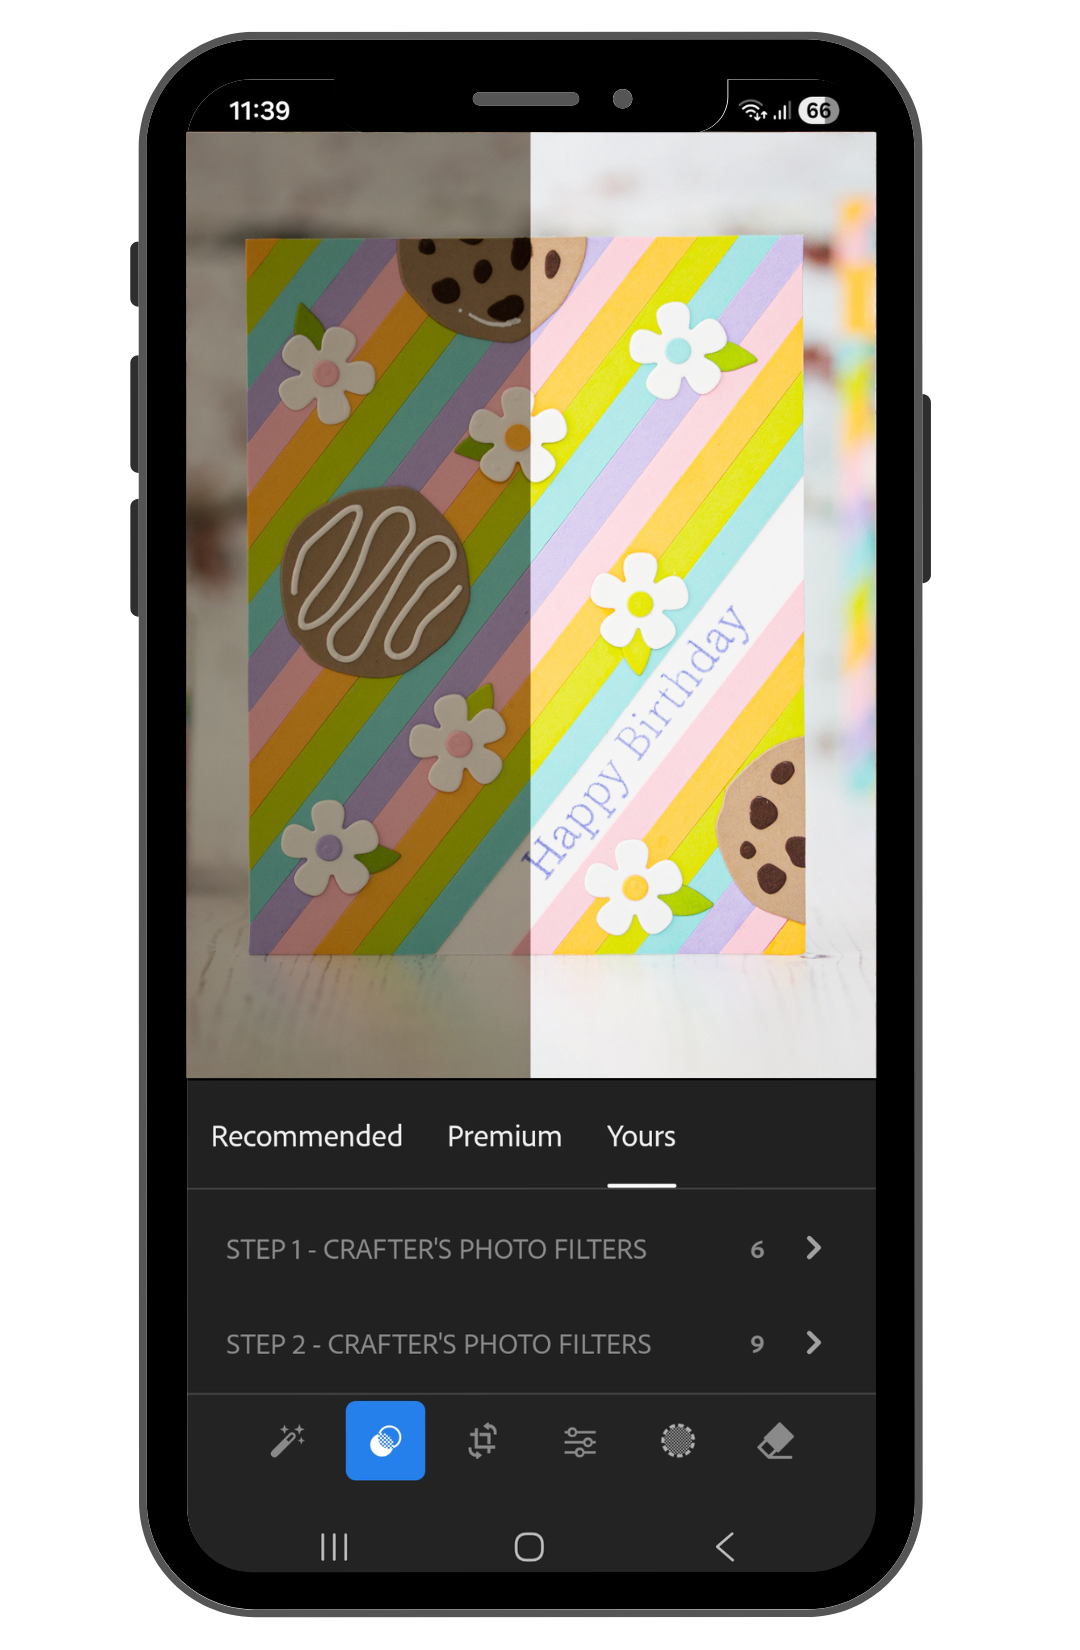
One little reminder for fellow cardmakers who photograph their projects: my photos don’t look finished straight out of the camera either. Let me show you what I mean. This is what they look like when I’m done with the photoshoot, before editing:

I edit these images, just like my other cardmaking photos, using my editing shortcut, Crafter’s Photo Filters. They’re made especially for us cardmakers to help our card photos pop quickly and save time on editing. For more information, visit the Crafter’s Photo Filters page.
BEFORE YOU GO...
Let’s stay crafty friends! You can find more cardmaking inspiration, behind-the-scenes peeks and photography tips for crafters on my Instagram and Facebook pages.
📸✨ I’m on a mission to help cardmakers and crafters feel more confident with photography, so their beautiful creations can shine online too.
USED SUPPLIES
I’ve listed all the supplies I used below, so you can easily find them. Some of the links are affiliate links, which means I may earn a small commission if you make a purchase, at no extra cost to you. Thank you so much for supporting my blog and creative work!







thank you for sharing your creativity. lovely
ReplyDeleteThose poinsettias are my favorite from this release - your card is beautiful!
ReplyDeleteWow! The poinsettias are beautiful! I love your card!
ReplyDeleteLoving these smaller poinsettias, beautiful cards! ♥️
ReplyDelete