

🎁 Get my free photo ebook here!
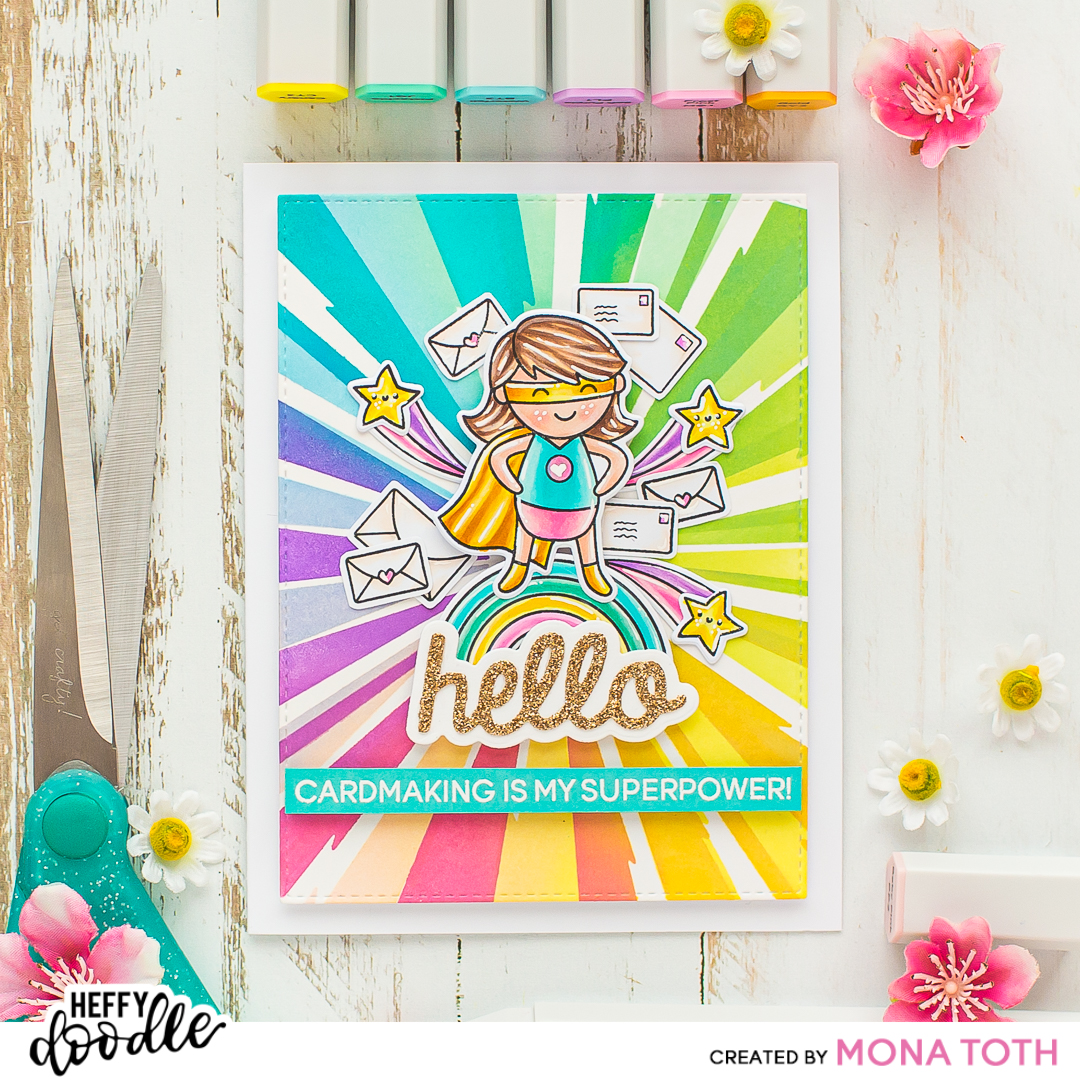
THIS CARD FEATURES
Yappy Happy Mail Stamp and Die Set [ SSS | HDD ]
Fluffy Puffy Unicorns [ SBC | SSS | HDD ]
Zapp stencil [ SSS | HDD ]
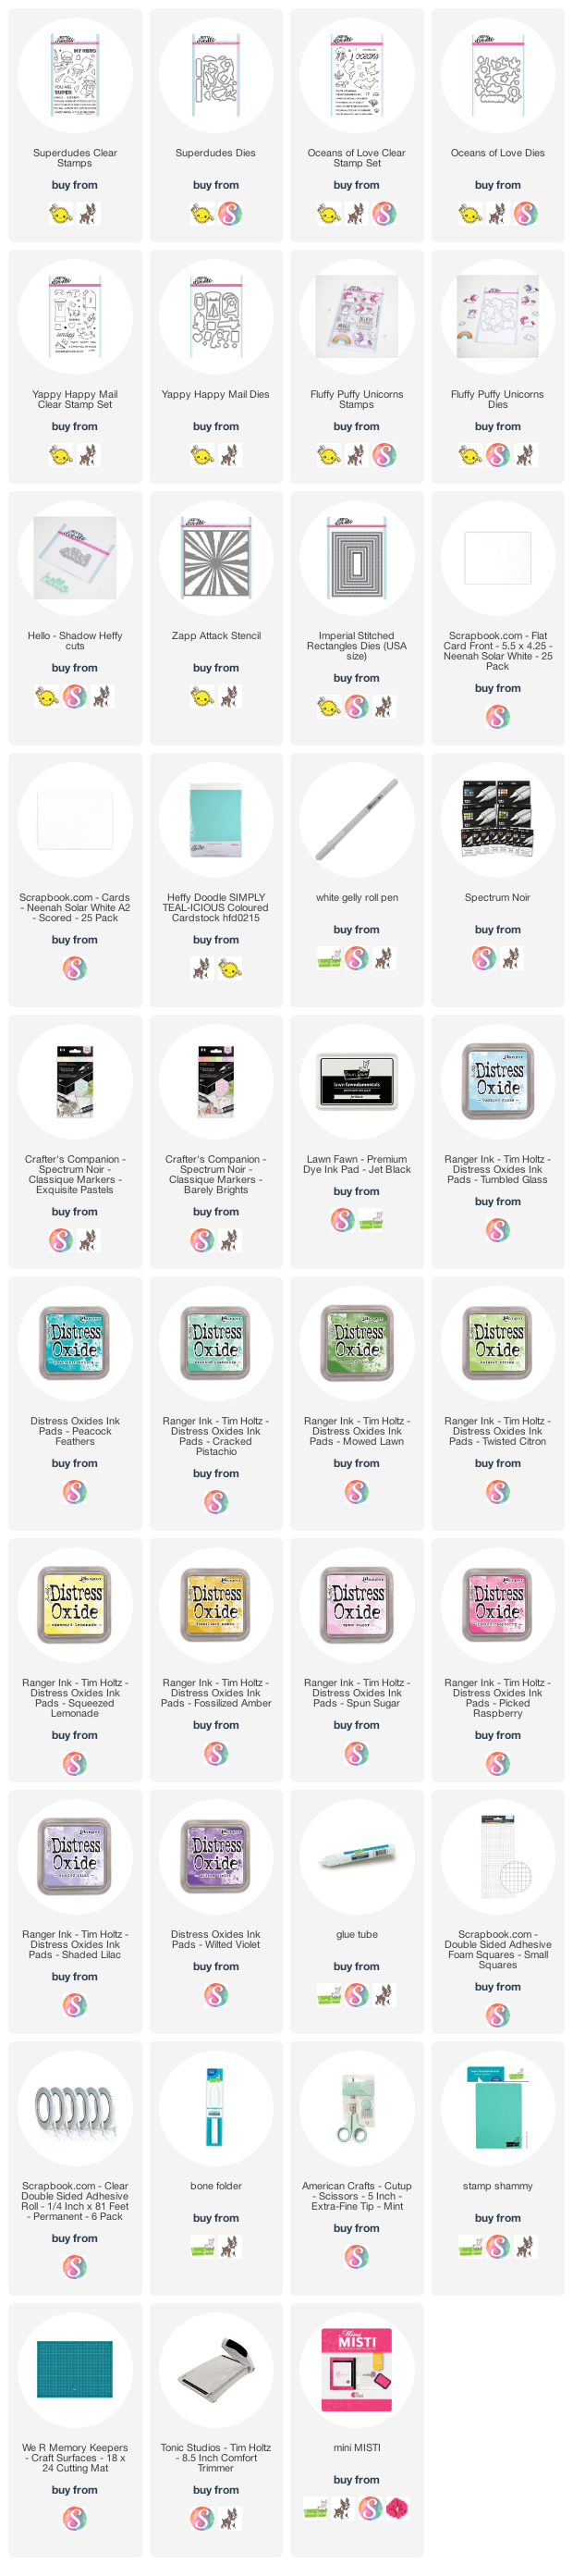
For the additional supplies with shop links visit the thumbnails below this post.
CARD INSTRUCTIONS
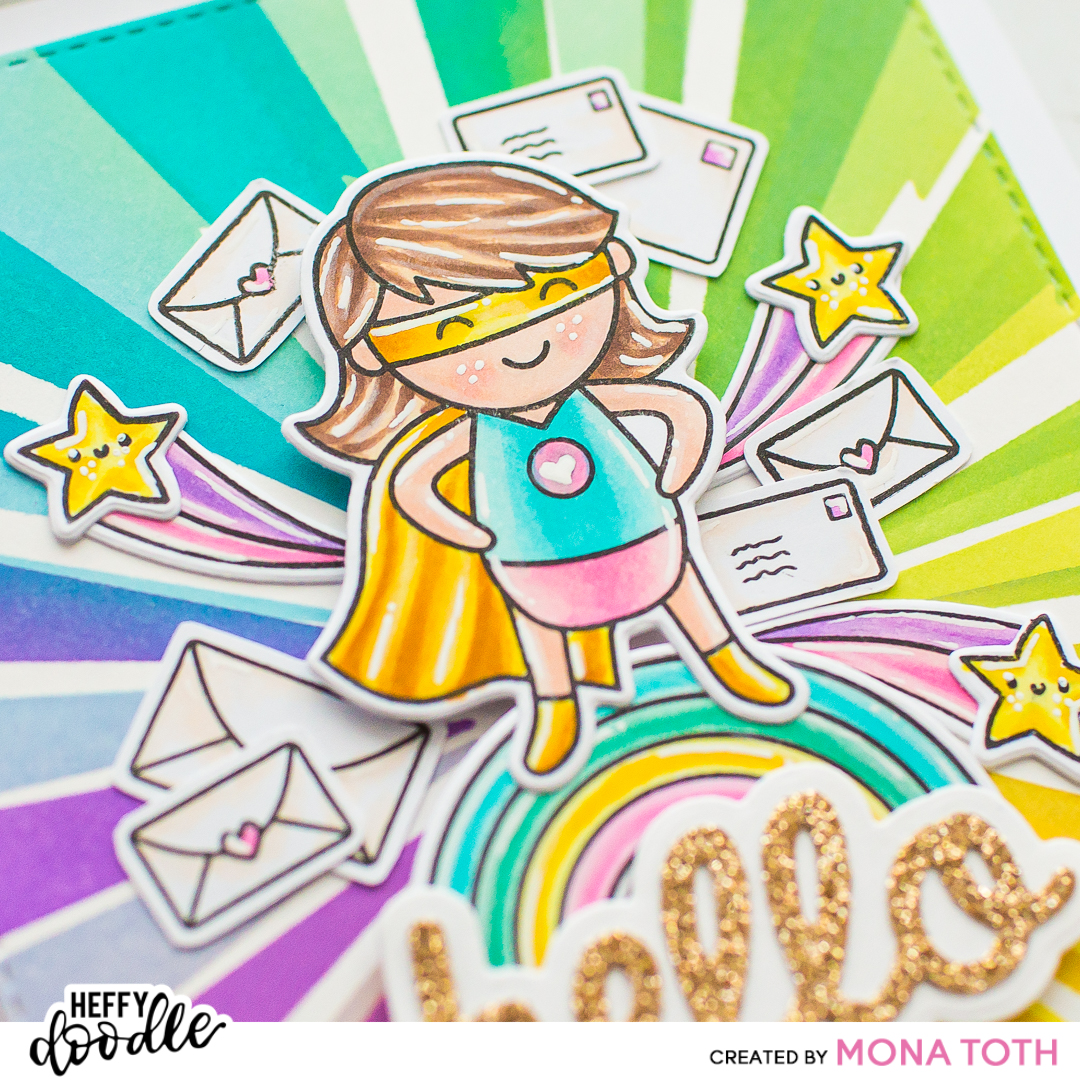
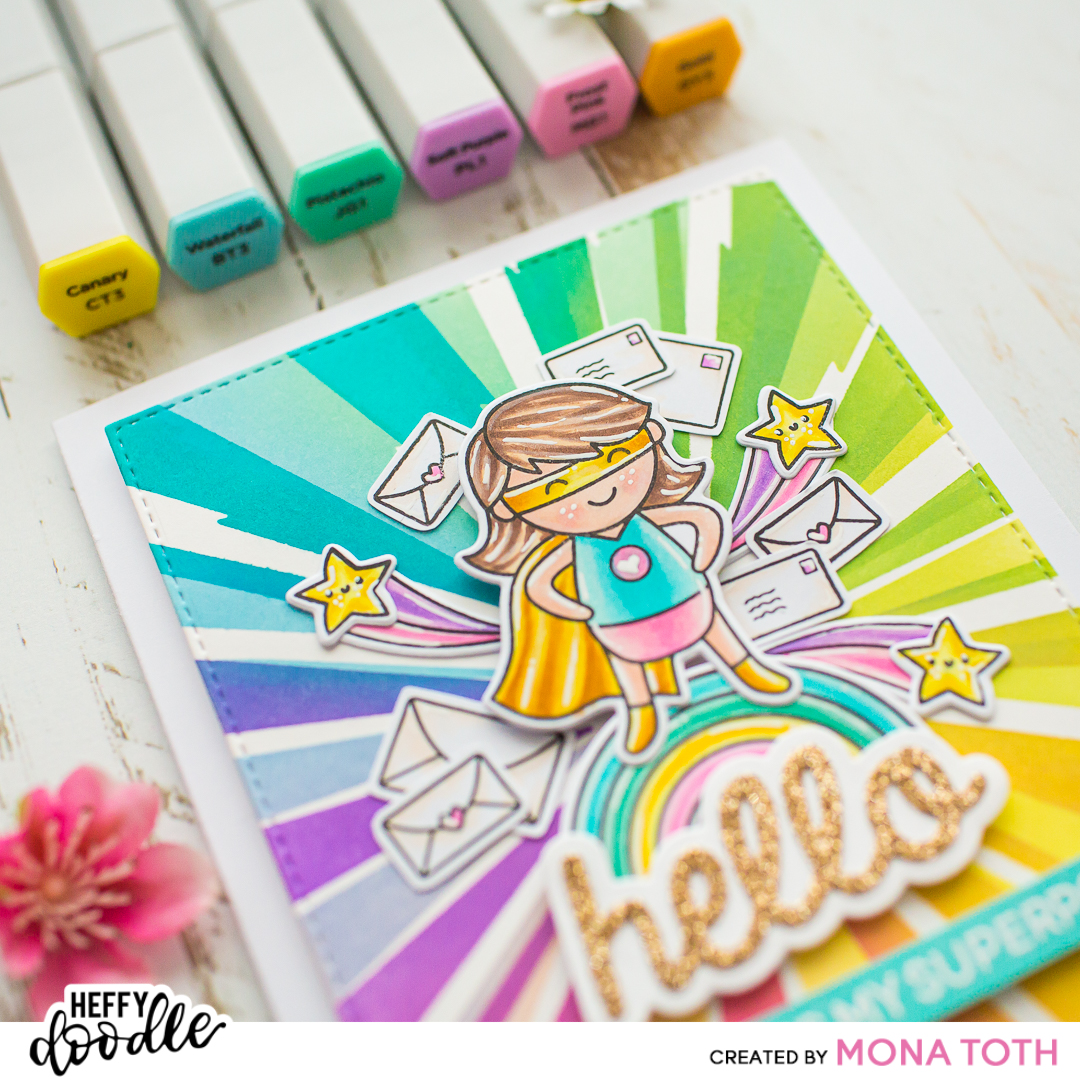
For the coloring I have used Spectrum Noir Illustrator and Spectrum Noir Classique Alcohol markers on Neenah Solar White Cardstock, but feel free to try it with any type of markers you have with the right cardstock. For the coloring and the full process be sure to check out the video here.
When the coloring part was done, my next step was the highlighting. First, I have used white pencil then I continued with white pigment pen to make them more eye catchy and to pop the images out. When the highlighting process was done, I run them through my mini die-cutting machine which is always next to me if I need to cut something small.


When the light background was done, I turned the Zapp stencil a bit, and I continued with the second layer through it. I have used the Peacock Feathers, Mowed Lawn, Fossilized Amber, Picked Raspberry, and Wilted Violet Distress Oxide inkpads. The result is a pretty high contrasted rainbow comic background.

Next, I have created die-cuts with the Hello Shadow Heffy cuts Dies. The thinner one from gold, and the shadow from white, then I stamped the sentiment to the teal-icious cardstock with the Super Dudes stamp set and watermark ink. Then I heat embossed it with fine white embossing powder then I cut it for the right size. In the end I styled all the colored images and die-cut pieces together and adhered them with 3D foam squares and liquid adhesive to their right place.
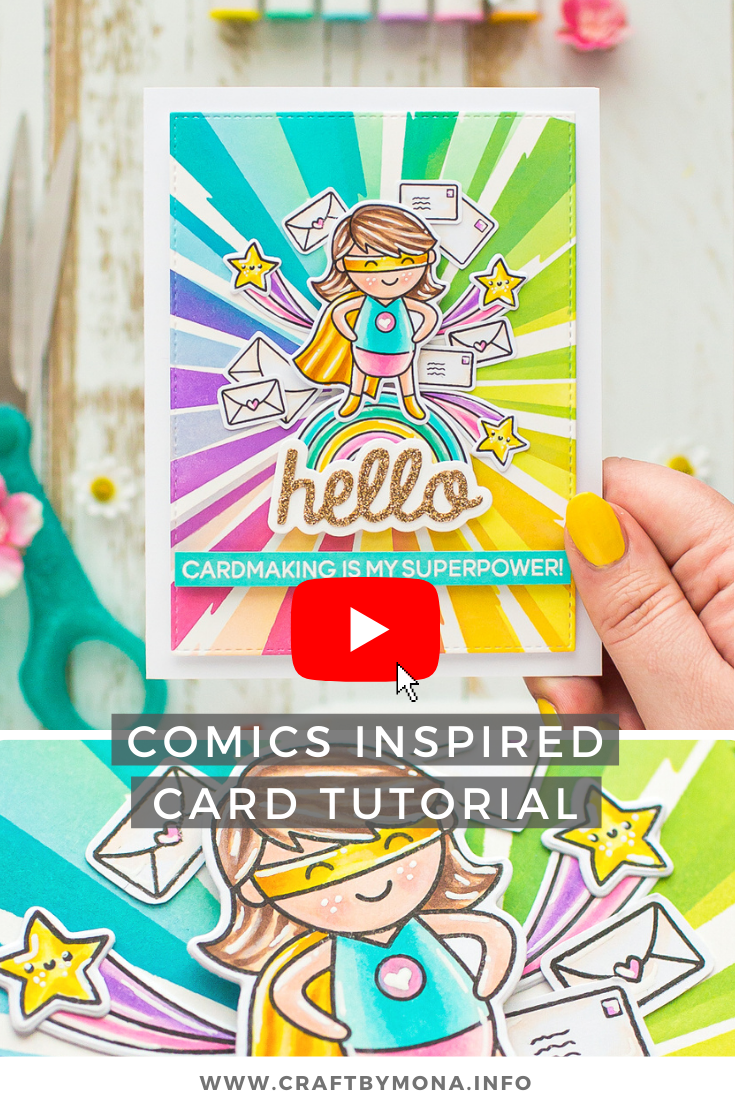
VIDEO TUTORIAL
BEFORE YOU GO...
Let’s stay crafty friends! You can find more cardmaking inspiration, behind-the-scenes peeks and photography tips for crafters on my Instagram and Facebook pages.
📷✨ I’m on a mission to help cardmakers and crafters feel more confident with photography, so their beautiful creations can shine online too.
FOLLOW ON INSTAGRAM | EXPLORE MY SHOP
USED SUPPLIES












Adorable card, Mona. I look forward to watching the video. I love how bright and cheerful it is with the rainbow of colors you chose. That superhero is beyond cute. What wonderful card design! Thank you for sharing! :)
ReplyDelete