

Hi crafty friends! Today I am sharing with you a fun technique video where you
will learn how to create amazing water-colored flowers using only stencils and
watercolor mediums. You can find the video here.

🎁 Get my free photo ebook here!
THIS CARD FEATURES
- Peonies Stencil [ PPP | SSS ]
- Everyday Greetings Stamp Set [ PPP | SSS ]
- Scallop Frames Dies [ PPP ]
- Sparkling Clear Sequins Mix [ PPP | SSS ]
- For the additional supplies visit the thumbnails below this post.

VIDEO TUTORIAL
CARD INSTRUCTIONS
The key for this project is to have a floral stencil like
the beautiful Peonies Stencil from the latest release. For this project you will also need watercolor paper, a low
tack tape, brushes, paper towel, mixing palette, water-based mediums and water.
You can use either your brush markers or your watercolor palette. Just use what
you like more, but I will show you both options in my video tutorial.

For the entire coloring process with tips and tricks watch
my video tutorial above and learn how to create amazing water-colored flowers
like a pro, without stamping. For this watercoloring technique I have used Karin Markers and I am really impressed with them! But you can use any watercolor mediums you like!

When the coloring was done, I continued with fussycutting and die-cutting all the colored images. Then I picked a light turquoise cardstock in size 5.5 by 4.25”.

The following process was the ink blending. I have used
Peacock Feathers Distress Oxide ink and blended the edges of the card front
from outside to inside.
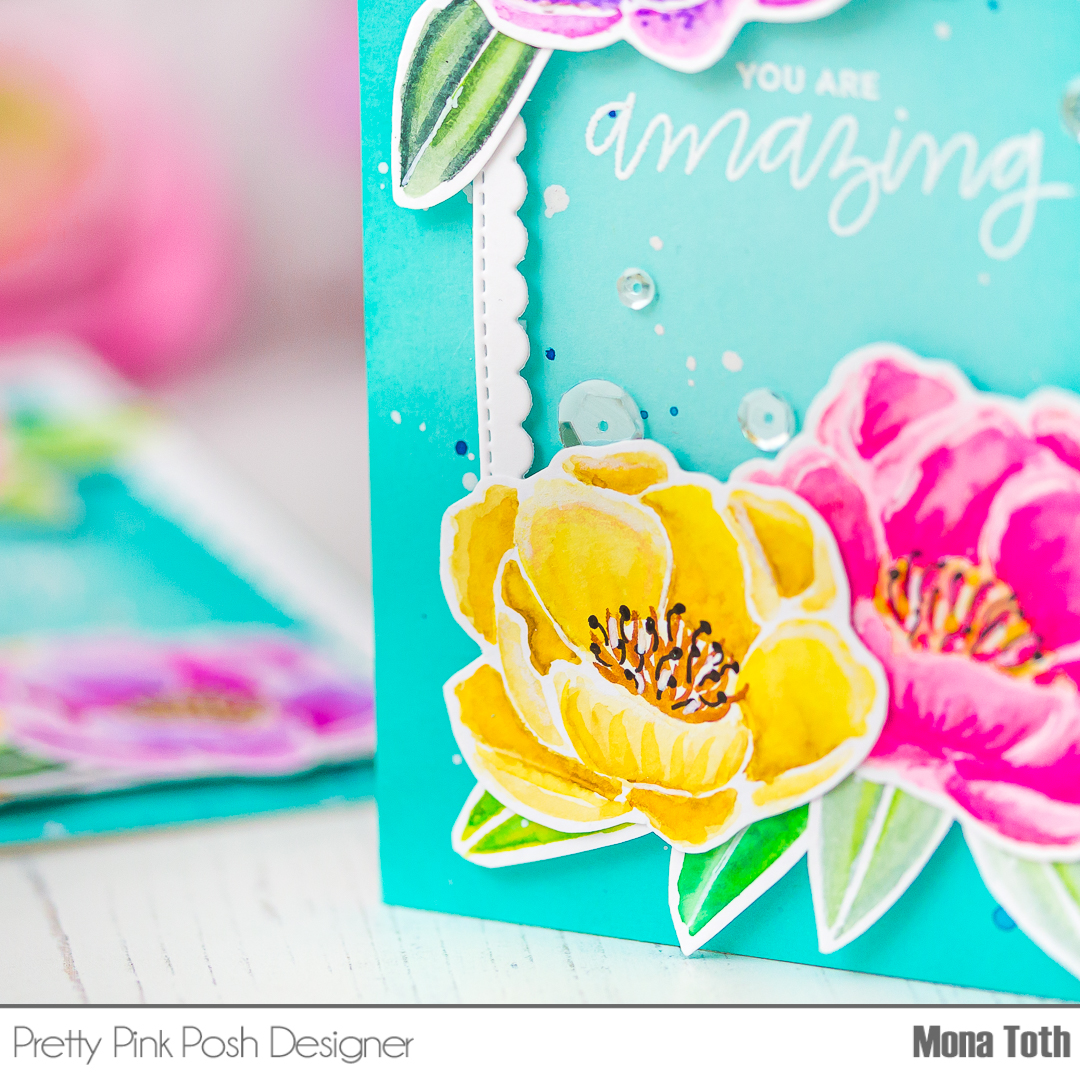
Next, I stamped the You Are Amazing and the Missing You So
Much sentiments with watermark ink from the Everyday Greetings Stamp Set. Next,
I heat embossed it with white fine embossing powder. When it was done, I
splattered on it with white, and blue watercolors and let them air dry.

Because I wanted to break the background, I decided to
create a white die-cut with the scalloped Frames Dies. I adhered the flowers to
the frames with liquid adhesive, then I adhered the floral frame to the card
with 3D foam squares.
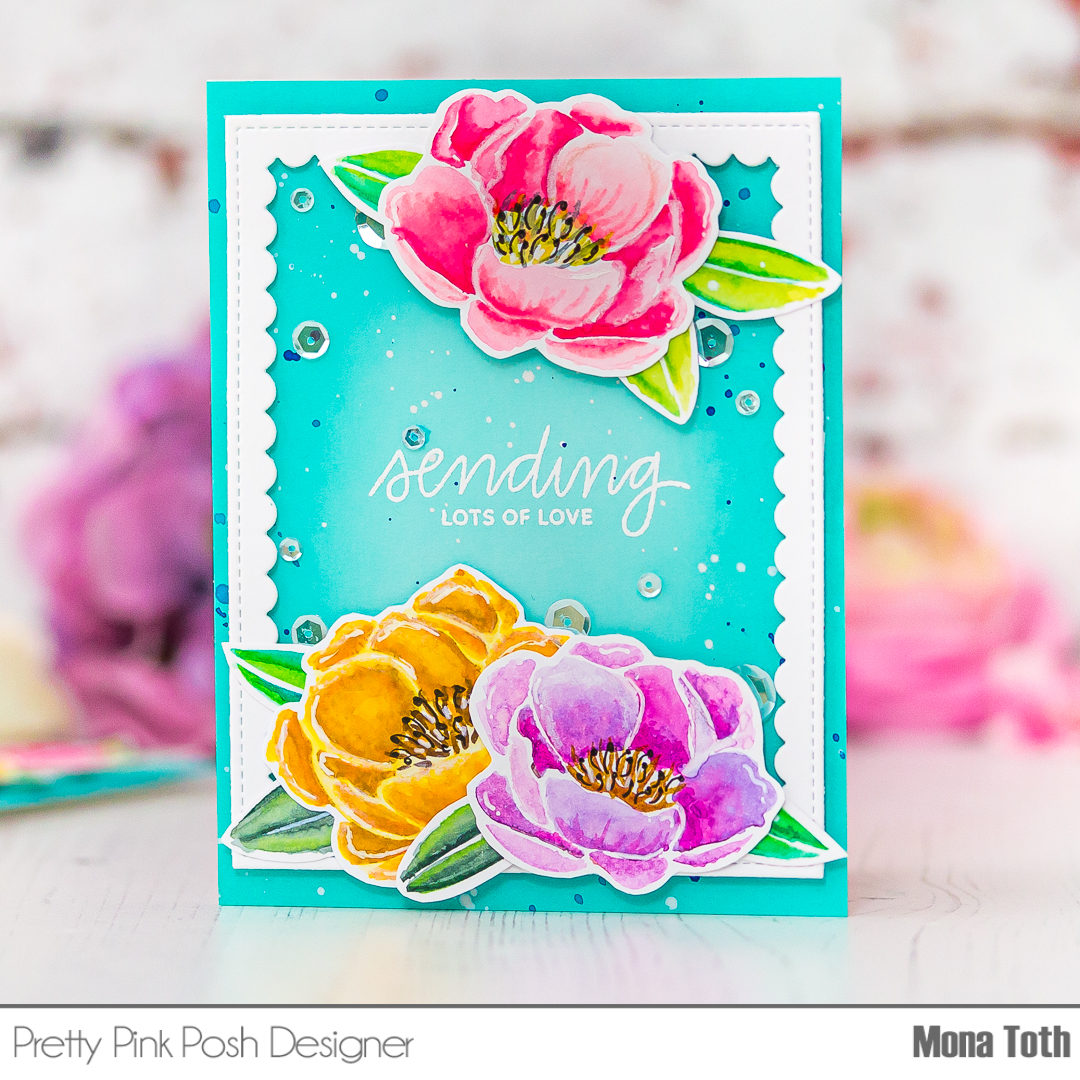
In the end I embellished my cards with Clear sequins. If you
feel like it, give it a try, it’s so relaxing
and I know the result will be amazing. Thank you so much for stopping
by, see you next time. Hugs, Mona.
BEFORE YOU GO...
Let’s stay crafty friends! You can find more cardmaking inspiration, behind-the-scenes peeks and photography tips for crafters on my Instagram and Facebook pages.
📷✨ I’m on a mission to help cardmakers and crafters feel more confident with photography, so their beautiful creations can shine online too.
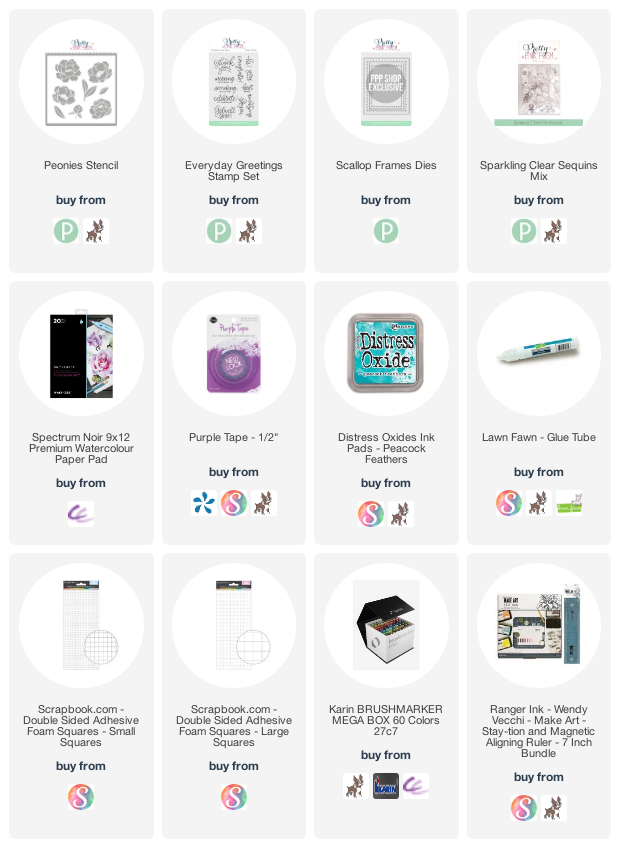
USED SUPPLIES
I’ve listed all the supplies I used below, so you can easily find them. Some of the links are affiliate links, which means I may earn a small commission if you make a purchase, at no extra cost to you. Thank you so much for supporting my blog and creative work!












No comments
Type your comment below: