I LOVE rainbows! And what about you? They just make me happy and I created a tutorial how to make it from paper and threads and I invite you to watch my guest video on Scrapbook.com’s YouTube channel.
VIDEO TUTORIAL
I can’t get enough of these cuties so I am off to make a few more. Take my video tutorial with love.
If you have a little time, try it you will see it's so much fun! You can use them not only as ornaments but as an embellishments too. Thank you so much for stopping by, have an amazing day. Hugs, Mona.
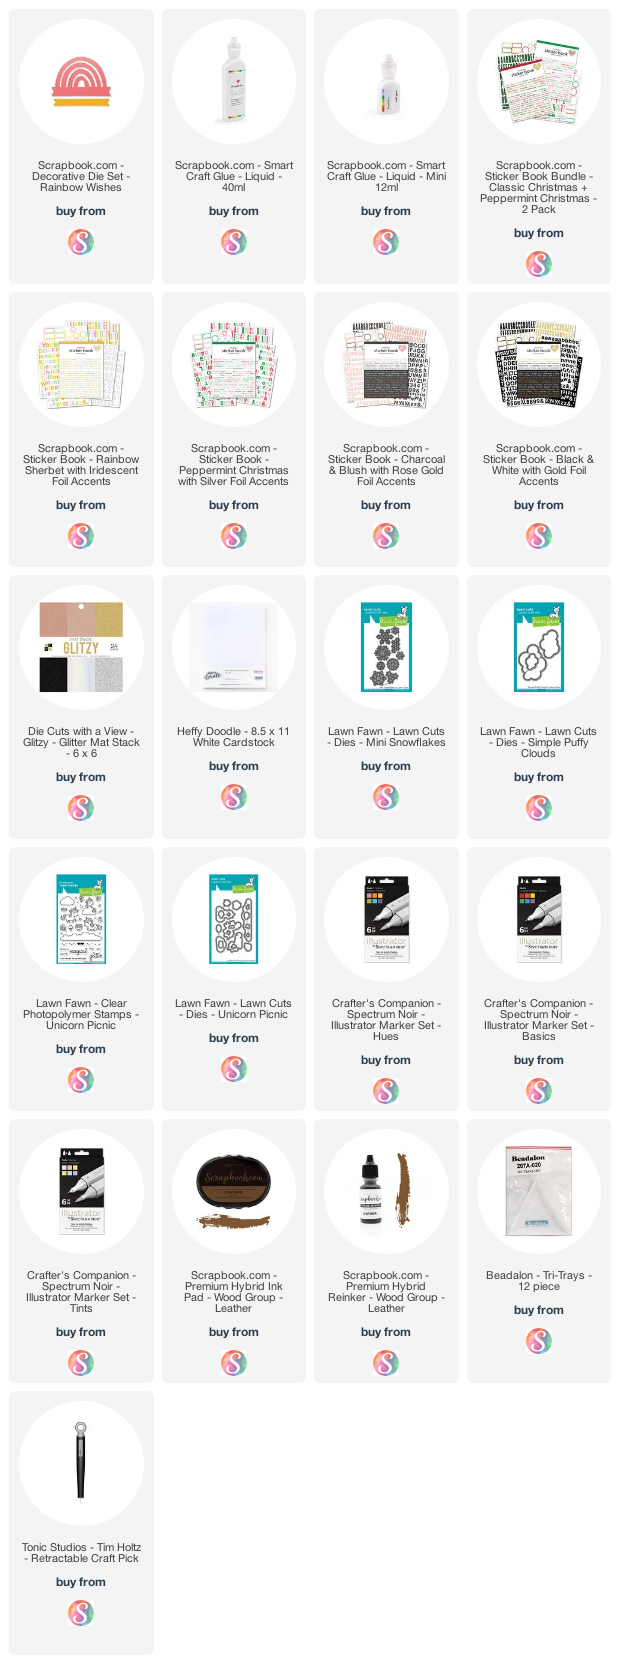
USED SUPPLIES
I am using products only I LOVE. If you buy supplies through my affiliate links, you support my channel and blog with a small commission and when you shop through my links I will do a happy dance. Using affiliate links does not mean additional cost for you. I really appreciate your support. Affiliate Disclaimer.
PIN IT
If you like this project please save it to your Pinterest board. Thank you!
Hi crafty friends! I am so happy to be joining Tracey McNeely’s 10th Annual 25 Days of Christmas tags! There are many prizes to be won throughout each day of posting. Click HEREfor more details on how to play along and to be eligible for all of the awesome giveaways!
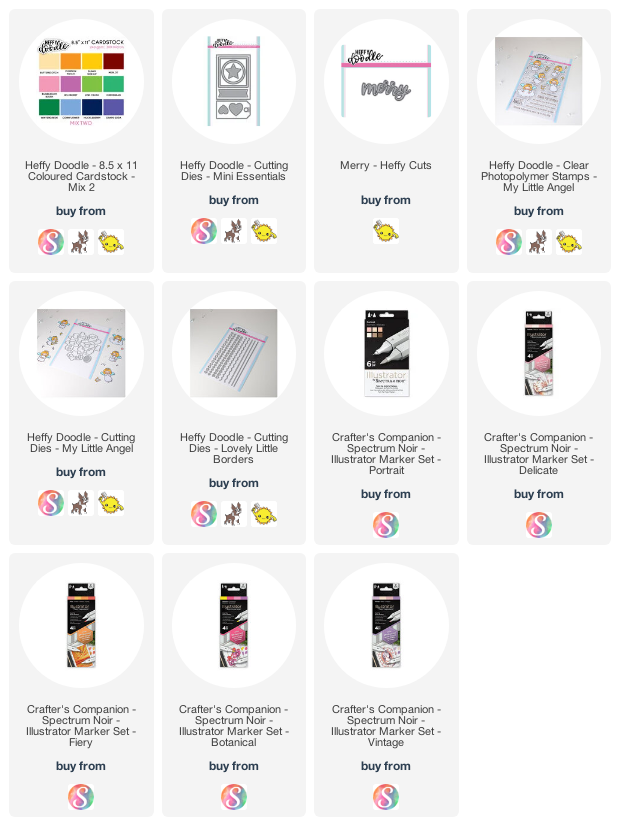
I made the base with the tag from the Mini Essential Die Set from light, dark pink and white glitter cardstock. I run the glittered one once more through my diecut machine with the Lovely Little Borders Diesand adhered them together.
Next I stamped and colored the images from the My little Angel stamps and the Elfish Antics stamp sets. I colored them with my Spectrum Noir Illustrator Markers. Used colors: CT3, LY1, FS6, FS7, FS8, FS3, PP2, PP1, MG1, MG3, EB1, EB2, EB4, TN8, TN7, BG6, BG4, BG2, Blender. In the end I have used the Merry Heffy cuts as a sentiment and put my tags together.
Thank you so much for taking the time to stop by! Have an amazing day! Come hop along with us for a chance to win prizes from all of the sponsors above! You can find more information HERE. Have a lovely day! Hugs, Mona.
USED SUPPLIES AND SALES
Hello Heffy Doodlers! It's that time of year again! Get ready for our MEGA BLACK FRIDAY SALE! Be sure to check the Heffy Doodle Store for amazing deals! With word dies from as little as £1.35, stencils from £2.75 and 4"x6" stamps from as little as £3.60 - you are sure to find a bargain!
Black Friday Savings! Use coupon code SANTA2020 to take an EXTRA 5% OFF your entire order on Scrapbook.com. HURRY! This offer ends Sunday, November 29th at midnight, MST. There are other amazing deals! Check the freebies as well!
USED SUPPLIES
I am using products only I LOVE. If you buy supplies through my affiliate links, you support my channel and blog with a small commission and when you shop through my links I will do a happy dance. Using affiliate links does not mean additional cost for you. I really appreciate your support. Affiliate Disclaimer.
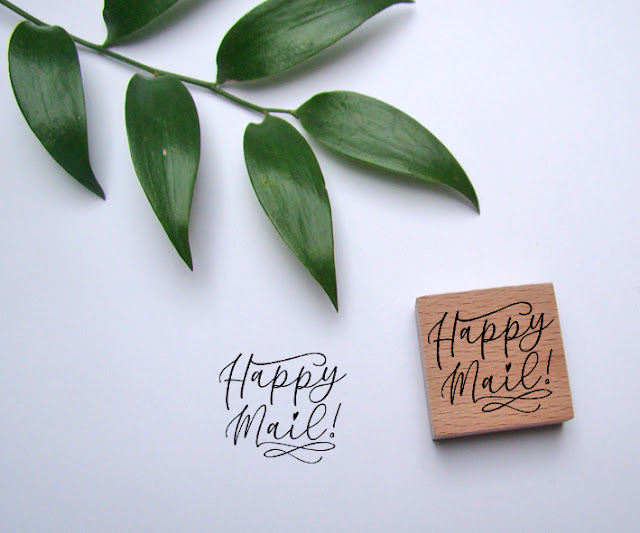
Hello crafty friend, today I am showing you three envelope tricks to try right now! I have a really special post for you with a quick envelope magic, where I want to highlight you my friend Judit, from Artistampdesign.
She is an Etsy maker, who is creating the most magical handmade personalized stamps ever. This post contains affiliate links and you can find the used supplies in the end of my post.
A few weeks ago I have received from her the most amazing personalized gift what a
cardmaker can dream of! I got one address stamp and one stamp to the back of my cards. I remember those magical moments, when I was spying for Santa
and I was super excited when I got a present from him. My feelings were exactly
the same, when I received Judit's amazing package.
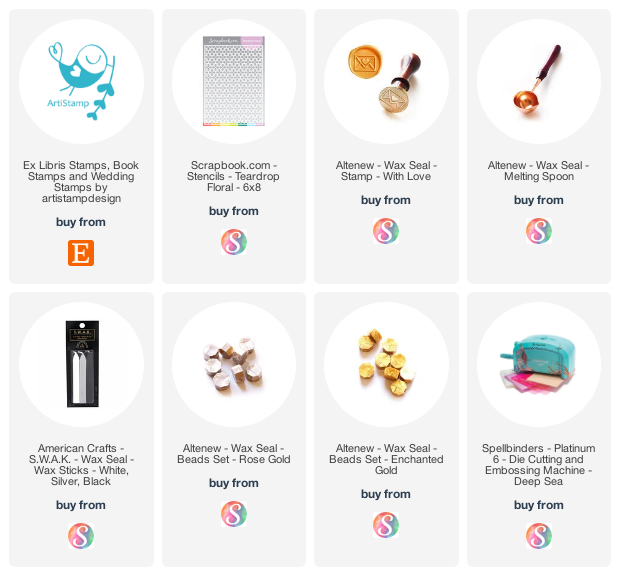
The holiday is coming and if you want to gift yourself with a beautiful personalized stamp then this is the right time to ask one from Santa. You can see some of her recent designs below. Aren't they amazing? Before check out use this code:HAPPYNOVEMBER to get 10% OFF!
We are creating tons of cards weekly, so why we don't add an extra touch to our envelopes, which says: hey you! You have received an extra special something from me! Please be more excited! 😊
Three envelope tricks to try right now!
I created for you a quick inspiration with Instagram Reels video, on how to rock your envelopes quickly.
HEAT EMBOSSING
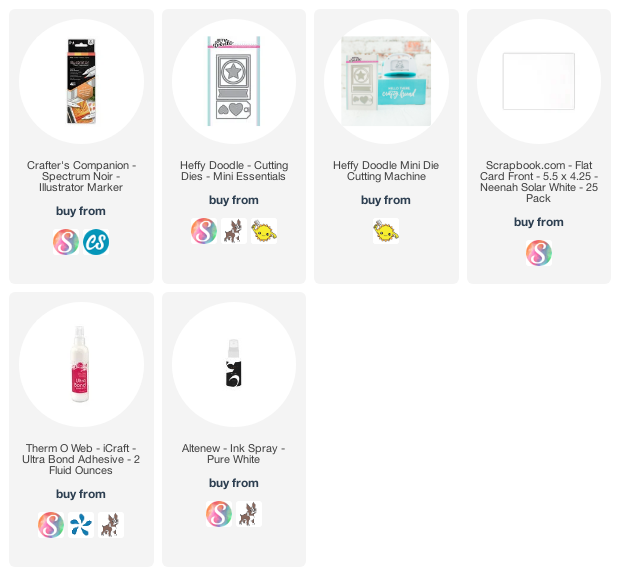
If you have a personalized stamp with your address, you can stamp with colorful ink to your envelope or you can stamp with watermark ink then heat emboss it with gold or any colored embossing powder. This will save you lots of time, and a stamped address is just amazing!
DRY EMBOSSING
Did you think about that you can dry emboss your envelopes? Oh yes! You can dry emboss your envelopes with your stencils and because of it your envelope will look more luxury and extra expensive! At scrapbook.com you can find 6"x8" sized stencils which are perfect for larger envelopes. For this inspiration I have used the Teardrop Floral Stencil.
Once you heat embossed your sentiment, run your envelope through your die-cut machine with your favorite stencil. All you need to have a tan embossing mat what I am showing you in my dry embossing technique video here.
WAX SEAL IT
If you feel that the heat embossed address and the luxury dry embossed envelope is not enough, then the cherry on the top is when you are closing your envelope with a wax seal. There are some new different and amazing tools for it be sure to check it out.
These were my tips for today, I really hope you will try it, its so much fun, and your envelope will really rock! Be sure to visit my friends Judit's Etsy shop to see her magical personalized designs or reach her with a custom questions, she is always happy to help.
USED SUPPLIES
I am using products only I LOVE. If you buy supplies through my affiliate links, you support my channel and blog with a small commission and when you shop through my links I will do a happy dance. Using affiliate links does not mean additional cost for you. I really appreciate your support. Affiliate Disclaimer.
• 💖 FREE 2020 Holiday Gift Guide for Crafters
——— https://shrsl.com/2mehd
• 🖤 Pre-Black Friday Sale
——— https://shrsl.com/2mgj8
• 🎁 FREE GIFTS and COUPONS on Scrapbook.com
——— https://shrsl.com/2md2w
PIN IT
If you like this post, please save it to your Pinterest board from my original post. Thank you!
Hello lovelies, I am back with an another realistic food coloring video tutorial. Today I am showing you on my YouTube channel how I created these Linzer biscuits with Heffy Doodle dies and Spectrum Noir alcohol markers. I encourage you to try it! It's much more easier then it looks like! You can find the video here. As always, you can find the used supplies below the post.
For this project I am using the new mini essential die set from Heffy Doodle which coordinates perfectly with the new Heffy doodle die-cutting machine. I am going to use the cute small circle dies; This size, is a perfect biscuit size, and I absolutely love these tiny scallops or frills on the edges.
For the coloring I have used Spectrum Noir Illustrator Markers, but you can make it with any other markers as well. For the coloring and the full process be sure to check out the video tutorial here. Spectrum Noir Illustrator Markers Used; Cookie: BG1, GY1, GB4, EB1, EB4 Strawberry Jam: CR4, CR9, DR5, DR7, Raspberry Jam: BP3, BP6, DR5, DR7.
After creating a couple more cookies, I am turning them into bookmarks. I am adhering the fronts and backs to the openable part with my liquid adhesive and when it dried, I am opening it and putting inside a pair of small magnets. I am just removing the parchment paper of the magnet, closing the cookies and my tasty bookmarks are done!
Be sure to check the video for the full tutorial with the extra tips and tricks. As always, you can find the used supplies below the post, and if you have any questions feel free to ask in a comment. Thank you so much for joining me, see you next time, have an amazing day, Mona
VIDEO TUTORIAL
USED SUPPLIES
I am using products only I LOVE. If you buy supplies through my affiliate links, you support my channel and blog with a small commission and when you shop through my links I will do a happy dance. Using affiliate links does not mean additional cost for you. I really appreciate your support. Affiliate Disclaimer.
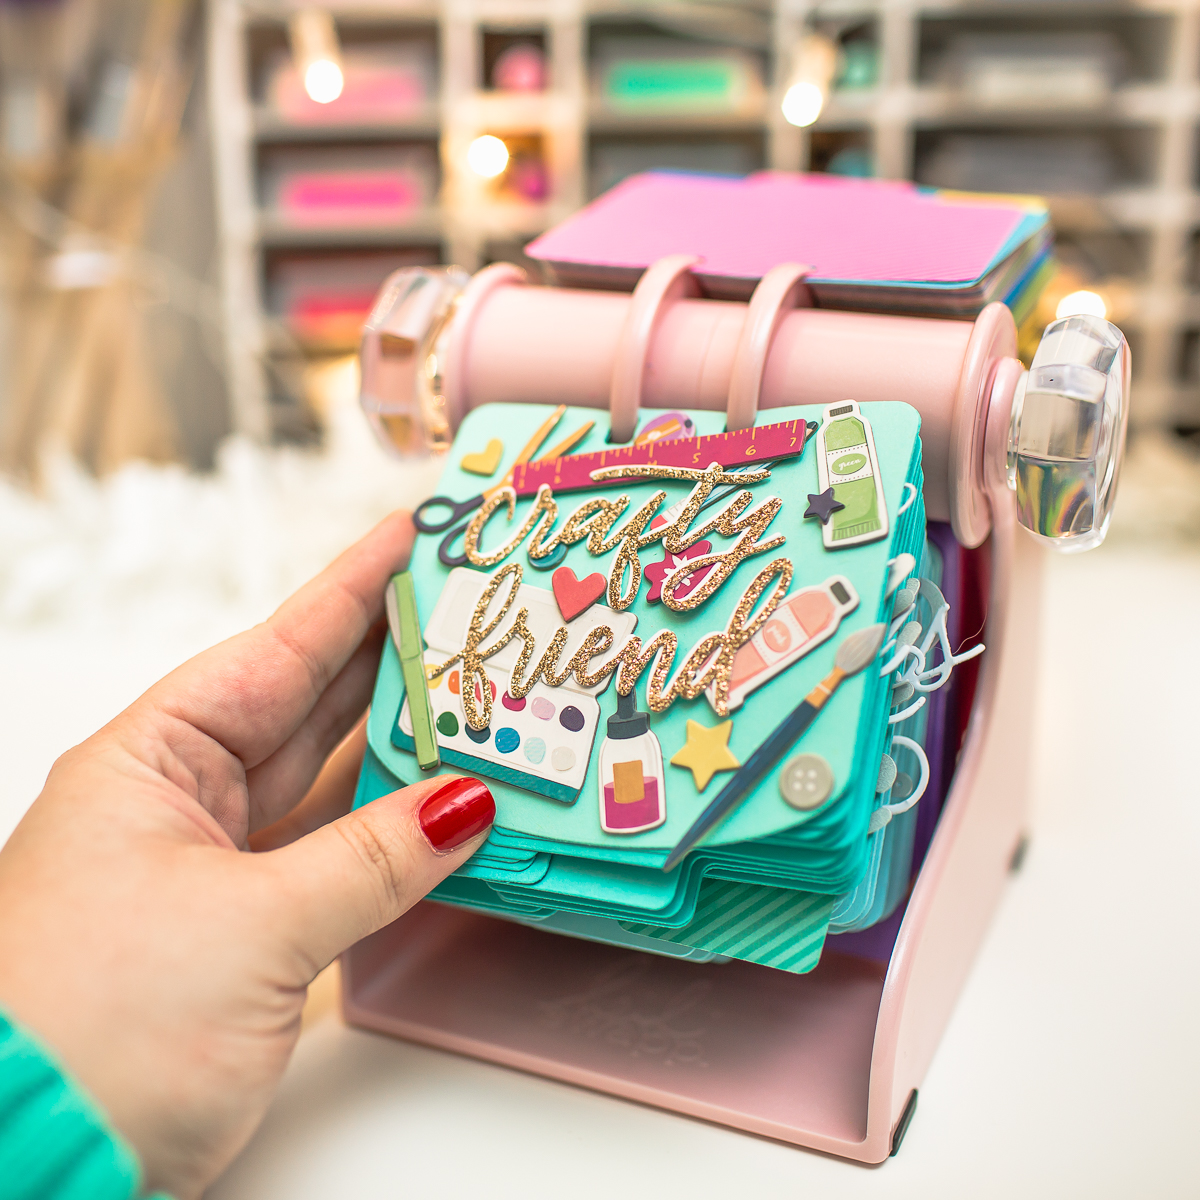
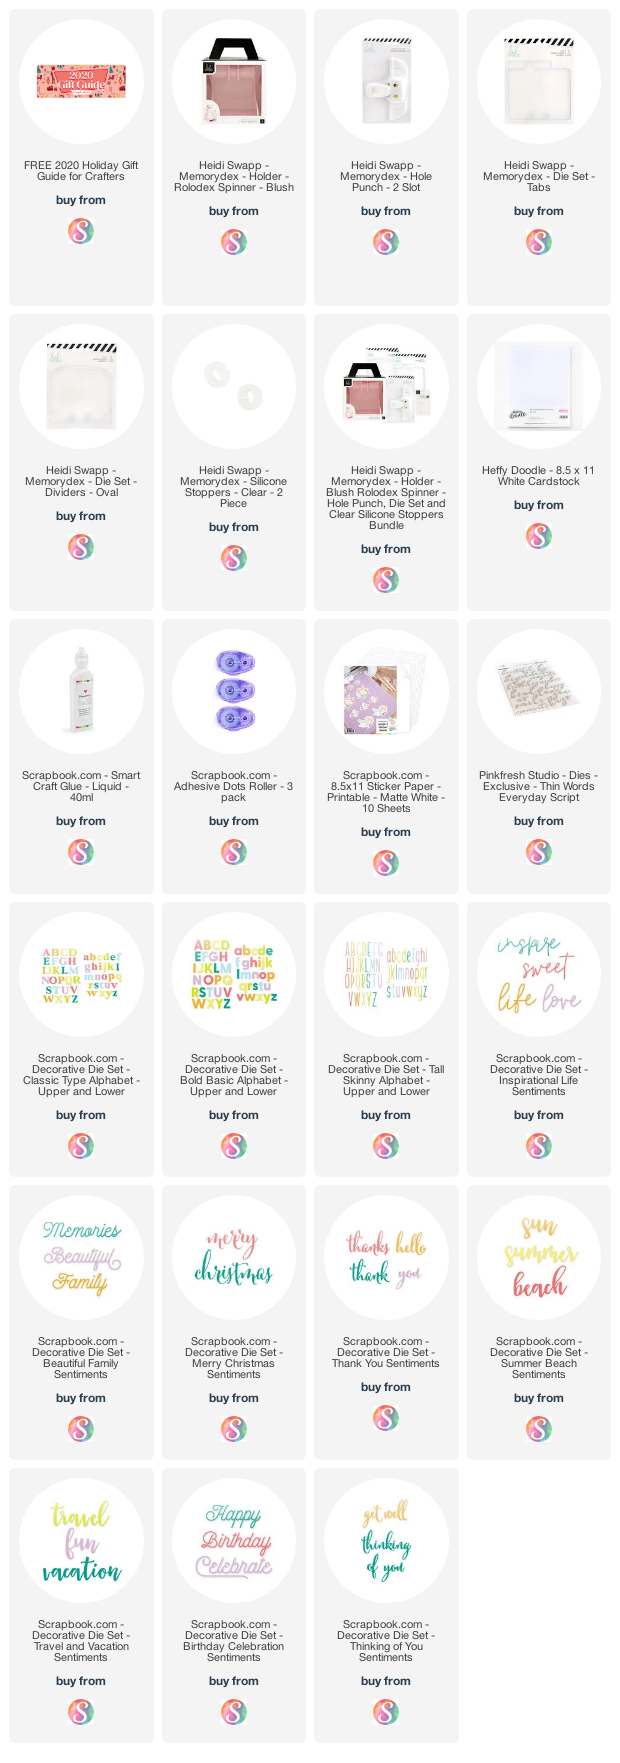
I was searching for a good solution to store my word dies since forever and now I feel that I have finally found it!
This beautiful tabletop Rolodex Spinner was created originally for memory keeping, but when I saw it, I fell in love with it, and I knew that I want it, and I will use it as a crafty assistant on my desk.
I filled it with my dies and had soo much fun with it. In case if you want to check my video, you can find it here.
I created colorful cards from heavyweight cardstock in rainbow order, and turned it to my word die organizer. So, I got the Memory dies for myself and I created lots of colorful cards. Next, I created labels with the names of die-cut-s, so any time I am using a metal die I will know, what is its name and which brand it is.
After I adhered the die-cuts to their right place, I added the printed label, then I turned the card, and adhered on it a smaller piece of magnet what I cut from leftover magnets. I can tell you I am in love with this blush amazingness. Heidi, thank you so so much for this product! I really love it!
VIDEO TUTORIAL
I am sharing with you all the process in my video, be sure to check it out! I was searching for a good solution to store my word dies since forever. I feel that I finally found the best word die storage, be sure to check it out how. Clickable tutorial link.
SALES
It's the Scrapbook.com PRE-BLACK FRIDAY SALE! Now until November 23rd, join us as All American Crafts Brands are ON SALE and All Scrapbook.com Branded-Items are at their lowest prices! Check out the free Holiday Gift Guide and freebies, too!
Thank you so much for stopping by, if you like organizing posts be sure to check out my Craftroom tips what every crafter should know post too. Have an amazing day, see you next time. Mona
USED SUPPLIES
I am using products only I LOVE. If you buy supplies through my affiliate links, you support my channel and blog with a small commission and when you shop through my links I will do a happy dance. Using affiliate links does not mean additional cost for you. I really appreciate your support. Affiliate Disclaimer.
PIN IT
My projects compressed into a photo :) If you like it, save it to your Pinterest board. Thank you!
Hi crafty friend tI have a new technique video on my YouTube channel where I am showing you the dry embossing technique.
Today I am showing you a clean and simple, but colorful card tutorial only with die-cuts and stencil. For these cards I was inspired by the super talented Laura Bassen!
VIDEO TUTORIAL
Be sure to check it out how I created this embossed background with stencil as well as the full cardmaking proces. You can find the YouTube video link here.
USED SUPPLIES
I am using products only I LOVE. If you buy supplies through my affiliate links, you support my channel and blog with a small commission and when you shop through my links I will do a happy dance. Using affiliate links does not mean additional cost for you. I really appreciate your support. Affiliate Disclaimer.