Scrapbook.com | Quick Bday Cards


Hi lovelies, every year we have many opportunities to celebrate, one of these are birthdays. We crafters often have to face the problem that we don't have time to make birthday cards to our loved ones. So pick a free weekend in your calendar and prepare all your birthday your cards with me.


There was no doubt that I will make my multitasking project with the Celebration Bundle because there are lots of funny sentiments in it the and the cake stamp images are beautiful. I will show you how to make birthday cards simply, all at once.


1) First I prepared the card bases


a) I folded my scored Neenah solar white blank note cards.


b ) I cut 4"x5.25" pieces from the Spring Fling 6x6 inch paper pack, and I saved the leftovers for another project.


c) I run through my die-cut machine the 2nd largest die from the Large stitched rectangle stackables with Neenah, Solar White cardstock.


2) When it was done I started the stamping process to the die-cuts.


(TIP If you want to speed up your stamping process don't forget to use your stamping platform. I use my Tim Holtz Stamp Platform almost every day.)


d) First I stamped the sentiments from Celebration Bundle. For the stamping I used various colors from Premium Hybrid Ink Pads.


e) Next I stamped the chosen images from the Sweet Celebration stamp set (this stamp set is included to the Celebration Bundle). I wanted to add a softer look for my images so for the stamping I used the Leather Premium Hybrid Ink pad.


f) I also stamped the images to the sticky note or masking tape and fussy cut them and after masking I added soft ink blending with stencil blending brushes.


g) Next I added splatters with watercolor and when it dried I removed the mask.


3) The next step was the coloring, I used my alcohol markers then added highlights with Signo White Uniball pen.


h) before putting my card together I wanted to add one more cute element with Happy Summer Lawn Fawn stamp set, so I stamped the ants to the colored images with Black Hybrid Ink.


4) In the and I adhered everything together, and my card was ready.


I hope you enjoyed this tutorial and don't forget, you can mix these sentiments with any stamp set from your stash. Make your cards unique! I can't wait to see what you will create!


SUPPLIES

I prepared for you the list of products which I used for making this project. If you buy these through my links you help me running this blog. (You can find the affiliate disclosure here). Thank you for your support!


SAVE IT

My projects compressed into a photo :) If you like it, save it to your Pinterest boad. Thank you!

Sunny Studio Stamps | Everything's Rosy


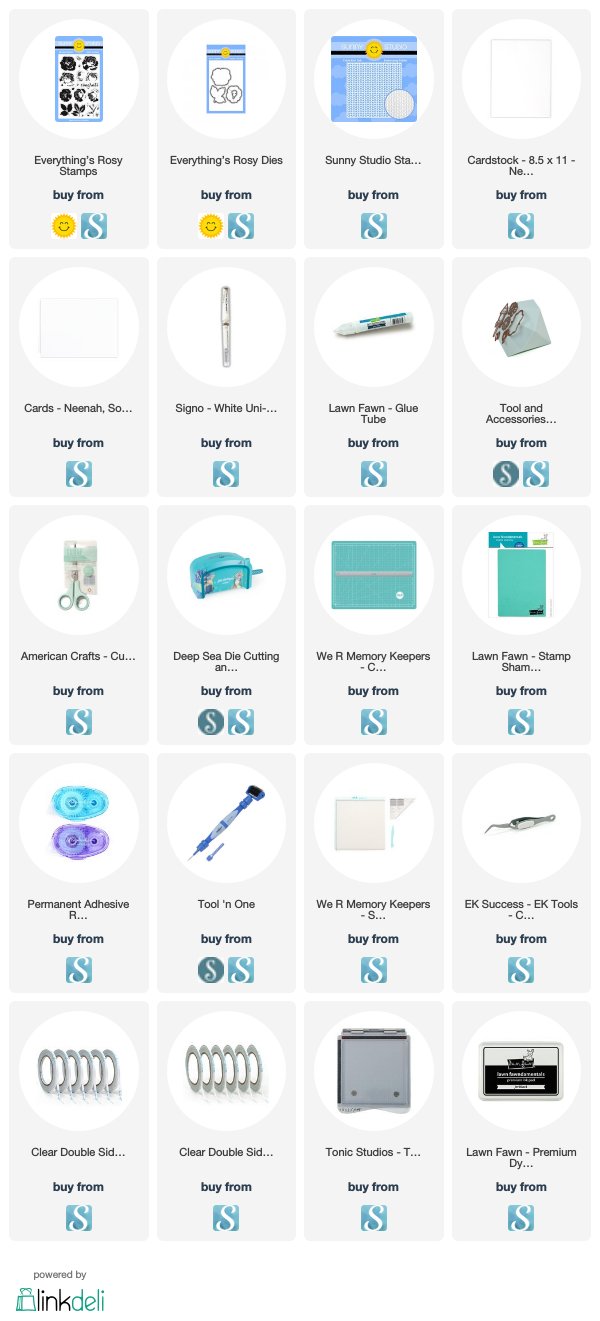
Hi crafty friends! Today I am showing you a bright floral card featuring the Everything's Rosy stamp set. I love this stamp set soo much and it is currently my favorite Rose stamp set. 


This time I started the card making with stamp layering. For the stamping I used Hybrid Inks from Scrapbook.com and green colored mini ink cubes from Altenew. For the leaves I used the Bamboo, Parrot and Moss colors. For the rose I used the Sky hybrid ink combo and for the tiny flower I used the Rose color combo from Scrapbook.com. When it was done I Die-cut the images with the coordinating dies. 


The next step was the background. I dry embossed a piece of white cardstock with Cable Knit Embossing Folder and backed it with Gingham Pastels Paper. 


When it was done, I stamped the "Thank you" sentiment from the Everyday Greetings Stamp Set and after a quick fussy cutting I adhered it to the card base. 


In the end I styled my card and adhered the flowers to my card base, embellished the card with Iridescent Hearts and Clear Drops and it was done. Thank you very much for reading through my post, I hope that you have enjoyed it and I have inspired you! If you like my creations let's be friends on Instagram. :)

SUPPLIES

I prepared for you the list of products which I used for making this project. If you buy these through my links you help me running this blog. (You can find the affiliate disclosure here). Thank you for your support!


SAVE IT

My projects compressed into a photo :) If you like it, save it to your Pinterest boad. Thank you!


Spellbinders Blog Hop + Giveaway


Hello, and welcome back on my blog! Today I have joined the Spellbinders Blog Hop and I am featuring the Becca Feeken Gilded Age and Sharyn Sowell Happy collections. 


Today I am showing you two cards with the new releases. As always, you can find all the used supplies below. 


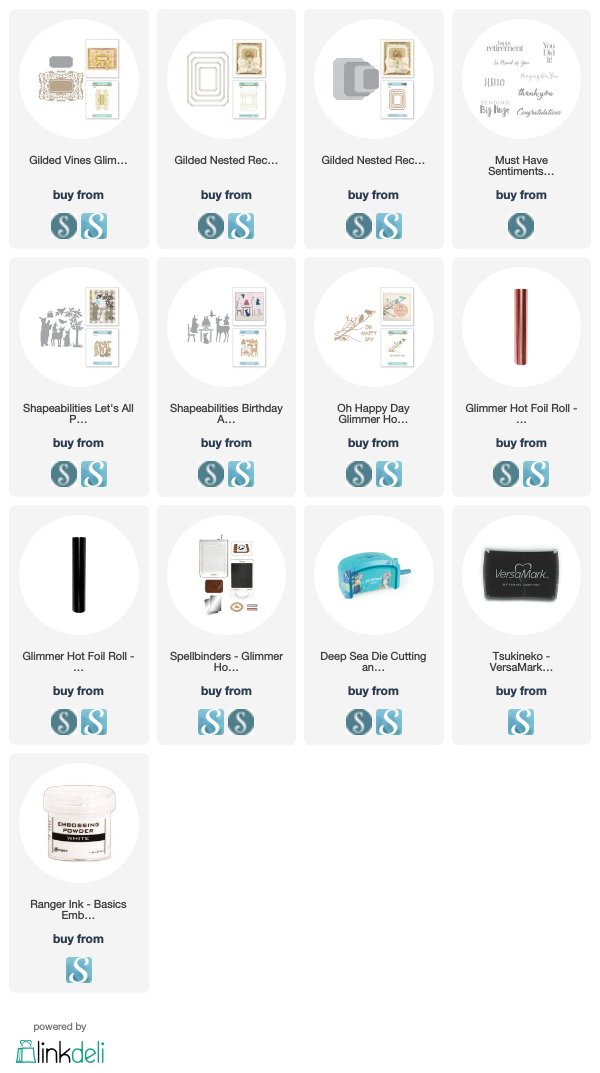
For my first card I used the elegant Glided Vines Hot Foil Plate, Nested Rectangle Glimme Set and the Nested Rectangle Dies set from Becca Feeken.


As you can see I made hot foiling on the edges of the layers. For this I used the Rose Gold foil and Glimmer Hot Foil System. When the hot foiling was done I die-cut the layers with the coordinating dies. For the middle layer I made dry embossing with the beautiful Vines Glimmer Hot Foil Plate on a piece of chipboard.


For the smallest part I stamped the sentiment from the Must Have Sentiments Stamp and heat embossed it with White embossing powder and put everything together. 


For the second card I used the Sheapeabilities Birthday Animals and Let's All Party! Etched Dies from Sharyn Sowell. I started the process with Ink blending in the background and when it was done I used the Oh Happy Day Hot Foil Plate also from Sharyn Sowell and Foiled the sentiment with Black Foil to the background.


Next I made Die-cuts with the mentioned dies and black cardstock. Before I adhered everything together I added splatter to the background and my second card was ready. 


I hope you enjoyed my creations for today! Happy hopping and if you like my inspirations feel free to subscribe to my blog! :)

BLOG HOP


Spellbinders 
Mona Tóth >>>> You are here
Melody Rupple
Desiree Kuemmerle
Anna Komenda
Zinia Redo

GIVEAWAY


To celebrate this release, Spellbinders is giving away a $50 gift certificate to 3 lucky blog readers – selected from the comments across all of the blogs in the hop. Giveaway closes on Sunday, April 7th 11:59 pm EDT. Winners will be announced in Spellbinders blog hop post the following Monday. Winner is responsible for shipping cost, duties and taxes.

SUPPLIES


I prepared for you the list of products which I used for making this project. If you buy these through my links you help me running this blog. (You can find the affiliate disclosure here). Thank you for your support!


SAVE IT


My projects compressed into a photo :) If you like it, save it to your Pinterest boad. Thank you!