Ever get unwanted shadows on your card photos? Let me show you what to change. 👇
Beautiful Card Photos live online class for cardmakers
Showing posts with label Quick Card. Show all posts

Bootiful day | Scrapbook.com


Hello lovelies and welcome back on my blog. Today I have a step by step photo tutorial for you with the new exclusive clear photo-polymer stamp release from Scrapbook.com. 


Shop now and SAVE UP TO 50% on all Scrapbook.com exclusive products! Browse bestselling basics like nested dies, inks, acrylic stamping blocks, albums, universal page protectors and so much more. Check it out here!


CARD TUTORIAL

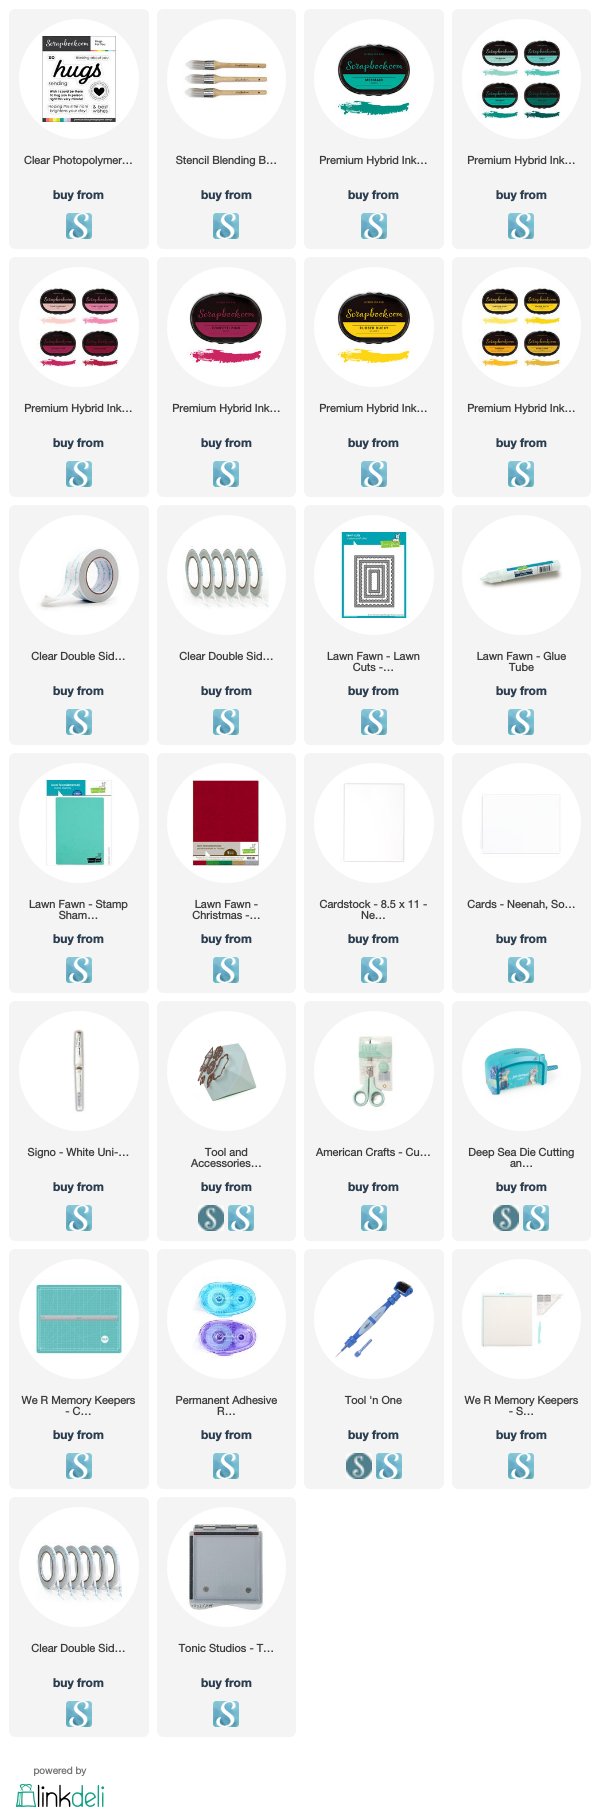
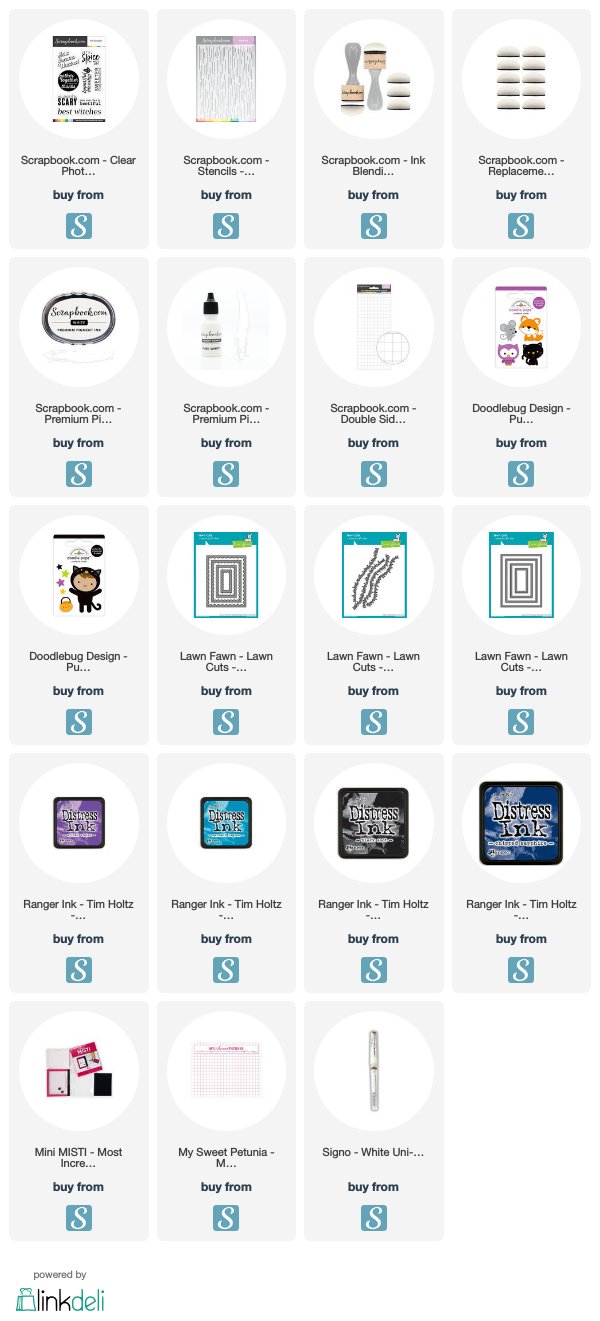
Check out my step by step instructions with photos below for this project. You can also find the used supplies below the post. I created a quick Halloween card with the Fall Sampler sentiment stamp , follow the step by step instructions here: 


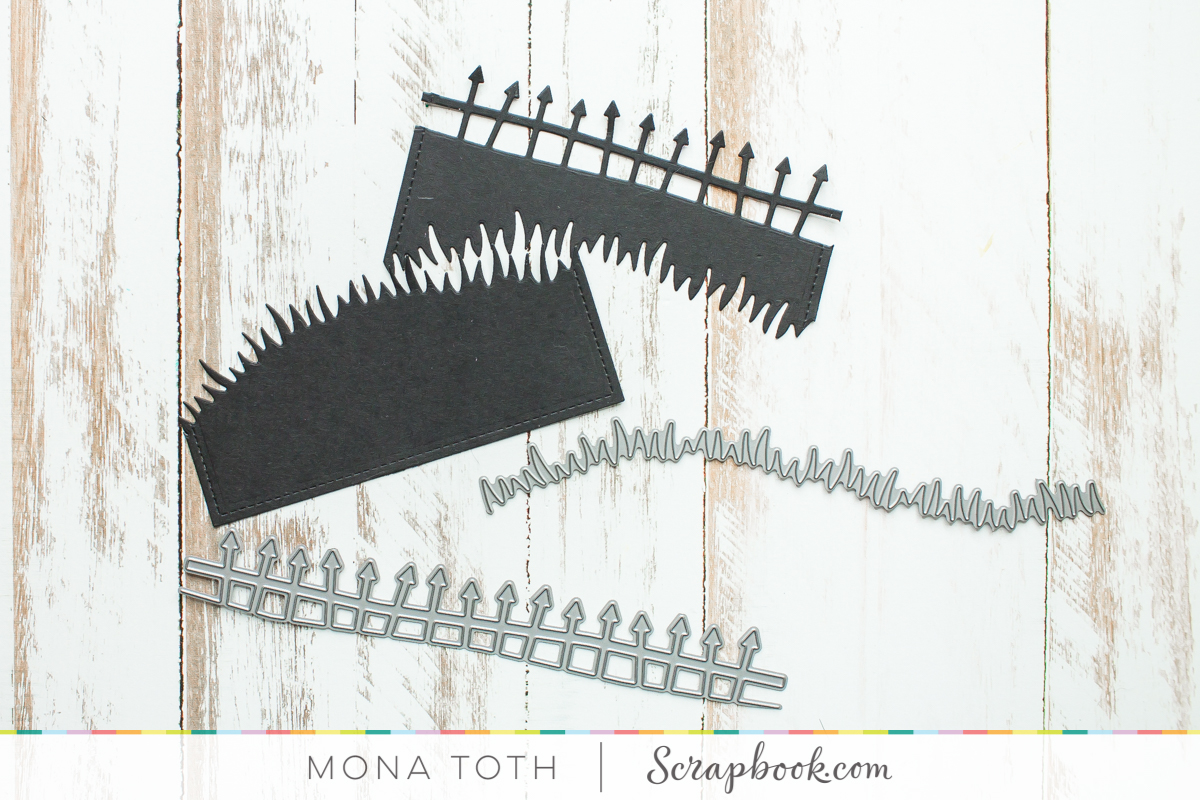
First I created Frame Die-cuts, grassy and fence borders with Lawn Fawn Die-cuts and heavy weight black cardstock. 


Next I made an ink blending with White Pigment Ink from Scrapbook.com. I have used the new Ink Blending Tool with Domed Foam Applicators to create a smooth, foggy ink blending on it. 


When it was done I created the night background with Distress Mini Ink ink pads then I applied on it the new Dashed Stencil and blended through with the White Pigment Ink again. 


Next I stamped and heat embossed the sentiment from the Fall Sampler sentiment stamp and adhered it to the card base. 


In the end I added to my finished card base cute 3 dimensional Doodle Pops, which are perfect when you want to create a quick card. 


Thank you very much for reading through my post, I hope that you have enjoyed it and I have inspired you! If you like my creations let's be friends on Instagram. :) 

SUPPLIES 

I prepared for you the list of products which I used for making this project. If you buy these through my links you help me running this blog. (You can find the affiliate disclosure here). Thank you for your support!

Gradient Glitter Background | Scrapbook.com


Hello lovelies and welcome on my blog. Today I have a quick and easy ink blending step by step photo tutorial for you with the new exclusive clear photo-polymer stamp release from Scrapbook.com. As always you can find the used supplies below the post. 


I started the cardmaking with ink blending. As you can see, I used the Hybrid Inkpads with stencil blending brushes and I started my blending process on a silver glitter cardstock. 


This is very important! For this technique you should use hairy blending tool. In this technique I was inspired by my sweet friend Mindy. She is an amazing cardmaker so be sure to check her linked feed and give her some love. 


Next I made a white die-cut with the Reverse Stitched - Scalloped Rectangle Windows, adhered on it a foam tape to add a little dimension, then applied a thicker layer of adhesive (you need to do this because of a glitter cardstock), then adhered it to my card. 


Next step was the stamping for which I used the Hugs for you set. For the ink blending and stamping I used the Confetti Pink, Rubber Ducky and Mermaid Hybrid Ink Pads


When the stamping was done I fussy cut the sentiments, added a heat embossed sentiment and my card was almost ready. 


I wanted to add a little cuteness to my card so I added cats what I made with the I love You This Much Stamp Set, adhered everything together and my card was ready. 


Thank you very much for reading through my post, I hope that you have enjoyed it and I have inspired you! If you have any questions feel free to ask in the comment and if we are not already, let's be friends on Instagram. :) 

SUPPLIES 


I prepared for you the list of products which I used for making this project. If you buy these through my links you help me running this blog. (You can find the affiliate disclosure here). Thank you for your support! 

Non-affiliate link you can find here

SAVE IT 


My projects compressed into a photo :) If you like it, save it to your Pinterest board. Thank you!


Scrapbook.com | Quick Bday Cards


Hi lovelies, every year we have many opportunities to celebrate, one of these are birthdays. We crafters often have to face the problem that we don't have time to make birthday cards to our loved ones. So pick a free weekend in your calendar and prepare all your birthday your cards with me.


There was no doubt that I will make my multitasking project with the Celebration Bundle because there are lots of funny sentiments in it the and the cake stamp images are beautiful. I will show you how to make birthday cards simply, all at once.


1) First I prepared the card bases


a) I folded my scored Neenah solar white blank note cards.


b ) I cut 4"x5.25" pieces from the Spring Fling 6x6 inch paper pack, and I saved the leftovers for another project.


c) I run through my die-cut machine the 2nd largest die from the Large stitched rectangle stackables with Neenah, Solar White cardstock.


2) When it was done I started the stamping process to the die-cuts.


(TIP If you want to speed up your stamping process don't forget to use your stamping platform. I use my Tim Holtz Stamp Platform almost every day.)


d) First I stamped the sentiments from Celebration Bundle. For the stamping I used various colors from Premium Hybrid Ink Pads.


e) Next I stamped the chosen images from the Sweet Celebration stamp set (this stamp set is included to the Celebration Bundle). I wanted to add a softer look for my images so for the stamping I used the Leather Premium Hybrid Ink pad.


f) I also stamped the images to the sticky note or masking tape and fussy cut them and after masking I added soft ink blending with stencil blending brushes.


g) Next I added splatters with watercolor and when it dried I removed the mask.


3) The next step was the coloring, I used my alcohol markers then added highlights with Signo White Uniball pen.


h) before putting my card together I wanted to add one more cute element with Happy Summer Lawn Fawn stamp set, so I stamped the ants to the colored images with Black Hybrid Ink.


4) In the and I adhered everything together, and my card was ready.


I hope you enjoyed this tutorial and don't forget, you can mix these sentiments with any stamp set from your stash. Make your cards unique! I can't wait to see what you will create!


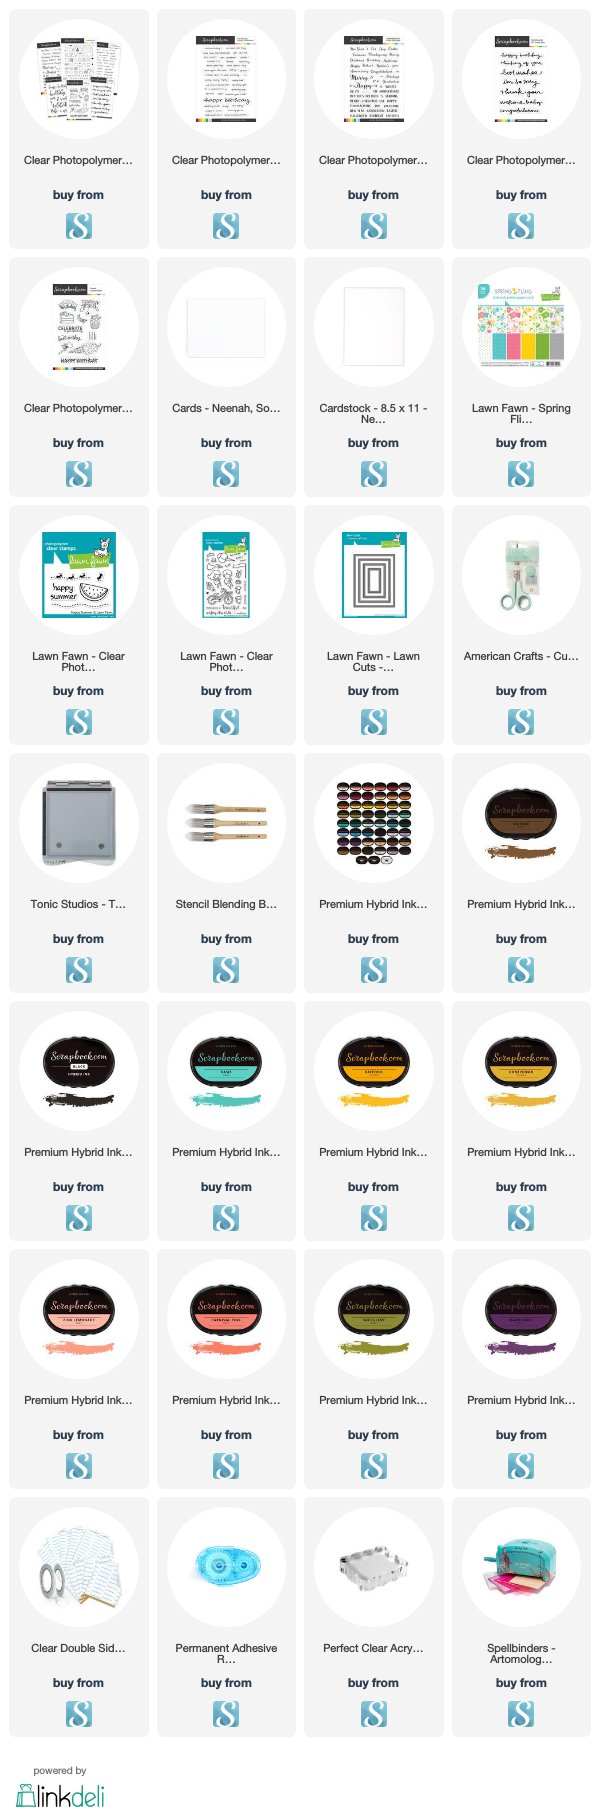
SUPPLIES

I prepared for you the list of products which I used for making this project. If you buy these through my links you help me running this blog. (You can find the affiliate disclosure here). Thank you for your support!


SAVE IT

My projects compressed into a photo :) If you like it, save it to your Pinterest boad. Thank you!