Showing posts with label stamp layering. Show all posts

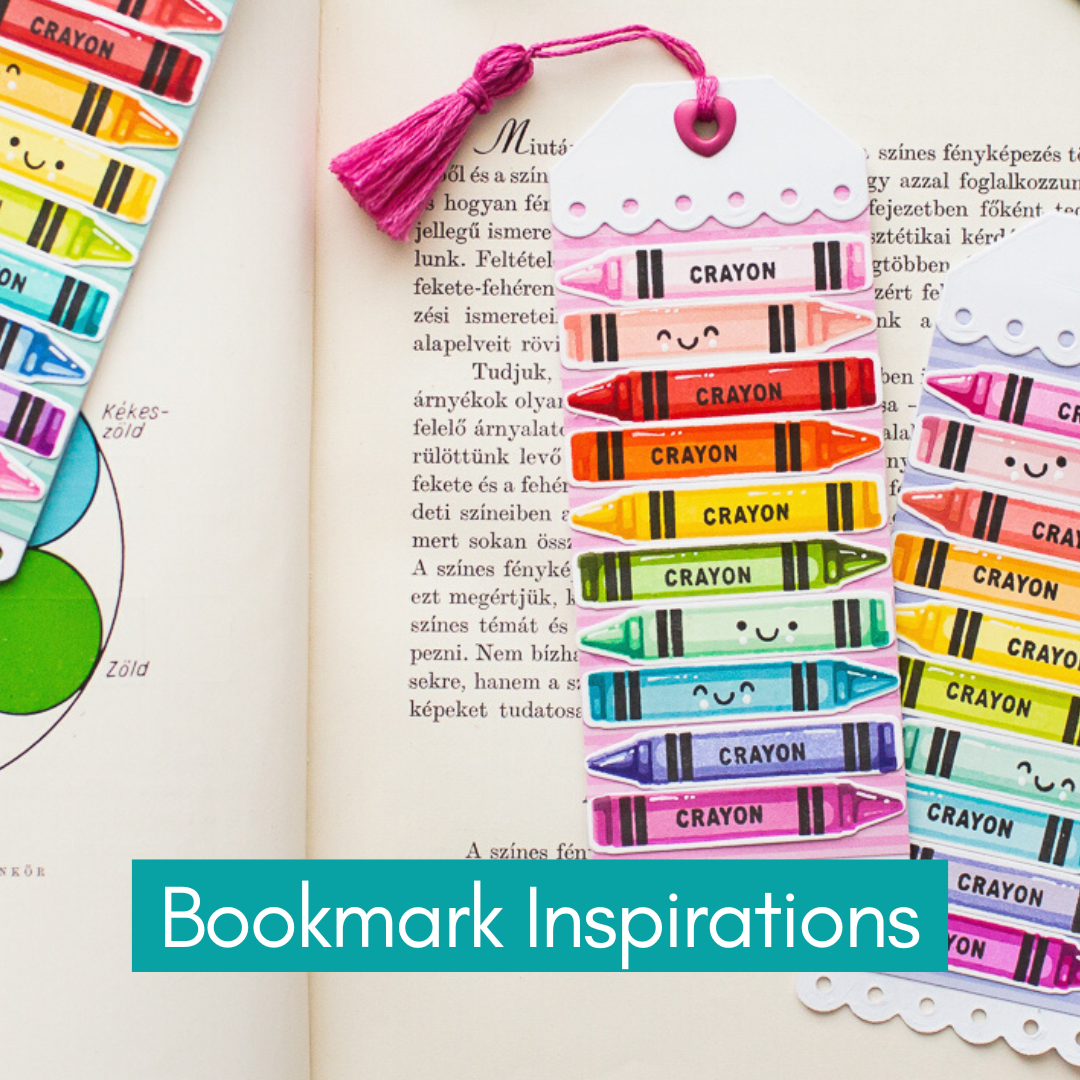
Rainbow Crayon Bookmark tutorial

A new colorful project for you to brighten up your day! I have been playing with Sunny Studio Stamps products to make some colorful bookmarks as a gift, let's see how. 


Better craft photos are easier than you think. Start with 5 simple tips you can try today.
🎁 Get my free photo ebook here!

THIS CARD FEATURES


Pin this post to your Pinterest board and save this card idea for later.

CARD INSTRUCTIONS

I made a bulk stamp layering with the Color my World and Looking Sharp sets, and it was so much fun! I just mix and matched my inkpad colors and enjoyed the creating process. 


For the stamping I have used the Color my World stamp set with their coordinating dies. For some of them I didn’t stamp the crayon text, instead of that I stamped the cute faces from the Looking Sharp Set.


The next step was the base of the bookmark which I have created with the Built a tag 2 dies. These are shorter, so I cut the tag die-cut in a half, and adhered on it (to the front and the back) a patterned paper from the Dots and Stripes Pastels Paper Pack in size 2” by 4.25”.


In the end I embellished the bookmarks with white tag die-cuts. Put inside colorful eyelets and a handmade tassel as well.


BEFORE YOU GO...

Let’s stay crafty friends! You can find more cardmaking inspiration, behind-the-scenes peeks and photography tips for crafters on my Instagram and Facebook pages.

📷✨ I’m on a mission to help cardmakers and crafters feel more confident with photography, so their beautiful creations can shine online too.

FOLLOW ON INSTAGRAM  |  EXPLORE MY SHOP

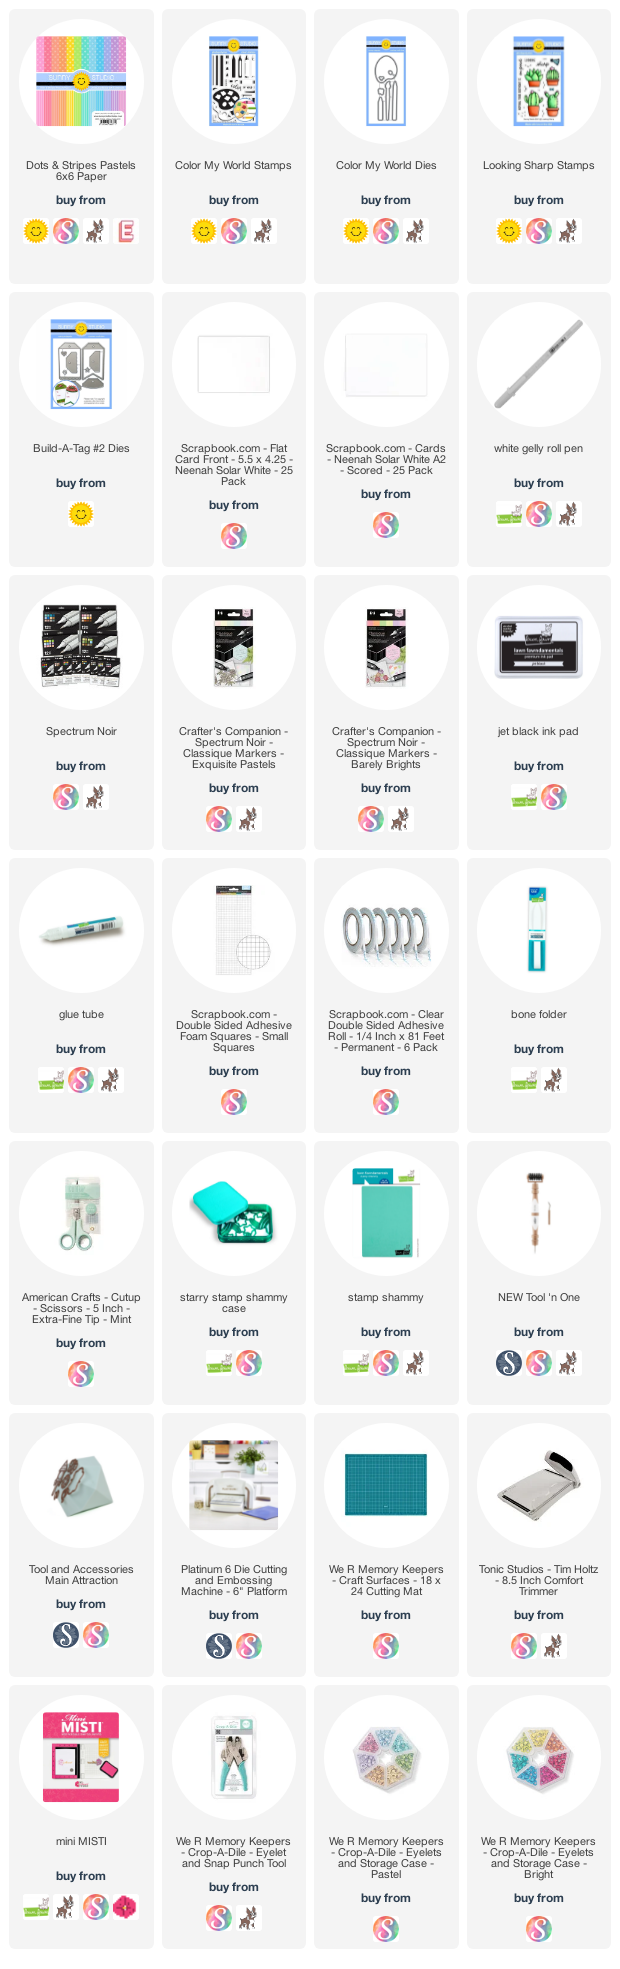
USED SUPPLIES

I’ve listed all the supplies I used below, so you can easily find them. Some of the links are affiliate links, which means I may earn a small commission if you make a purchase, at no extra cost to you. Thank you so much for supporting my blog and creative work!

Altenew May 2019 Stamp/Die/Stencil/Ink/Enamel Pin Release Blog Hop + Giveaway

Hello crafty friends, I am so excited to join the Altenew May 2019 Blog Hop. Today we are celebrating the new May release!  If you are already hopping you should have arrived from the talented Enza Gudor

Today I am showing you two cards. I used for both of them the amazing Dotted Swirls Debossing Cover Die and created a unique and textured base. But before I am showing you my cards, you need to check the amazing new enamel pins from Altenew! Aren't these amazing? I am super excited to them because I just love enamel pins!

Do your projects look better in real life? Start with 5 simple ways to make your craft photos do them justice. 🎁 Get my free photo ebook for cardmakers and colorists here!

For my first card I used the beautiful Basic Blooms stamp and die set. I made a stamp layering with my favorite Mini Ink Cubes from Altenew and made a vibrant and colorful bouquet look. 


When the stamp layering was done, I run them through my die-cut machine with the coordinating dies and styled my card. In the and I added the heat embossed sentiment and my card was ready. 


For my second card I used the unique Ornate Foliage stamps and dies. This stamp set is very special, because you can stamp the lines then color it as you want or you can stamp the parts separately. I decided to use gold embossing powder with Iceberg blue Crisp Dye Ink! 


When the stamping was done I added adhesive to the white parts and I got a nice dimension. I styled my card and once I was happy with the result I added the heat embossed sentiments and adhered everything together and my card was ready! 


Thank you very much for reading through my post, I hope that you have enjoyed it and I have inspired you! If you like my creations let's be friends on Instagram. 


GIVEAWAY 


To celebrate this release, Altenew is giving away a $50 gift certificate to 6 lucky winners! Please leave a comment on the Altenew Card Blog and/or Altenew Scrapbook Blog by 5/15/2019 for a chance to win.. 

Altenew will also draw a winner to receive a $20 gift certificate from the comments left on each designer’s blog on the blog hop list below. All winners will be announced on the Altenew blogs on 5/18/2019.. 

BLOG HOP ORDER 


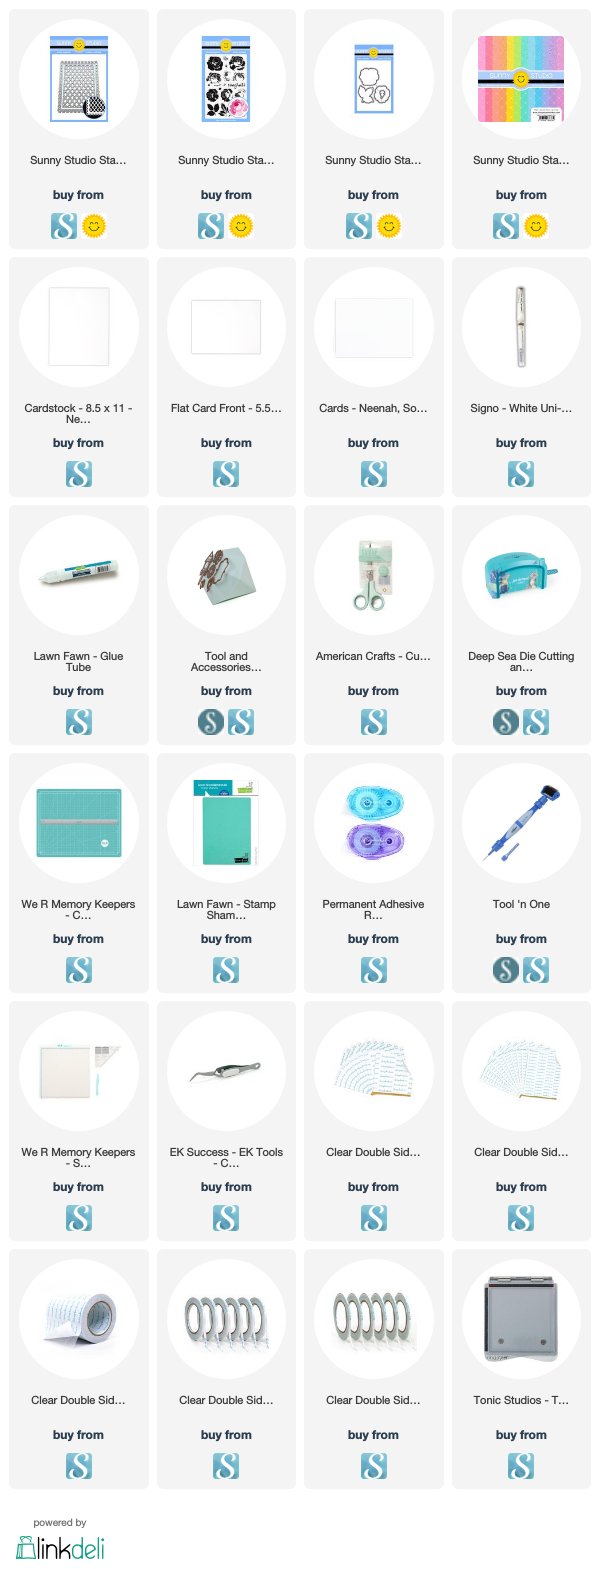
USED SUPPLIES 


I’ve listed all the supplies I used below, so you can easily find them. Some of the links are affiliate links, which means I may earn a small commission if you make a purchase, at no extra cost to you. Thank you so much for supporting my blog and creative work! 

SAVE IT 


My projects compressed into a photo :) If you like it, save it to your Pinterest board. Thank you!


Sunny Studio | New Frilly Frames


Hi crafty friends! I am back again with an another tasty card. Today I am showing you an another yummy card featuring the Slice of Summer stamp set with the new Frilly Frames Stripes Dies from Sunny Studio Stamps. 


I started the card making with stamp layering. For the stamping I used Hybrid Inks from Scrapbook.com. For the lemon I used the Yellow Group and for the watermelon I used the Rose and Green groups. When the stamp layering was done I Die-cut the images with the coordinating dies.


When it was done I created the background with the new Frilly Frames Stripes Dies. I absolutely love that the inside of this Die is removable so you can play with the variations. 


Next I heat embossed the sentiments to a pink and dark green cardstock. 


In the end I styled my card and adhered the tasty images to my card base, embellished the card and it was done. Thank you very much for reading through my post, I hope that you have enjoyed it and I have inspired you! If you like my creations let's be friends on Instagram. :) 

SUPPLIES


I prepared for you the list of products which I used for making this project. If you buy these through my links you help me running this blog. (You can find the affiliate disclosure here). Thank you for your support!

SAVE IT


My projects compressed into a photo :) If you like it, save it to your Pinterest boad. Thank you!


Sunny Studio | Slice of Summer


Hi crafty friends! Today I am showing you a yummy and fresh card featuring the Slice of Summer Stamp Set from Sunny Studio Stamps. You can find the used supplies bellow the post.


This time I started the card making with stamp layering. For the stamping I used Hybrid Inks from Scrapbook.com and green colored mini ink cubes from Altenew.


As you can see I also stamped a few leaves from the Hibiscus Stamp Set. For the leaves I used the Bamboo, Parrot and Moss colors. For the lemon I used the Yellow Group. When it was done I Die-cut the images with the coordinating dies.


The next step was the background which I made with teal and blue watercolors. While it dried I run it through my Die-cut machine with the new Frilly Frames Chevron Dies. 


Next I heat embossed the sentiment to a pink piece of cardstock and created pink hearts from the same pink cardstock as an embellishment.


In the end I styled my card and adhered the tasty images to my card base, embellished the card and yay, it was done. Thank you very much for reading through my post, I hope that you have enjoyed it and I have inspired you! If you like my creations let's be friends on Instagram. :)

SUPPLIES
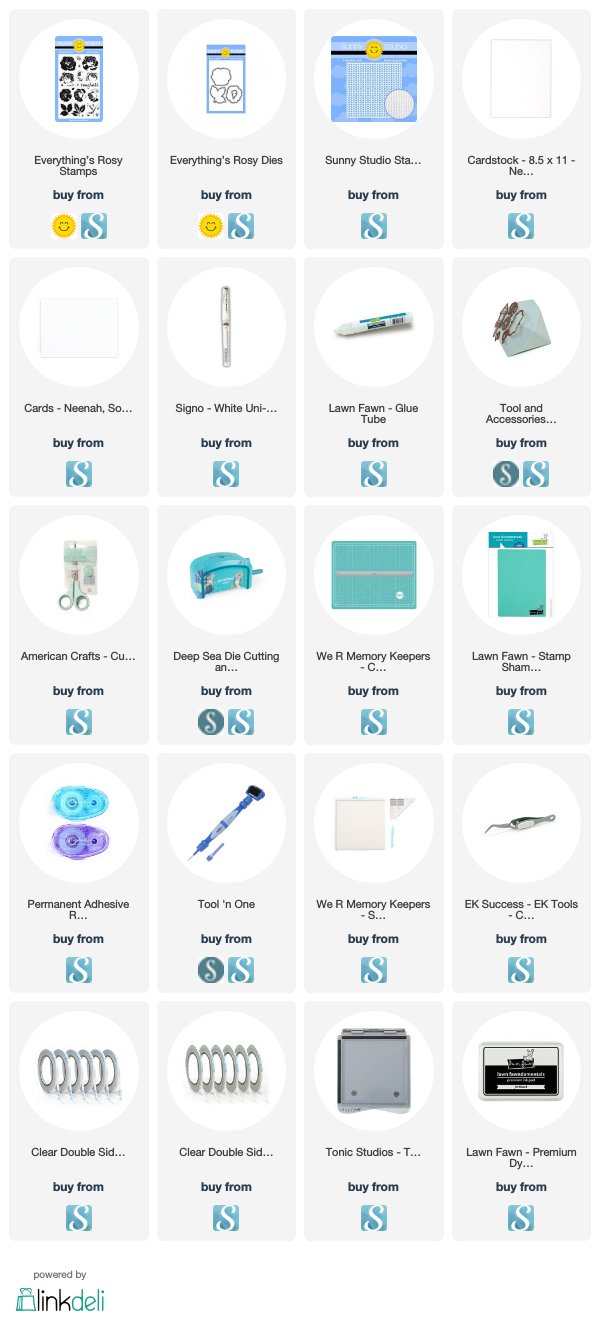

I prepared for you the list of products which I used for making this project. If you buy these through my links you help me running this blog. (You can find the affiliate disclosure here). Thank you for your support!


SAVE IT


My projects compressed into a photo :) If you like it, save it to your Pinterest boad. Thank you!

Sunny Studio Stamps | Everything's Rosy


Hi crafty friends! Today I am showing you a bright floral card featuring the Everything's Rosy stamp set. I love this stamp set soo much and it is currently my favorite Rose stamp set. 


This time I started the card making with stamp layering. For the stamping I used Hybrid Inks from Scrapbook.com and green colored mini ink cubes from Altenew. For the leaves I used the Bamboo, Parrot and Moss colors. For the rose I used the Sky hybrid ink combo and for the tiny flower I used the Rose color combo from Scrapbook.com. When it was done I Die-cut the images with the coordinating dies. 


The next step was the background. I dry embossed a piece of white cardstock with Cable Knit Embossing Folder and backed it with Gingham Pastels Paper. 


When it was done, I stamped the "Thank you" sentiment from the Everyday Greetings Stamp Set and after a quick fussy cutting I adhered it to the card base. 


In the end I styled my card and adhered the flowers to my card base, embellished the card with Iridescent Hearts and Clear Drops and it was done. Thank you very much for reading through my post, I hope that you have enjoyed it and I have inspired you! If you like my creations let's be friends on Instagram. :)

SUPPLIES

I prepared for you the list of products which I used for making this project. If you buy these through my links you help me running this blog. (You can find the affiliate disclosure here). Thank you for your support!


SAVE IT

My projects compressed into a photo :) If you like it, save it to your Pinterest boad. Thank you!


Sunny Studio Stamps | Frilly Frame Dies


Hi crafty friends, today I am showing you a bright floral card featuring the Frilly Frames Lattice Dies and the most amazing rose stamp set, the Everything's Rosy Stamp set from Sunny Studio Stamps. You can find the used supplies bellow.


This time I started the card making with stamp layering. For the stamping I used Hybrid Inks from Scrapbook.com. For the leaves I used the Blue Combo and for the rose I used the Rose Combo plus the Rainy Day Gray color for the darkest shade inside the flower. When it was done, I Die-cut the images with the coordinating dies.


The next step was the background. I adhered yellow cardstock from the Flirty Flowers paper pad. Because these Frilly Frames Lattice Dies are intricate dies I adhered my paper to a 6x6 double sided adhesive then ran it through my Die-cut machine with the Frilly Frames Lattice Dies and voila my Die-cut was sticky! You can see the process on the following pictures. 


When it was done, I made a banner with the Fancy Frames Rectangle Dies and heat embossed the sentiment.


In the end I styled my card and adhered the flowers to my card base, embellished the card and it was done. Thank you very much for reading through my post, I hope that you have enjoyed it and I have inspired you! If you like my creations let's be friends on Instagram. :)


SUPPLIES

I prepared for you the list of products which I used for making this project. If you buy these through my links you help me running this blog. (You can find the affiliate disclosure here). Thank you for your support!


SAVE IT

My projects compressed into a photo :) If you like it, save it to your Pinterest boad. Thank you!