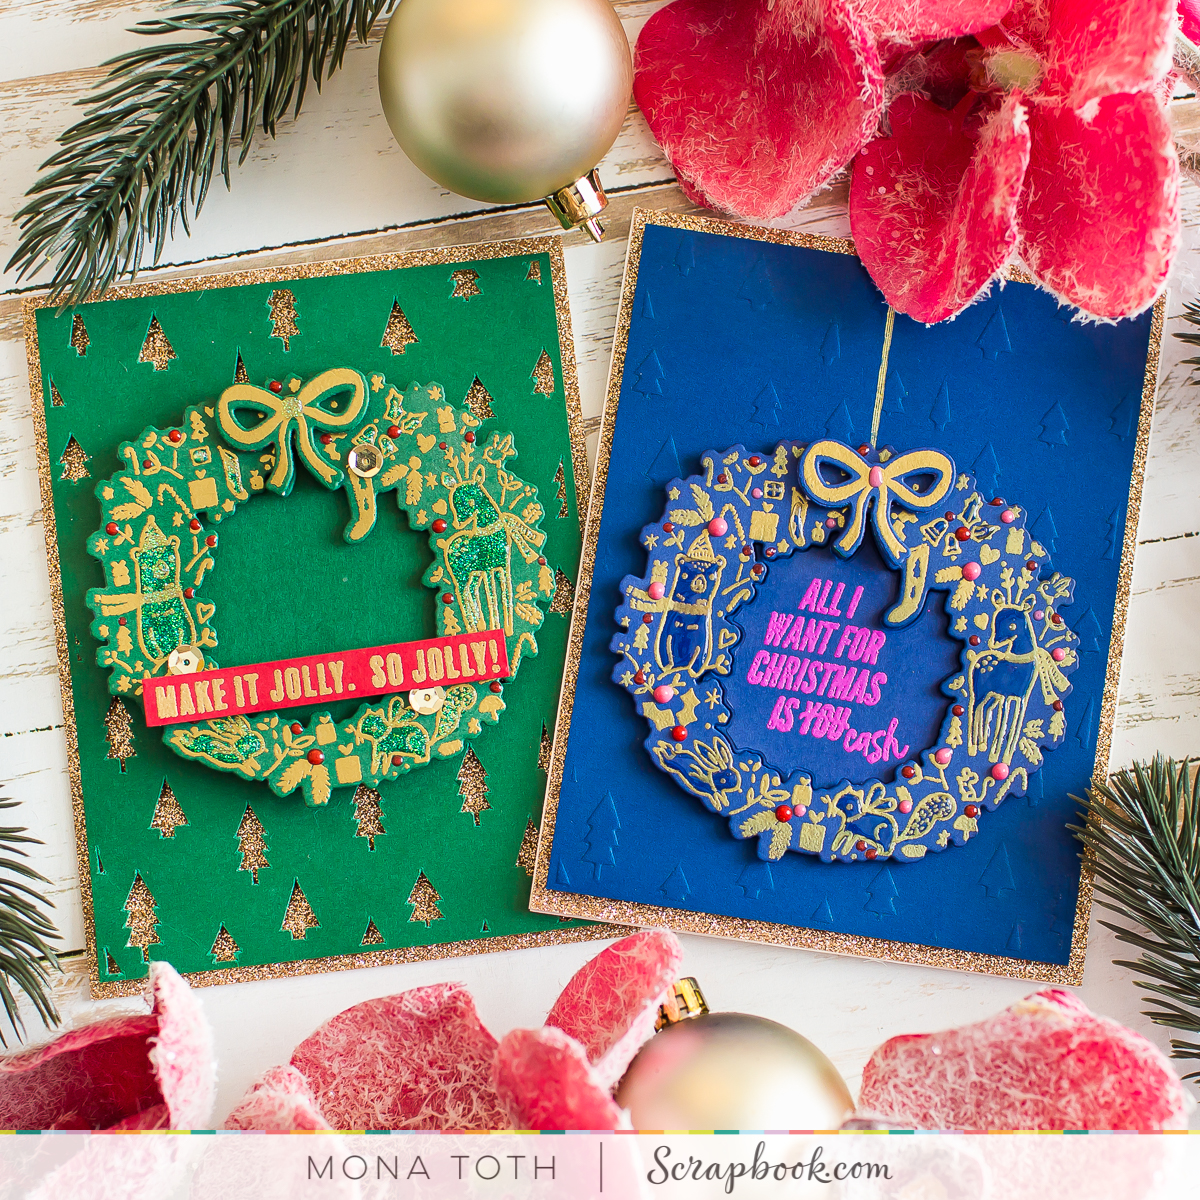
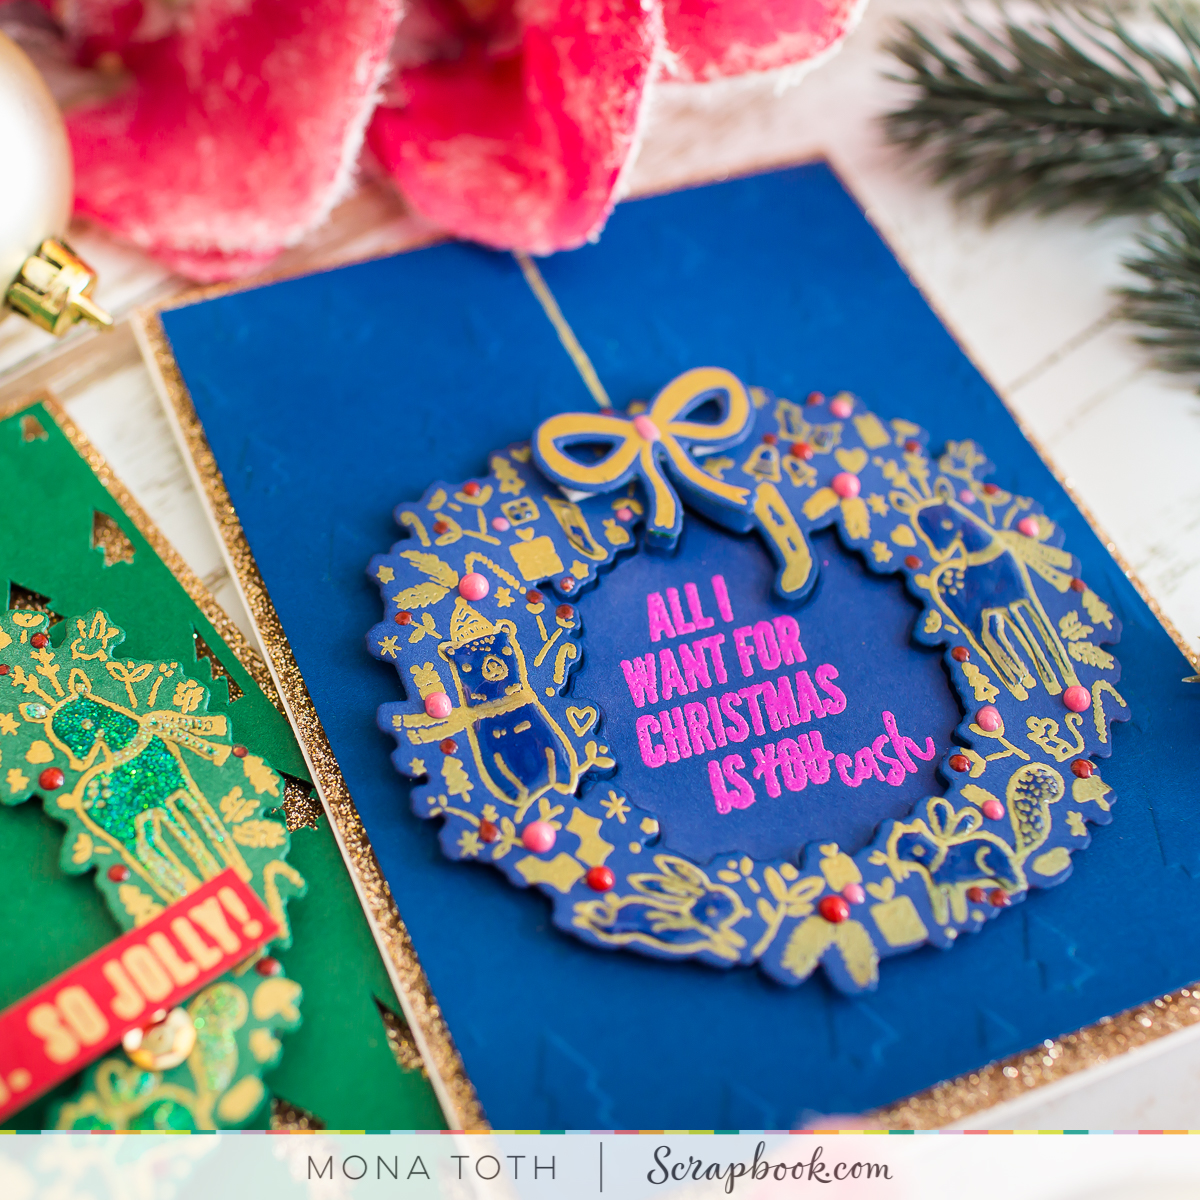
Hello lovelies and welcome back on my blog. Today I have a step by step photo tutorial for you with the new exclusive clear photo-polymer stamp release from Scrapbook.com.
CARD TUTORIAL
Check out my step by step instructions with photos. As always you can find the used supplies below the post. I created two simply but festive cards with the Make it Jolly sentiment stamp , follow the step by step instructions here:

I have used the Tis the Season - Bundle Cut files with my Silhouette Cameo.

When it was done, I decided to dry emboss with it an another cardstock with my Die-cut machine and dry embossing mat.

It looks fabulous right? I thought I am going to use both of these backgrounds, and just put on it a heat embossed stamping and sentiments.
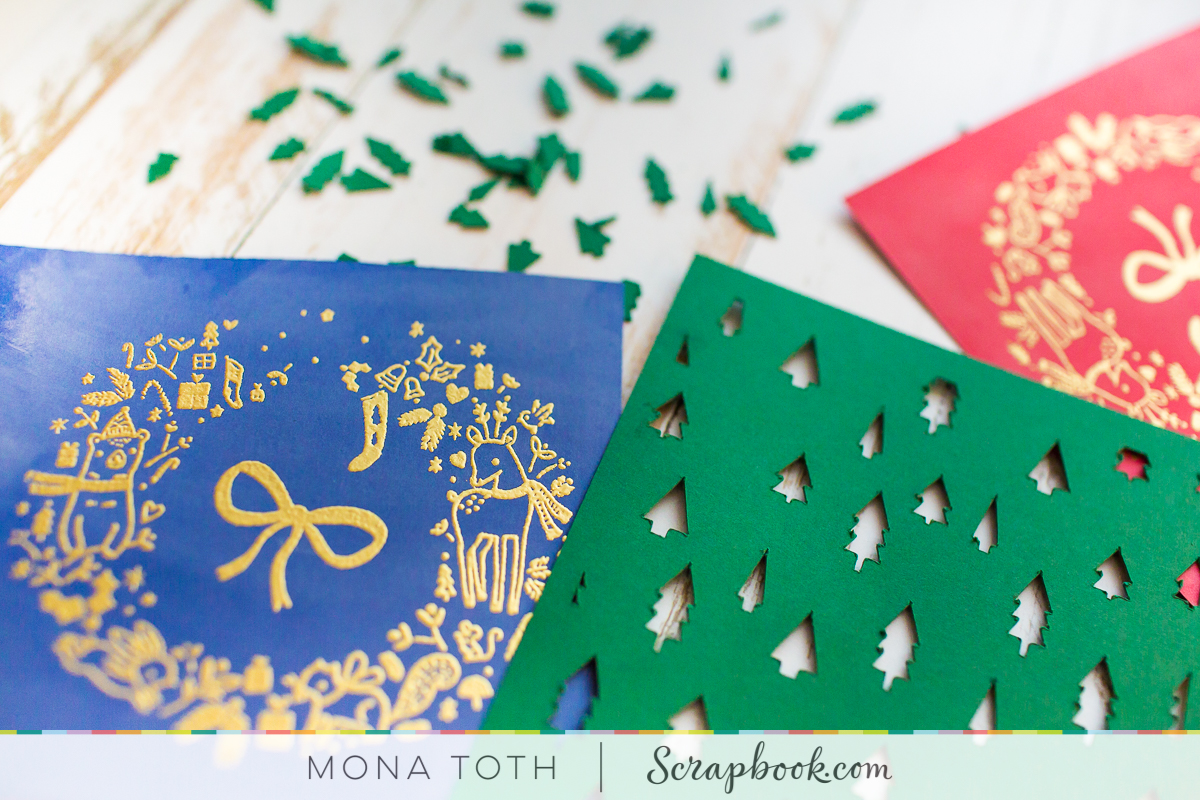
I stamped and heat embossed the Great Joy stamp sets by Pinkfresh Studio.
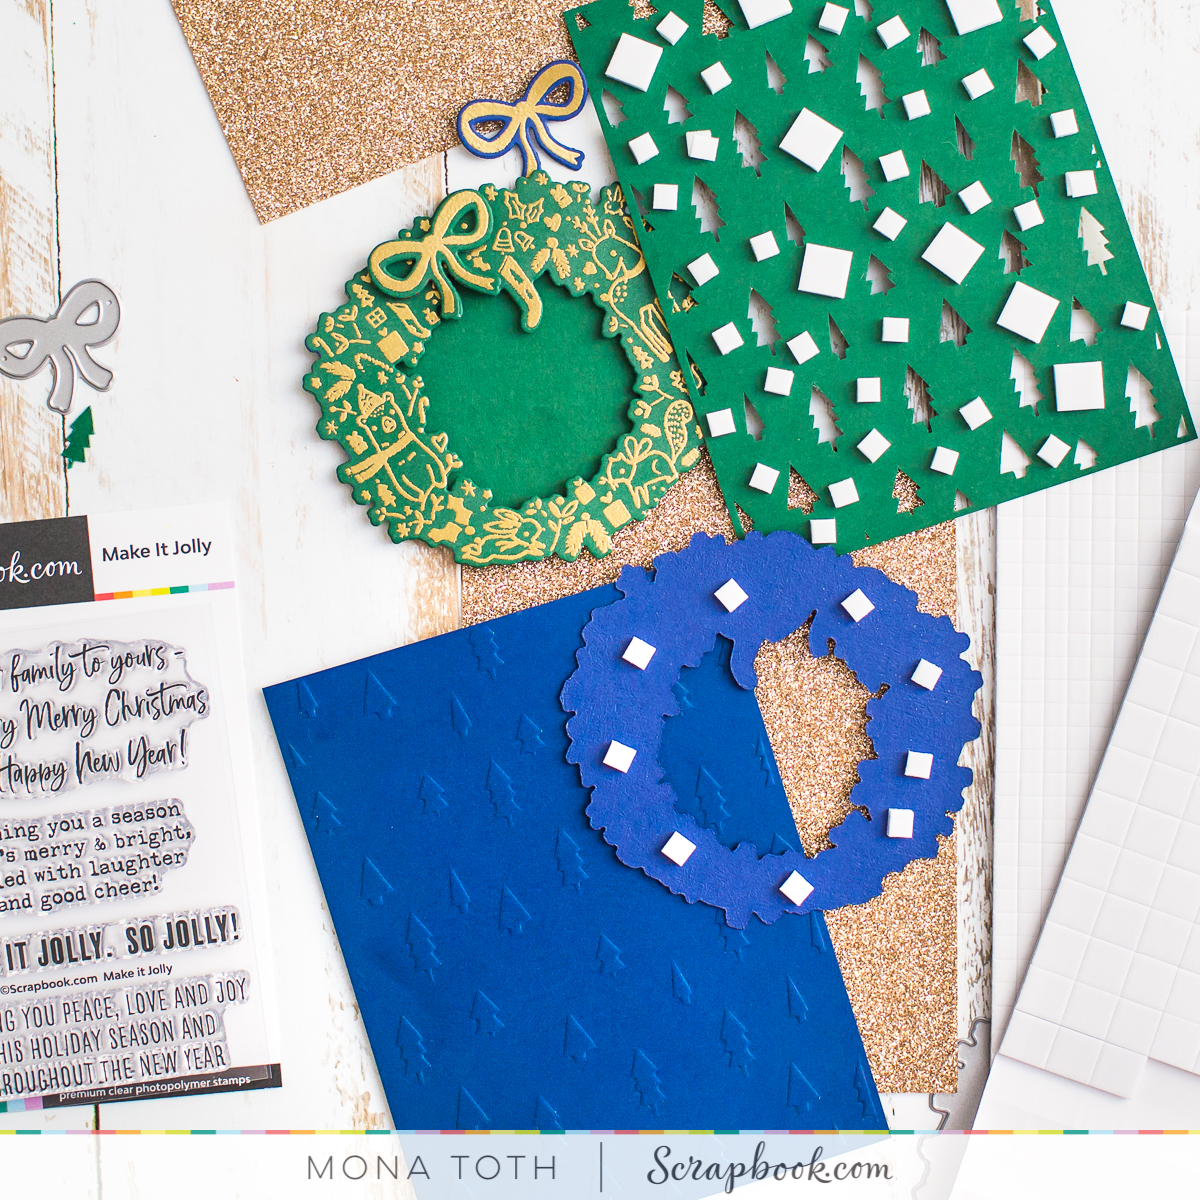
Next I die-cut the stamped images and started to put together the card. I knew that I need something sparkle to the background, so I picked the Gold Sparkle cardstock by Lawn Fawn.

Next I put 3D adhesives to the die-cuts to add my card more dimension.
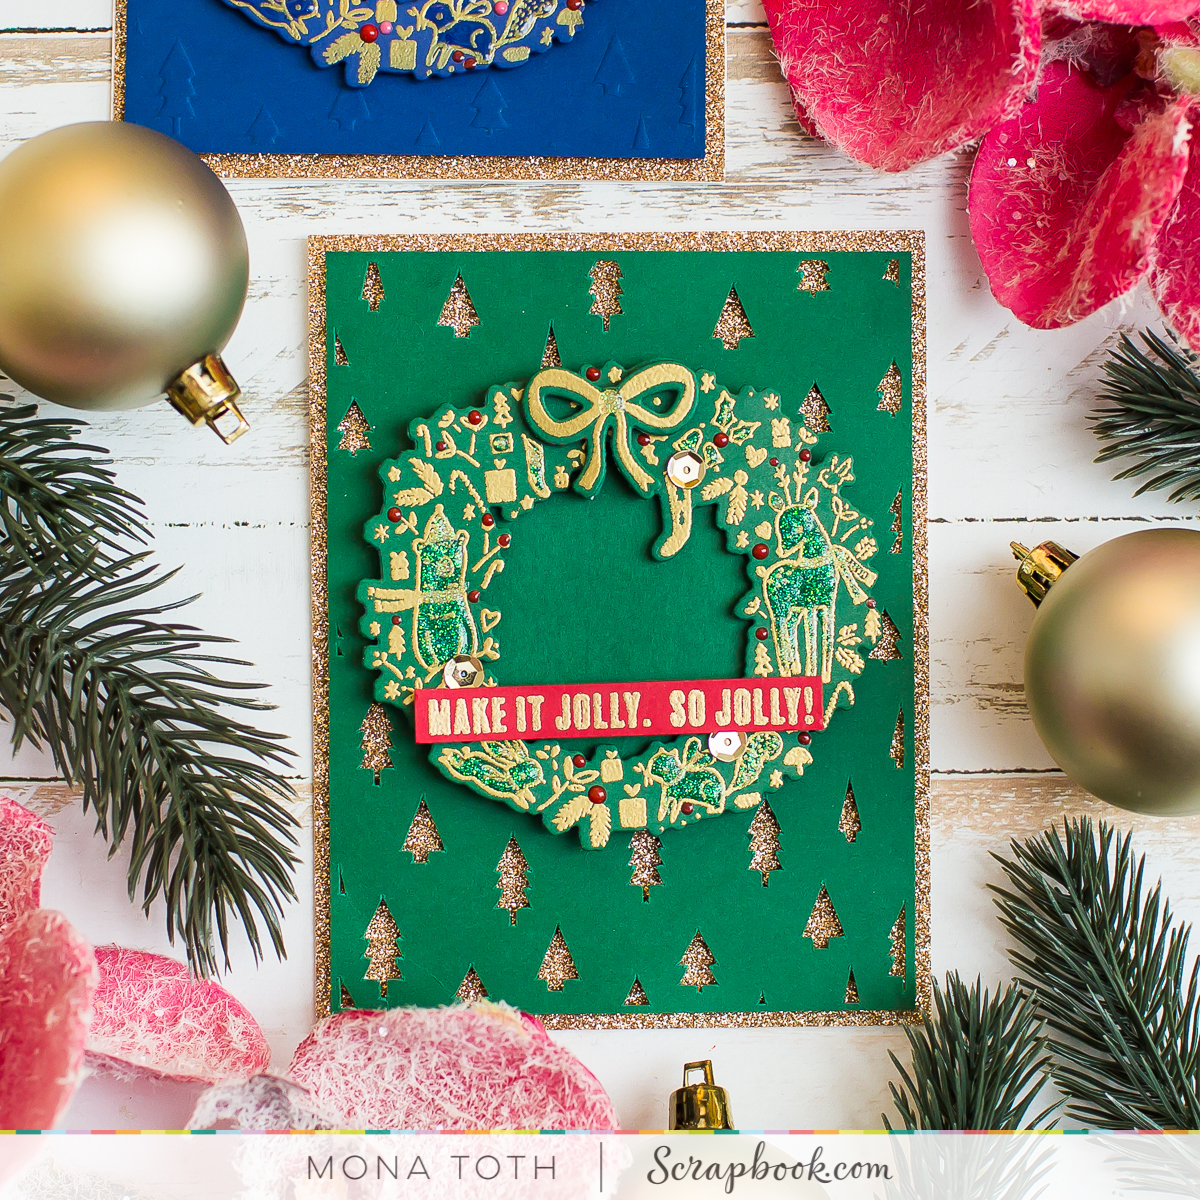
Finally I put my card together. I have added the heat embossed sentiments to their place.
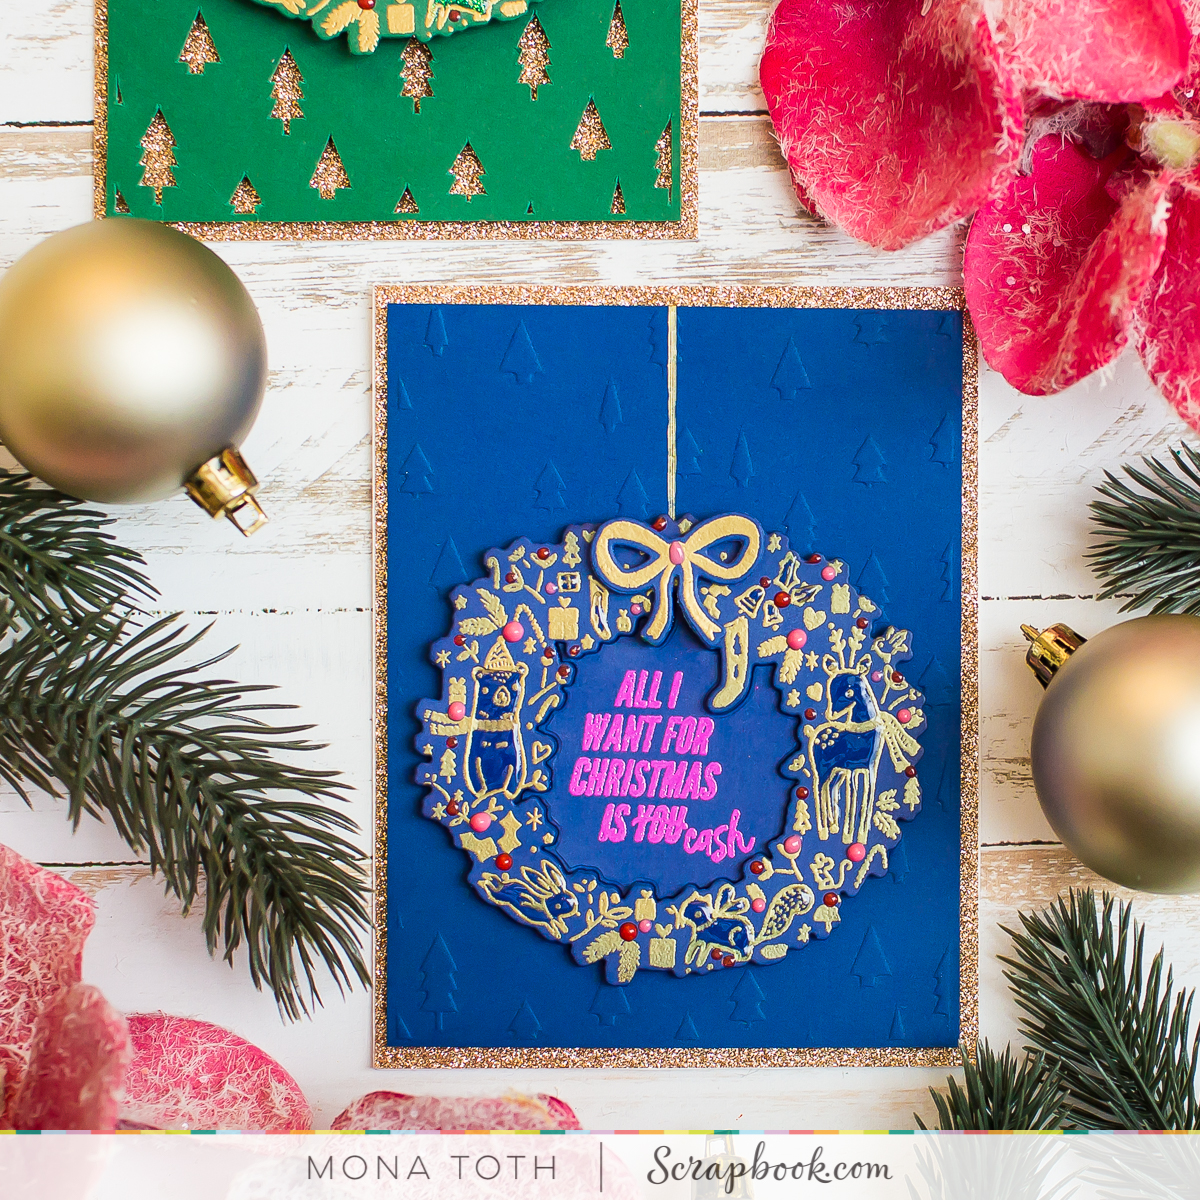
In the end I embellished the critters and the heat embossed die-cut with Nuvo Jewel and Crystal Drops. In the end I have added a few sequins and my cards were ready.

I have used the Tis the Season - Bundle Cut files with my Silhouette Cameo.
When it was done, I decided to dry emboss with it an another cardstock with my Die-cut machine and dry embossing mat.
It looks fabulous right? I thought I am going to use both of these backgrounds, and just put on it a heat embossed stamping and sentiments.
I stamped and heat embossed the Great Joy stamp sets by Pinkfresh Studio.
Next I die-cut the stamped images and started to put together the card. I knew that I need something sparkle to the background, so I picked the Gold Sparkle cardstock by Lawn Fawn.
Next I put 3D adhesives to the die-cuts to add my card more dimension.
Finally I put my card together. I have added the heat embossed sentiments to their place.
In the end I embellished the critters and the heat embossed die-cut with Nuvo Jewel and Crystal Drops. In the end I have added a few sequins and my cards were ready.
Thank you very much for reading through my post, I hope that you have enjoyed it and I have inspired you! If you like my creations let's be friends on Instagram. :)

SUPPLIES
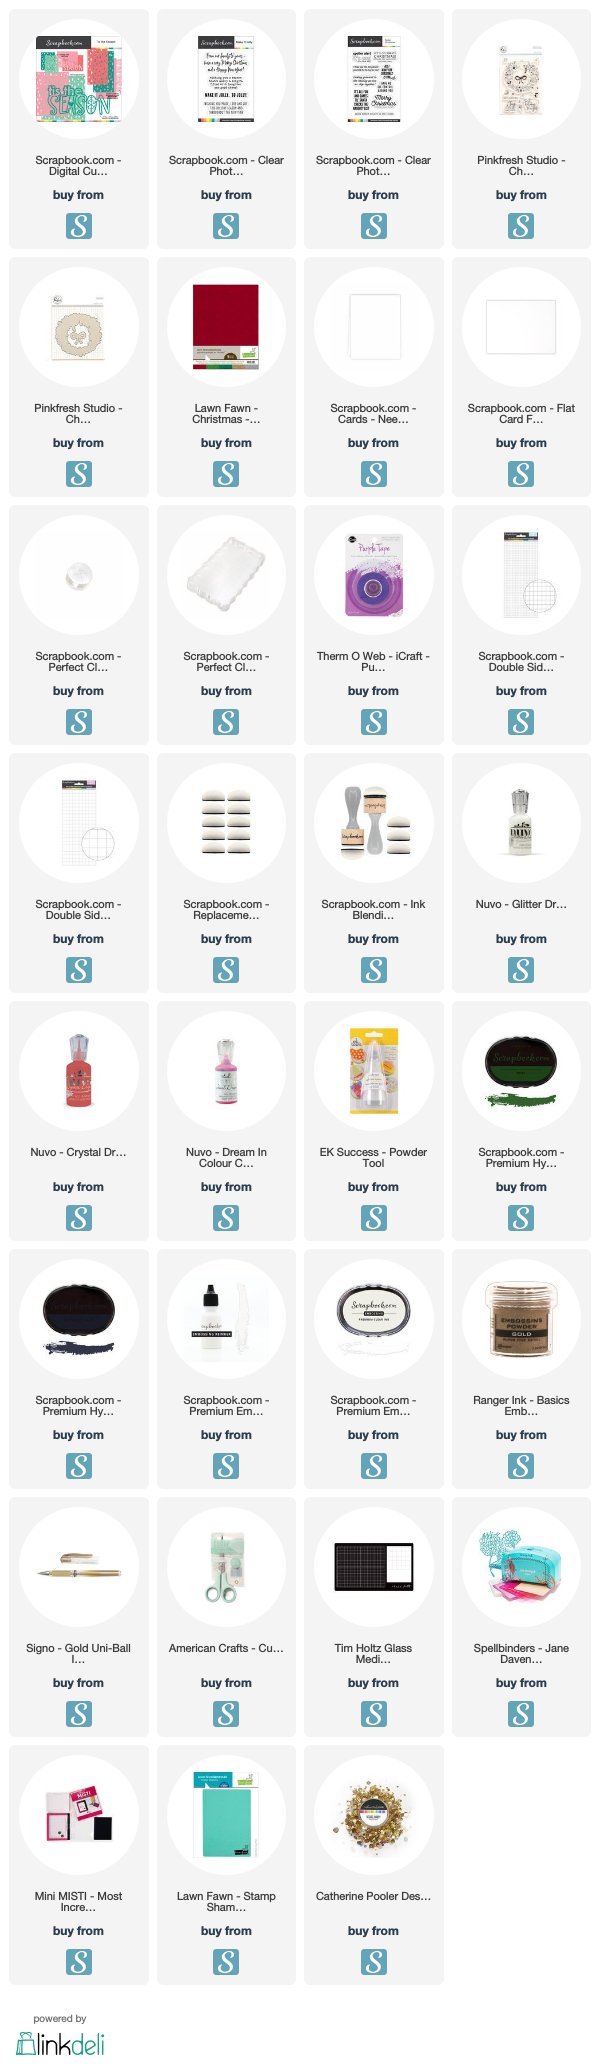
I prepared for you the list of products which I used for making this project. If you buy these through my links you help me running this blog. (You can find the affiliate disclosure here). Thank you for your support!