Showing posts with label shaker card. Show all posts

[VIDEO] Lawn Fawn Shaker Birthday Card

Hi crafty friend, last week I was up on the Lawn Fawn blog with a new video tutorial, where I am showing you how I made this lovely shaker card. I show a simple and an amp up version from the same design. You can watch the video tutorial below or click HERE.


Better craft photos are easier than you think. Start with 5 simple tips you can try today.
🎁 Get my free photo ebook here!

VIDEO TUTORIAL

Learn how to make shaker card like this by watching the tutorial below. No coloring skills needed.

Watch the video in HD on YouTube

THIS CARD FEATURES

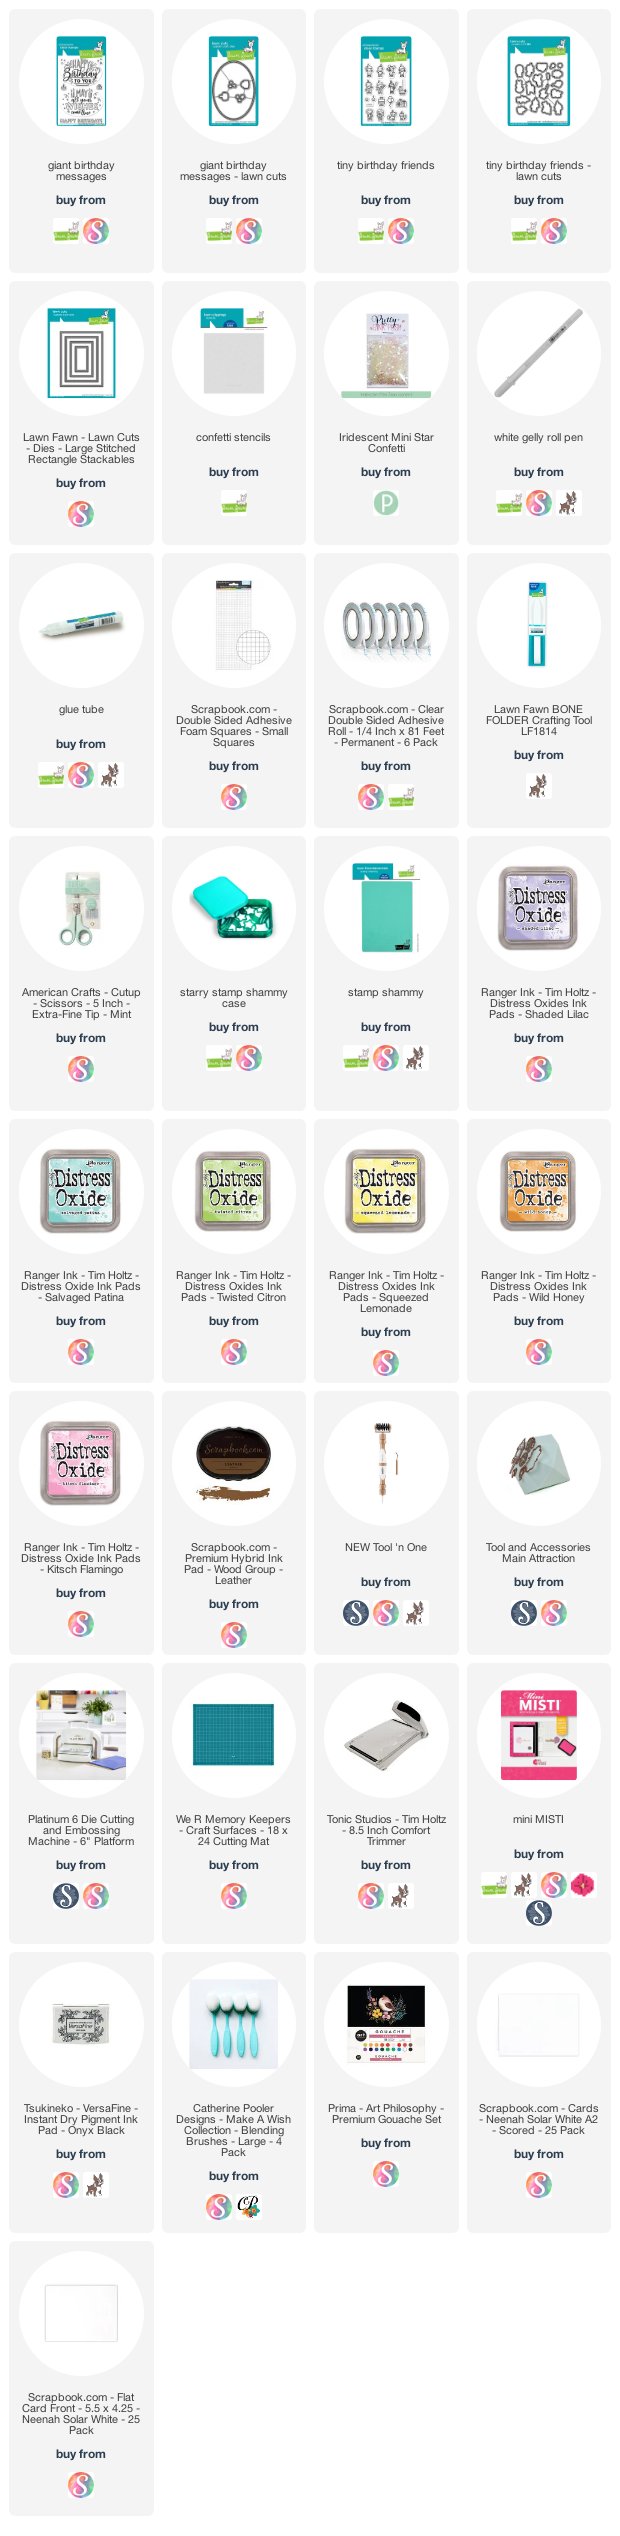
Tiny Birthday Friends Stamps and Dies
Giant Birthday Messages Stamps and Dies
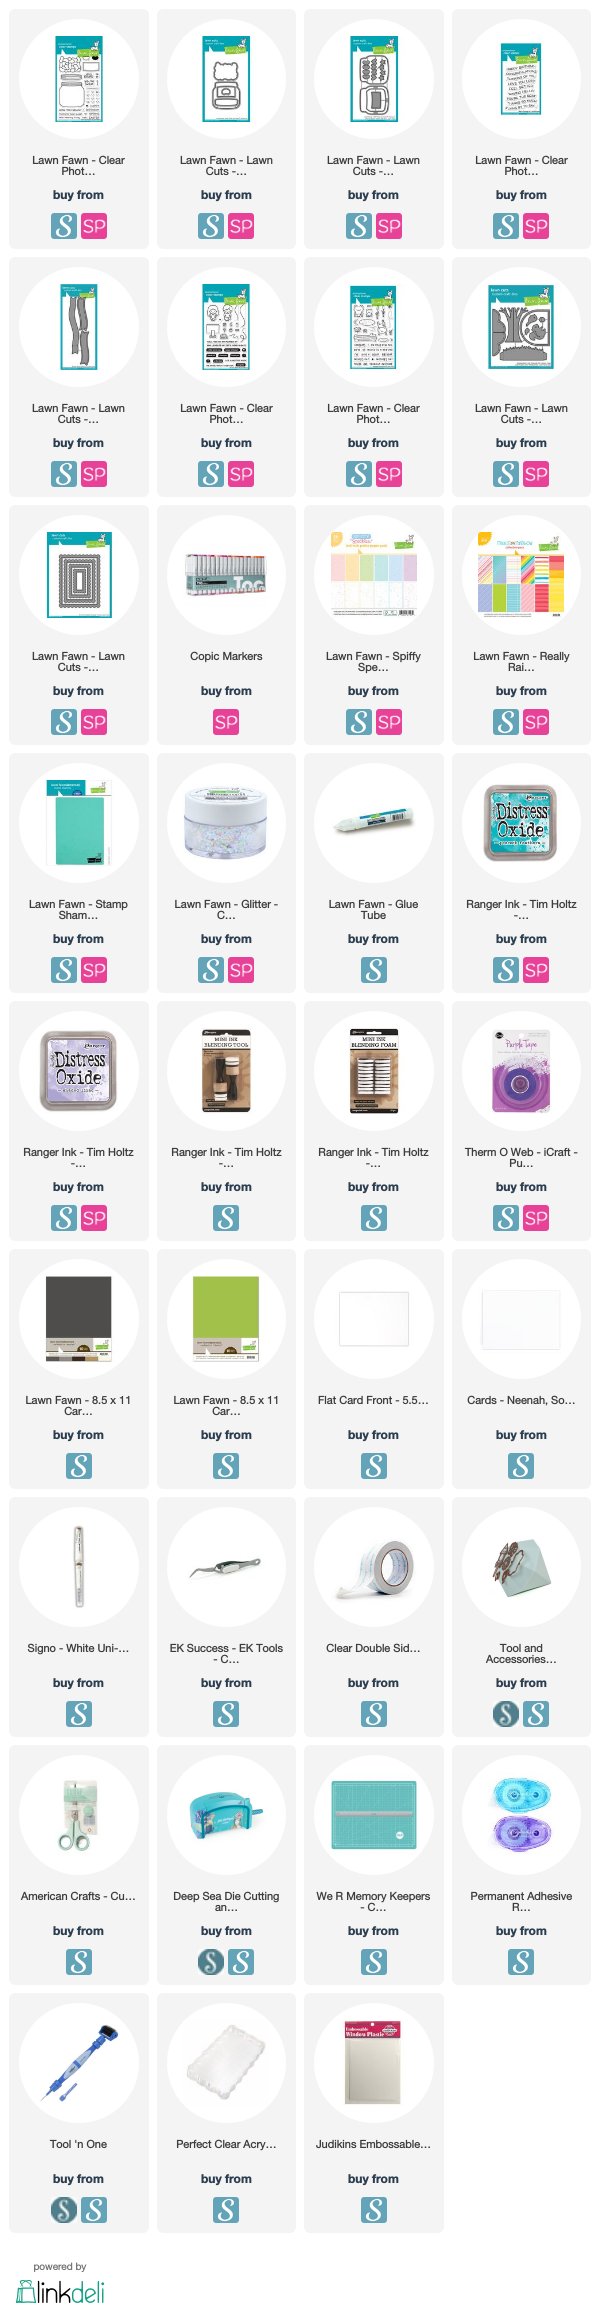
For the additional supplies with shop links visit the thumbnails below this post.

Pin this post to your Pinterest board and save this card idea for later.

Thank you so much for checking my post, for detailed instructions please visit the original post. Sending you big crafty hugs, Mona.

BEFORE YOU GO...

Let’s stay crafty friends! You can find more cardmaking inspiration, behind-the-scenes peeks and photography tips for crafters on my Instagram and Facebook pages.

📷✨ I’m on a mission to help cardmakers and crafters feel more confident with photography, so their beautiful creations can shine online too.

FOLLOW ON INSTAGRAM  |  EXPLORE MY SHOP

USED SUPPLIES

I’ve listed all the supplies I used below, so you can easily find them. Some of the links are affiliate links, which means I may earn a small commission if you make a purchase, at no extra cost to you. Thank you so much for supporting my blog and creative work!

See through bookmark Inspiration

Hi crafty friends! It's Thursday and the amazing new Lawn Fawn release is available to order! 😍  For this reason I created this see-through bookmark with my favorite sets from the new release. You can get a 3" x 4" stamp set FREE with any $60+ purchase, while supplies last. No code required! Offer expires March 5th, It's super cute, check it out here!


THIS PROJECT FEATURES


Do you enjoy this inspiration? I really appreciate if you pin this photo to your Pinterest.


BOOKMARK INSTRUCTIONS

I created see-through bookmarks many times, so I am reusing older step by step photos here, but they are useful and will help you a lot to create this look.


1. Create 3 die-cuts with the stitched scalloped rectangle frames dies


2. Cut off the center piece of the scalloped die-cut on the short sides. 


3. Now you have two similar parts of each of them.


4. Adhere them together. 


5. The frame is done, create the shaker part like usually, or as I am showing it in my older bookmark video. Then embellish it with your colored images and sentiments. 


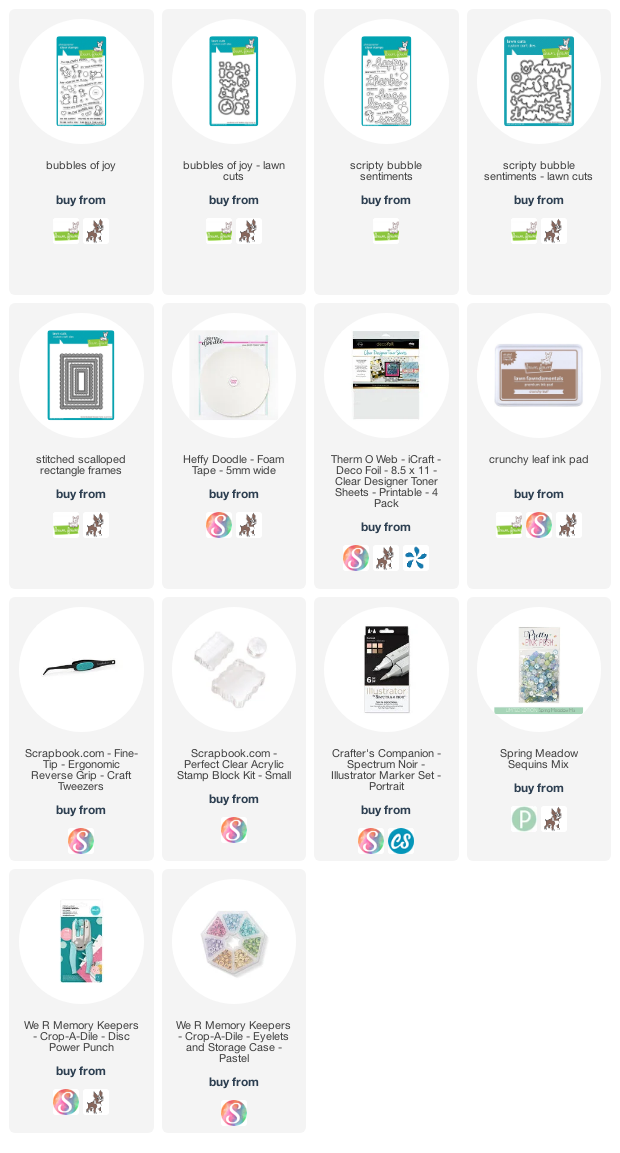
For my bookmark I have used bubbles of joy stamp set  and the scripty bubble sentiments stamp set. For the coloring I have used Spectrum Noir Illustrator Markers in the following shades: CT1, MG1, GT1, BT3, HB1, PP1, PP3, MB1, MB2, MB3, MB4, BG2, GB1, Blender. (for the bubble coloring watch the video tutorial here on my YouTube channel with another project.)


In the end I added cute pastel floral eyelet from the rainbow eyelet set with my Crop A Dile tool and the bookmark was ready.


That's all folks for today, I really love this set, and I hope you get inspired by this cute bookmark. Thank you so much for stopping by, have an amazing day! Mona


VIDEO TUTORIALS

This time I don't have a video tutorial for this bookmark, but the steps are the same like in this older video, so if you are a visual type like me feel free to watch that, and if you have any questions feel free to ask in your comment.  


Watch the video above | Watch the video in HD on YouTube


USED SUPPLIES

Using affiliate links does not mean additional costs for you. I really appreciate your support. I am using only products I LOVE. If you buy supplies through my affiliate links, you support my channel and blog with a small commission and when you shop through my links I will do a happy dance. Affiliate Disclaimer.


Helpful tips to create shaker card | Essential video tutorial

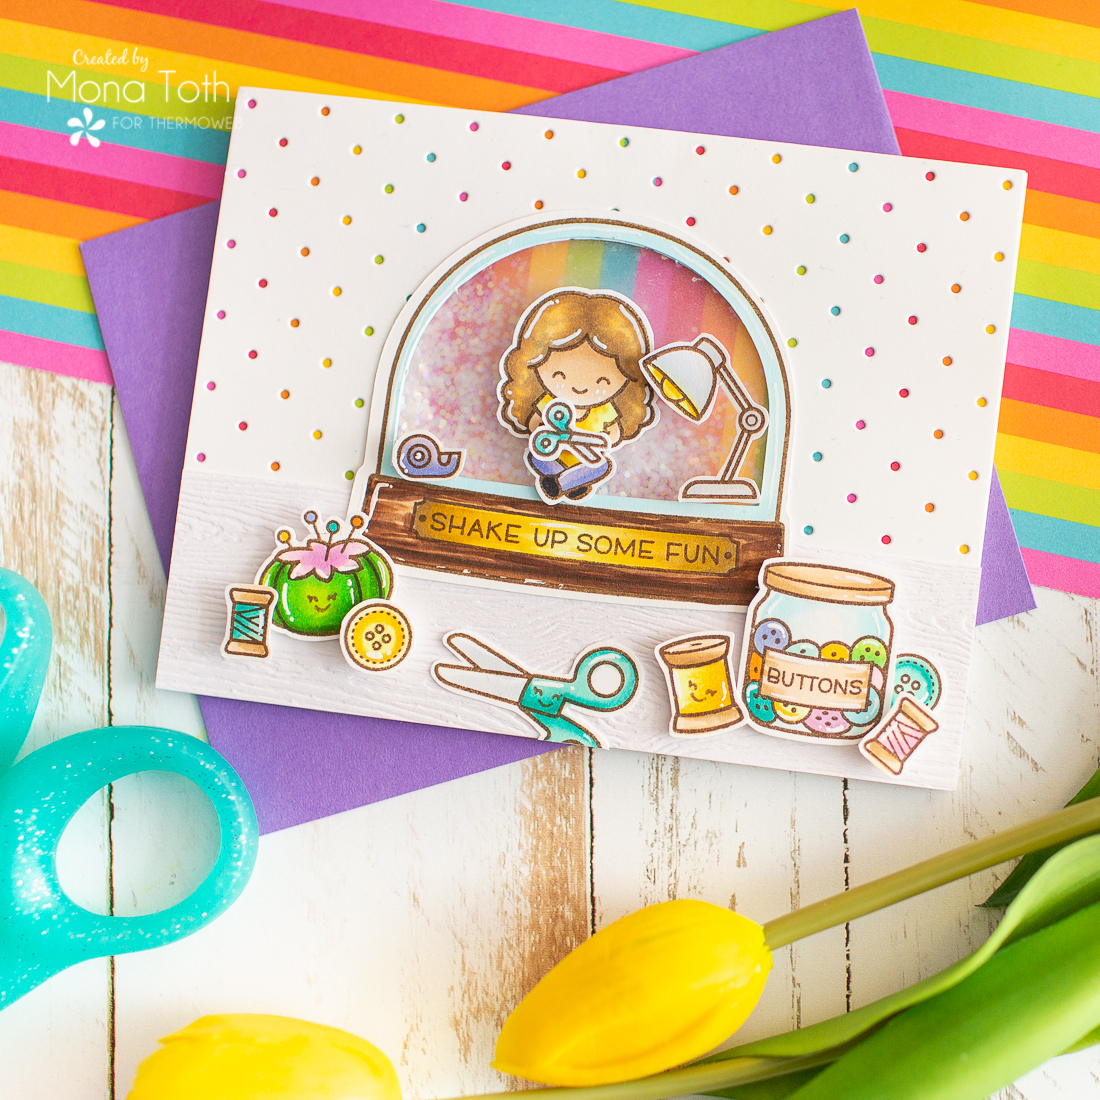
Hi lovelies, today I am going to show you my favorite way to make a shaker card on Therm O Web’s Youtube Channel. In this video I am telling you three tips which are essential in creating them.

This post is just a sneaky peek, for the full post please visit Thermoweb's blog. You can find the video tutorial here or below.


Thank you for stopping by, for more inspiration feel free to visit my Instagram. Hugs, Mona

SUPPLIES

I prepared for you the list of products which I used for making this project. If you buy these through my links I receive a small commission with no additional cost of you. (You can find the affiliate disclosure here). Thank you for your support!

Shaker Card | Save the Crafty YouTuber Video hop


Hi everyone! Today I am thrilled to announce that I am part of the Save the Crafty YouTuber video hop! YAAAAY! This hop was initiated by Justine Hovey, and it's about cardmaking video tutorials created by a group of talented crafters of all different styles and levels. We are coming together to give our viewers a chance to discover other amazing cardmakers. I created a super easy quick Lawn Fawn shaker card tutorial for you, I hope you will enjoy it. 


There will be prizes to be won at each stop in the hop, plus you will get the opportunity to discover new crafty channels.

All you have to do is watch, like the videos, consider subscribing and click the link in the video description to hop to the next video. So if you want to win you need to left a comment by the 5th of June. Prizes will be announced on the 10th of June on Justine’s channel and blog. You can find her links in the video description. In your comment you should mention that you are from the US or that you are an INTERNATIONAL. You DO NOT have to comment on every video in the hop but the more you comment, the more chances you have to win a prize.


VIDEO

And now let's see how I made this cute and easy Lawn Fawn shaker card and don't forget, if you want to win or you like my inspiration feel free to comment on my video. And if you hit the subscribe button I will be over the moon. :)


I am starting the cardmaking process with ink blending on a green cardstock with Peacock Feathers Distress Oxide Ink. Then I continue the blending process with Shaded Lilac Distress Oxide Ink on a die-cut, what I made with the How You Bean shaker Add-On from Lawn Fawn.


Next I started the coloring and I am going to use my copic markers. I started with Yellow Green and Green Markers. If you go through the coloring twice, you will get better results. If you want to skip the coloring process jump to the indicated time. 


When it was done I put my card together, so I chose a patterned paper from the Really Rainbow and Spiffy Speckles paper packs. I used the stitched scalloped rectangle frames and the park shadowbox add on dies from lawn fawn. And finally my Lawn Fawn shaker card was ready.


Your next stop in the video hop is Lindsey Adreon's video. Remember that the more videos you watch and comment, the higher your chance to win! If you get lost along the way or if you want even more information on the hop, you can visit Justine’s website.


Thank you very much for reading through my post, I hope that you have enjoyed my video and I have inspired you! I wish you happy video hopping and good luck. 

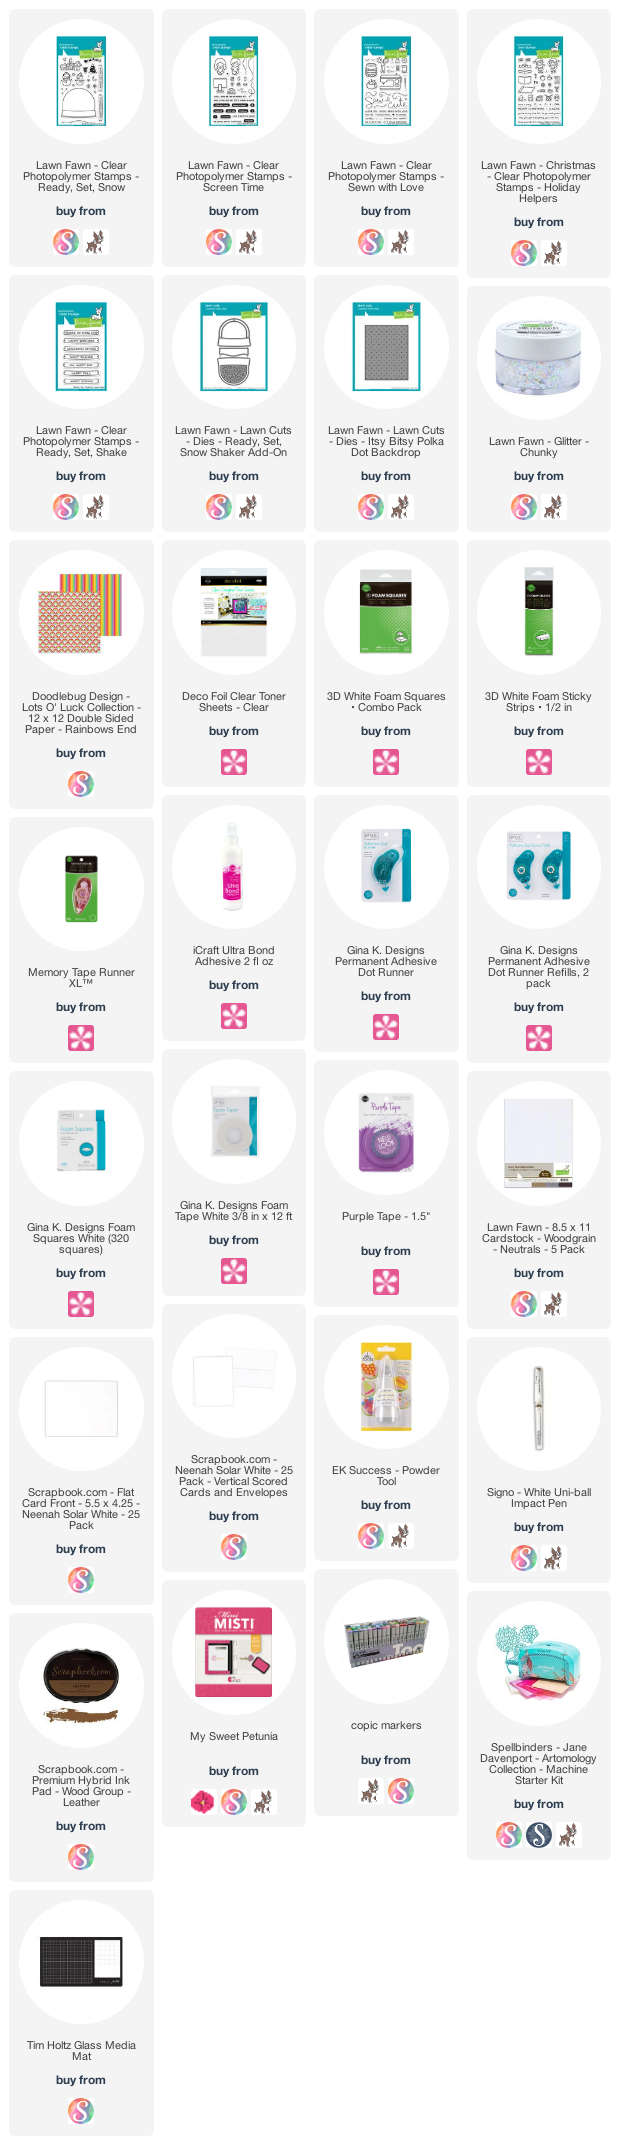
SUPPLIES


I prepared for you the list of products which I used for making this project. If you buy these through my links you help me running this blog. (You can find the affiliate disclosure here). Thank you for your support!

SAVE IT


My projects compressed into a photo :) If you like it, save it to your Pinterest board. Thank you!